 |
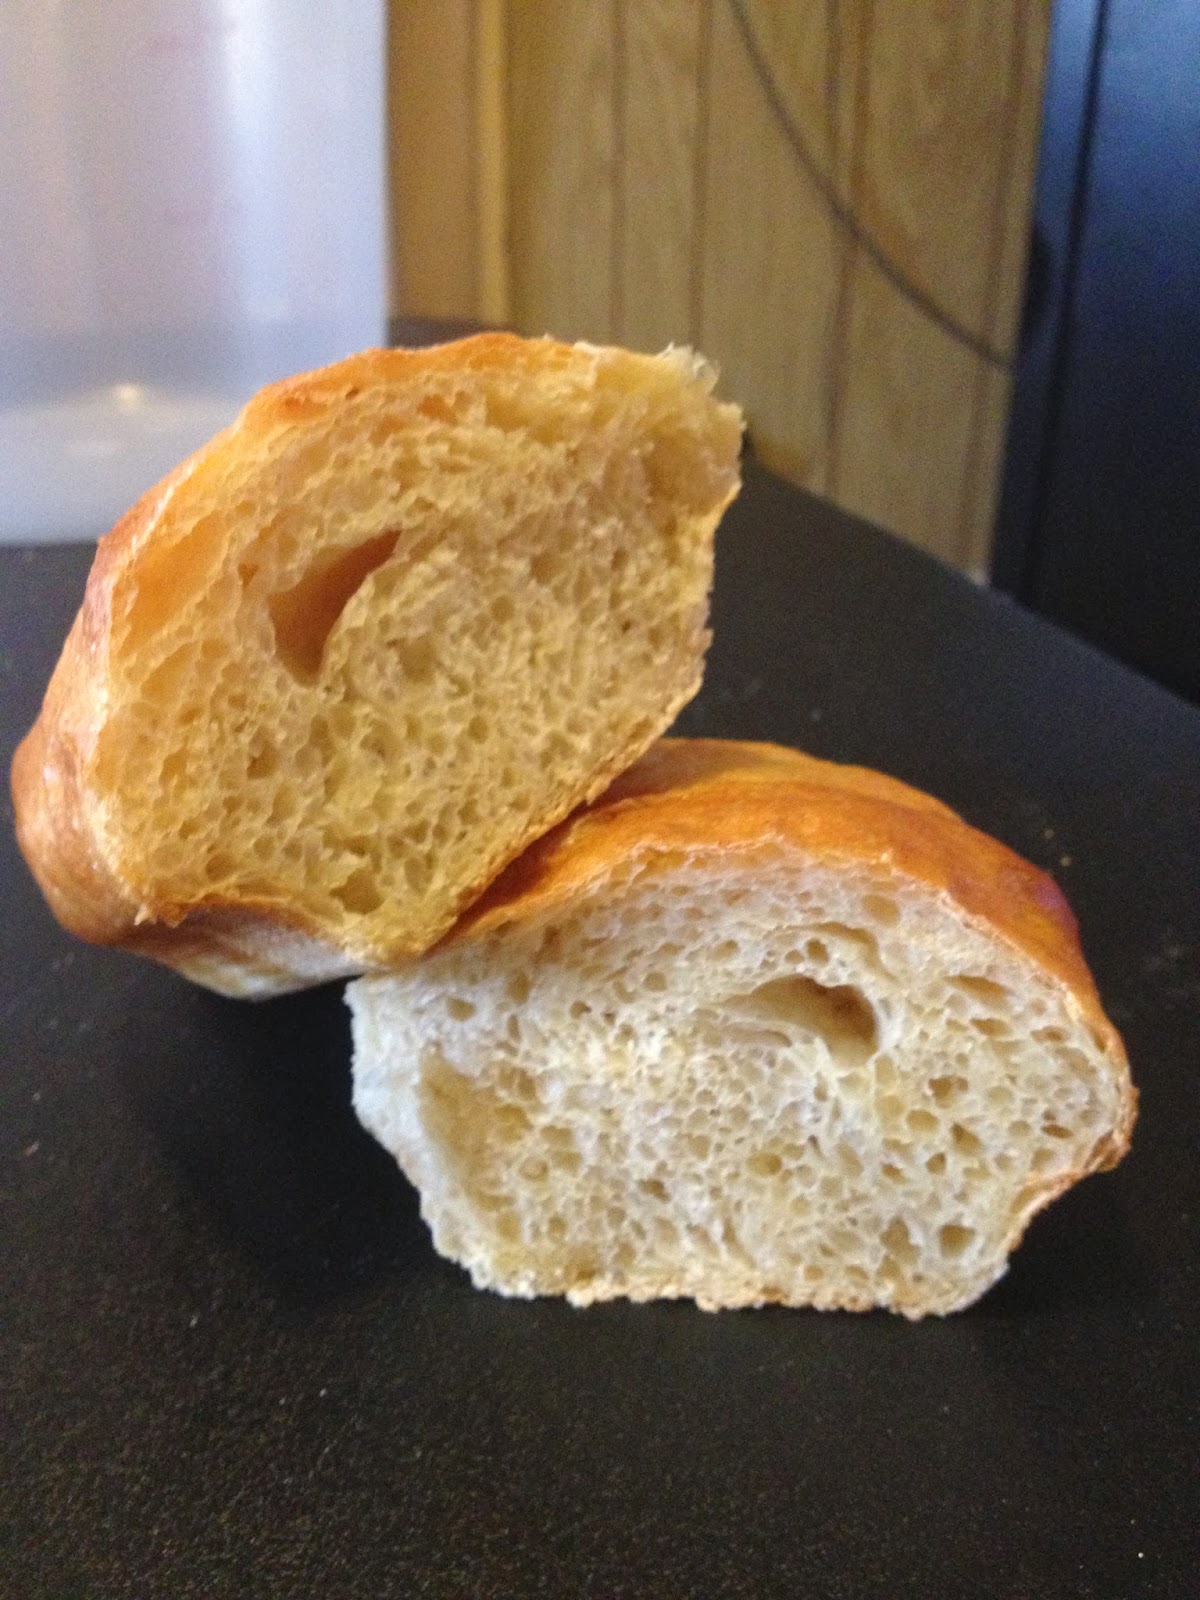
| Medium Crust, Lightly Crunchy |
 |
| Soft and airy crumb, that doesn't fight you to eat |

 |
| Just perfect |
I grew up in the North East, an area that has awesome Italian sub shops. My adolescence included regular visits to many famous cheesesteak shops in Philadelphia. So I have a high expectation for the quality of an Italian sub roll. It should be slightly crunchy on the outside, soft and airy on the inside. Now that I do not live anywhere near a decent Italian sub shop, I find that all the sub rolls around here are of the “Subway” style, soft, without taste or substance. I expect a crust that has some crunch, a crumb that is soft, yet light and slightly sweet. I do not want a dense crumb.
A sub roll, lowly as it is, should still be flavorful in and of itself, just like any good bread. It should have a nutty, wheat flavor, the crumb should have visible air pockets, yet still have substance to it. But you should not have to fight the roll to take a bight.
Two notes on equipment:
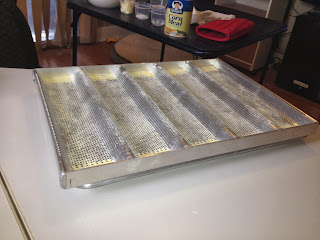
First I do think it is important to use the proper baking pan for this recipe. The baking pan of choice is an actual “Sub” bread baking pan, and there is only one I would recommend. It is made by Chicago Metallic manufactures and I will share with you it is not easy to find a web site that sells just one. The pan specs can be seen on Chicago Metallic’s web site, here is the link:
First I do think it is important to use the proper baking pan for this recipe. The baking pan of choice is an actual “Sub” bread baking pan, and there is only one I would recommend. It is made by Chicago Metallic manufactures and I will share with you it is not easy to find a web site that sells just one. The pan specs can be seen on Chicago Metallic’s web site, here is the link:
I found one web site that sold it in a pack of 5 for $170, but who needs 5. I found another web site that did offer it by the each, that was Granger.com, but they wanted $70 for a single one. That is twice as much per unit as the pack of 5. Unfortunately these were the only options I found. This pan is definitely worth every penny and all the effort one will expend to obtain one. It is commercial grade and very well built. I was amazed at its quality. But it needs to be said, this recipe will turn out just fine without this pan, you can use a sheet pan or bake directly on an oven stone. I simply believe that this is the optimum pan to make these rolls in since it has sides to each roll section and more importantly it is perforated so it allows an even flow of heat around each roll. Some people may not like the "marks" this pans perforations leave on the bottom of the rolls. I have read on-line some comments like "it makes the rolls look machine made" by people using similar pans. I find these perforations to be the main reason I like this pan.
Second, I finally purchased a "real" mixer. In my Bagels - The Technique post I mention that I use a bread machine. In that post I dissed my bread machine. I will at this time reveal that it is a Zorjirushi Home Bakery Supreme 2-Pound Loaf Breadmaker. And although I have only ever used it to "mix" my dough, I have to say that over the last two years I have used it hard, mixing many, many dough batches. Many of them bagel dough which is extremely dry and tough to mix. I can say unequivocally that it has served me well. It never let me down in any way.
But as I said, I finally broke down and invested in a real mixer. I researched mixers for weeks, actually I have been researching mixers for years, reading reviews, lurking in "bread makers" forums seeking that best mixer post, reading opinions trying to make up my mind. I knew what my requirements were, the mixer I needed had to:
Recipe:
TWF - 685g
Hydration - 73%
As you can see this is a very wet, sticky dough that will be challenging to work with. I have found that this is the only way to get the rolls to be light enough. I have tried making the dough dryer, even just a little bit (65%) and the result was a roll that was simply too dense and heavy. With practice and the help of a bench scraper it's not impossible to manage.
Active Dry Yeast - 7g (1 packet) - 1%

Second, I finally purchased a "real" mixer. In my Bagels - The Technique post I mention that I use a bread machine. In that post I dissed my bread machine. I will at this time reveal that it is a Zorjirushi Home Bakery Supreme 2-Pound Loaf Breadmaker. And although I have only ever used it to "mix" my dough, I have to say that over the last two years I have used it hard, mixing many, many dough batches. Many of them bagel dough which is extremely dry and tough to mix. I can say unequivocally that it has served me well. It never let me down in any way.
But as I said, I finally broke down and invested in a real mixer. I researched mixers for weeks, actually I have been researching mixers for years, reading reviews, lurking in "bread makers" forums seeking that best mixer post, reading opinions trying to make up my mind. I knew what my requirements were, the mixer I needed had to:
- Handle my double batches (2000+ grams of flour)
- Powerful enough to handle my favorite recipe (bagels)
- Very importantly, rated high in "unbiased reviews"
- Very importantly could mix well small batches of "anything". This means that the blade, wire whip and dough attachments had to have a very low tolerance of space between them and the bottom of the bowl. In addition I wanted to make sure that the attachments didn't sit too low in the bowl effectively turning a large bowl into a small bowl because the attachment sits so low in the bowl.
I looked at and was convinced I wanted a Electrolux DLX mixer. For years that is what I dreamed of. But the more I read, the more I was suspicious of it's non-conventional design. And it is the most expensive of all the mixers I looked at. In addition it was mysteriously missing from most of the "unbiased" reviews I could find. And I looked for these reviews many times over the last few years. I do not know why it is not mentioned in most of them.
I finally saw the following video review and it made up my mind:
I chose the KitchenAid Pro Line 7-Qt Stand Mixer
 |
| I will let you know how it performs..... |
Recipe:
TWF - 685g
Hydration - 73%
As you can see this is a very wet, sticky dough that will be challenging to work with. I have found that this is the only way to get the rolls to be light enough. I have tried making the dough dryer, even just a little bit (65%) and the result was a roll that was simply too dense and heavy. With practice and the help of a bench scraper it's not impossible to manage.
 |
| Mise en place - pronounced meez en plas) is a French phrase which means "putting in place" |
- Add to mixer (do yourself a favor, make sure the mixer bowl is at least 70°:
- Mix on low speed until sugar is dissolved, add:
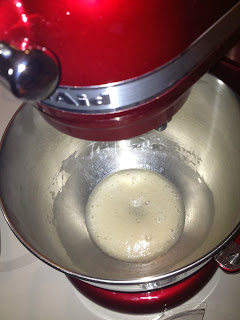
Active Dry Yeast - 7g (1 packet) - 1%

- Mix on low speed until yeast just incorporated, allow to rest until frothy (about 10 minutes)

- In a separate bowl combine and mix:
Unbleached All Purpose Flour - 498g - 73%
King Authors Sir Lancelot Flour - 187g - 27%
Non-Diastic Malt - 9g - 1%
Diastic Malt - 4g - .6%


- Add to mixer
Water - 100° - 190g (actually only add 170g - reserve 20g. to use later if needed) - 28%
Whey* - 100° - 190g - 28%

*Whey is made by buying and staining the liquid out of yogurt. I have purchase low-fat yogurt and it worked but also have had some problems with low-fat not straining. So now I only buy the more expensive Greek Traditional Plain Yogurt. My brand is by Dannon and is called "Oikos". It works for me. What you do is strain the yogurt, i.e. place it in a normal kitchen strainer that is lined with a few layers of cheesecloth over a container and allowing it to strain the liquid out. Whey increases the protein content of a bread dough. It will enhance the color (browning) and add a creamy flavor to your bread.
I actually use the following setup to strain mine:
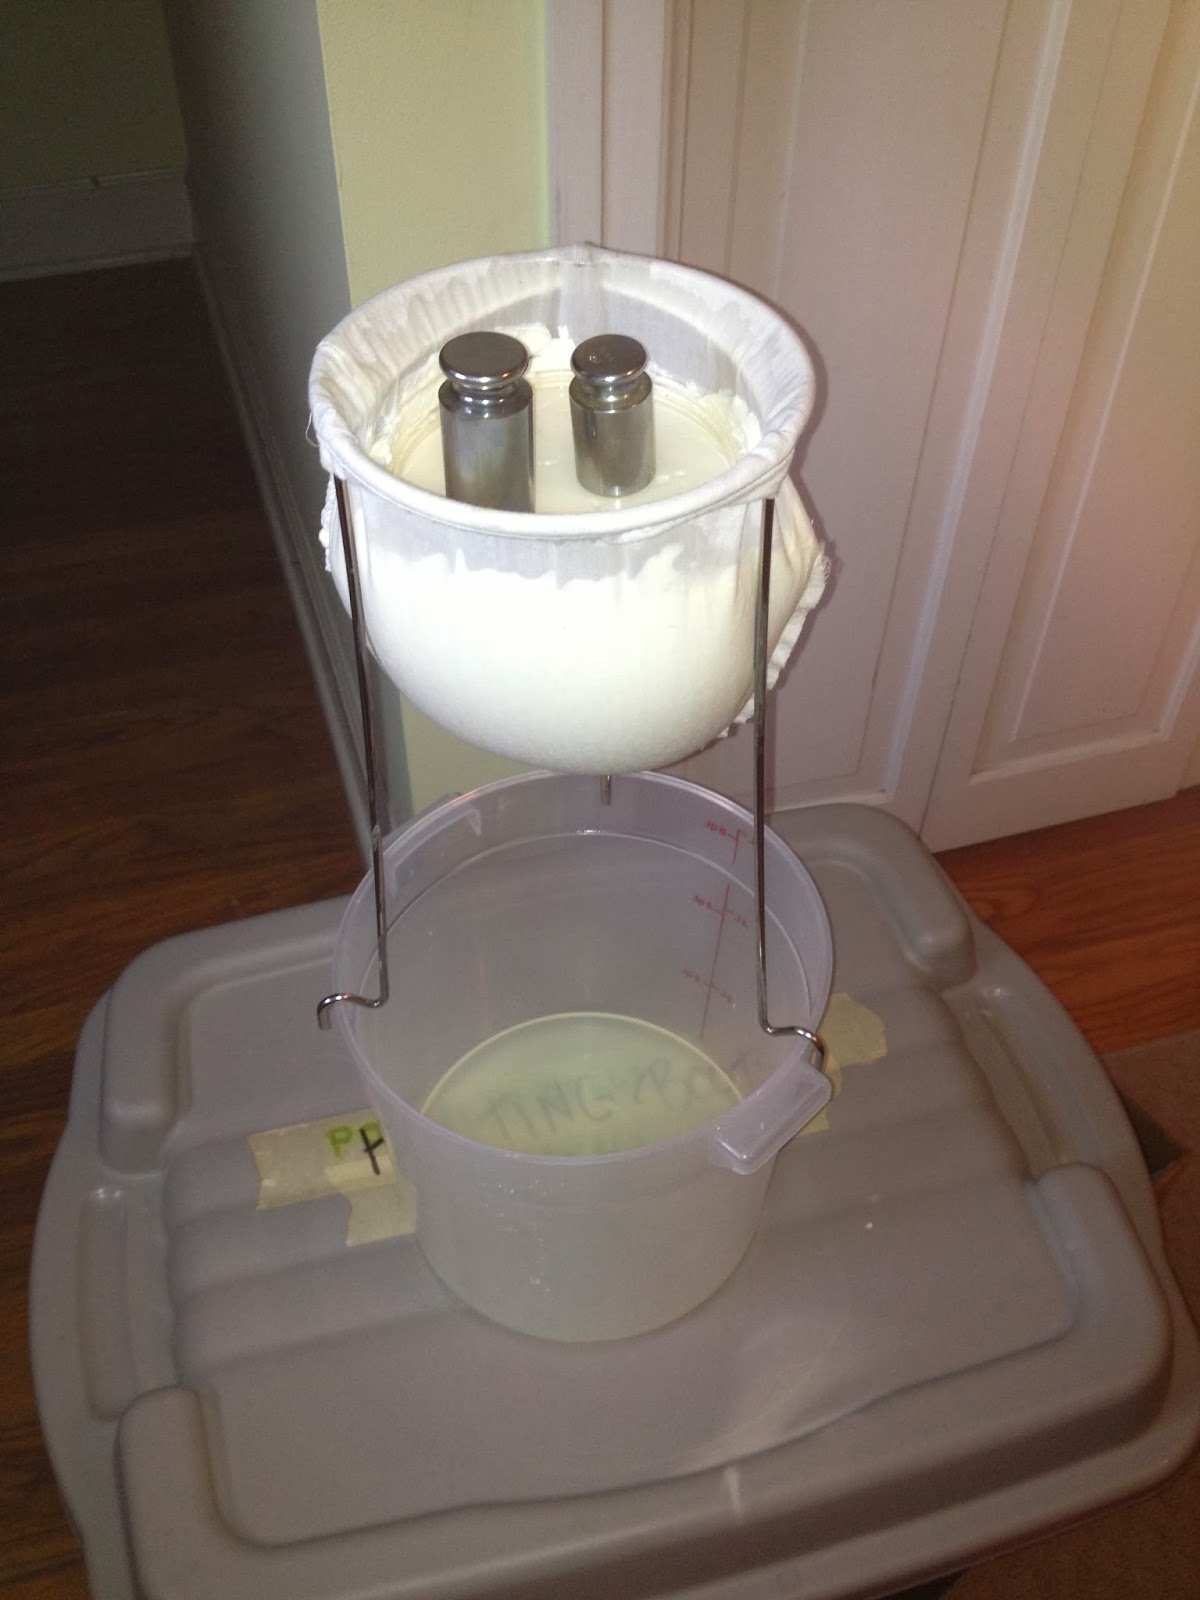
I place this over a bucket, and let gravity do it's thing. I buy two 32oz. containers of yogurt at a time, place them in the strainer, then put the strainer in a 40° environment for about three days. It takes a long time to get all the whey out. I gingerly stir it occasionally, I do not push, wring or otherwise force it as I do not want the yogurt itself. I am after the almost clear whey. Patience pays off. I have read many blogs stating that it only takes a few hours to do this, I have not found that to be true. I can get about 380 grams of whey from 64 ounces of yogurt. I use about half of this per batch of rolls. The rest I keep in a mason jar in the refrigerator. I have read that it will keep for months in the refrigerator. Mine has never lasted that long. I plan to experiment with food grade powdered whey for the convenience. I also plan to try some powdered Lecithin which is supposed to help increase the lightness and softness of a dough. Both are considered dough enhancers. But I haven't gotten that far yet. I will update this post with the results when the time comes.


First Rise:


Second Rise:
* NOTE: This is your second "Control Point" and again how you do this again will directly affect your end result. Be gentle you do not want to completely deflate your dough at any point during the "shaping" process. In addition, creating surface tension on each roll is paramount.


Third Rise:


- Set mixer on low speed, add while mixing:
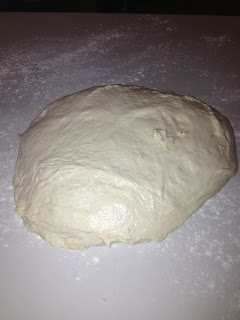
Flour mixture, mix until just combined


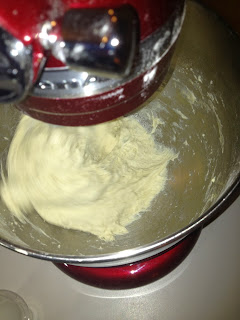
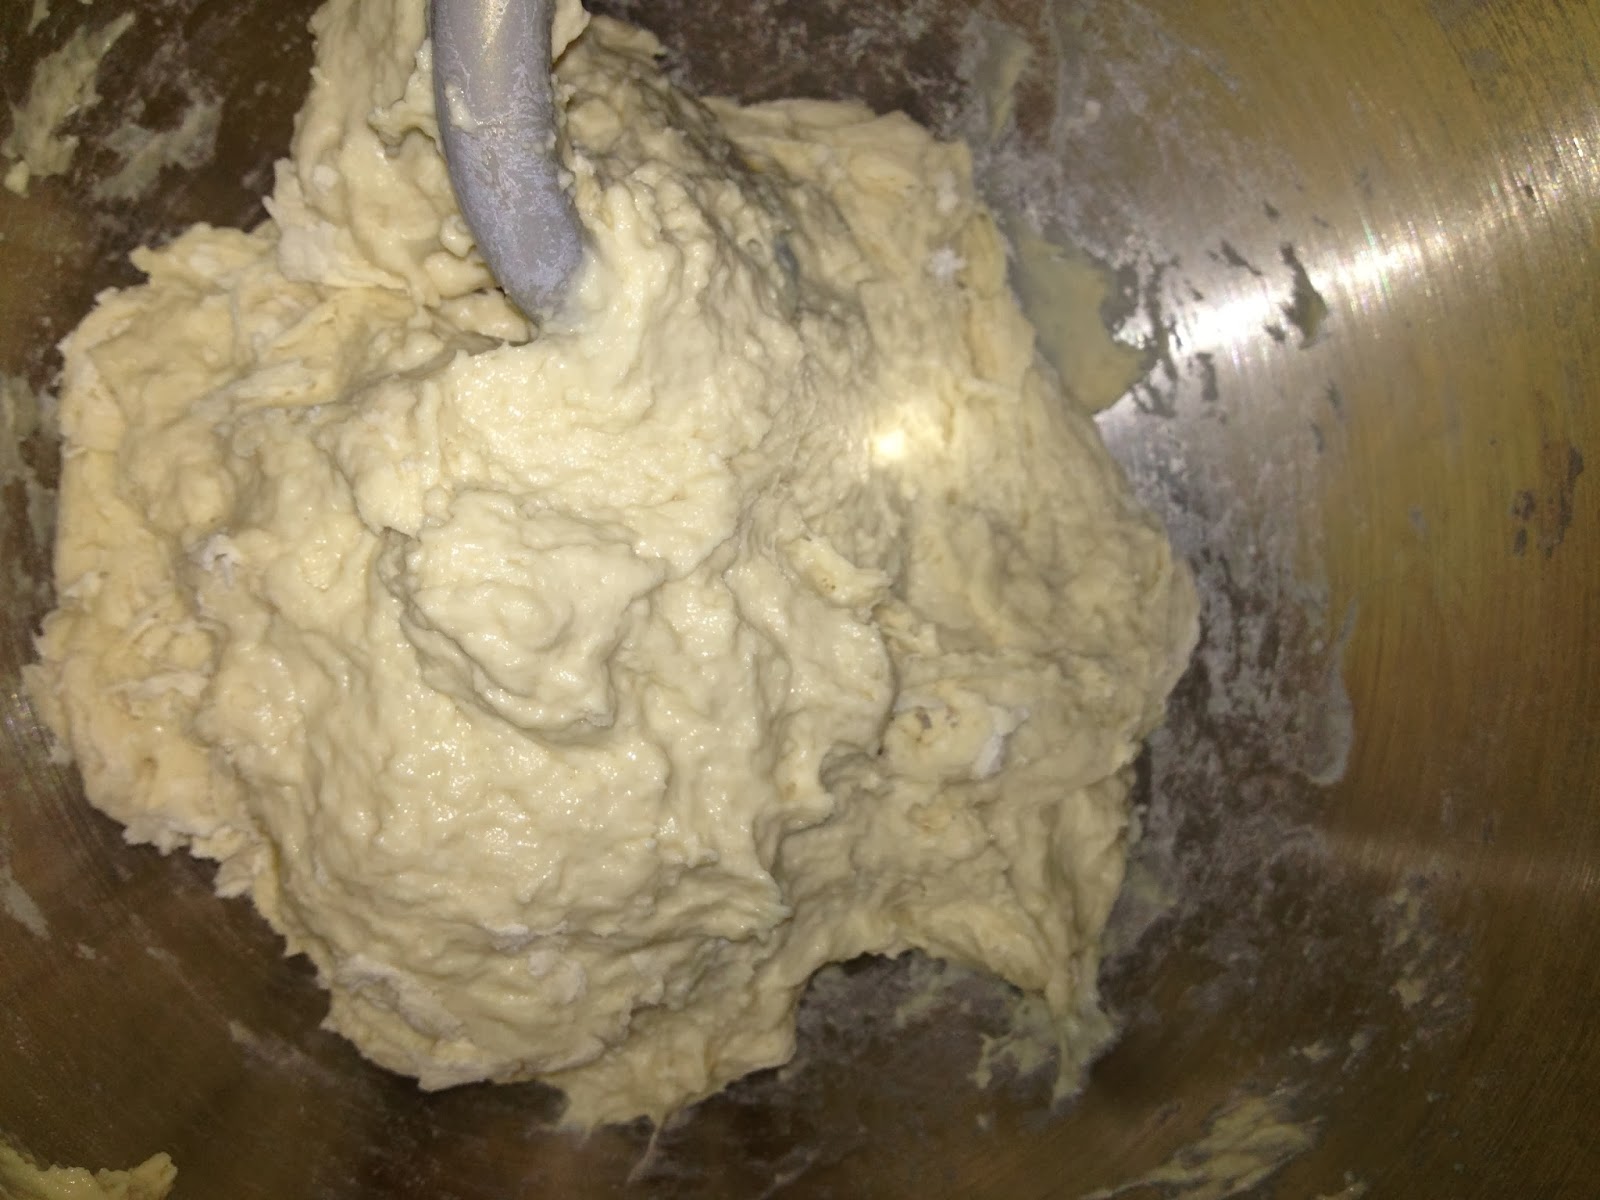 |
| Do not overmix, mix until just combined |
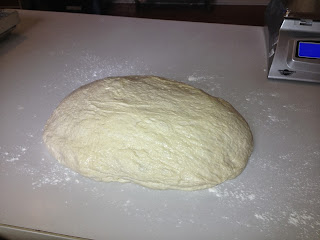
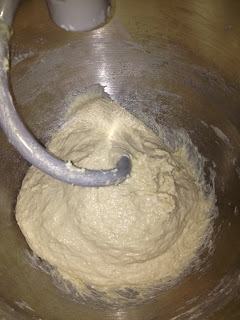
- Autolyse for 30 minutes (this will hydrate the flour) I cover to keep the warmth in:

 |
| Properly hydrated after 30 minutes |
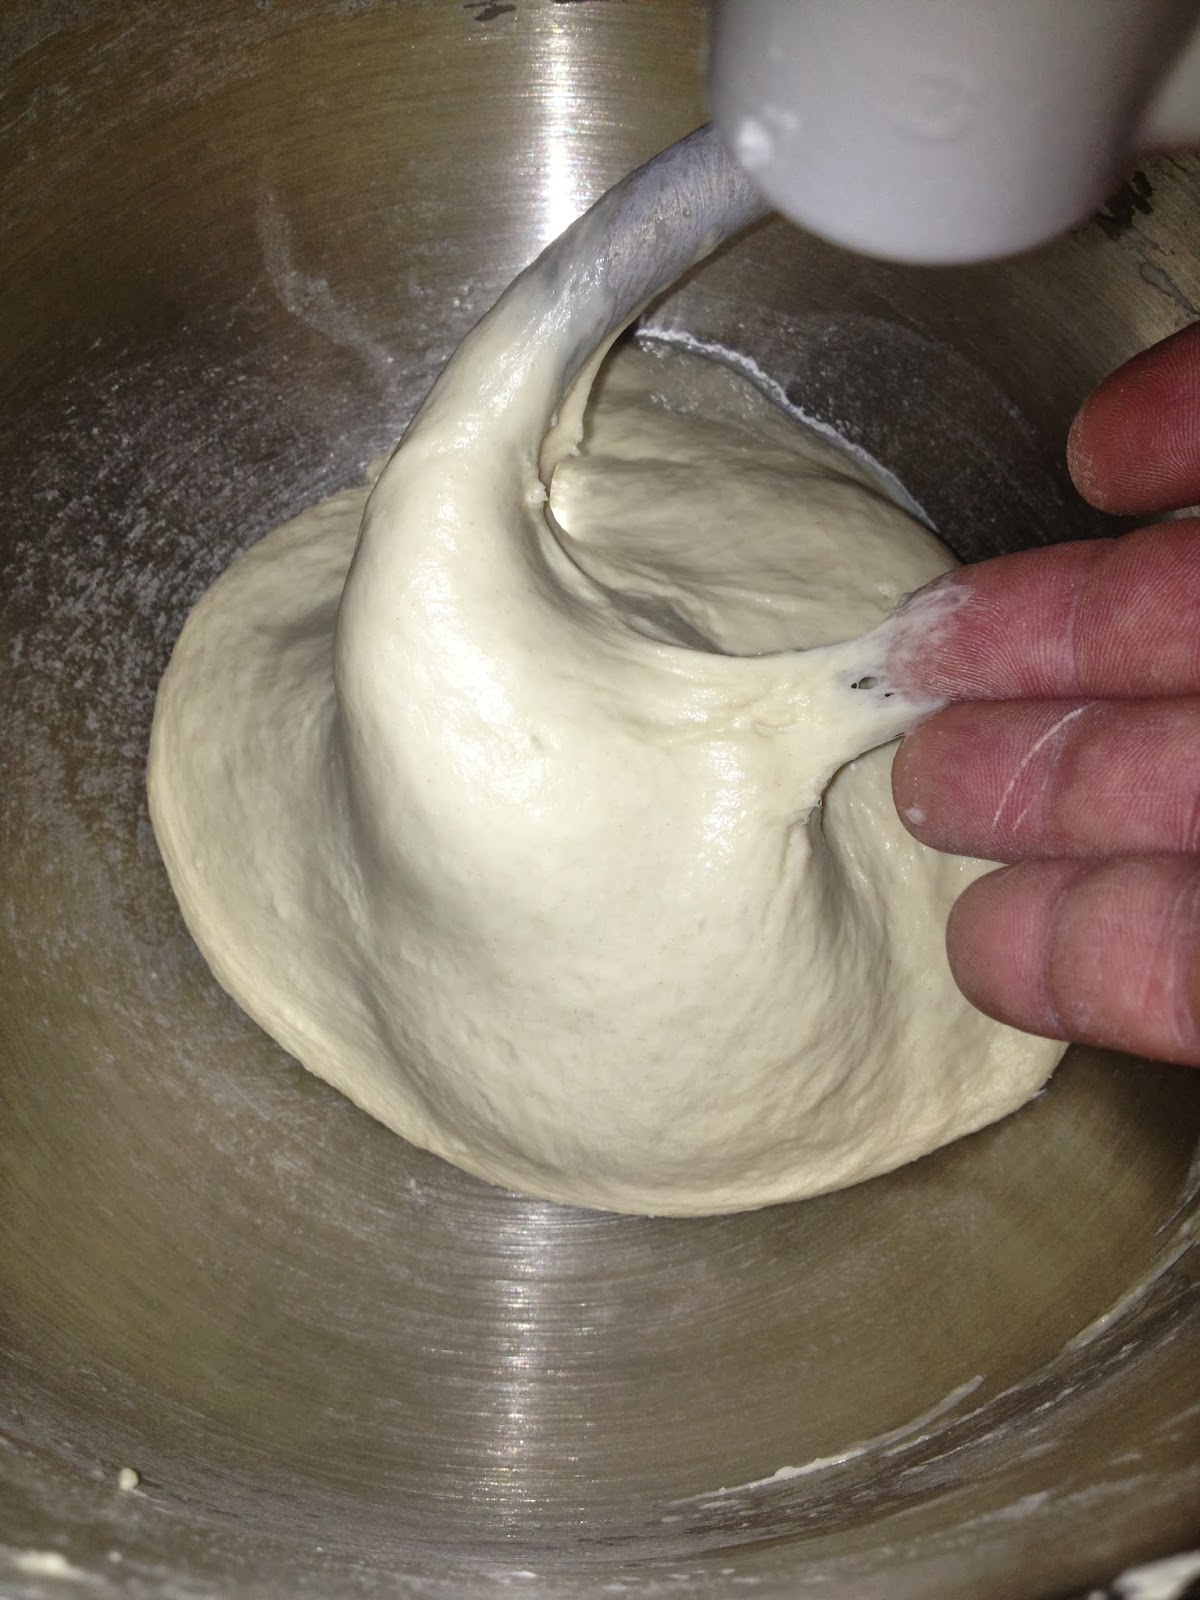
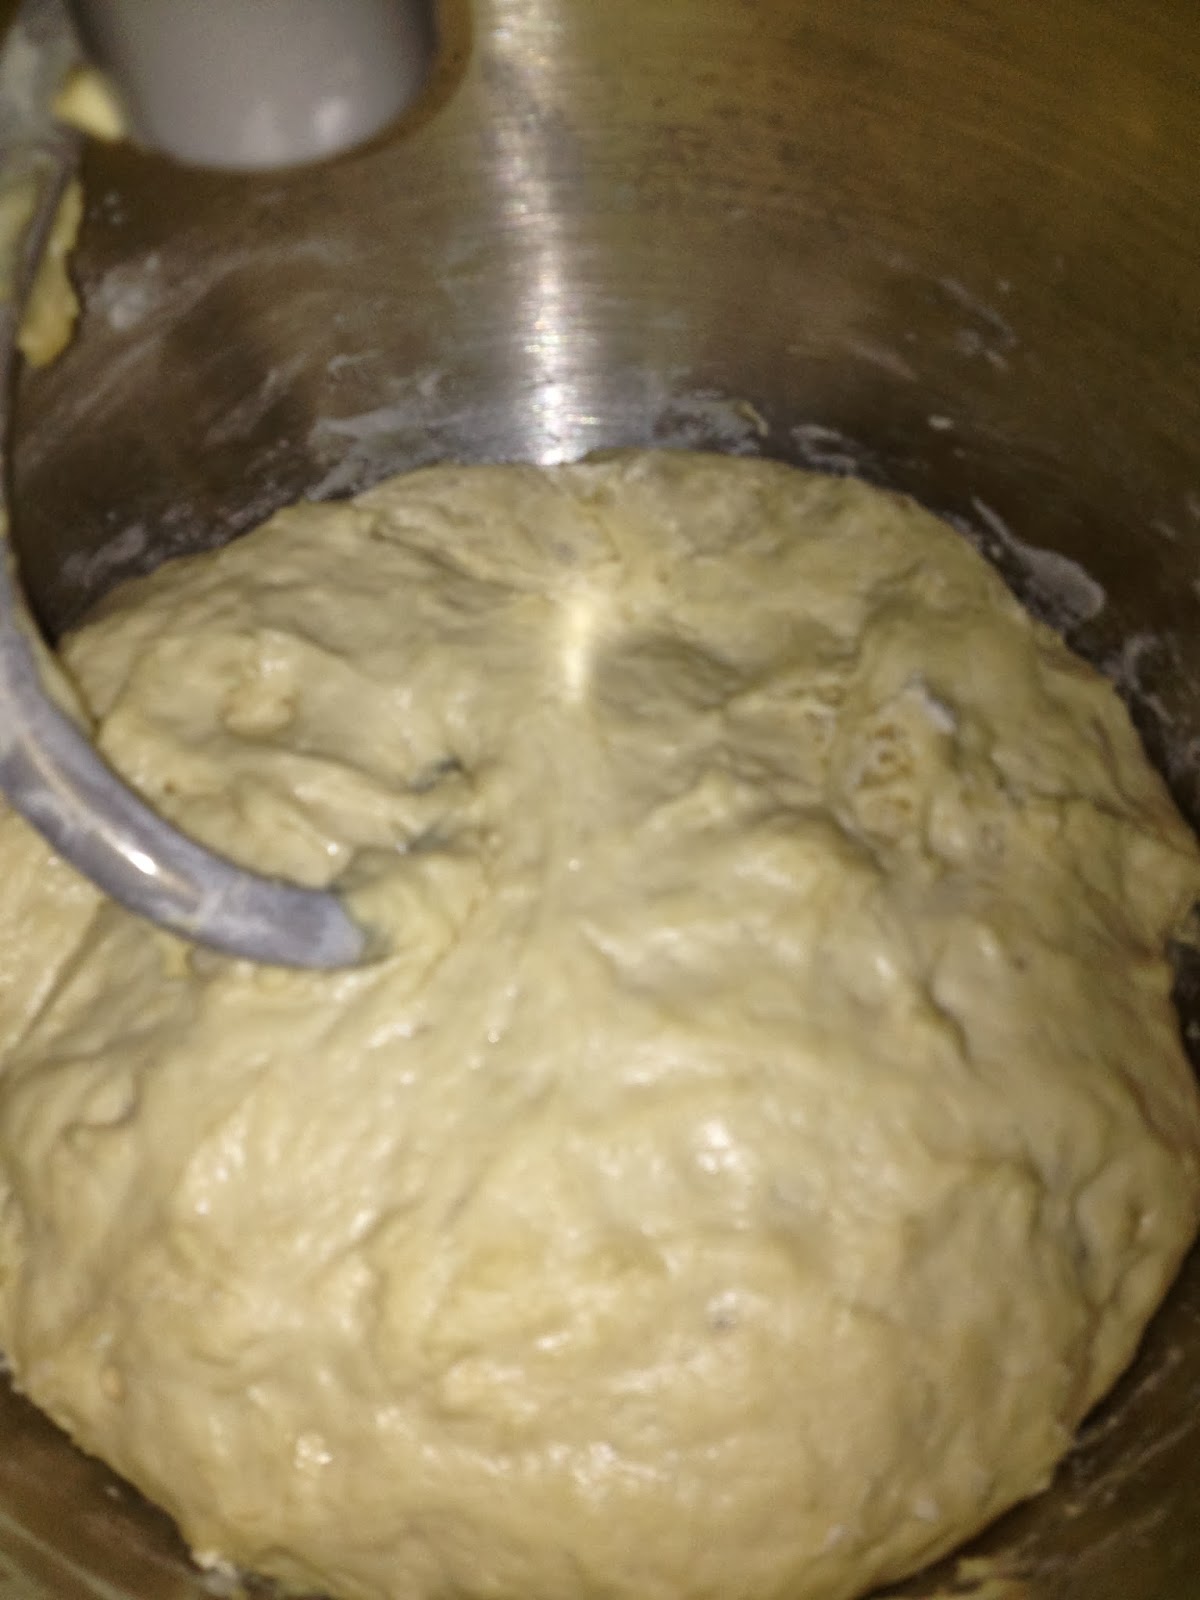 |
| Another view of what an Autolyse can do. Note how "homogenized the dough is compared to the "Do not overmix" picture above. And this was achieved just by resting |
- Add:
Ascorbic Acid - .8g - .1%
*Yeast likes an acidic environment. Although the fermentation process naturally creates an acidic environment, to make yeast even happier, increase the dough’s acidity a bit. We add ascorbic acid (vitamin C) to do this. You can alturnitavely replace some of the liquid with an acidic liquid (a tablespoon of orange juice, lemon juice or vinegar). This is especially helpful when you’re following a sweet bread recipe, one in which the yeast will be slowed down by a larger amount of sugar.
*NOTE: This is the first "Control Point" that allows you to directly affect your end result. This dough is meant to end up wet and sticky. It should pull away from the bowl when mixing but be too tacky/sticky to work with bare hands. You manipulate the dough's hydration with your 20g of reserved water. The consistency the dough is when you choose to stop will directly effect your end product, so choose wisely.


- Knead on speed 2 (for my new mixer) 4- 10 minutes (this is an arbitrary number)
- Using your 20g of reserved water "if/as needed" mix until dough appears:
- Elastic yet wet
- Smooth yet sticky
- Pulling away from the bowl, just barely (as much as a 73% dough will do)
- Supple yet sticky (as supple as a very wet dough will get)
Remember these are all just "hint"/"descriptors":
*Another Note: I like to control my dough's hydration with water rather than flour. My feeling is that the balance between the flour, yeast and other ingredients (except the water) is set by the recipe and should not be changed. As such I do not want to find myself adding more flour to the dough than the recipe calls for just because I think the dough it too wet. This will "unbalance" my recipe. Rather I want to reserve some of the water the recipe calls for and bring my dough to the proper hydration slowly with that. Even if I end up adding more water to the recipe than was originally called for. Extra water will not unbalance my recipe like extra flour will. Right or wrong this is my philosophy.
*Another Note: I like to control my dough's hydration with water rather than flour. My feeling is that the balance between the flour, yeast and other ingredients (except the water) is set by the recipe and should not be changed. As such I do not want to find myself adding more flour to the dough than the recipe calls for just because I think the dough it too wet. This will "unbalance" my recipe. Rather I want to reserve some of the water the recipe calls for and bring my dough to the proper hydration slowly with that. Even if I end up adding more water to the recipe than was originally called for. Extra water will not unbalance my recipe like extra flour will. Right or wrong this is my philosophy.
What is important is you remember what your dough looks and more importantly feels like when you remove it from the bowl to the rising container. You need to relate this "experience", what it looks like and feels like to the resulting end product. There is a direct relationship to the consistency of the dough at this point and the cooked end product. Establishing this relationship clearly in your mind is harder than it seems. There is a significant amount time in between these two points This is why people talk about "experience/practice" because it takes doing it so many times to get a feel for what the condition (appearance/hydration) of the dough at this kneading point needs to be to end up with the appropriate resulting roll. All I can say is the test of a true baker is in enjoying the trying.
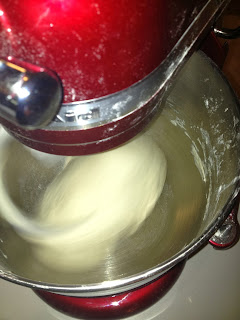


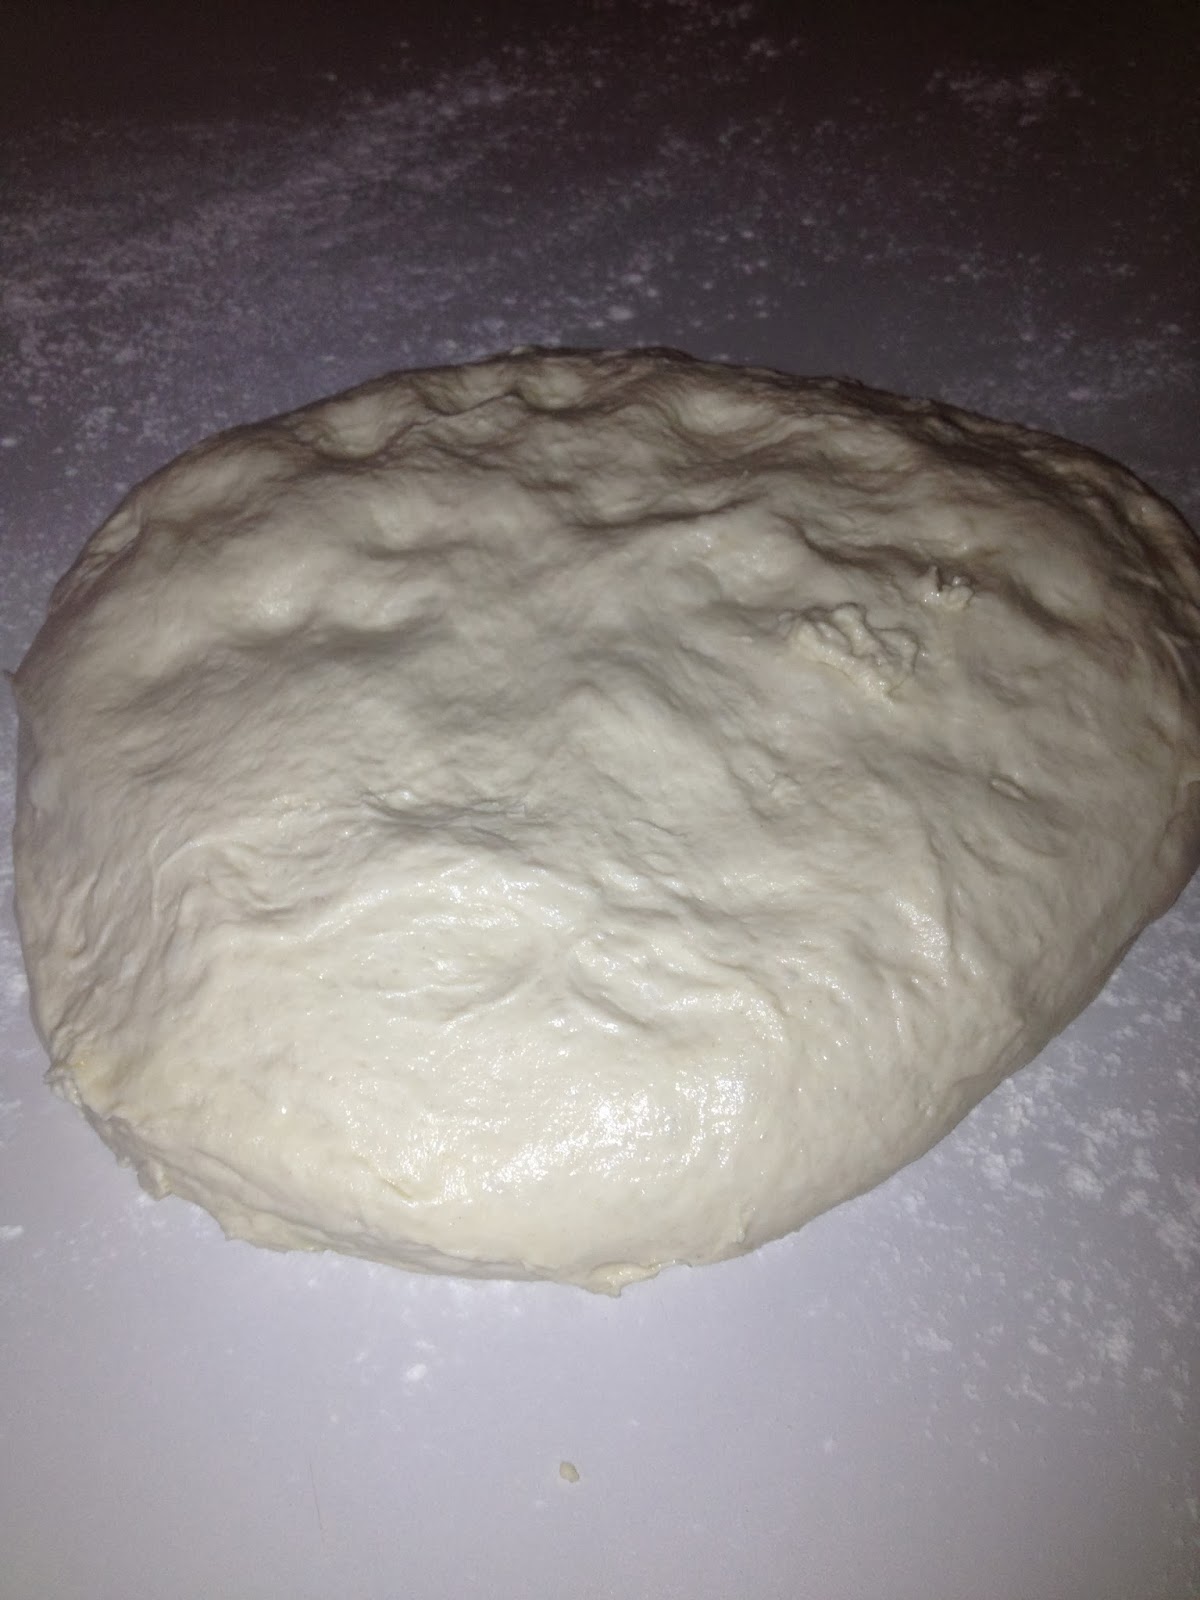
 |
| I told you it was a "wet/sticky" dough |
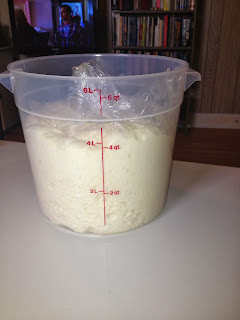
First Rise:
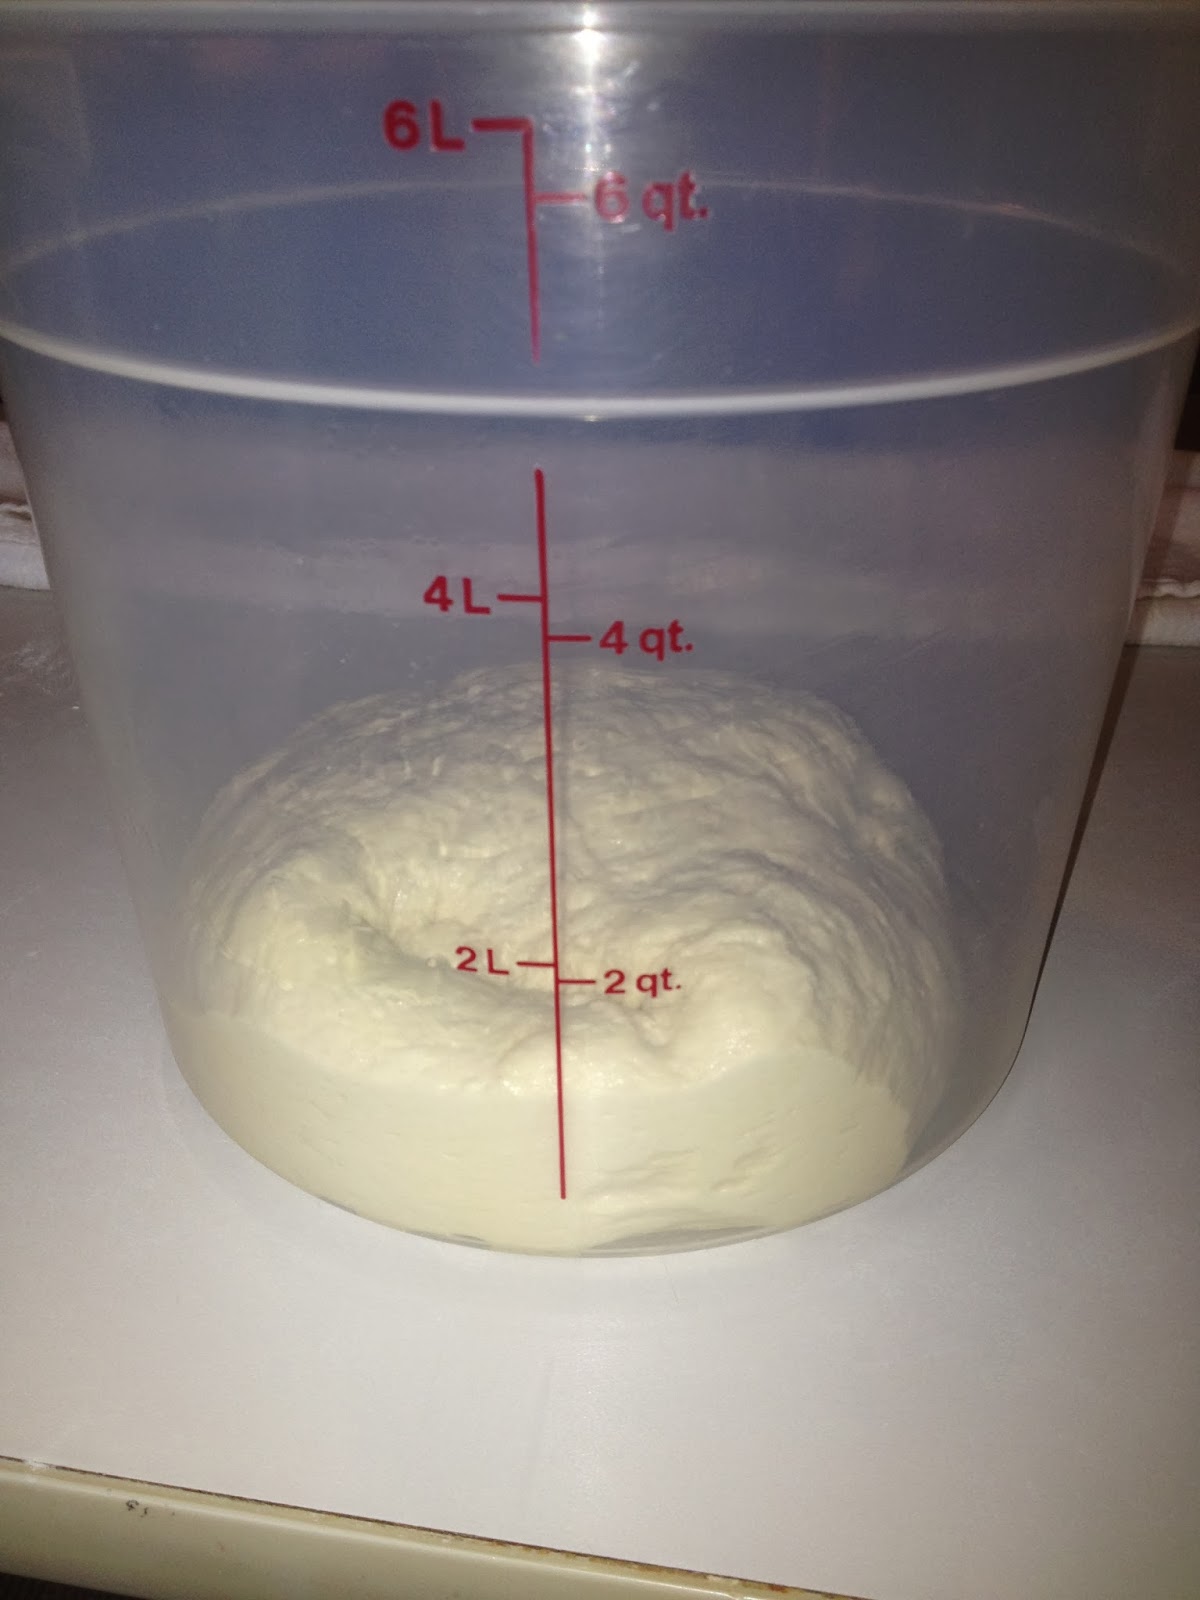
- When you think the dough has been kneaded enough, and is the proper hydration, remove to a rising container that has been lightly coated with extra virgin olive oil.
- Allow to triple in a 40°-50° degree environment (overnight)
 |
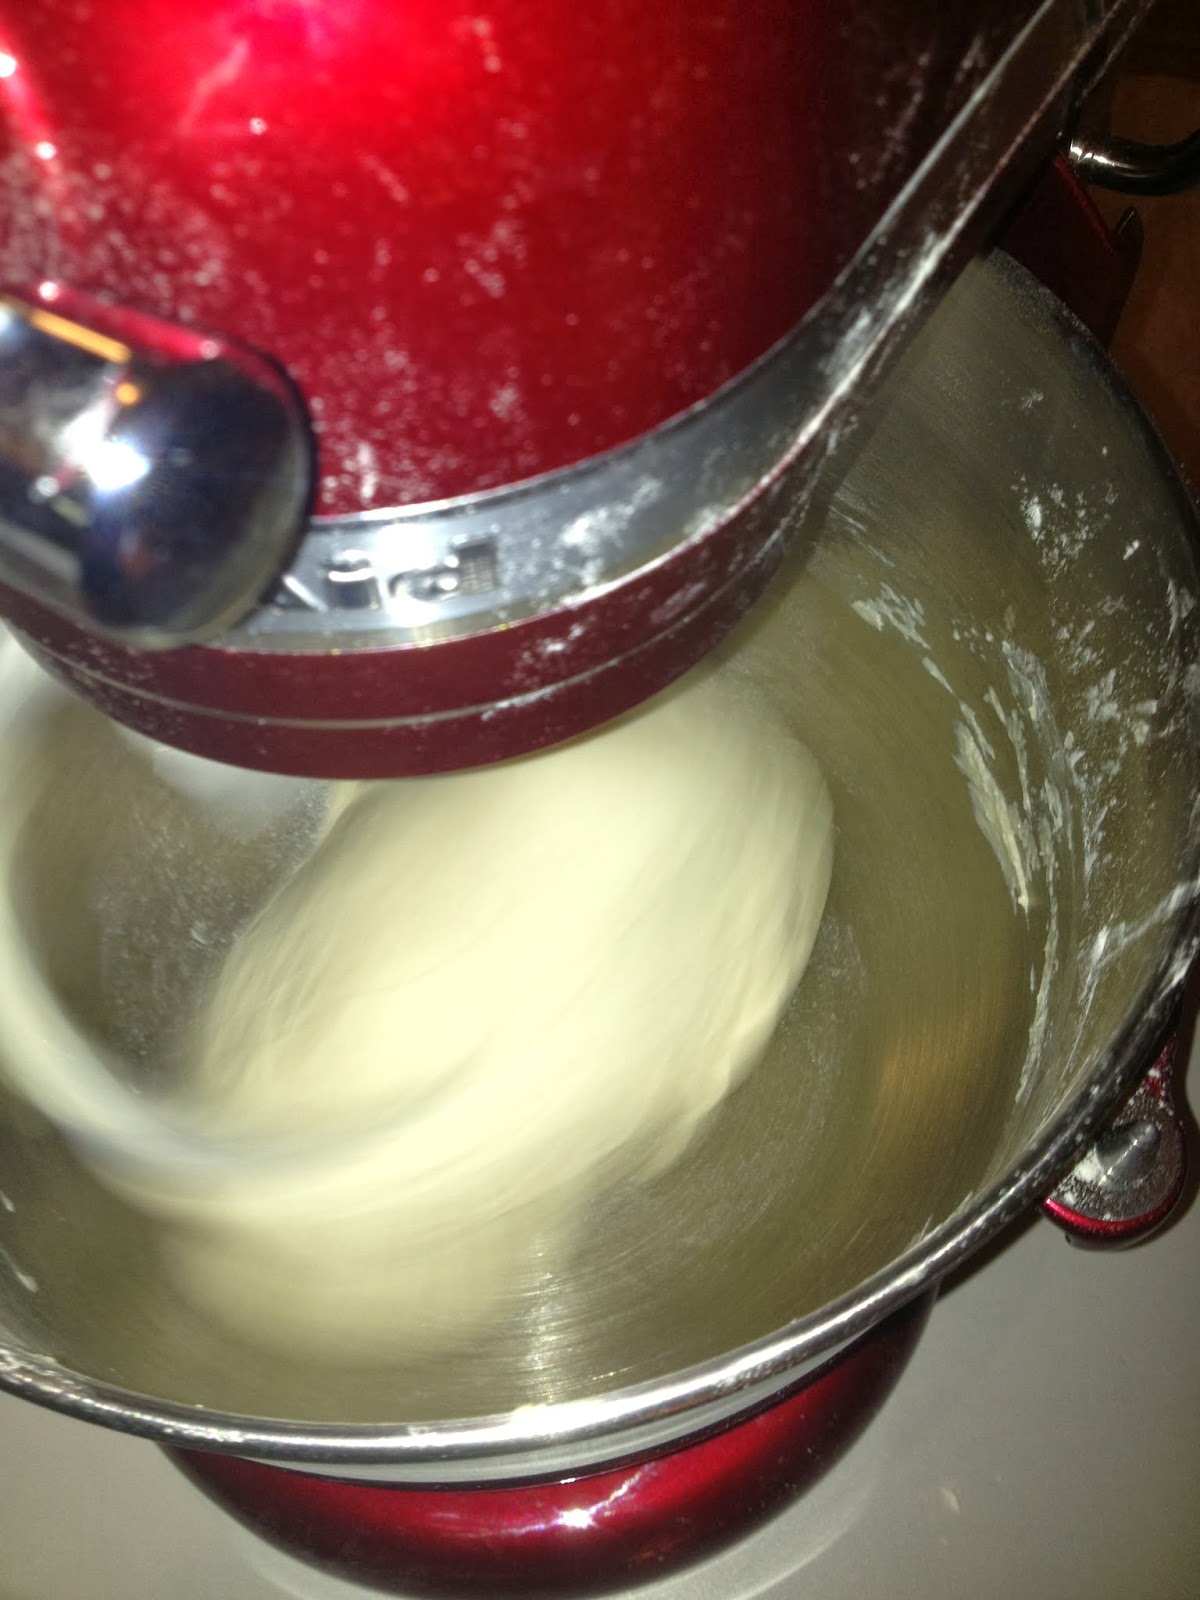
| Sweet looking mixer isn't it |

 |
| Results of an overnight slow rise in 40°. I live with my wife, cat and four dogs in an very large old farmhouse. We do not, can not afford to, nor do we need to heat all the rooms. And it's winter, about 9° outside and snowing. I have many rooms that are cold enough to let my doughs sit in and slowly rise overnight. You can simply use your refrigerator if you like |

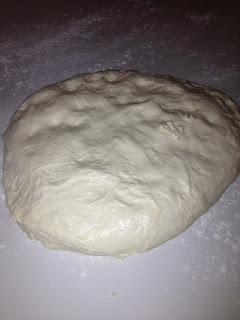
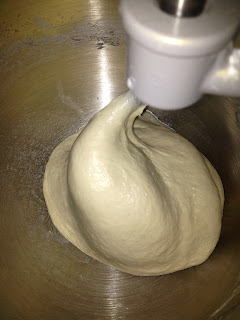
Elongate Gluten:
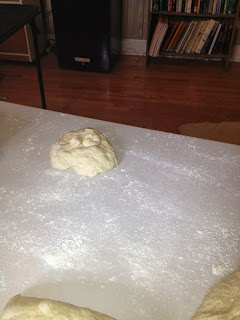
- Lightly flour work area (bench) using as little flour (A.P.) as possible
- Remove dough from rising container onto bench and punch down gently
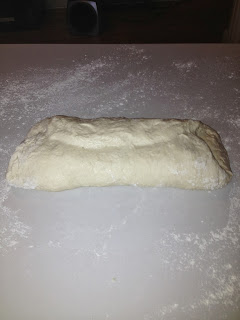
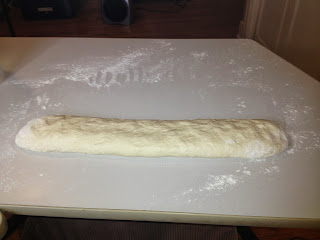
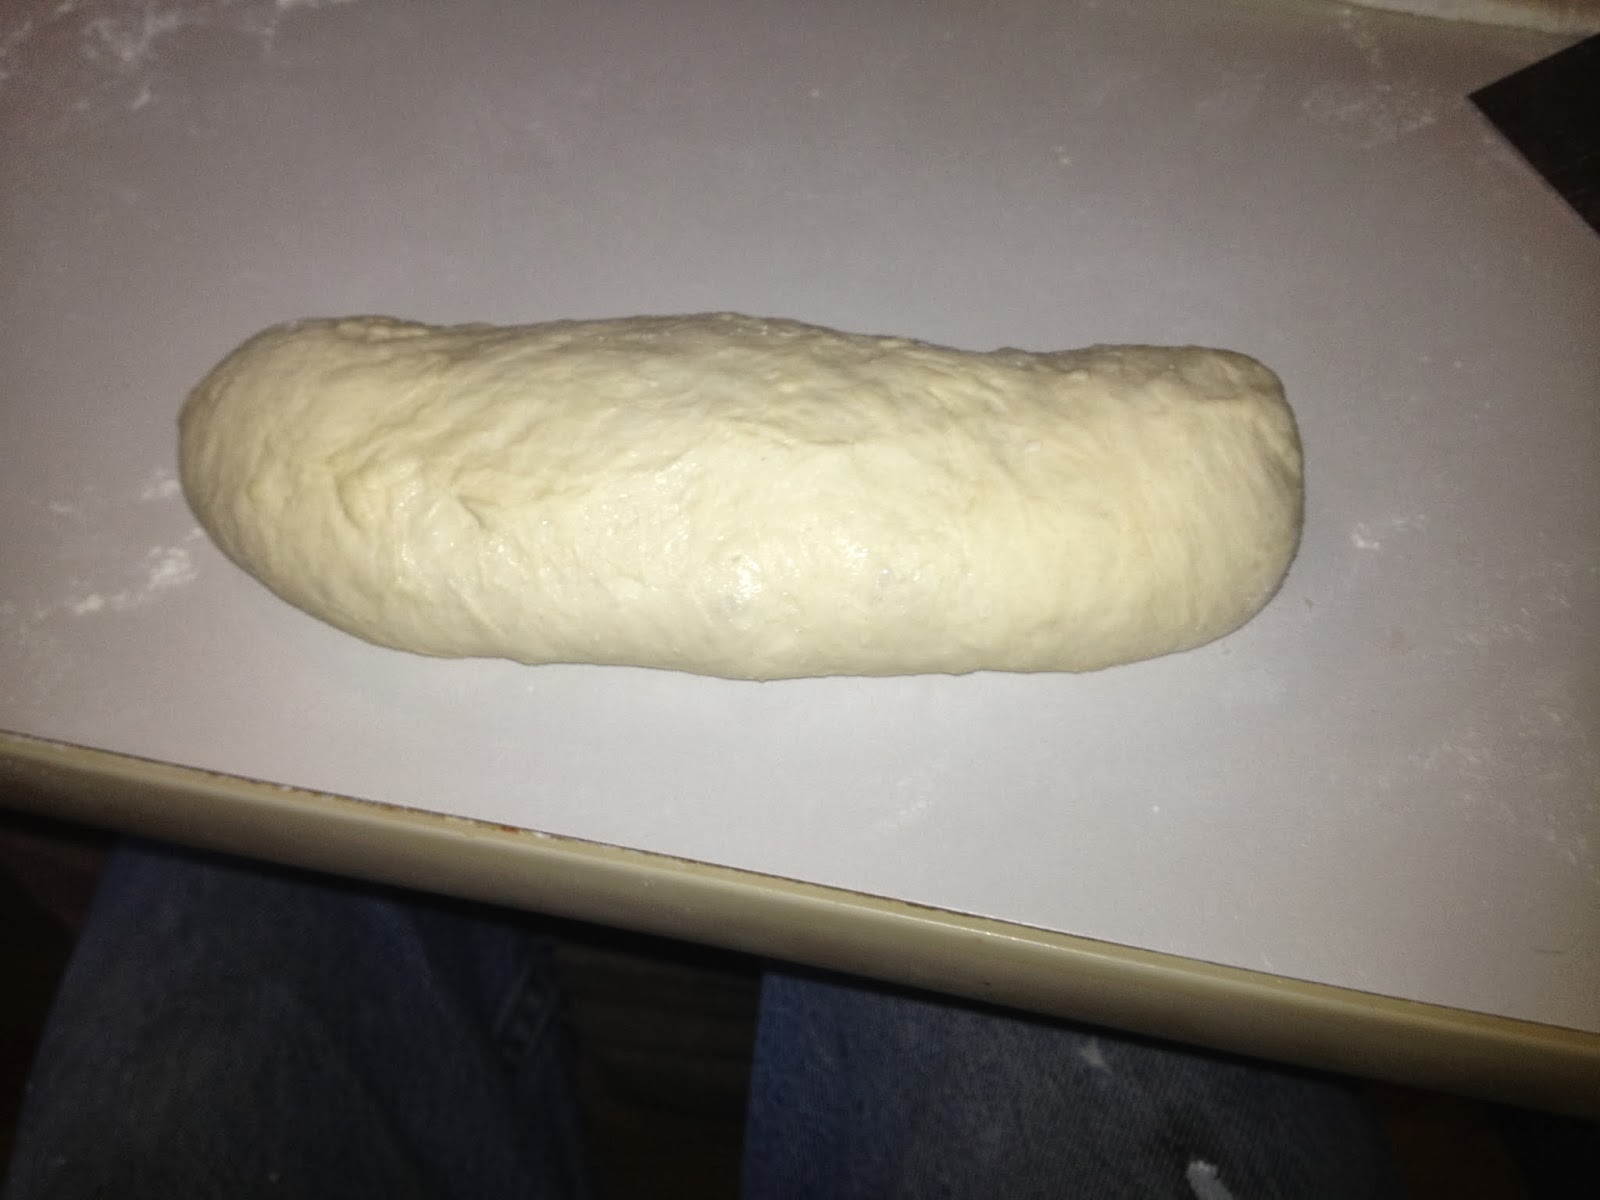
- Manipulate the dough mass into a "long log/Snake Shape"
- Envelope fold - fold 1 third over itself from one end, then fold the other 1 third from the other end over the first third.
- Rotate 90°
- Cover with a kitchen towel, allow to rest a full 15 minutes
- Re-manipulate dough into a "long log/Snake Shape"
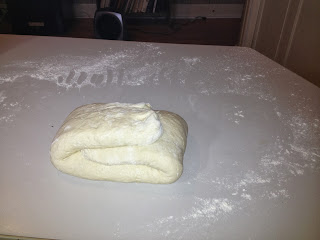
- Envelope fold a second time
- Clean rising container (just wipe it clean with a paper towel and re-coat lightly with extra virgin olive oil)
- Replace dough into rising container


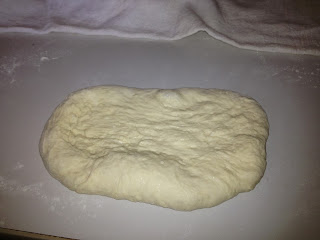
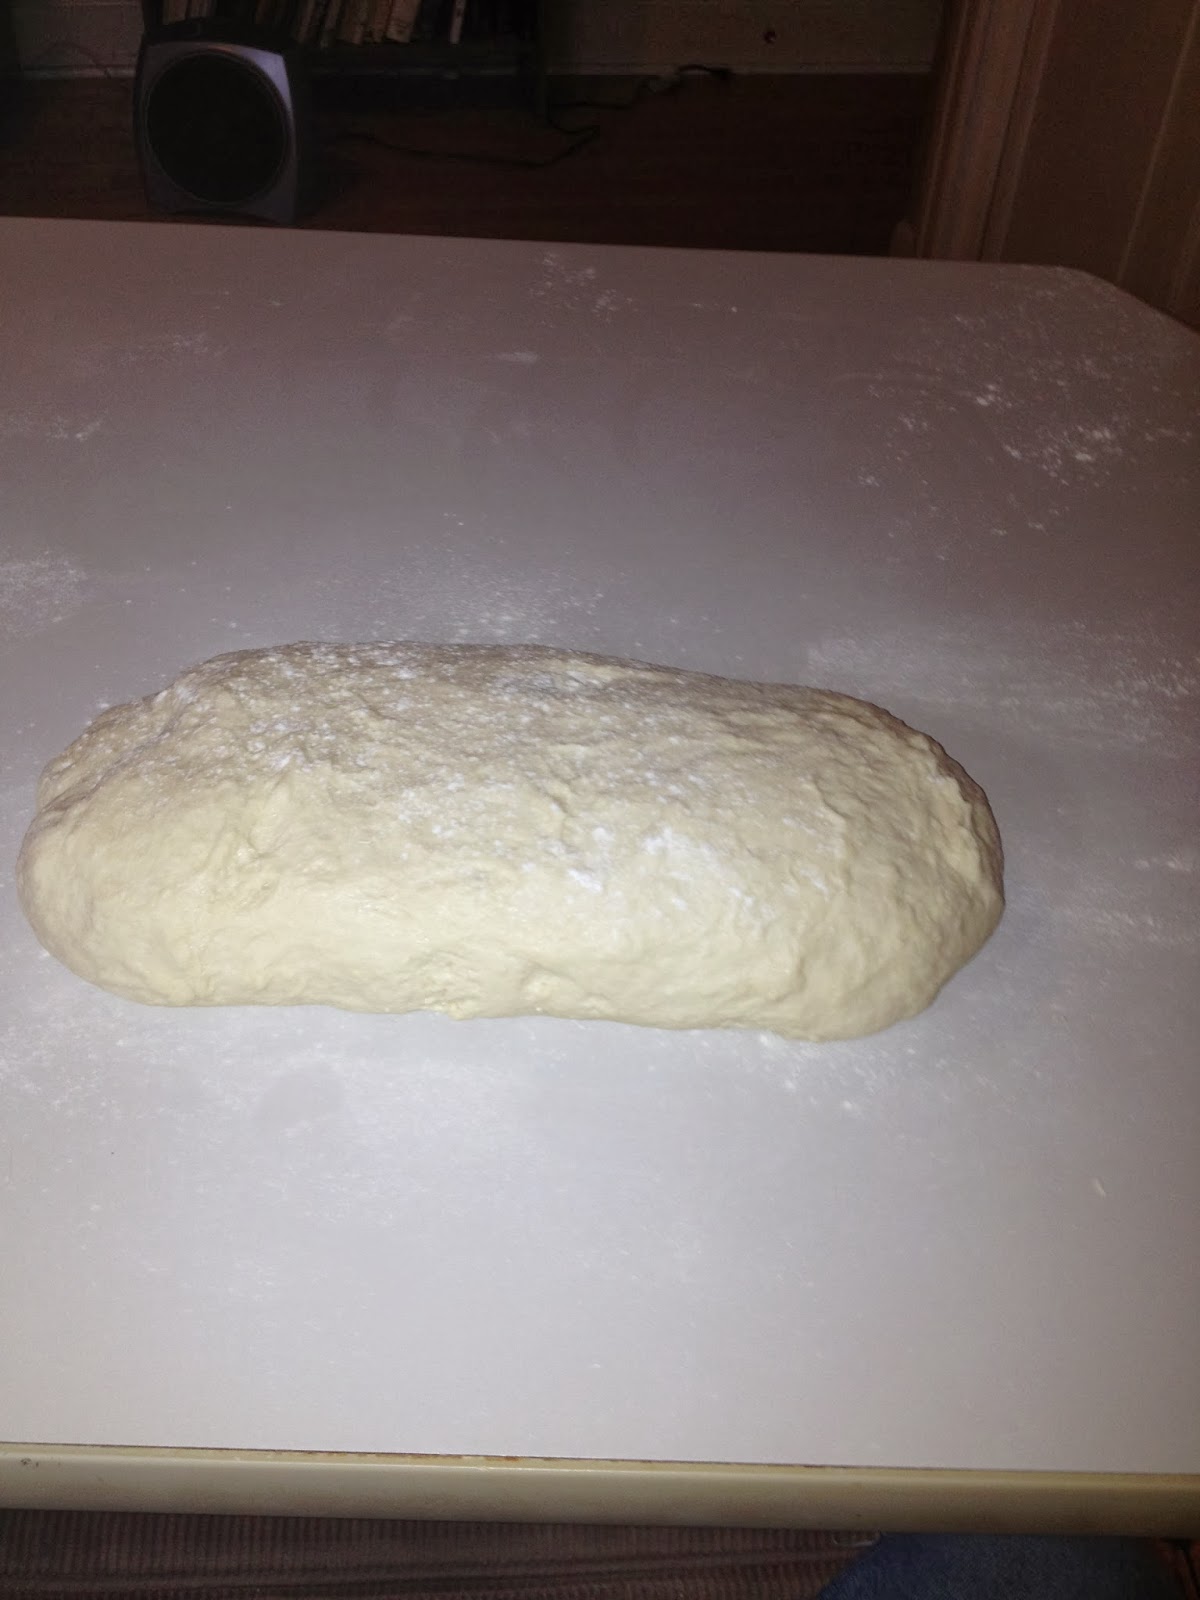 |
| At this point the dough is resistant to manipulation. It needs to rest before I try to fold it again. |
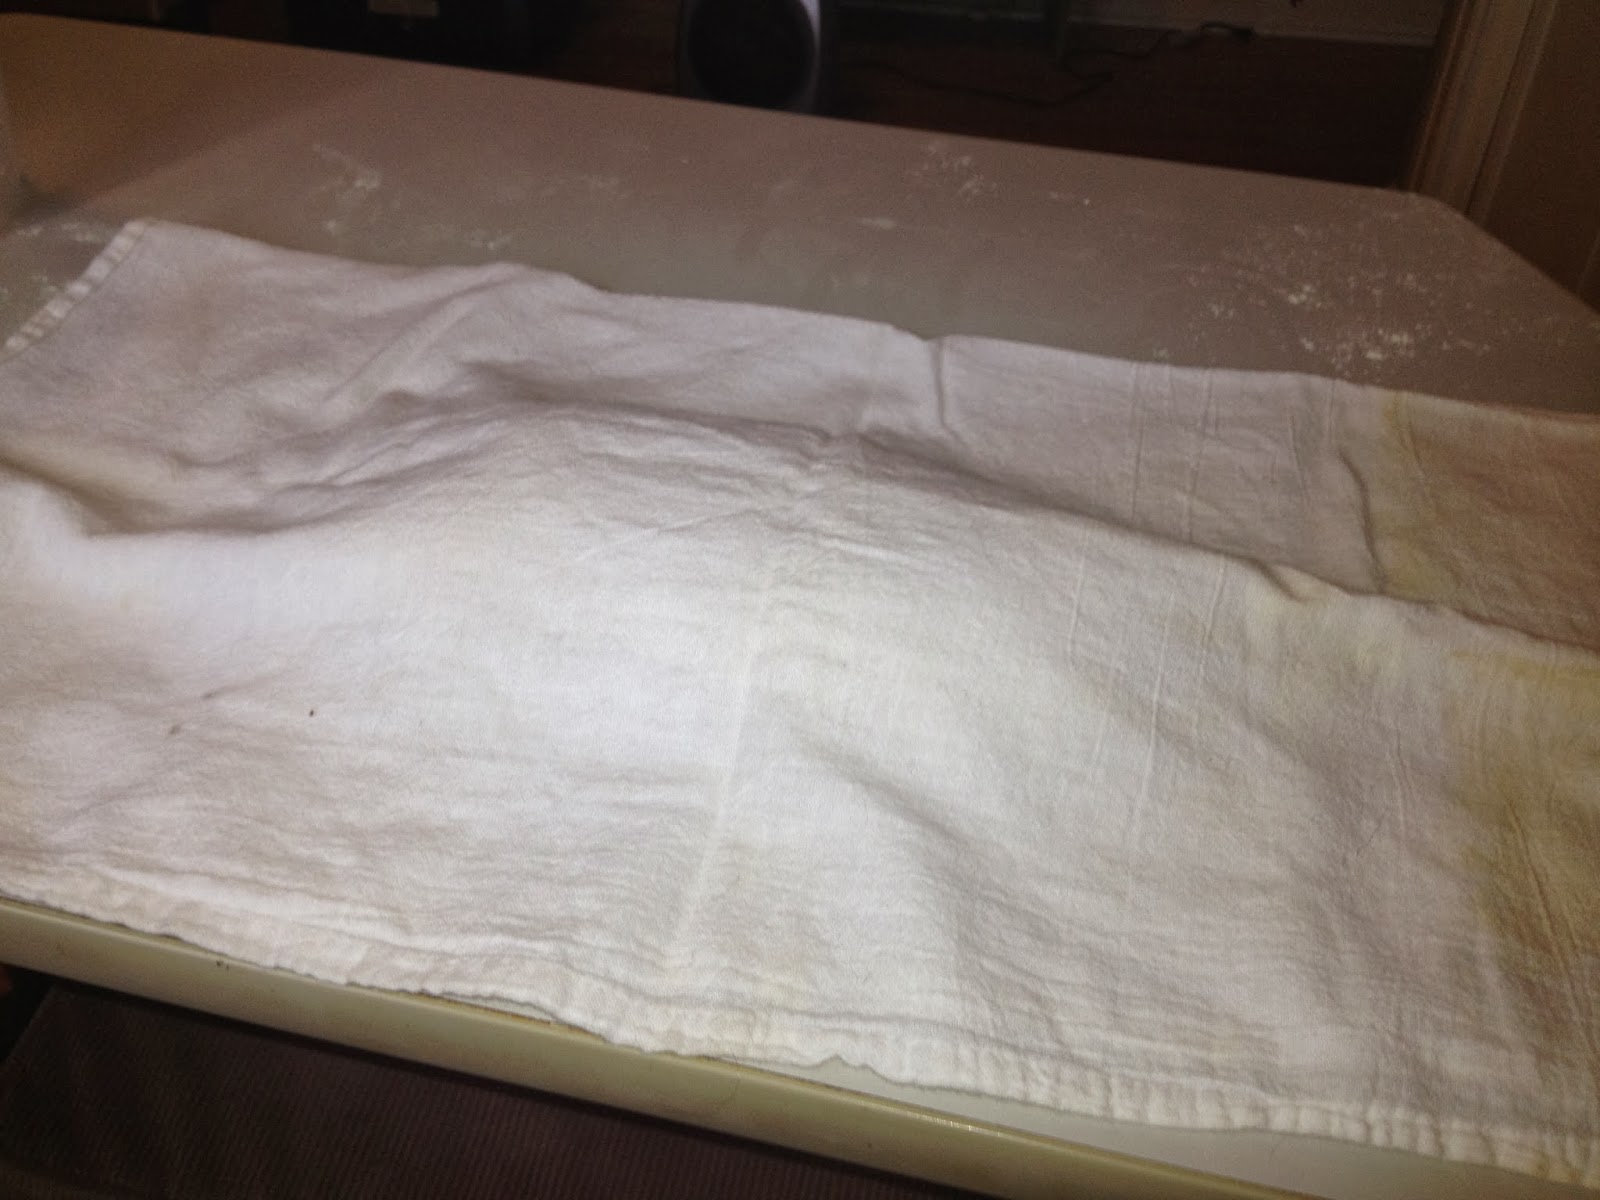 |
| Covered and resting for 15 minutes |
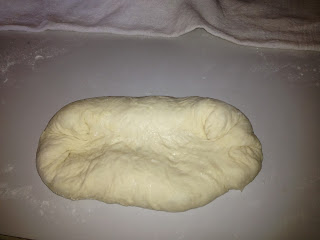
 |
| After 15 minutes of rest dough allowed me to envelope fold again |
 |
| Ready for second rise |
Second Rise:
- Place rising container with dough for second rise into a 70° environment, allow to double in size

Ok, now we shape the actual rolls!
* NOTE: This is your second "Control Point" and again how you do this again will directly affect your end result. Be gentle you do not want to completely deflate your dough at any point during the "shaping" process. In addition, creating surface tension on each roll is paramount.
- Prepare your baking pan, (Do yourself a favor and make sure your pan is at least 70°) lightly dust with cornmeal).

- Prepare your 80°+ temperature/humidity environment

- Gently punch down dough
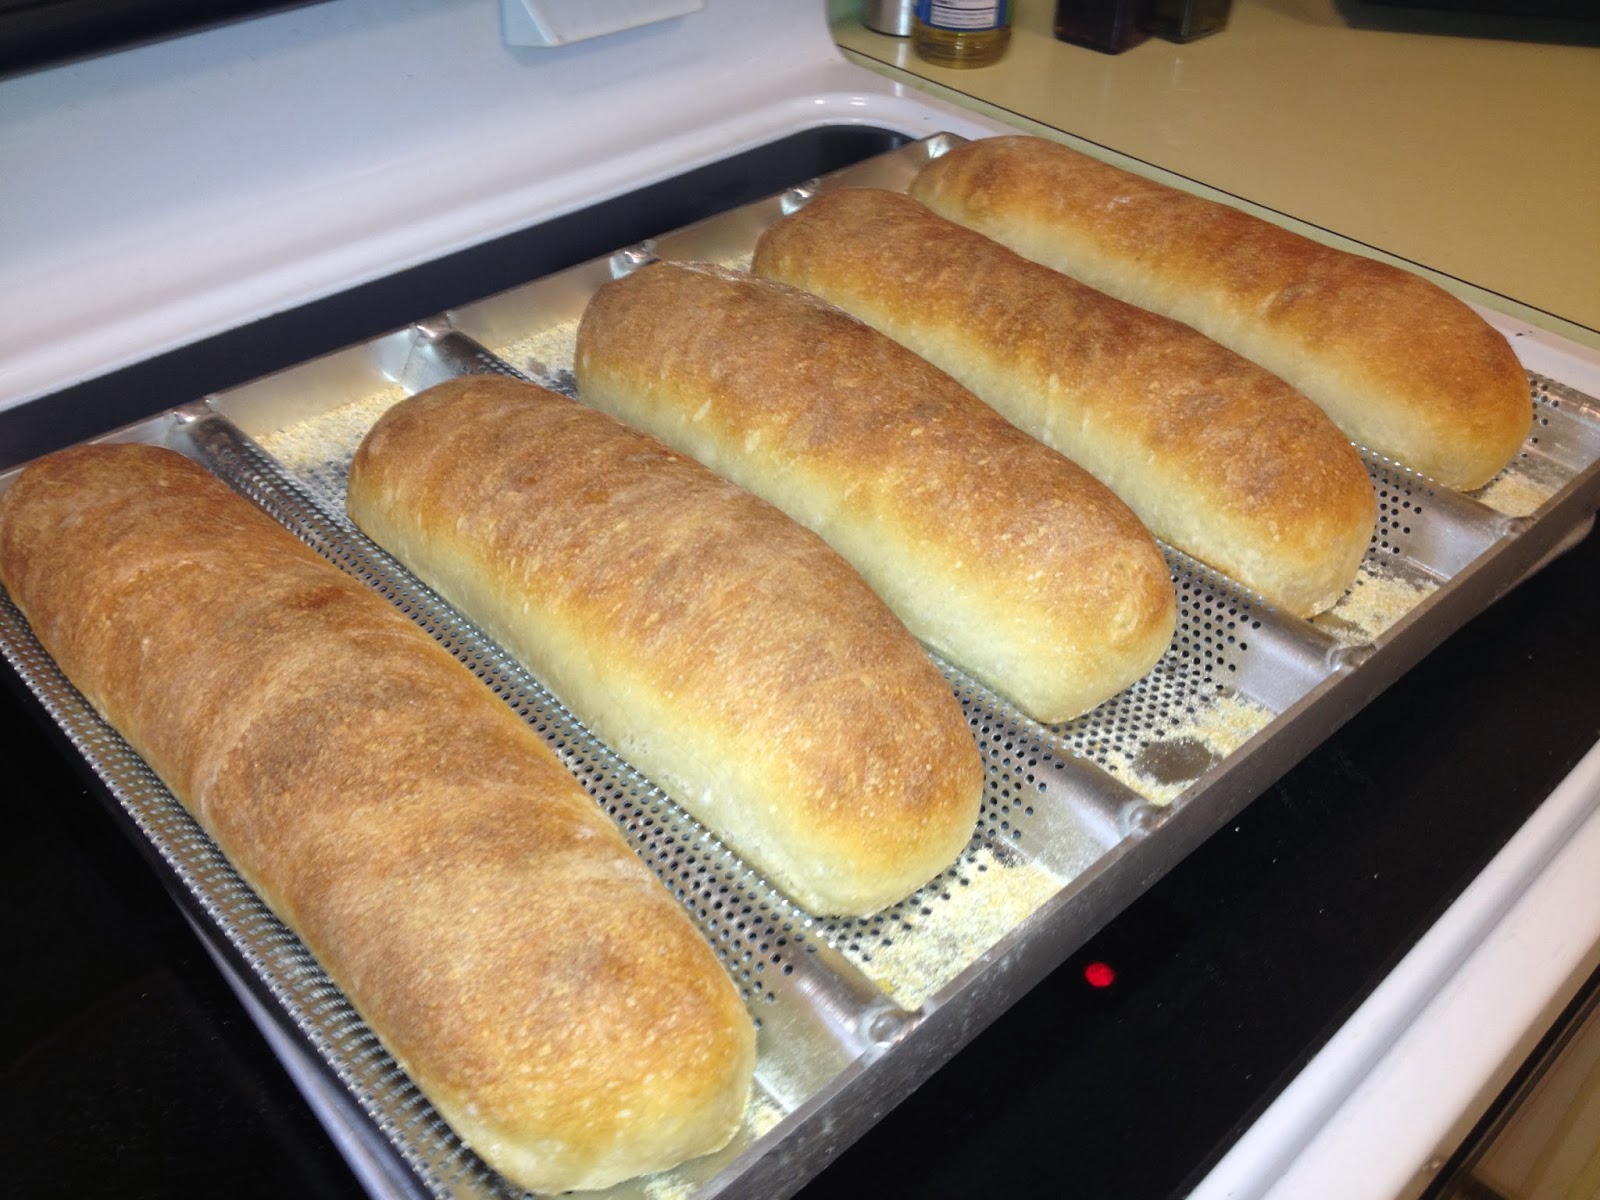
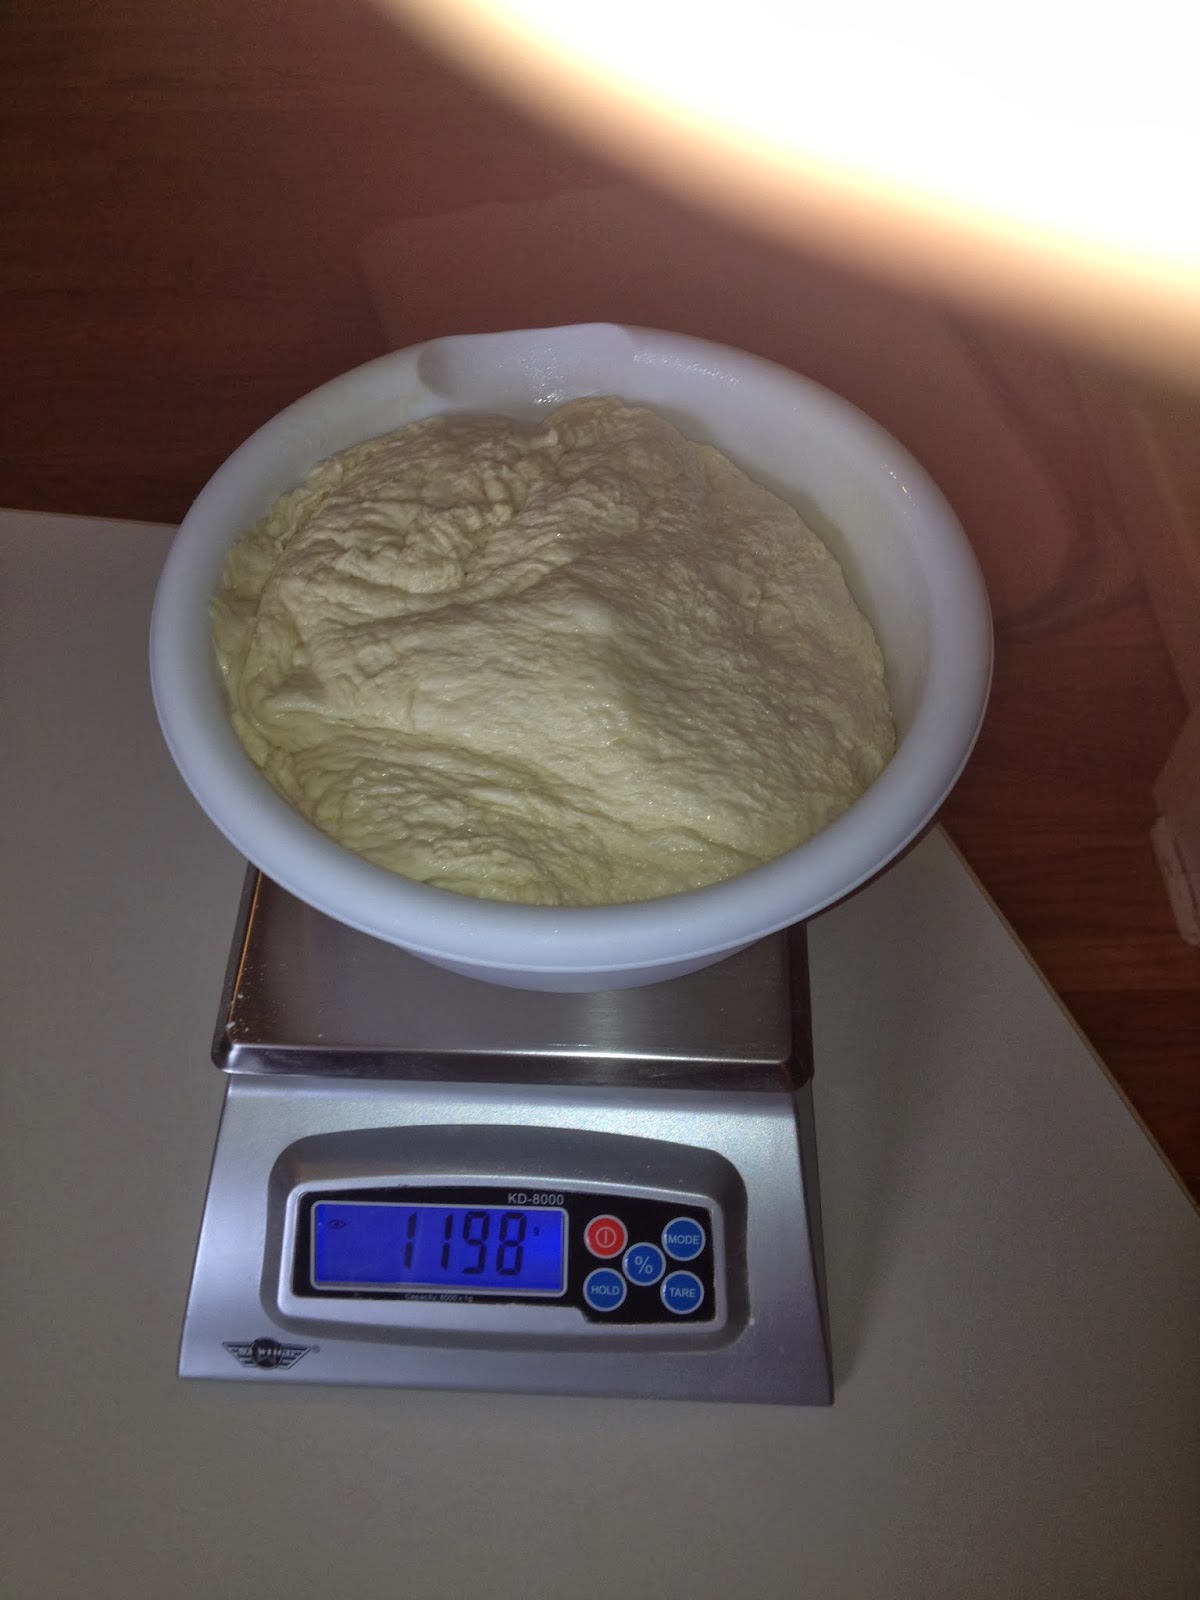
- Scale rolls by weight into 5 equal portions ( I have a pan that takes 5 rolls) covering with a kitchen towel as you go


- Create dough "balls" focusing on creating tension on the surface of the ball. Work quickly and keep them covered.

- Allow them to rest covered for a full 15 minutes
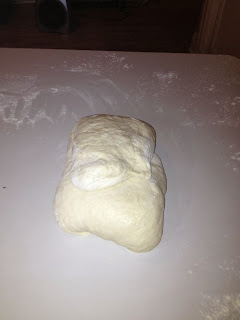
- Gently manipulate each piece into a rough approximation of 4"W x 8"L x 1" thick. The focus here is to work quickly and not deflate the dough more than you have to. Work with as little bench flour as possible

- Allow to rest 10 full minutes

- Gently manipulate each piece into a more refined 4"W x 8"L x 1" thick form. Then fold top third down over to about 1 third of the way down the dough rectangle, creating surface tension all the while. It dosn't and won't be alot of tension, it won't be "tight". But you don't need much surface tension. Just try to introduce as much tension to the roll as you can while still being gentle. Pinch seam.


- Fold each end into itself

- Continue and fold 2nd third down over itself, pinch seams

- Continue and fold last 3rd down over itself into the actual torpedo roll shape, pinch any remaining seams
It's very important that throughout this whole shaping procedure, you are trying to create surface tension on the dough while at the same time not deflate it too much.


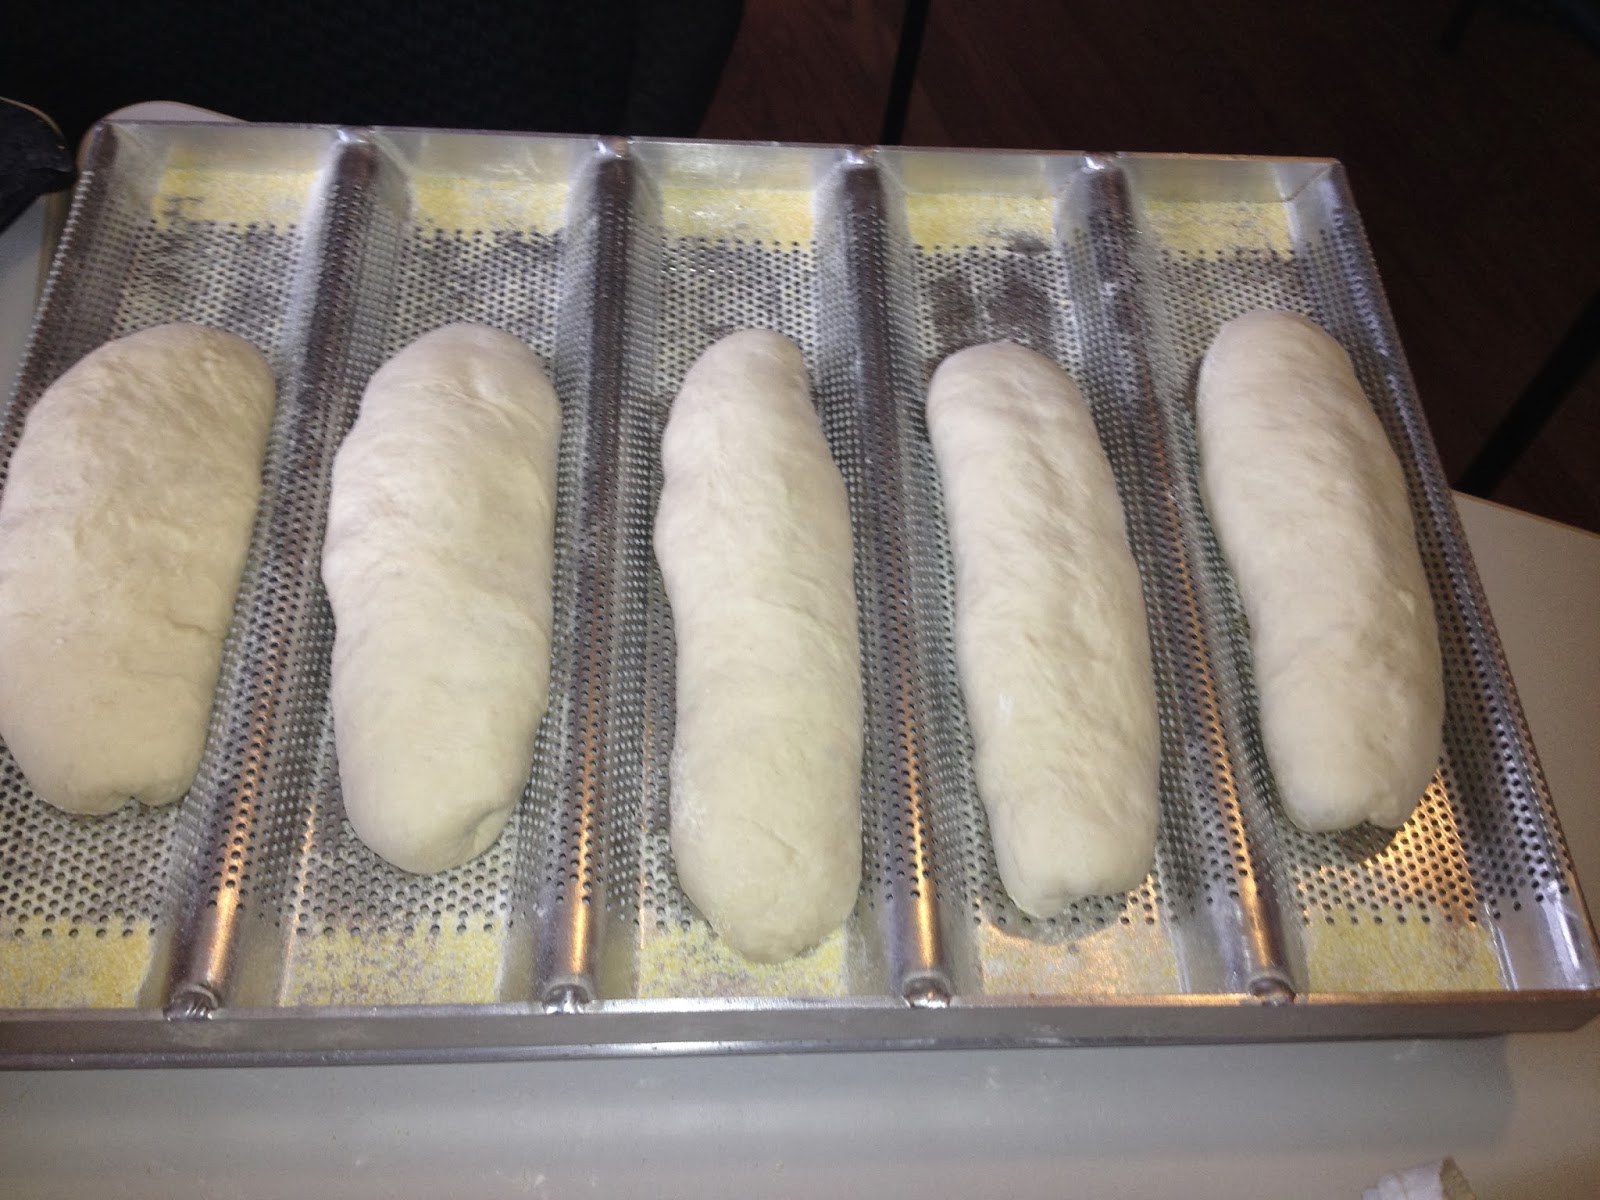 |
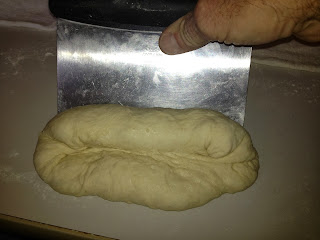
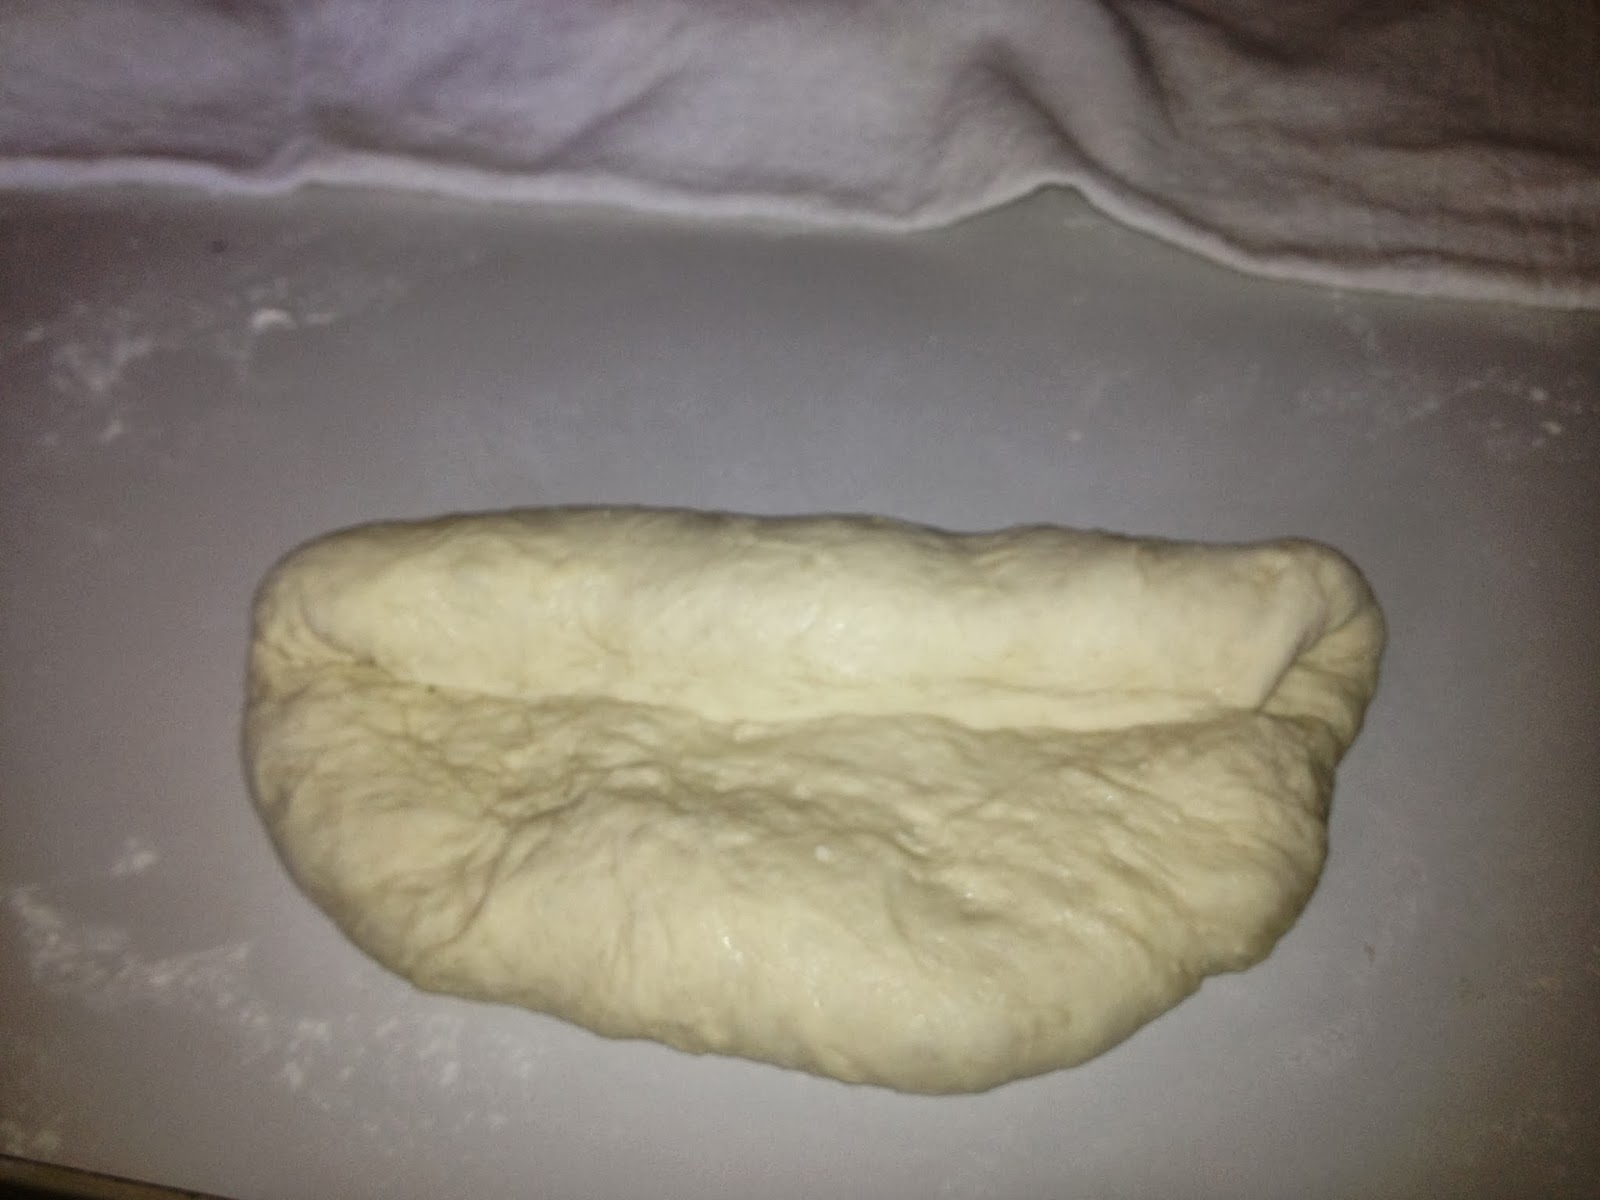
| I still need a lot of practice rolling to be able to produce rolls that are consistent in shape. |
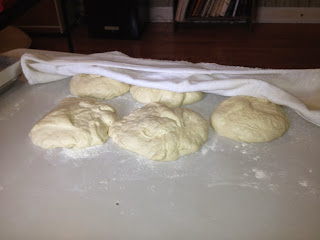
 |
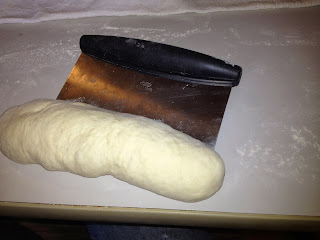
| Ready for my "proofing bathroom" environment |
* NOTE: This is the third point at which you can exert control. The time you allow for this rise is your third and most important "Control Point" and again how you do this directly affects your end result
- You must create the following environment to raise your shaped rolls in...without it you're lost, without the humidity they will not rise properly.
- 80°+ temperature
- 80° humidity
I struggled with this for years. I read that I needed the humidity at this point but didn't know how to produce it in a way that I could place my half sheet pan size pans into. The temperature wasn't a problem, I could jack the heat up in any of my rooms to 80°. It was the humidity that I struggled to get. And getting any of the rooms in my home 80° for hours at a time with my electric baseboard heat was expensive. I tried to ignore the cost, I jacked that heat up for every batch as my wife screamed about the cost and got just ok results.I monitored my room with a temp/humidity sensor and I knew all those times that I had the proper temperature, I never realised humidity above 50ish% even in the summer. I thought about a proof box but they are expensive and I was suspicious that my pans wouldn't fit into them. And with all this work I was doing to perfect my recipe, the last thing I wanted to do was to invent something. Others are more inclined, I wasn't.
- Finally the other day I had an epiphany. It is winter, cold in my house and I was taking a shower in my small downstairs bathroom because my normal larger upstairs bathroom was on the fritz. I was in baking mode...in between rises...and I had a space heater going in there. I got out of the shower and realized....my god it's hot in here...my god it's steamy in here!
And the light bulb went on, that bathroom is small, easy to heat to 80°, especially with the addition of a space heater (I have a cold house) and running the shower for short hot bursts will produce the required humidity....Eureka! Problem solved. I have since placed two batches of this roll recipe into my new found "Proofing Bathroom" and have realised wonderful results. More or less (see below)
Necessity is the mother of invention. And yes I clean the bathroom until it is spotless before I use it to proof bread.
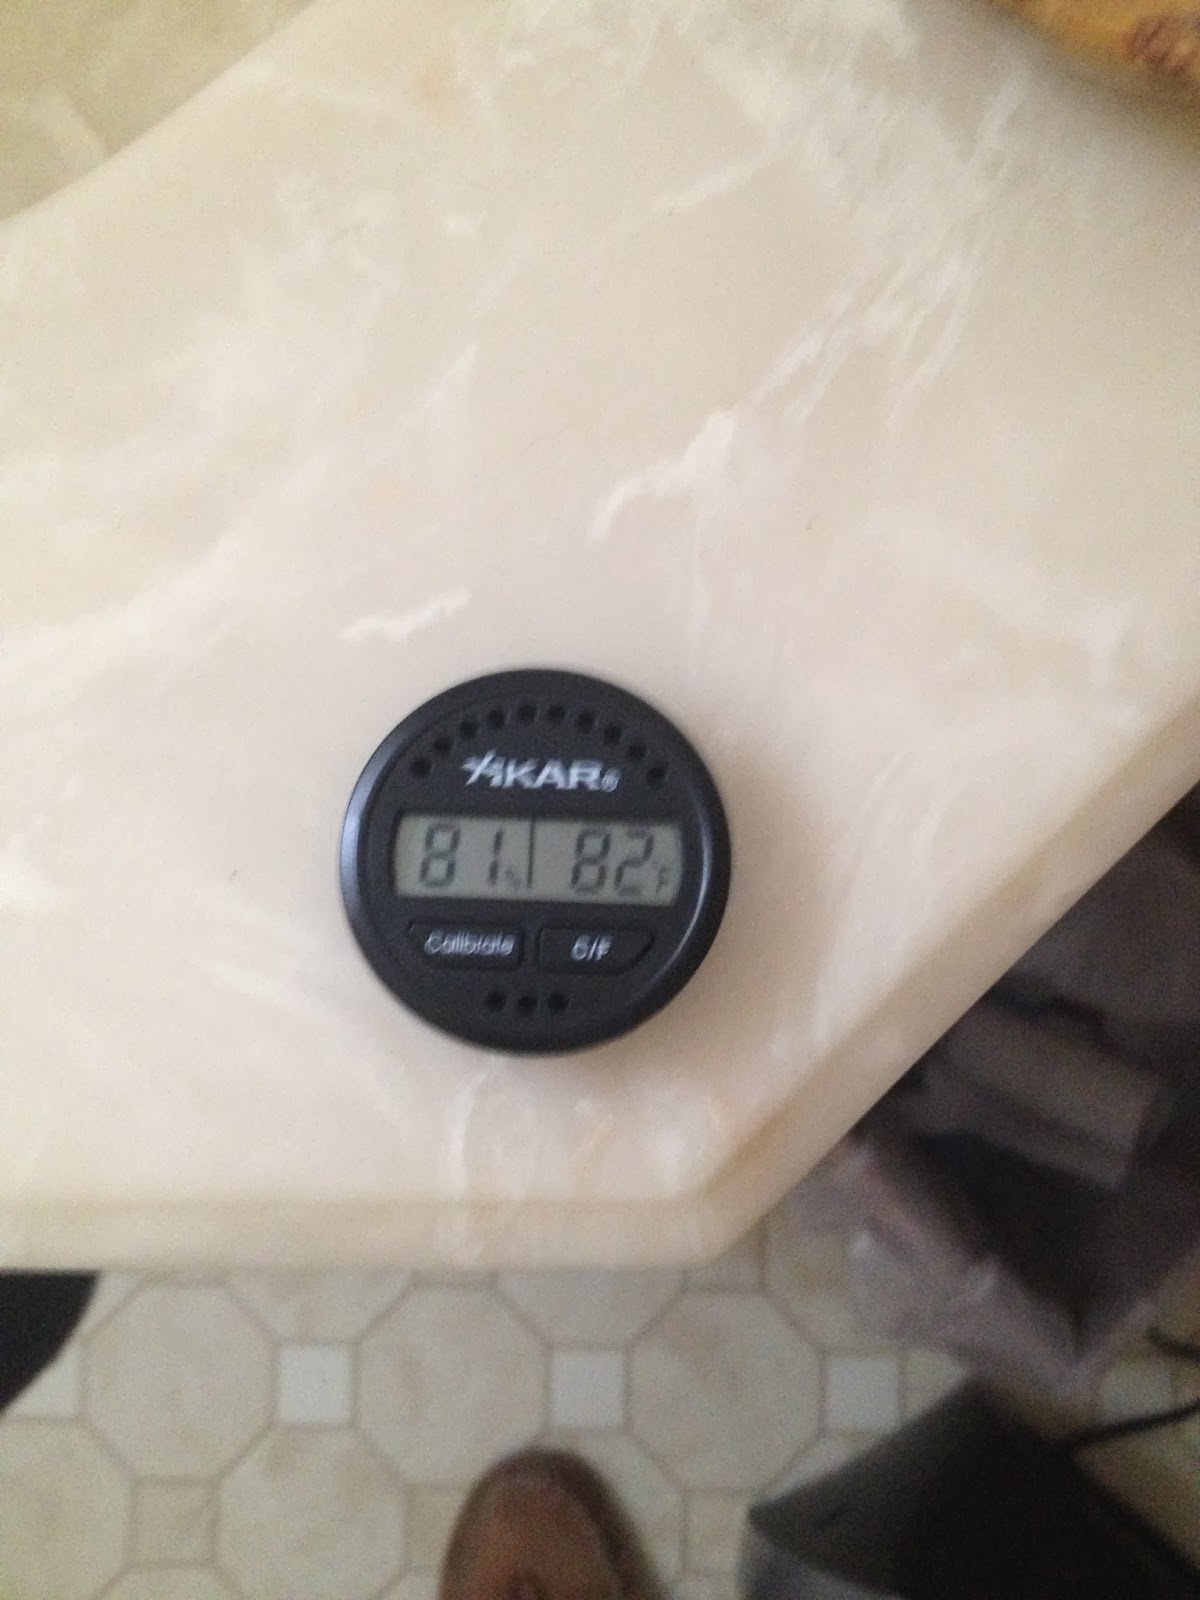 |
| Hygrometer tells me I have the proper environment |
- Proof rolls covered with a kitchen towel (not plastic wrap, they need to "breathe") for...
- Well this is a very important moment in this recipe, and the time that these need to proof are dependent on exactly how large you scaled them. For instance one large roll of this recipe will have a different proofing time than my five smaller rolls. So just be cognisant of that. I break this recipe down into five torpedo rolls and I proofed my pan of rolls exactly 1 hour. No more, no less. I did not score them with a razor although I wanted to, but was afraid to introduce the opportunity for them to "fall". That happened to me once already when I proofed them at my first bathroom attempt to 90 minutes. So for my second attempt I proofed them for only 60 minutes and did not try to score them. I make the same recipe, that results in the same amount of dough, that I scale to equal portions each time. I proof in the same humidity and temperature for the same amount of time each time. Hopefully this will provide me with a consistent end product batch after batch.
- Thirty minutes into the roll proofing stage prepare your oven. Mine is electric unfortunately . I have a rectangular pizza stone. I set the pizza stone as close to the middle of the oven as possible. I place a small aluminum pie pan directly on the bottom of the oven up against the heating element. I jack the temperature up to as far as it will go. Mine goes to 550°. I want to bake at 450°, so I am proactively preparing for the loss of heat when opening of the oven door to get my rolls in and adding steam. Also soak a kitchen towel with hot water to place in the steam pan. Also prepare a water spritz bottle with warm water.
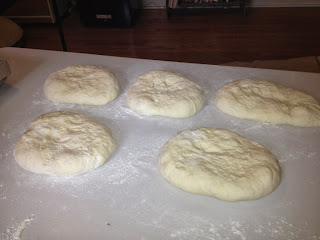
 |
| Almost done proofing |
- Add rolls to Oven
- As quickly transfer your pan of rolls from your proofing area to your oven area. Leave them covered when doing this to keep drafts from causing them to fall. Do not bump or otherwise jar them either. At this point they are extremely fragile.
- Uncover the rolls, spritz lightly with water over entire top of rolls and place directly on the pizza stone

- As quickly as possible place soaked towel in steam pan, spritz the sides of your oven with water from the spray bottle
 |
| Not a good picture but you can still see the steam pan with the soaked towel |
- Close oven door, set timer to 15 minutes (This timer setting is also dependent on the size of your rolls)
- More importantly DO NOT open your oven door again until your rolls have reached medium brown crust
- Allow oven to remain at 550° for two minutes. Then lower to 450°
- When rolls are medium brown (for me it's after about 10 minutes) turn off oven and open your oven door for 15 full seconds
- Close your oven door and allow rolls to remain in oven for the last 5 minutes
- Rolls are done, remove to cooling rack, resist the temptation to eat until completely cool. Optimum eating quality is after 4 hours when the crust has had time to cure.


Give it a try, let me know how it comes out for you. It's really not a that difficult. Comments welcome.
I watched this professional baker in France shape and slash her dough BEFORE the final rise and by the time I'd watched all the clips, my slashing fear was gone! It works great and if it's good enough for the French with their own bread. . . . . As for a good place to warm raise dough, I too struggled but I have come up with perfection. I paid $3 for a small lamp at a junk shop, cleaned it and put a 40 watt INCANDESCENT bulb in it----has to be the old kind that produces heat. I put that in my cold oven with a pan of hot water in the bottom and put my bread in to rise-------perfection! Very, very happy bread dough. :) When the bread is almost ready, I take it out and preheat my oven with the baking stone AND an old cast iron skillet on a lower shelf. When it's hot enough, I spritz my bread with water, put it on the hot baking stone and quickly add a cup and a half of hot water to the iron skillet and shut the door. Perfect! Crusty on the outside, soft and airy on the inside and no extra expense. I suggest that anyone who ever struggled with slashing watch all these clips of the French baker shaping and slashing her dough. I am SO comfortable with my own dough these days. :) http://techno.boulangerie.free.fr/09-ReussirLeCAP/03-lesFormesEnVideo.html
ReplyDeletethank you so much for your comment. In 5 years that this blog has been in existence your the only one who's taken the time to comment. I will look at the video link you suggested. Thanks again and happy baking...
DeleteIf you don't want to type out that long address for the French baker above, you can do a Pinterest search for "Formes de pains" and it comes right up. Good baking. :)
ReplyDeleteHi, I read your above comment and decided to write. I was looking for someone, anyone that could guide me in sub sandwiches. I just bought the same pans that you have, no point making bread in them if I don't know the gram size of the dough. I'm going to read over your recipe again tomorrow and make some subs. Thank you, for this blog post!
ReplyDelete