|
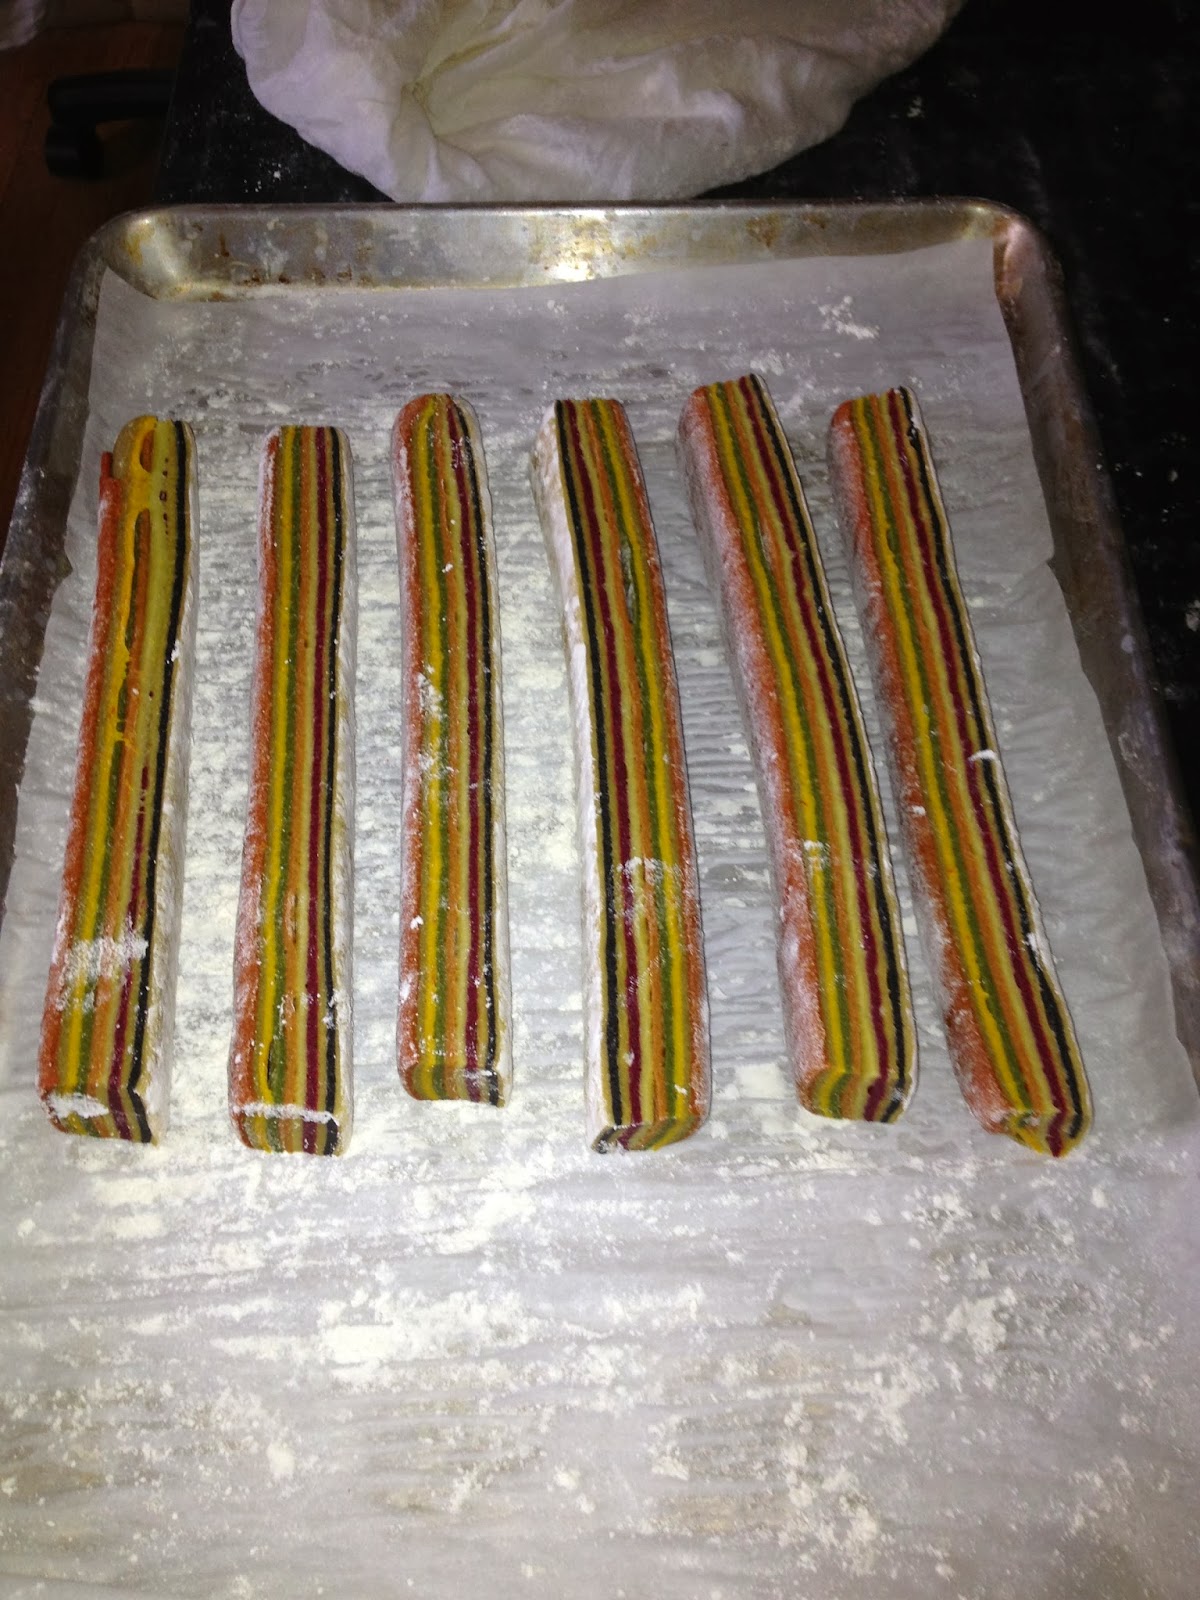
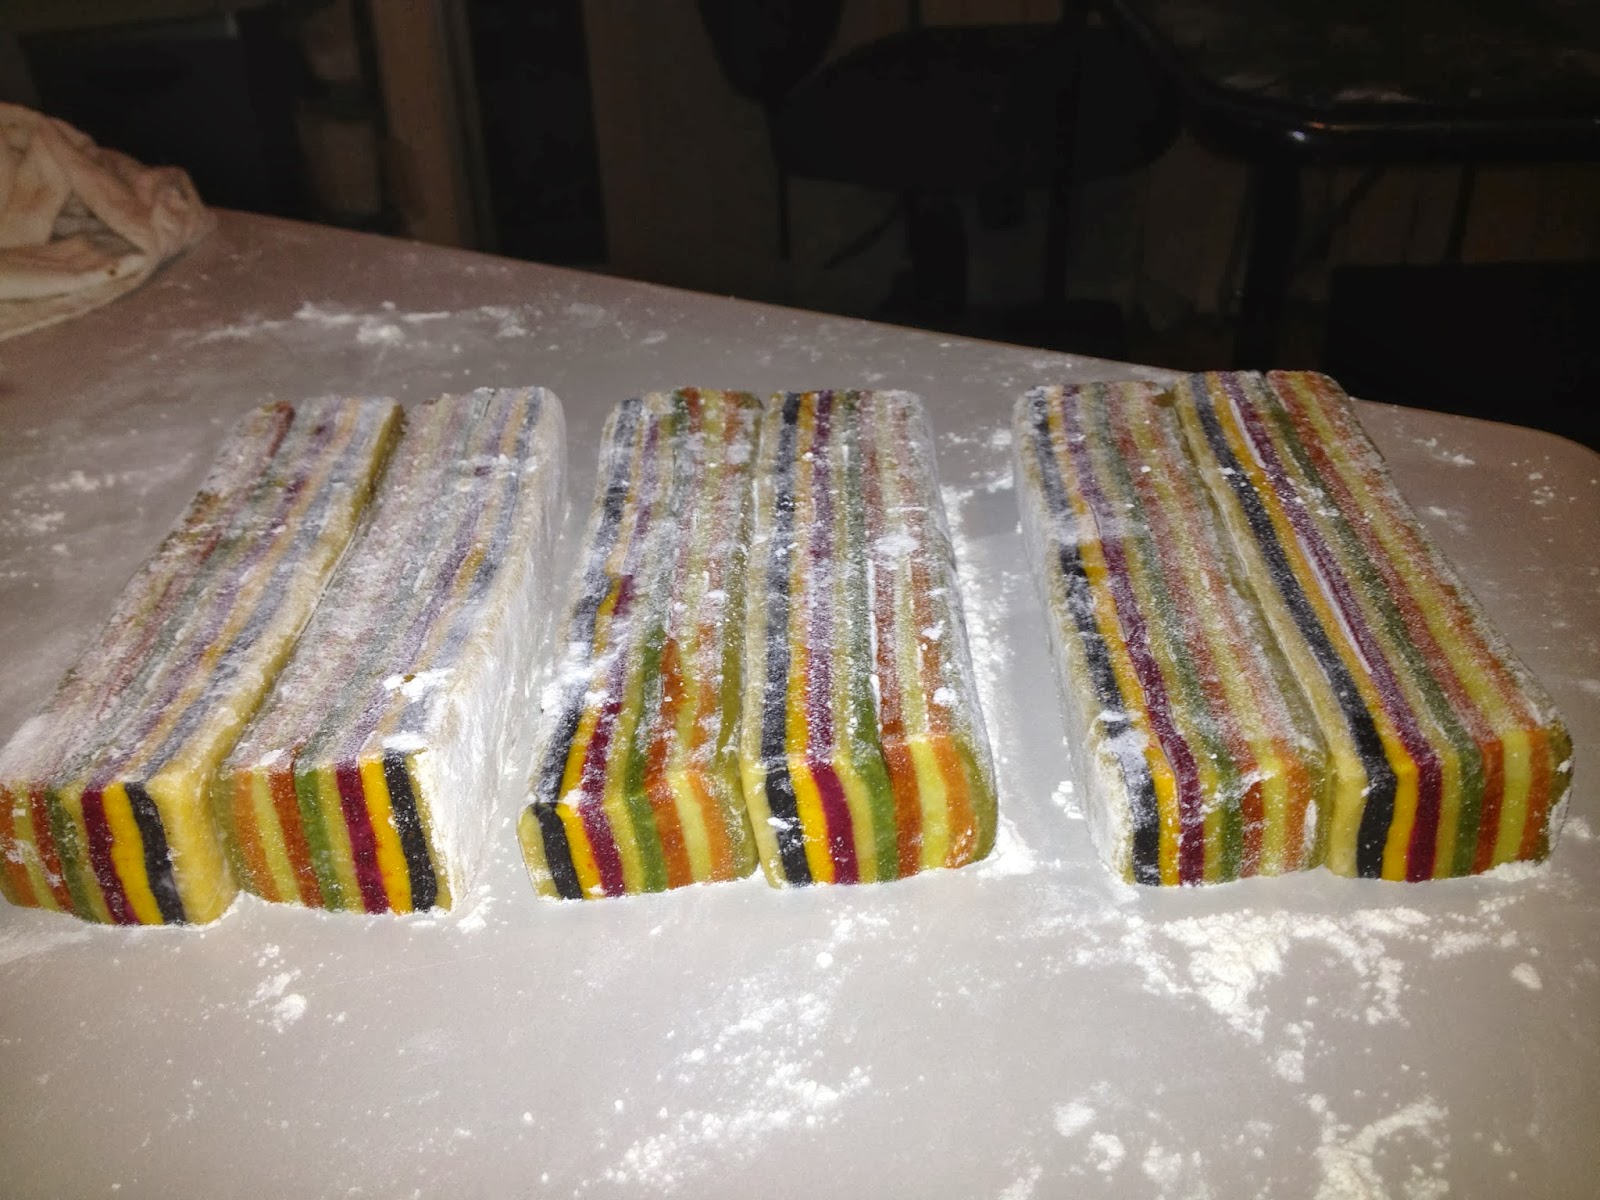
| More work than you can possibly imagine to end up with this |
 |
| But to me, totally worth the resulting satisfaction |
My goal here is to make two types of multi-colored ravioli:
- Ravioli filled with Roast Duck and Morel Duxelle
- Ravioli filled with Crawfish and Porcini Mushrooms
Roast Duck and Morel Duxelle:
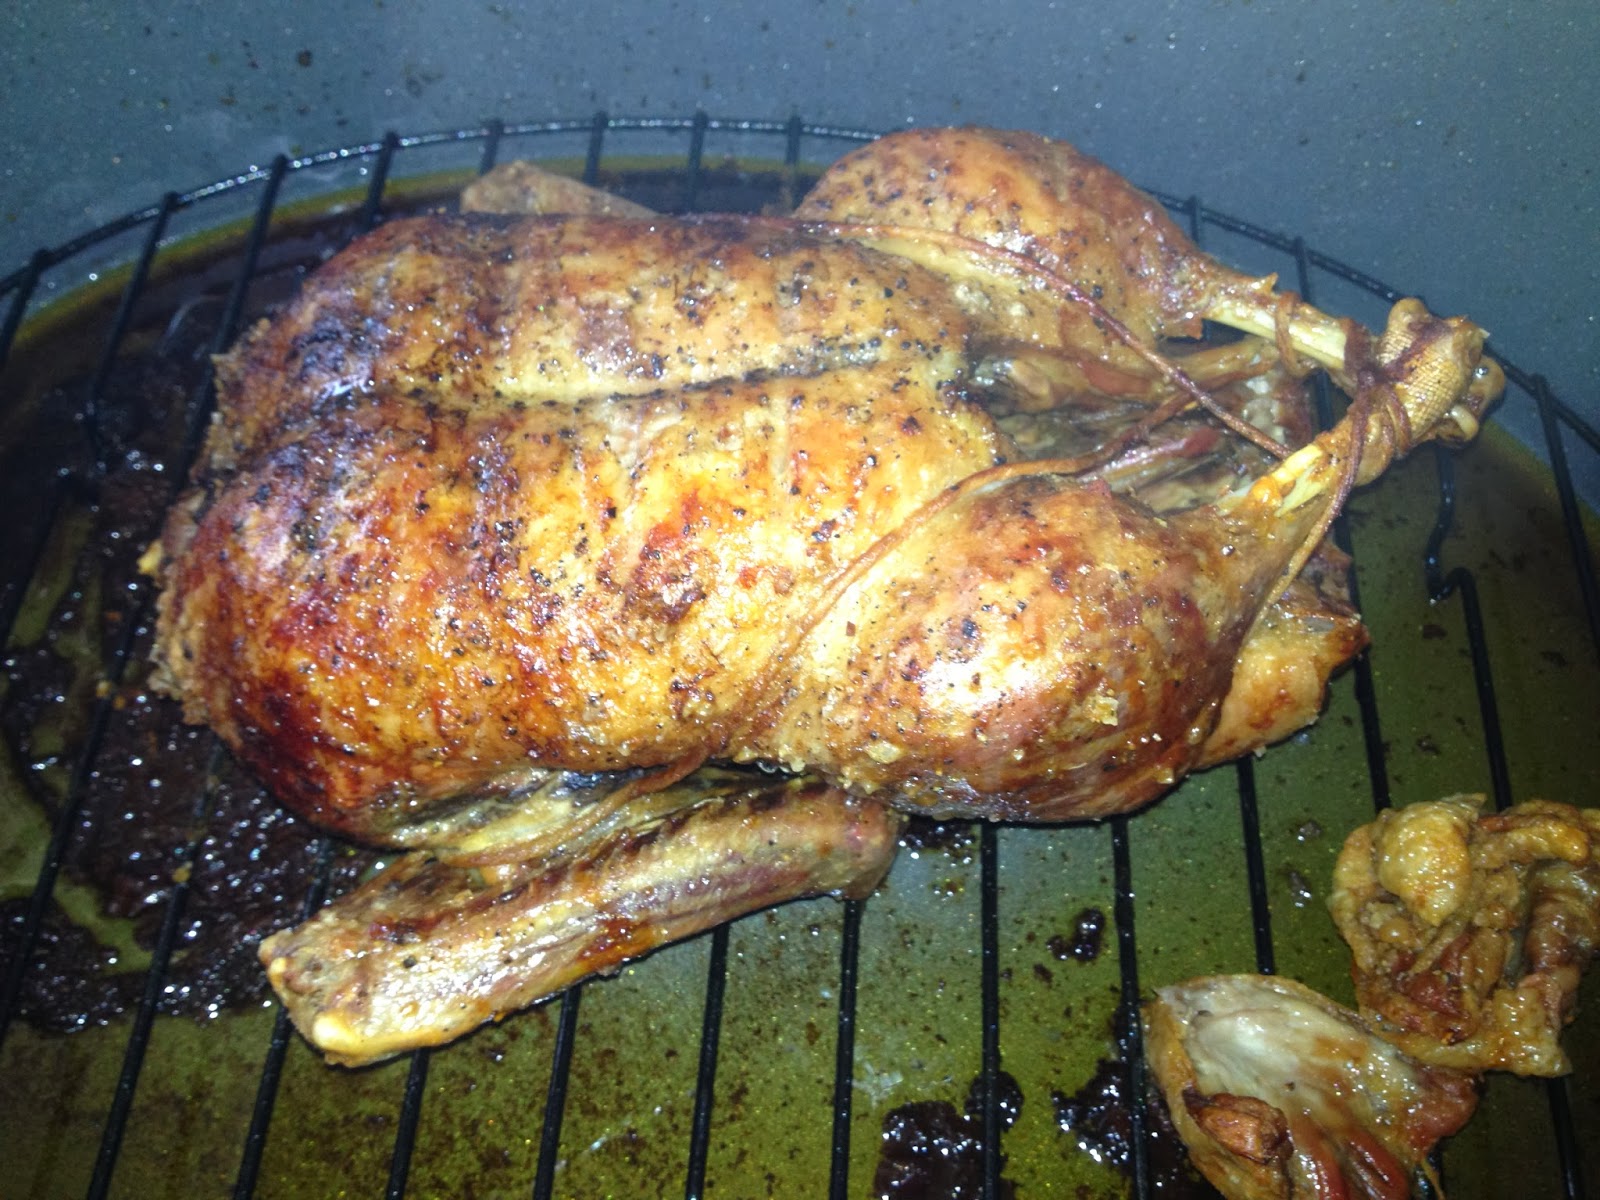
For this recipe, one must first...roast a duck.
Roasted Duck:
- Purchase a whole duck at your local grocery, usually sold as a frozen product
- Defrost, remove neck, gizzard, heart and liver from cavity. Freeze all except liver for future stock ingredients. Reserve liver to use in Liver Pâté recipe
- Trim off excess fat, reserve
- Truss
- Place in roaster on a rack to keep duck off bottom of roaster. Place excess fat on top of rack as well


- Pre-heat oven to 300°
- Roast uncovered, breast up for 1 hour
- Flip, breast side down for 1 hour
- Flip, breast side up for 1 hour
- Flip, breast side down for 1 hour
- Increase oven temperature to 400°, flip, breast side up for 10 minutes to crisp the skin, no more or you will burn the very valuable duck fat in the bottom of the roaster. You do not want the fat to smoke. If it smokes it's burnt. If it begins to smoke, reduce the temperature in the oven. It is more important not to burn the fat than to get the skin crisp
- Remove from oven, allow to cool

- Pour off duck fat from bottom of pan into through a fine sieve into a container, place into refrigerator, allow to solidify and then separate pure solidified duck fat from anything else non-fat that may be present. Freeze pure duck fat indefinitely for future use. This fat should be all but white. It is a wonderful alternative to other "fats" for any recipe
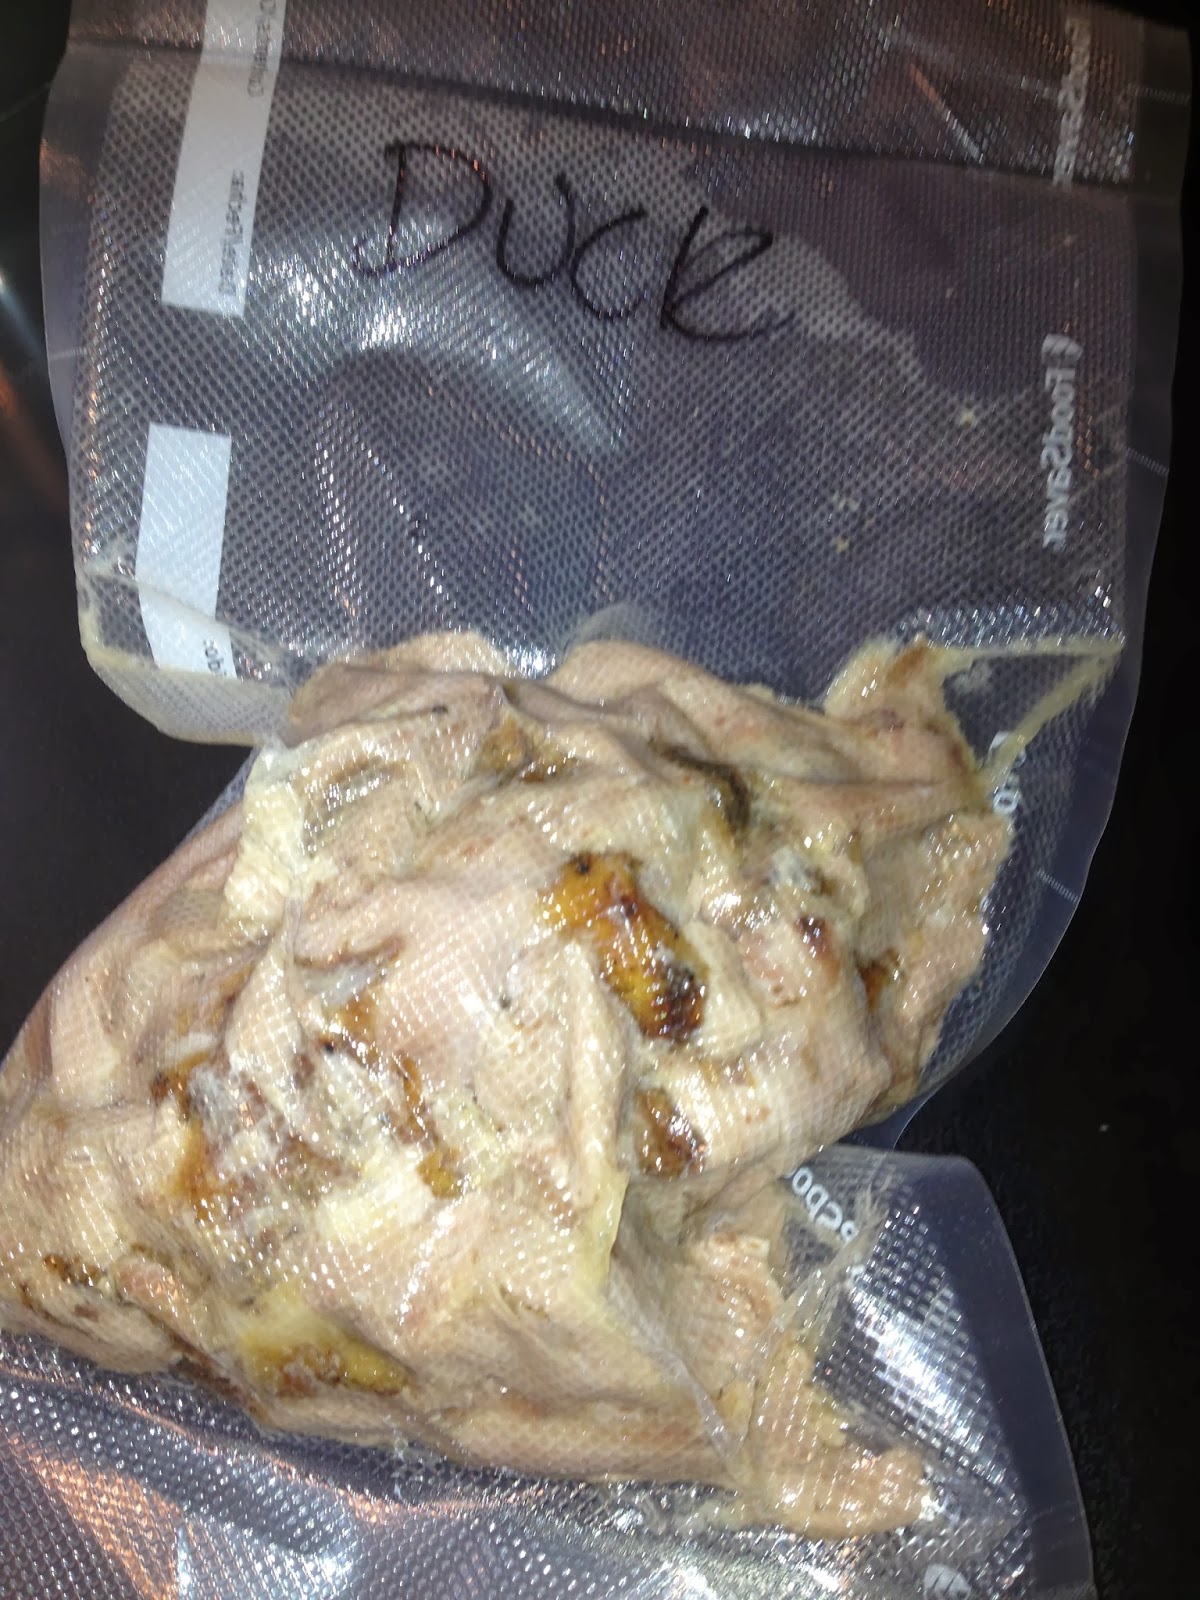
- Once cool enough to handle, strip all duck meat from carcass. Shred leg, thigh meat by hand, cut breast meat into "julienne" with a knife. Be sure to get all available meat from carcass, including skin which should be quite crisp at this point. All of it needs to be shredded. Combine all, reserve in refrigerator
Morel Mushroom Duxelle:
Duck Fat - 60g
Shallots - 80g - Minced
Garlic - 10g - Minced
Morel Mushrooms - 50g - Dried, Reconstituted, Rough Chop
Roast Duck Meat - 474g - Rough Chop
Dry Vermouth - 330g
Fresh Thyme - 3g - Minced
Salt and Fresh ground black pepper to taste


Shallots - 80g - Minced
Garlic - 10g - Minced
Morel Mushrooms - 50g - Dried, Reconstituted, Rough Chop
Roast Duck Meat - 474g - Rough Chop
Dry Vermouth - 330g
Fresh Thyme - 3g - Minced
Salt and Fresh ground black pepper to taste
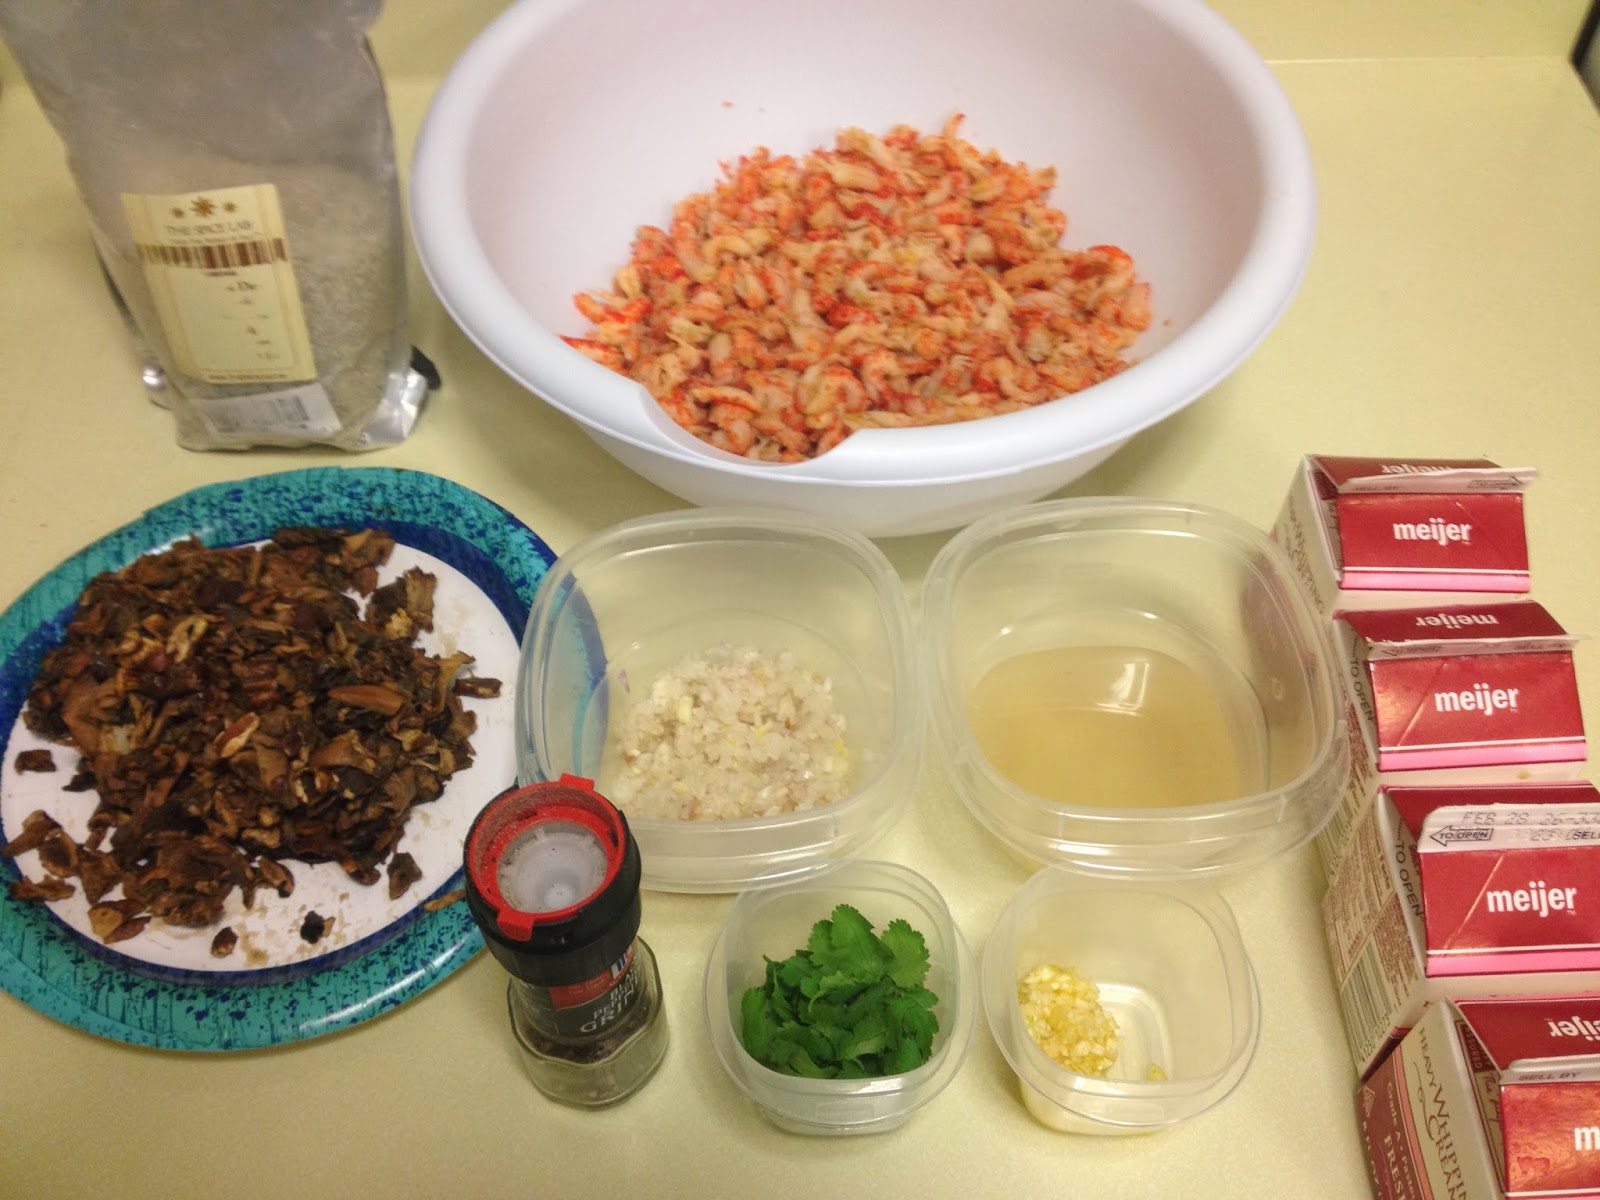
 |
| Mise en place |
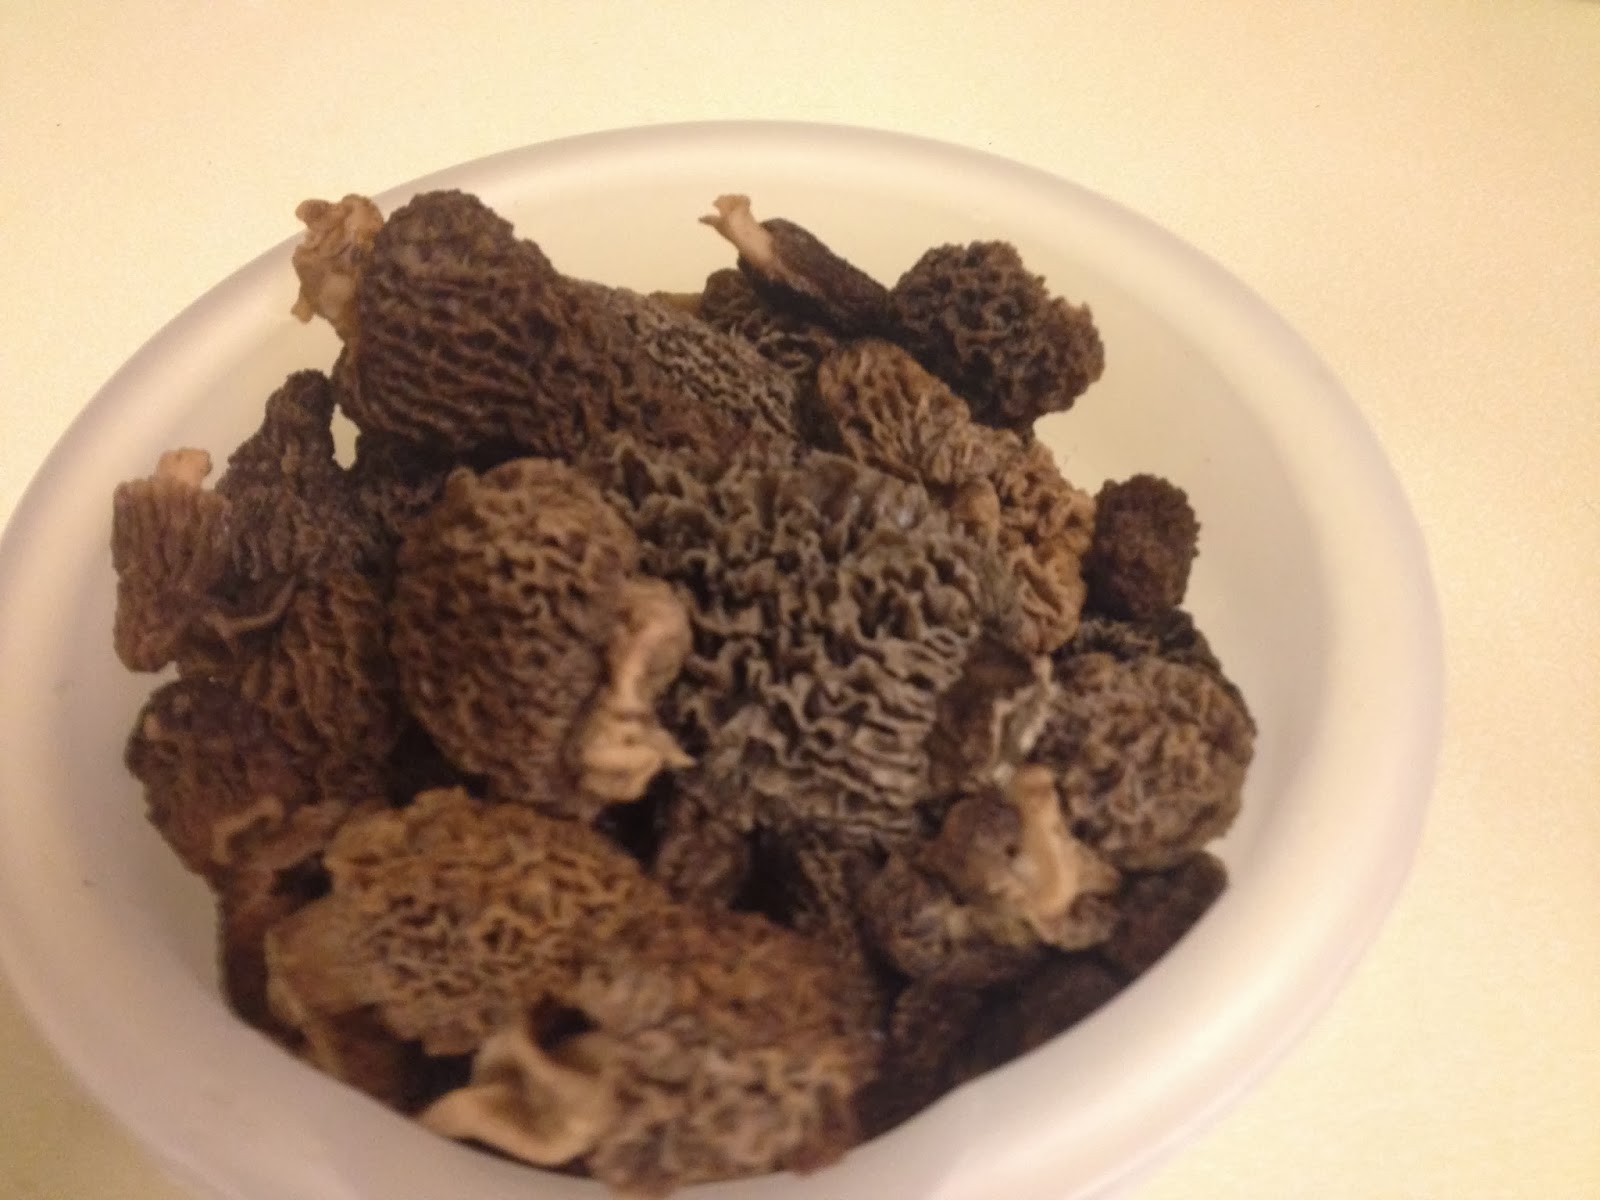 |
| Reconstitute Morels by covering with warm water for 30 minutes |
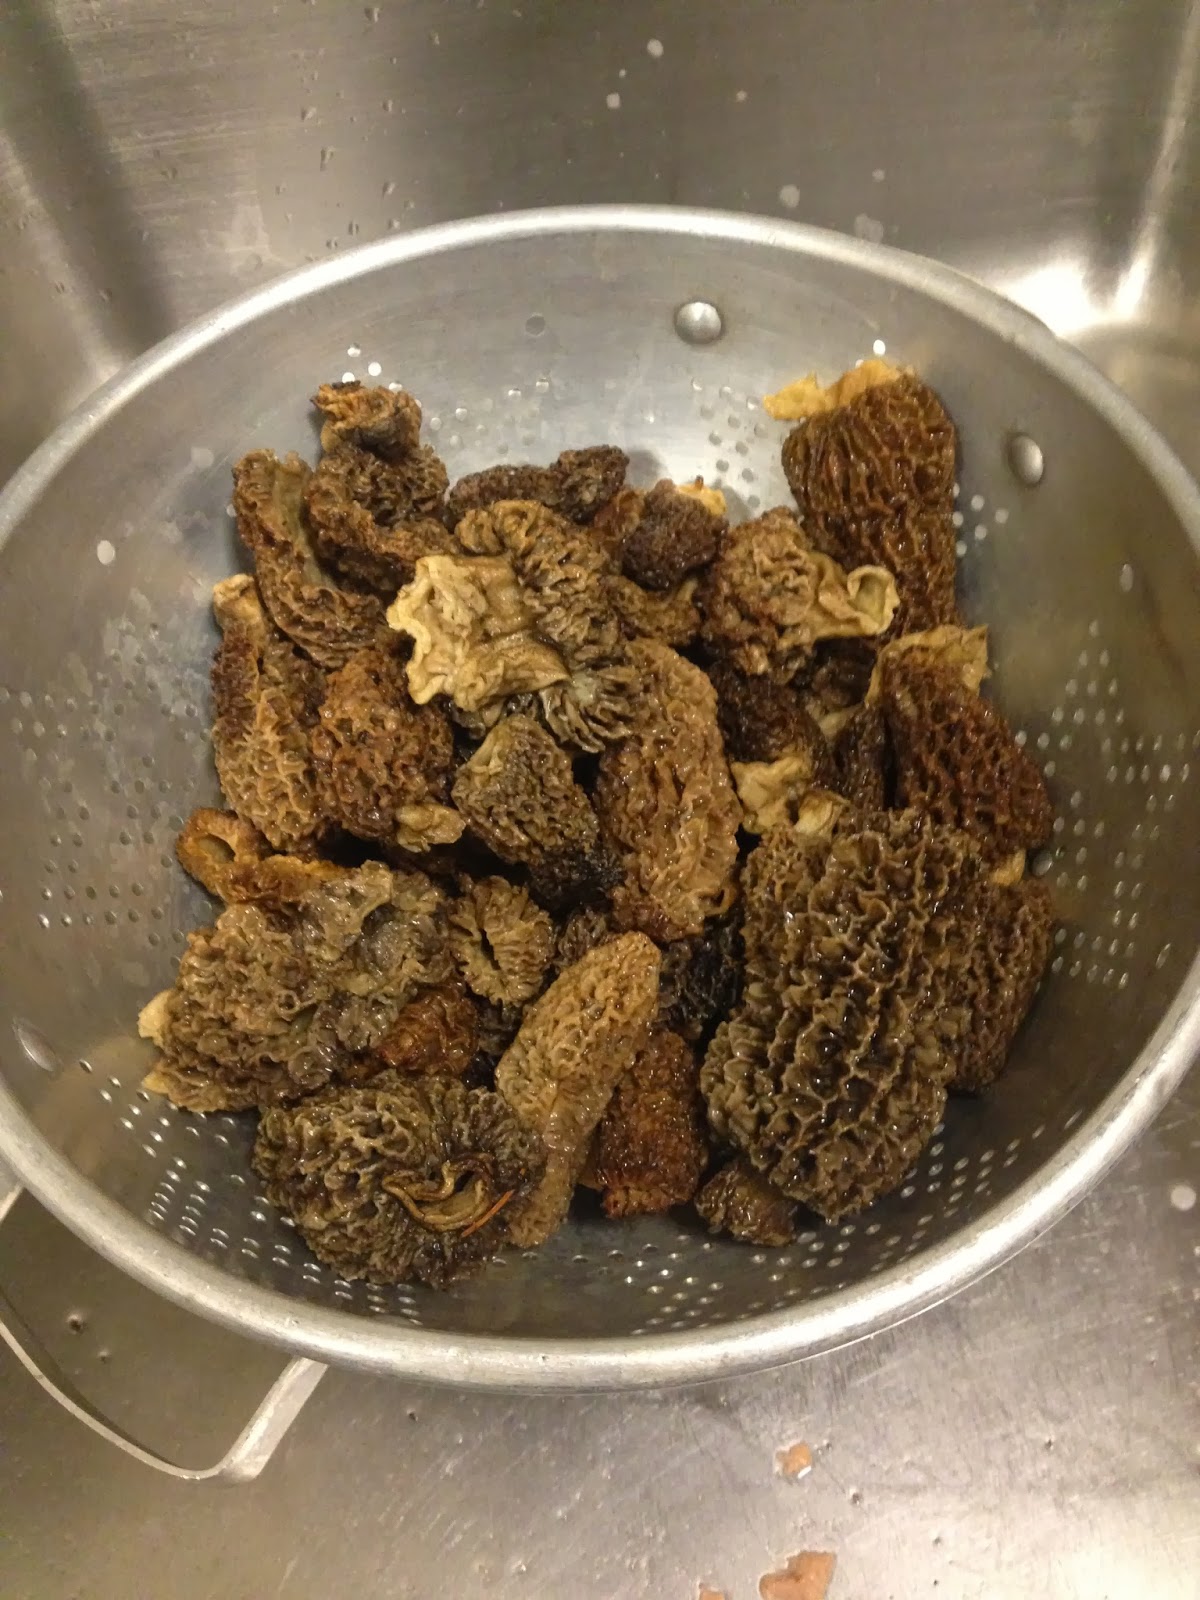 |
| Drain well, gently squeeze out excess water |
 |
| Rough chop after reconstituting |
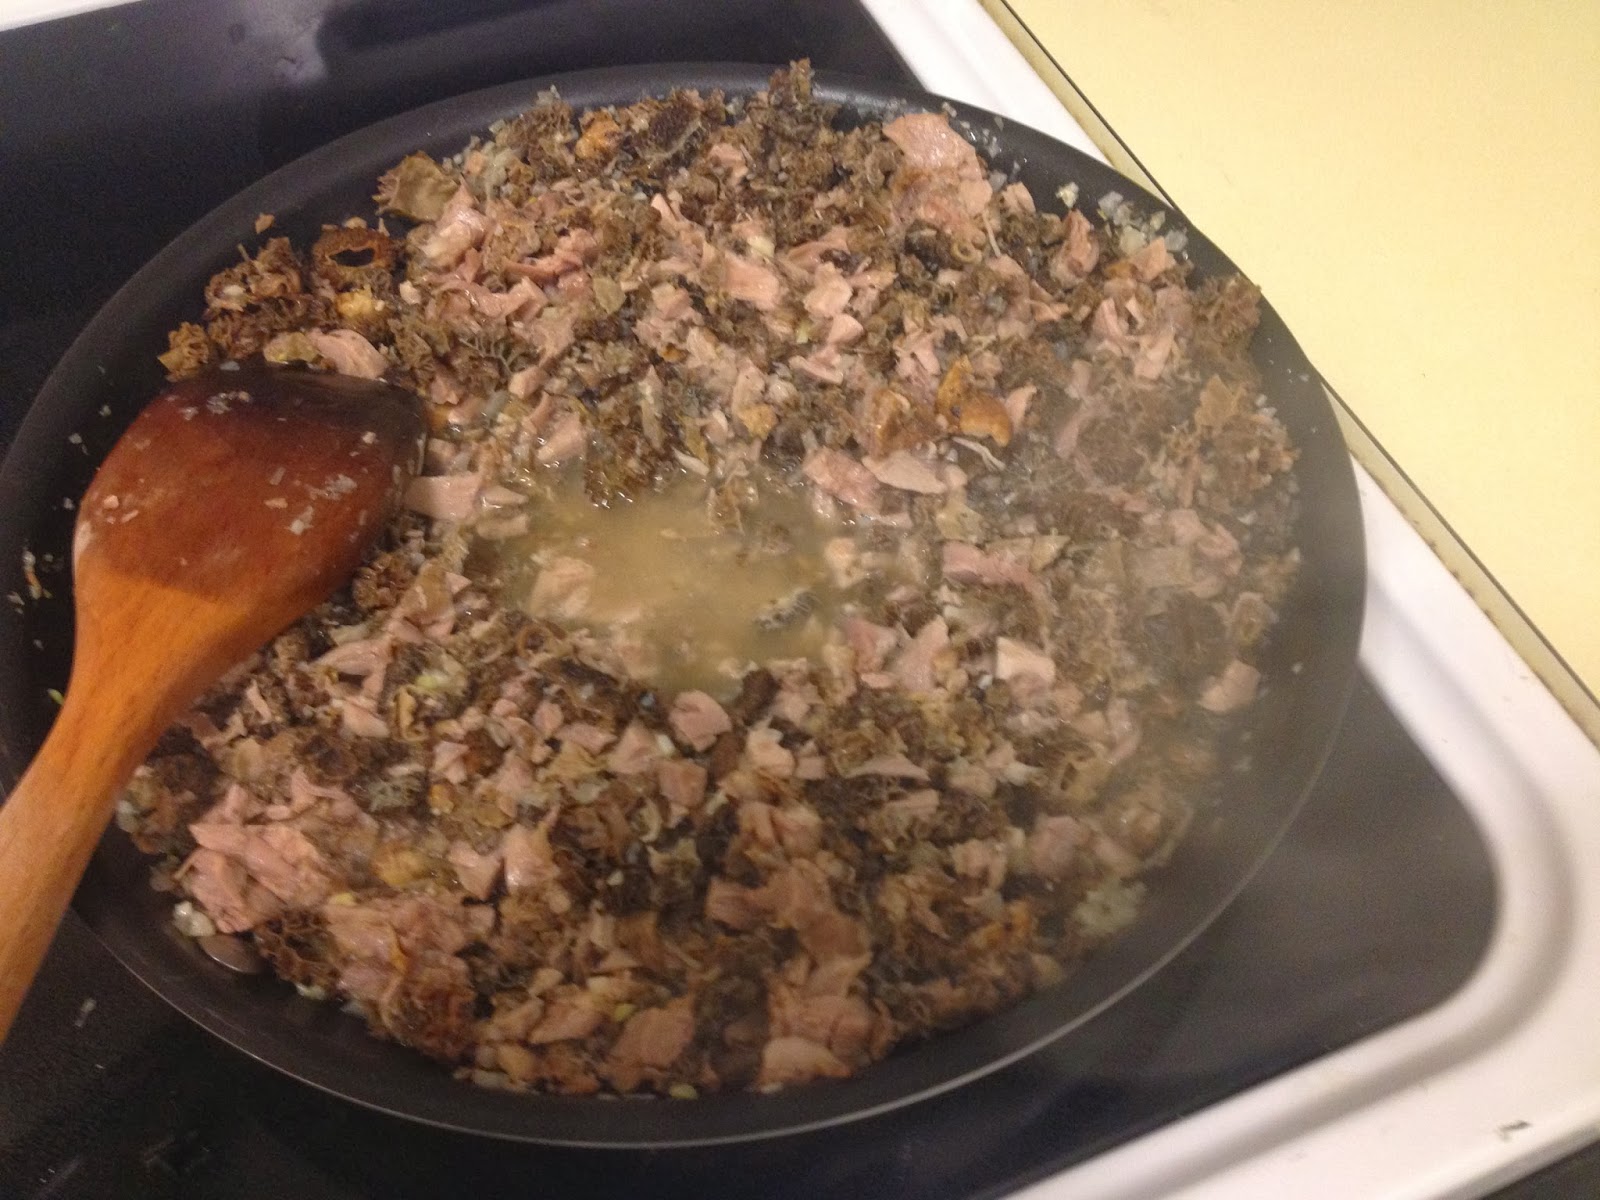
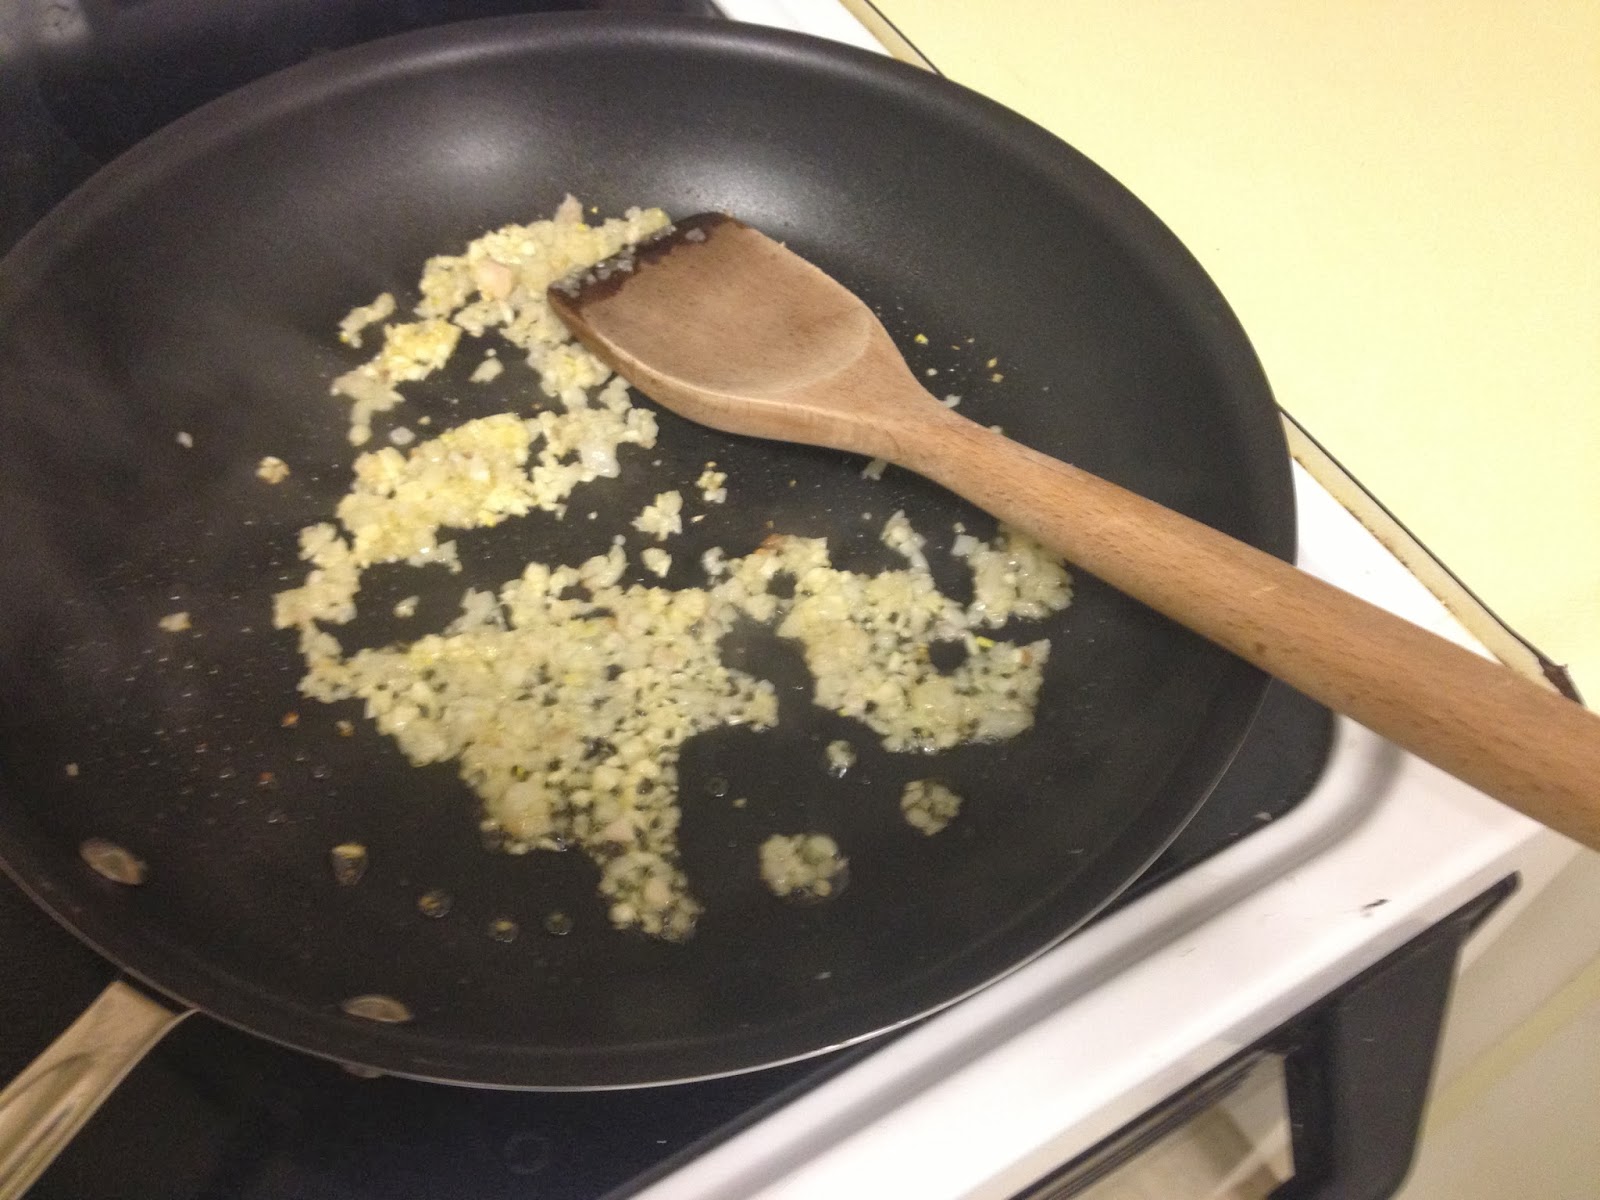
- Heat duck fat over medium high heat
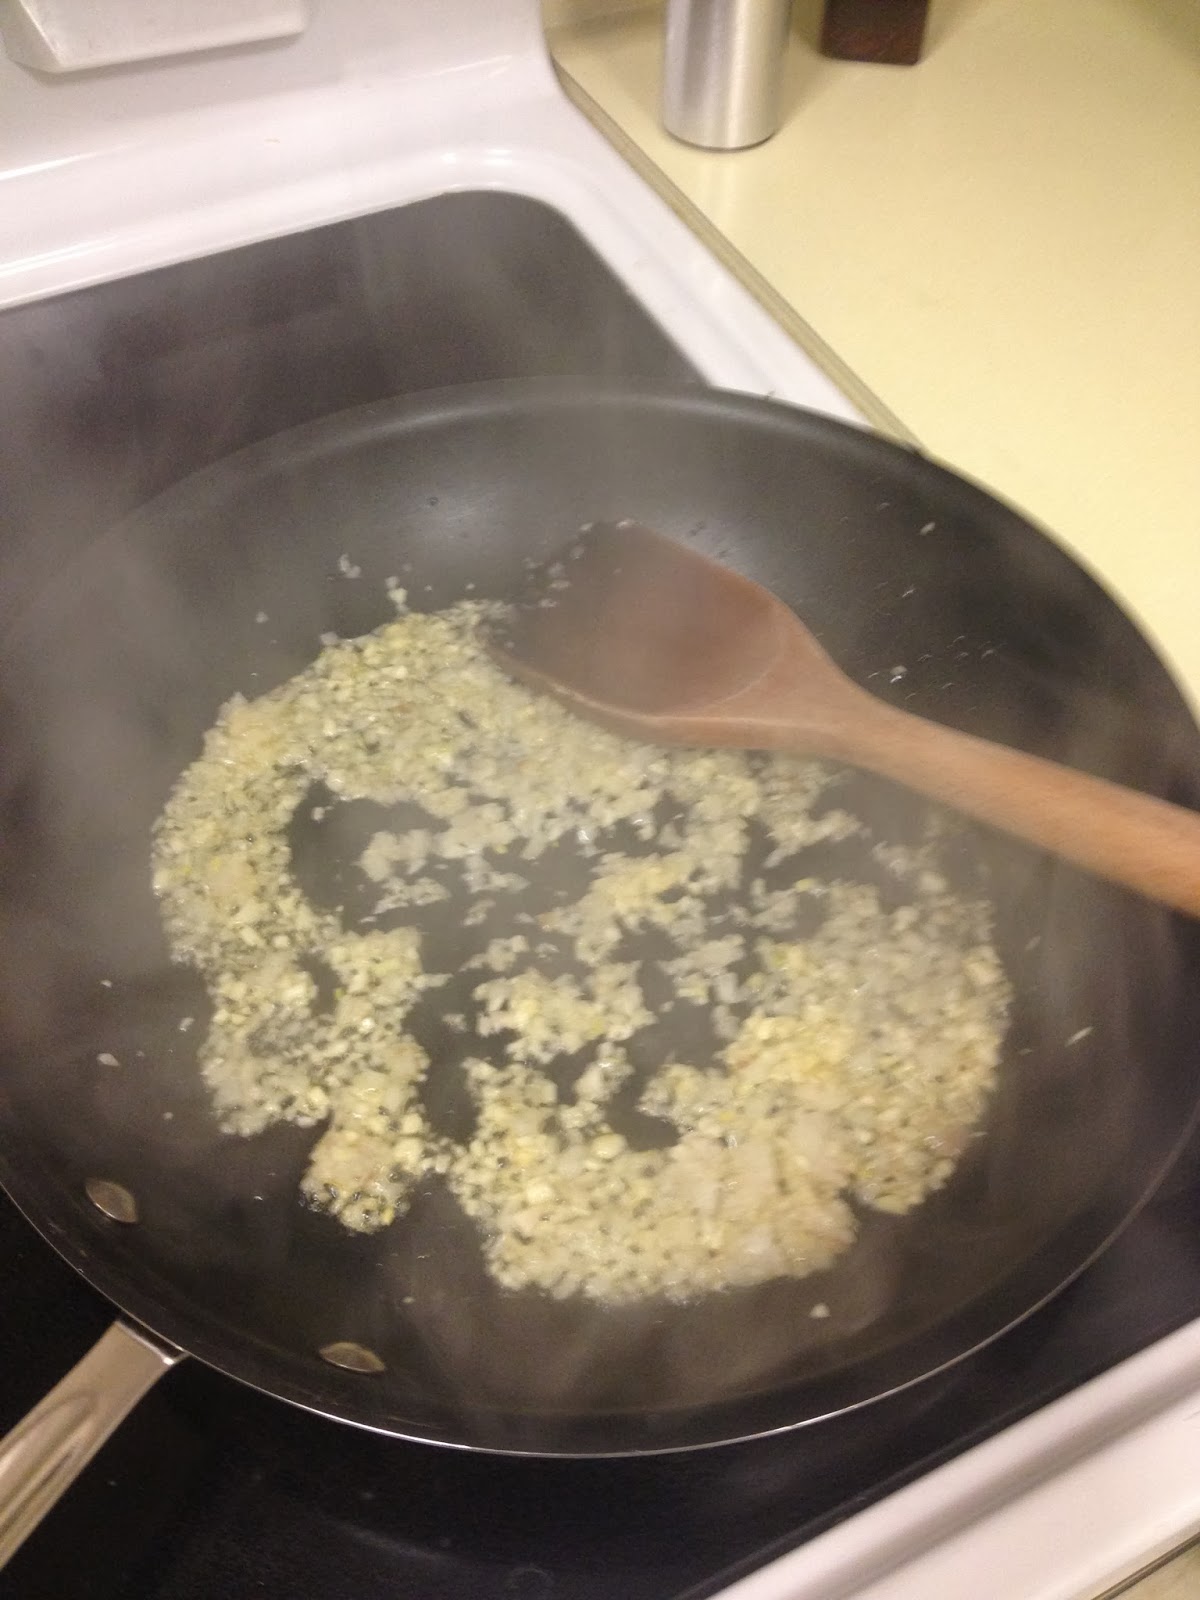
- Sauté shallots and garlic until translucent, increase heat to high
- Add mushrooms and duck meat, mix well and sauté just long enough for all to become hot
- Deglaze with Vermouth, reduce heat to medium
- Add salt and fresh ground black pepper to taste
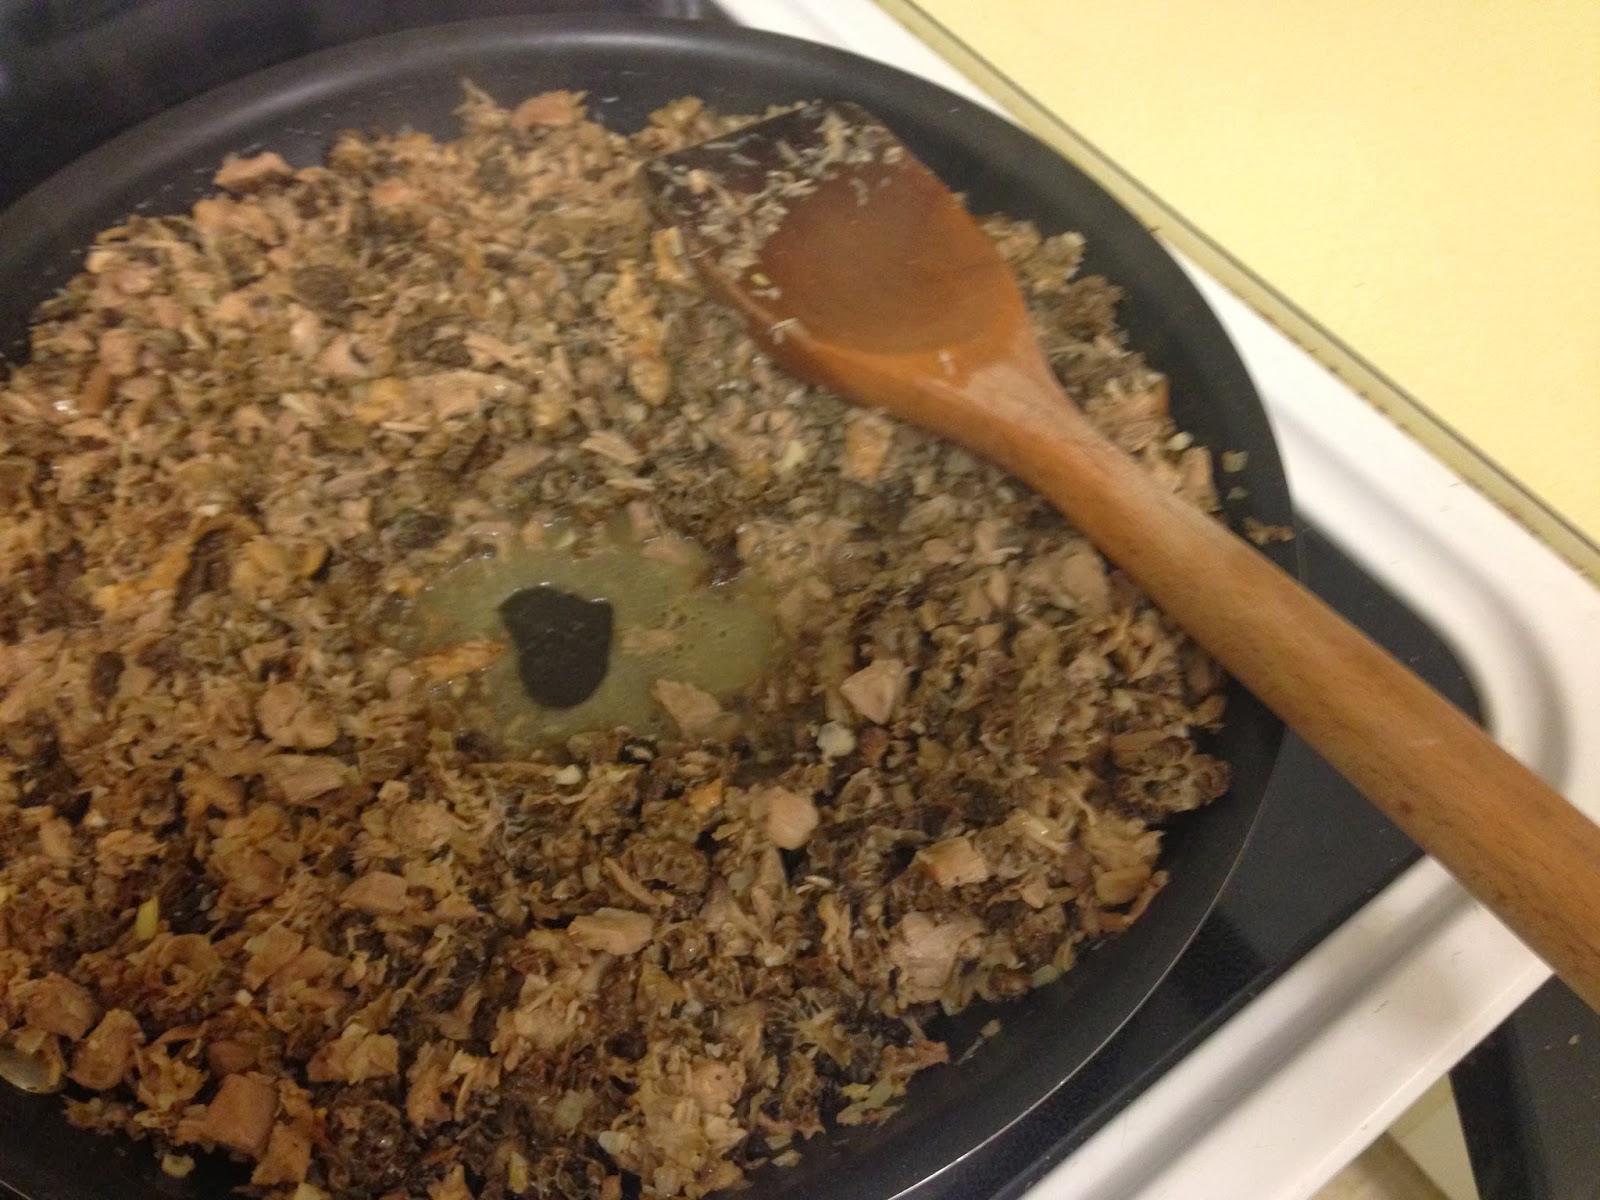
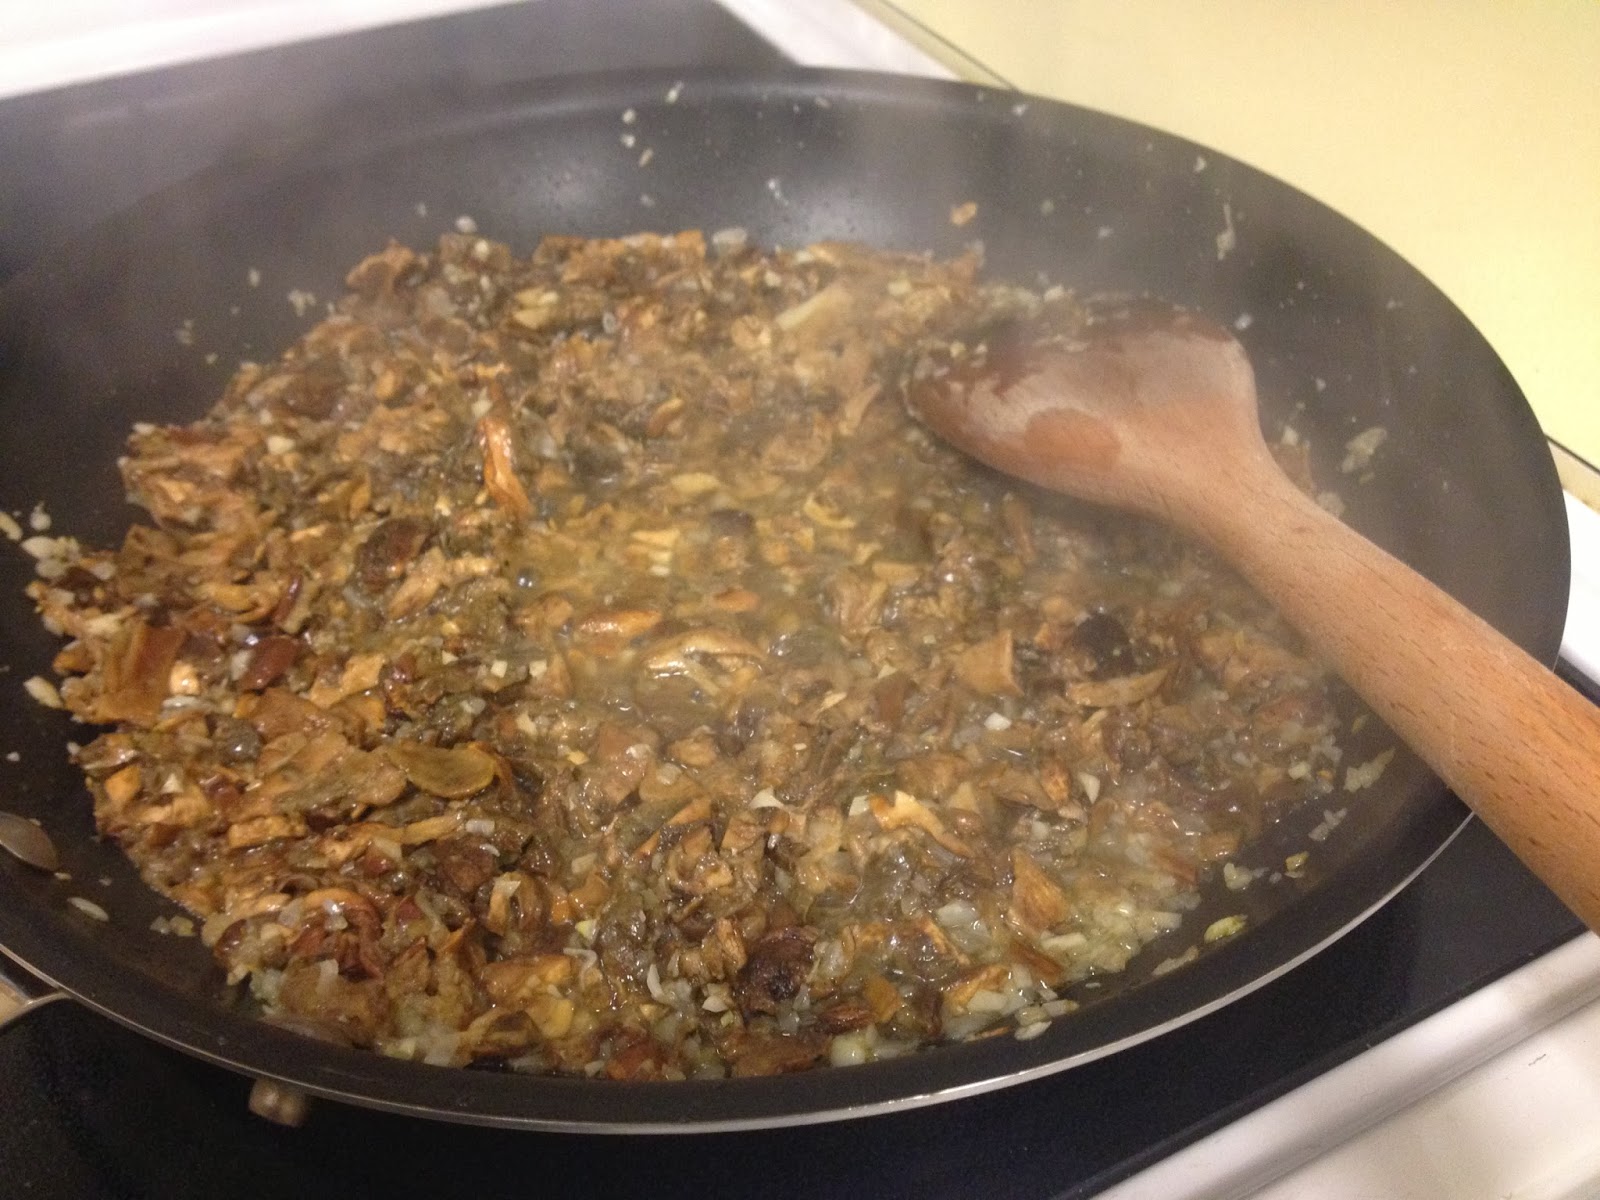
- Allow to simmer until all liquid is completely absorbed into mixture
 |
| Reduce over medium heat until all liquid is absorbed |
 |
| About half way there |
 |
| Done, all liquid has been absorbed |
- When there is no liquid left, remove mixture to a mixing bowl and immediately add chopped fresh thyme. Mix well
- Allow mixture to cool to room temperature
While Duxelle is cooling, separately prepare the Liver Pâté;
Chicken Liver Pâté:
Duck Fat - 15g
Shallots - 30g - Minced
Garlic - 8g - Minced
Chicken Livers - 263g - (and reserved Duck liver from roasted duck)
- Trim off any obvious cartilage from livers
Heavy Cream - 118g
Salt and Fresh ground black pepper to taste
 |
| Mise en place |
- Heat duck fat over medium high heat
- Sauté shallots and garlic until translucent, increase heat to high
- Add livers, sauté just long enough so that the livers are still pink in the middle
 |
| Do not cook too long, you want them pink in the center when going into the food processor |
- Deglaze with brandy
- Flame off, reduce heat to medium
 |
| The alcohol will cook off without lighting on fire, but it's too much fun not to light it up! |
- Add cream
- Reduce until cream has reached by 2/3rds
 |
| At this point my livers were as cooked as I wanted them |
 |
| So I removed them and continued to reduce my cream |
- Remove from heat and immediately puree to smooth paste in food processor


- Remove from food processor to container

Combine the Duxelle and Liver Pâté
- Gently fold the liver pâté into the duxelle, mix until well combined

Note: The secret ingredient to the duxelle is the liver pâté, but it should be just that...a secret. Therefore it is important to only add enough pâté to complement the dish, not overwhelm it.
- Reserve in refrigerator
Crawfish and Porcini Mushroom Filling:
Extra Virgin Olive Oil - 20g
Shallots -50g - Minced
Garlic - 10g - Minced
Dried Porcini Mushrooms - 100g - Reconstituted (Soak in warm water for 30 minutes) - Rough Chop
Dry White Wine - 100g
Heavy Cream - 472g
Crawfish Tail Meat - 517g - Cooked - Whole
Salt and White Pepper to taste
Fresh Cilantro - 3g
 |
| Mise en place |
- Sauté Shallots until translucent
- Add Mushrooms

- Deglaze with White Wine
- Reduce over medium heat until all liquid is absorbed

- Add Cream
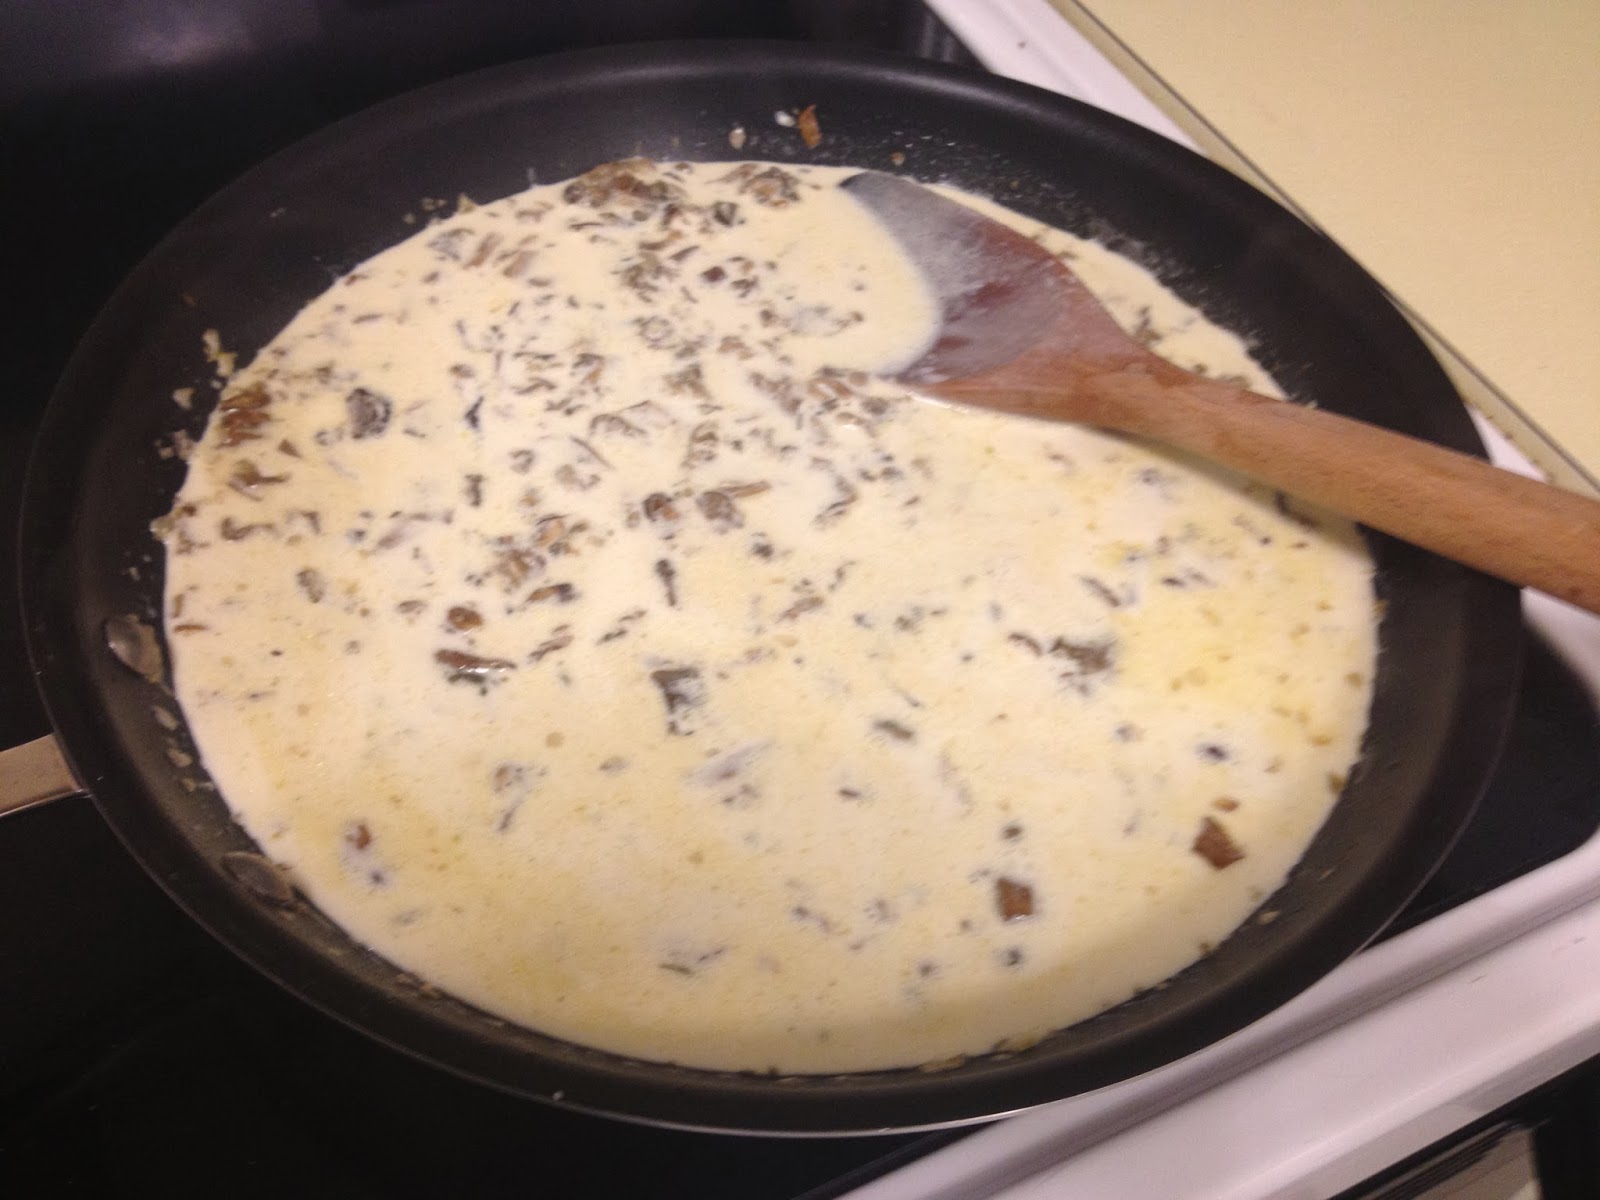
- Bring to a simmer, reduce over medium heat

- Simmer (do not boil) and reduce until a medium sauce thickness is achieved
 |
| I ended up with more sauce than I wanted, so I simply removed some. I will use this in some other dish |
- Season with Salt and Pepper
- When sauce is sufficiently thick, remove from heat, allow to cool to room temperature
 |
| I ended up with 500g of sauce to add to Crayfish and Cilantro |
- Place Crawfish tail meat into a mixing bowl, add chopped fresh Cilantro
- Add sauce and mix well until combined

- Place in refrigerator to cool
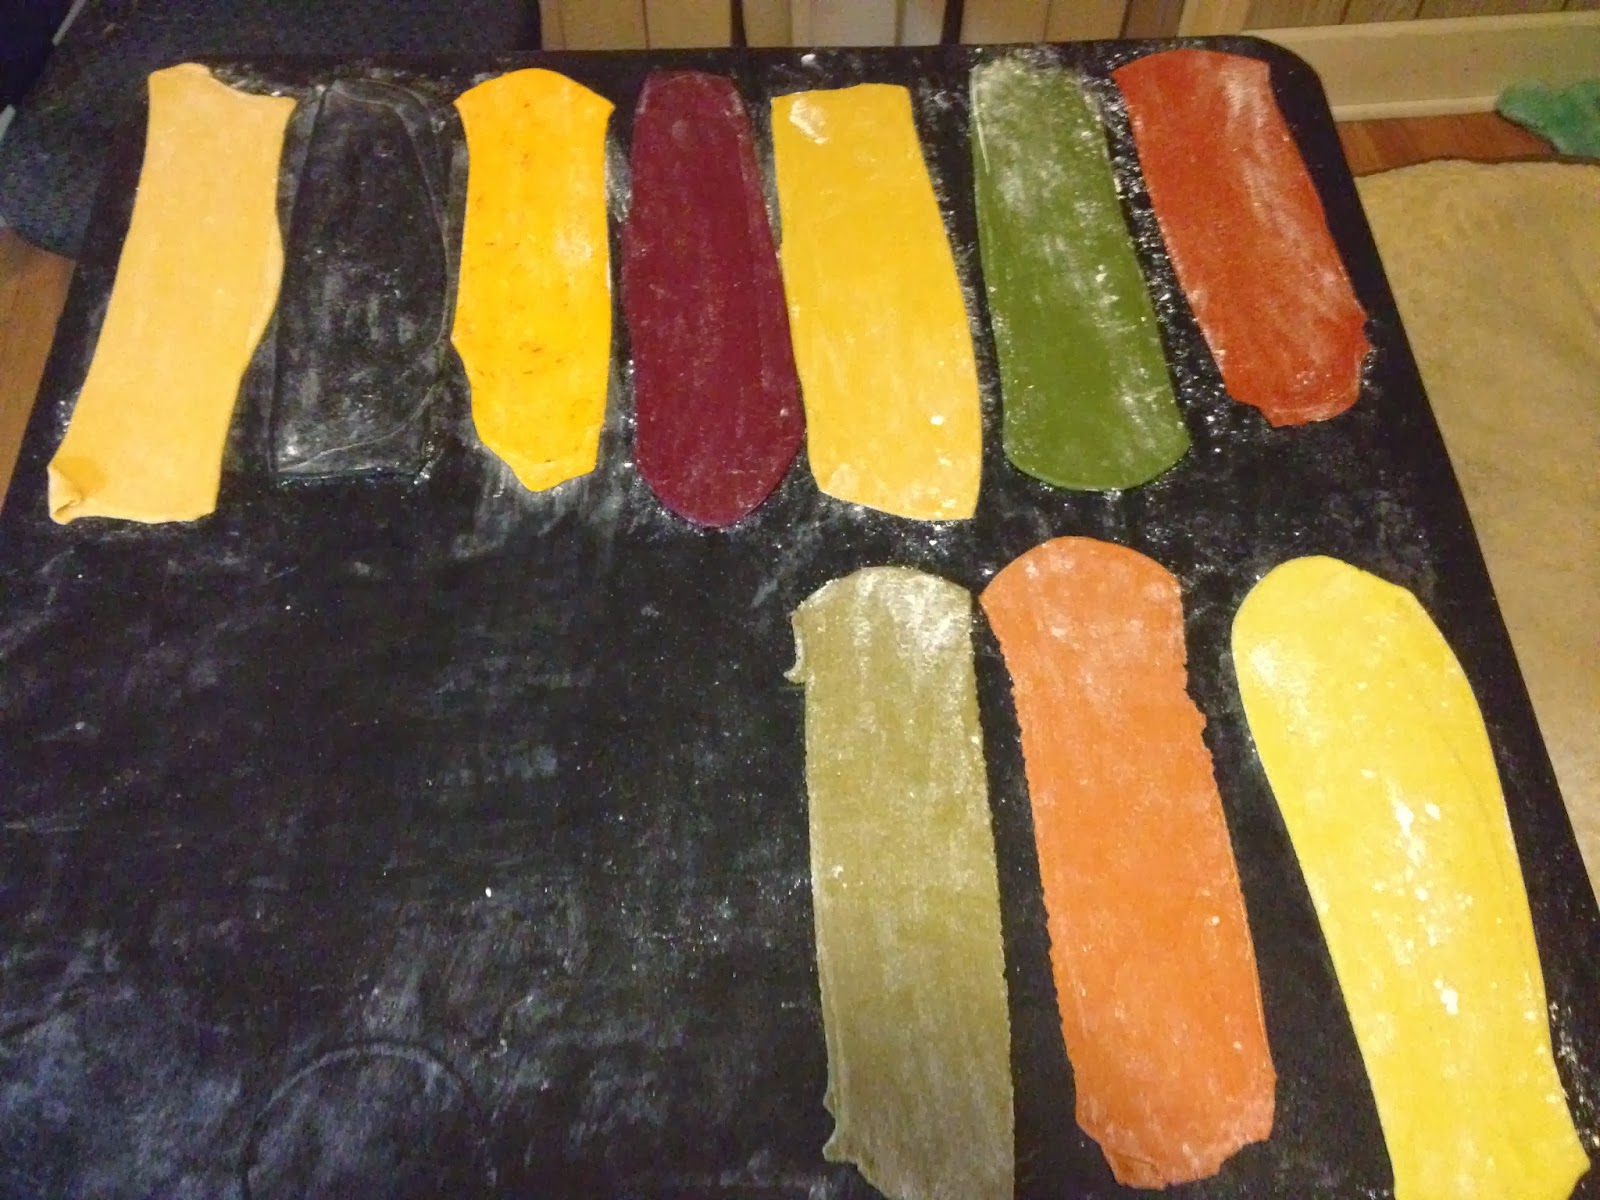
Stuffing the Ravioli:
- Make sure both stuffings are well chilled
- Make the stuffing before you make the ravioli sheets
- Brush your sheets lightly with water prior to placing the stuffing
- Place the stuffing

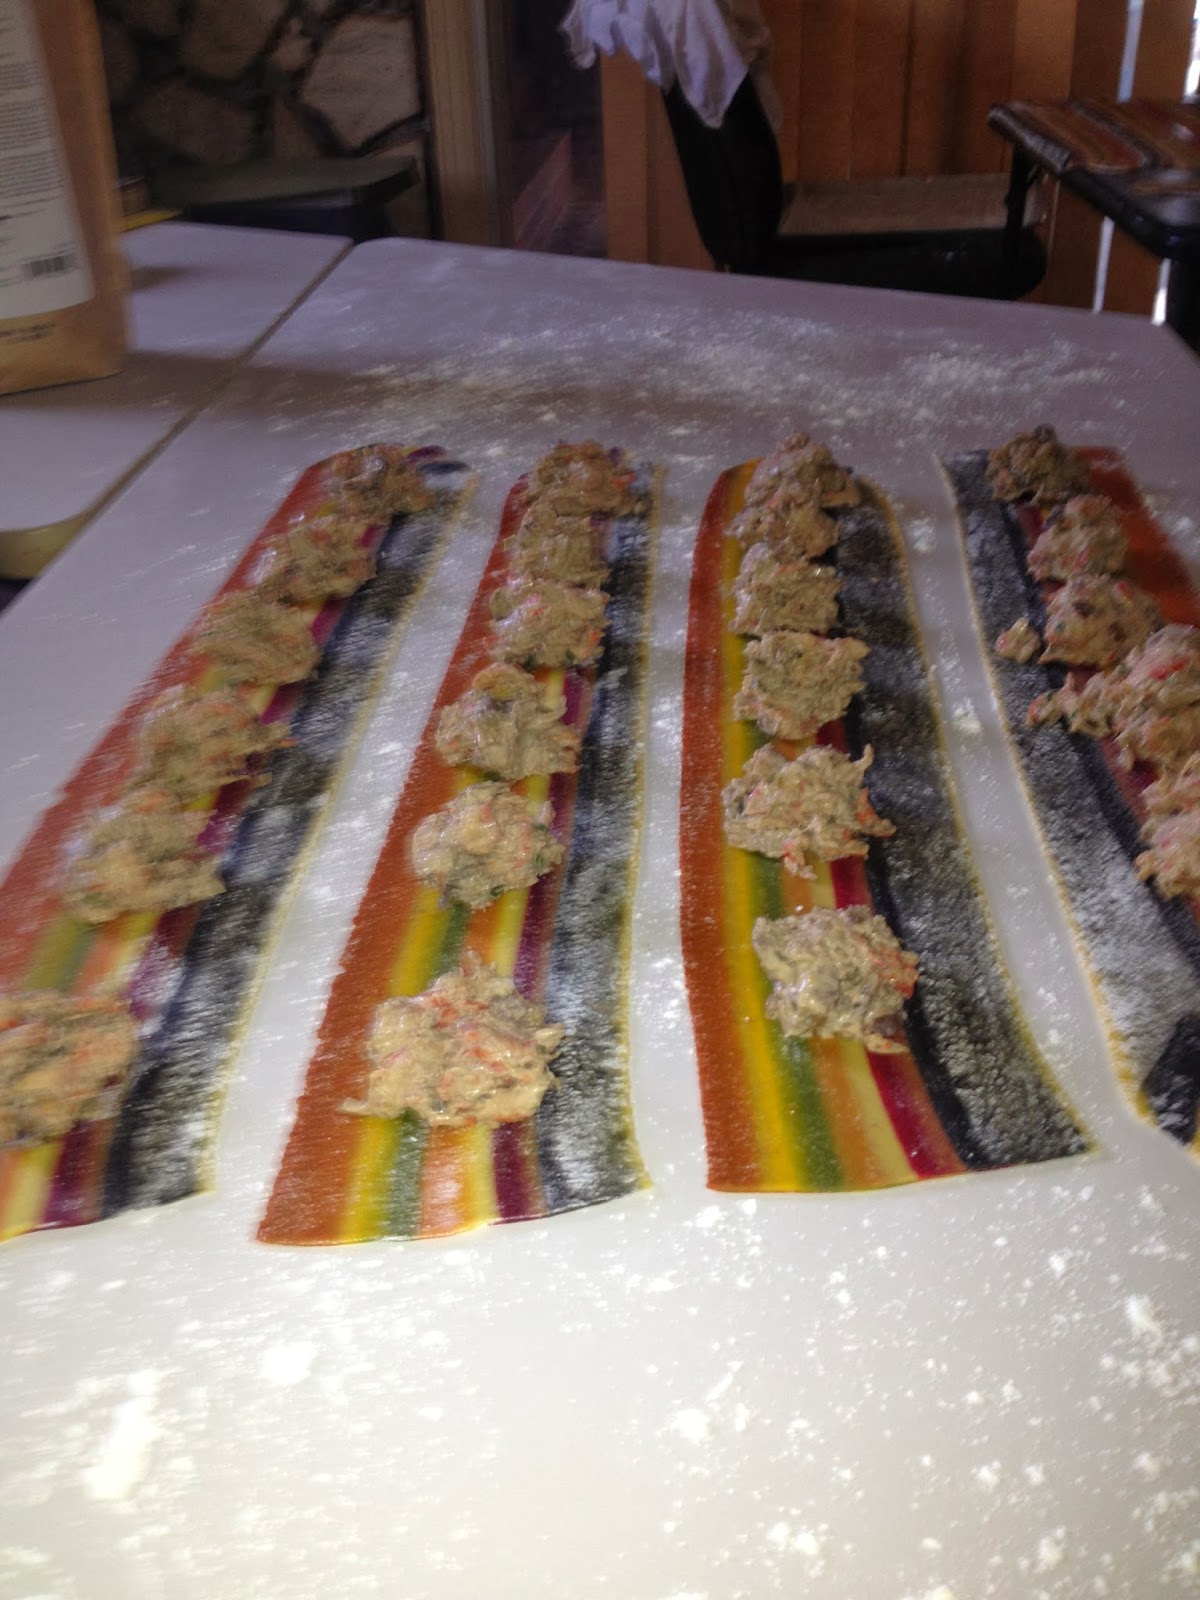
- Lay on the top sheet
- Lightly seal

- Cut with your choice of cutter, I used a 3" round cutter
- Place on a sheet pan with parchment paper lightly dusted with flour
- Freeze
- Bag in a ziplock and retain frozen until cooking, thaw before cooking otherwise the pasta gets overcooked before the filling is done