Sunday, April 22, 2012

Sourdough Laugenbrezel - Sourdough German Soft Pretzels

Sourdough Version of Laugenbrezel - German Soft Pretzels Dipped in Lye made with natural wild yeast leavening agent (White Sourdough Starter)


This weekend is mine and my very first Sourdough Starters' one month anniversary. This signifies tremendous effort and commitment. With my busy schedule, taking care of these starters is nothing less than a pain. You have to really want to do this. I can't count the times in the last month that I wanted to just skip feeding them. But like a father for his children, I have fed my three starters basically twice a day for a month now. I have babied them, I have fussed over them, I have worried over them...

And today all that seems to be justified;

I did this with nothing more than allot of research, flour and water

I chose my Laugenbrezel recipe as my test case. Of my three starters (White, Whole Wheat, Rye) I chose my White Sourdough Starter as my as the starter of choice for this recipe. I felt it would be the least intrusive. I wanted to minimize the amount of change introduced into this recipe. All I want to change is the leavening agent. In addition I want to add "Tang", in other words "sourness". Since the majority of the flour in his recipe is Bread Flour, of my three starters, the one made from All Purpose Flour changes the least amount of things. 

The Result: My white sourdough starter leavened this recipes' dough without any help from commercial yeast!

I feel like I created something from nothing. I did this, I did the research, I followed the direction I found, I trusted my resources. And as I watched this dough rise, all the uncertainty of a beginner, a month of wondering if I was doing things even remotely correct, faded away. It took a good 6 hours to double, but double it did. 

The dough itself did not appear any different than the dough in my regular Laugenbrezel recipe, but the smell, and I always pay particular attention to the fragrance of my dough, was truly unique and new to me. I've been smelling the starters for a month now, and the smell of the dough is similar to the smell of the starters, yet more "Developed", more "Finished", "More Complex". These words are not exactly describing it, but they are the best I can do. 

It's not that it smelled exactly "Sour" as in sour dill pickles,but rather "Tangy", with almost a "Flowery Garden Like" hint to it. It in no way was an unpleasant smell, it smelled...well like I suppose a Sourdough Pretzel dough is supposed to smell, "Tangy". As in previous posts when I try to describe what dough smells like, it's difficult, you can only get near describing the smell with words, words only hit near the mark, never directly on the mark. It's something that needs first hand experience to truly know.

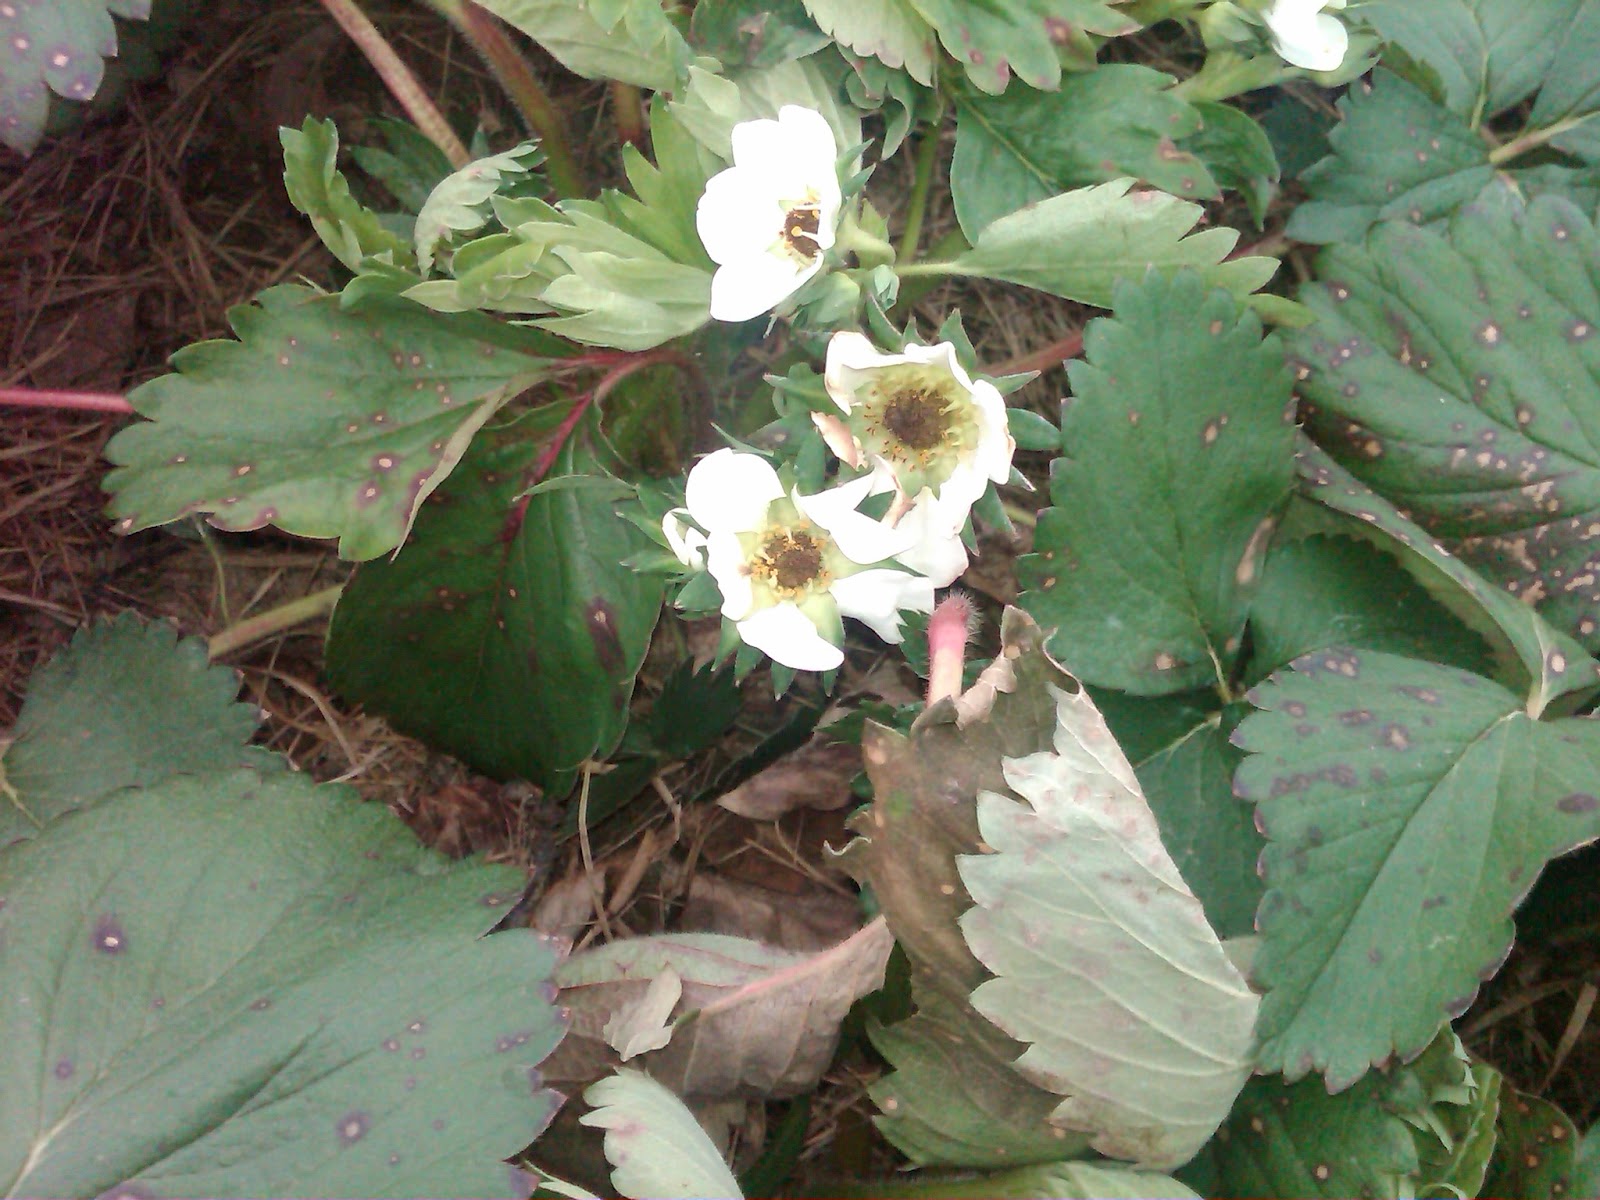
But I turned what you see in the picture above into this:

After all these times I have made this recipe, still not very good at "Shaping", look I even forgot the twist

I will not bother to document all the steps from "here to there", this is all described and documented in detail in my regular Laugenbrezel post. This one in appearance is no different. All the steps are the same, and if I took pictures they would look identical to that previous post. 


But Lord, even as I type this, I have my half sheet pan of Sourdough Laugenbrezel "Proofing" next to me, the pan is covered in a plastic bag to hold in the humidity as it proofs. The smell is coming though the bag, I can smell what I can only describe as a distinctly "fragrant tang" enveloping me. 


Now I am beginning to worry again, I hope my pretzels don't end up with an unpleasant, overly strong "Tang". The smell is just so prevalent.


I hope.


Ok, now it's two hours later. I have gone through the "freeze", i.e. placed the proofed pretzels in the freezer for an hour to firm them up enough to handle. I have done the Lye Dip, 30 seconds each, salted them and now they are back in their bag next to me, in an 80° room, going through a second proof. The first proof's rise, is always lost in the freezer. I don't really know if illuminating the proof before freezing, since they inevitably flatten in the freezer, would be detrimental, someday I will try it. I do it because that is what the original recipe I built my recipe around said to do.


So after their time in the freezer and dipping them in a 3% lye solution, the pretzels are kinda flat, having lost their initial proof. I then spend another hour or more allowing them to thaw and to proof one final time to add some "Roundness" to them prior to baking.


Is this the right thing to do, who knows, all know is this is what I have been doing with success. Will I achieve the same success with this recipe? Will the wild yeasts present in this dough be enough to rise these shaped pretzels a second time. Will they spring in the oven? Who knows, I am a half an hour into the second rise....it's 11:45pm on a Saturday, and I wait to see.

Ok, here we go; it's 12:15am, an hour of second proof, I am happy with the rise, thank you wild yeasts. Ready to score and bake. 


So I turned what you see in the picture above, into this:


Final Results/Analysis:

  • Rise/Oven Spring- Rise and Oven Spring from wild yeast equals commercial yeast. Wonderful crumb, full of holes. I would consider this requirement a success
  •  The "Tang" I was after is there but subtle. I wish it were more pronounced. The taste has enough "Tang" to differentiate it from the regular recipe.
  • The "Sheen" is missing. All my previous attempts at this recipe, from the very first one, has produced a beautiful sheen to the outside of the pretzel. It's missing in this batch. They browned properly, it's just not a shiny brownness. As if the Lye dip, which is sole responsible for the outside of the pretzel, didn't fully do it's job.
  • There are blisters present (birds eyes). I know that others don't, but I consider blisters a flaw. Not sure how to combat this, since I have always considered blisters a direct result of over retardation. Retarding too long. I did not retard these pretzels at all. So that mystery is to be left for another day.
Summery:

  • Primary goal of verifying the strength of my White Sourdough Starter a resounding success
  • Secondary goal of my White Sourdough Starter producing a distinctive "Tangy" flavor in this recipe- more work to be done...not as pronounced as I would like
 Tertiary issues- Sheen and blisters. To be dealt with at a later date


I did this!


Tuesday, April 17, 2012

Hardening Off Seedlings

About a week ago, I started to harden off my seedlings. This is a very important step to growing vegetable seedlings indoors. Hardening off simply means to slowly introduce the seedlings to the outdoor environment.

I can't stress enough how important it is to do this and to do it slowly. If you try to skip this step or do it too quickly you will kill your seedlings.

Your seedlings were germinated and have been growing in an optimum environment. They have been kept well watered, at the perfect temperature and have never known wind, direct sunlight or bugs. You have to introduce them to the real world slowly.

The way I do it, is to start about a week or more before I want to transplant seedlings into the garden.  I put the plants on my back porch out of direct sunlight, on a day that has little to no wind, and is about 50° - 60°. I leave them there for no more than two hours and back into the grow room they go.

The second day, I expose them to the same conditions but for about 4 hours this time. It is important at this time not to have any direct sunlight or significant wind.

Third day, now we can slowly introduce direct sunlight, still beware of wind. I try to have this be a Saturday, so I am home and can keep an eye on the seedlings while there out. I try to go for about 6 hours of direct sunlight on the third day,

The forth day, I go for eight hours, direct sunlight, slight wind if I am lucky. 

Fifth day, I go for all day, direct sunlight, slight wind, and I expose them to the night air, until about 10pm. 

 From the sixth day on, I leave them out, preferable in a place that protects them from high wind, round the clock. 
After a couple of days of round the clock exposure, I place my seedlings into my cold frame until I am ready to transplant them. I regulate the environment inside the cold frame, by how much I open the lid. I can hold them in the cold frame for weeks.


Keep seedlings protected from high wind


This was the 3rd day. It was warm, overcast, no wind and drizzly, that allowed me to leave plants out all day and night on just the 3rd day


Light rain is good


The 1st seed was planted in mid February, this is two months later

My cold frame that my dad and I built. The last stop before going into the garden

I can keep then here for weeks if need be. I simply raise or lower the lid as needed.
 

This gives me a buffer between when the seedlings have been fully hardened off, and when the garden and weather are actually ready to except them

Saturday, April 14, 2012

Strawberries and a hard freeze, not a good mix

I anticipated frost and freeze attacks on my strawberry patch. I planned for it by purchasing the following frost blanket material: http://www.agriculturesolutions.com/DeWitt-Frost-Blankets/DeWitt-3.0oz-Ultimate-Frost-Blanket-Thermal-Blanket-6-x-250.html

It states that it provides 10 degrees of frost protection, while still allowing 40% of sunlight through. Good to go I thought, ready to protect my strawberries during frost and freeze times this spring.

So this last week has been fraught with hard freezes. We must have had 3-4 nights that temps got well below freezing. These were hard freezes, nut just wimpy little light frosts.

I felt prepared, after all I had my frost blanket material. So I covered the strawberry patch the evening before the first frost, oh yea, by the way, the wind gusts that night just for added fun were over 30mph. That made my adventure of laying down and stacking 5 pieces of  6' X 45.5' frost blanket material by myself even more enjoyable. Here is the end result:

Two hours to get this down

And I thought I was totally prepared

So four days later, after all forecasts of freeze are over, I remove the frost blankets expecting to see my precious flowers looking sweet.

Removing the blankets:

Took me an hour and a half to remove the blankets, again the wind wasn't helping


NOTE blankets are laid directly on top of plants. I didn't know any better.

And this is what I found...

Yellow flowers with brown or black centers is a dead flower. Killed by frost or freeze. So here we have two dead one still alive


Three dead


Bad picture but...three dead, one still alive


 Bottom line is although it is hard to estimate, I believe that I lost 50% of all flowers that were open at the time. So I research why...it turns out, that frost blankets if actually touching the flowers will allow the frost or freeze to go right through killing the flower. Oh, my bad, possibly that might have been a good thing to advertize with the product. It might have been good had the said anything about "You need to keep the frost blanket up off the plants for full protection". That would have gotten my attention. But no, they did not offer that kind of it information on the web site I bought the frost blanket from.

Ok, lesson learned. I need some kind of metel hoops to hold up the blanket over the strawberry row. Just one more thing I need, wonder how much that will cost.

But looking on the bright side, the frost blankets laid directly on top of the strawberry plants still saved 50% of flowers that were open at the time. I would have assuredly lost every flower in those freezes had I done nothing.

The adventure goes on.....


Spring Planting is tough on an old man

Geez,

If it wasn't a labor of love, I don't think I would go through this every spring. I am convinced that to want to have a garden this size, knowing full well that it is only you and you alone to maintain it, you have to be either very strong or very crazy. And I can assure you I am not very strong.

Busted my hump this last week. Let's see what was on the agenda, oh yea, keep the seedlings watered, till the garden, over and over...day after day until the winter rye was incorporated and the consistency of the dirt was what I wanted. The winter rye ground cover was at least 12" tall when I tilled it under. It should add a tremendous amount of organic matter to the garden soil.


Let's see what else, I planted onion sets last weekend after the initial couple of tilling passes. It was a struggle to get the little onion sets in with all the clumps that are in the soil after only tilling a little bit. It takes days of tilling to get the clumps out. And that is IF you can get them out. The problem with onion sets is they are small, and need to be planted at only 1" depth. Not an easy feat if your soil is not fine, and mine never is when the onions need to go in. And that is another thing, onions it turns out are supposed to go in 4-6 weeks before the last frost date. That would mean I should have been planting them a month and a half ago. A month and a half ago, I was cutting trees down on my back fence row. I was no where near ready to get into the garden yet. So finally, late as it may have been, I got the onion sets in last weekend.

Onion patch just planted

Tough to plant just one inch deep


Then to make my life just a little bit harder, it turns out again that potatoes are traditionally in by Good Friday. That is news to me. Good Friday was last week. Ok, so I got them in tonight, what an effort that was...I learned a new technique for planting potatoes that I wanted to try and it was not easy. Finally finished right at dusk.

I then began the hateful job of preparing the Carrot bed. Now let me state right here and now, DO NOT decide to grow carrots. Carrots do not tolerate any obstacle in the soil that is in the way of it's growth. That includes simple dirt balls. Anything at all in it's way as it grows, and it doesn't take much, causes the carrot to fork, misshape, bend, twist and otherwise become malformed. My wife tells me I am crazy, (see the pattern here), she says that her parents grew carrots in rock hard soil all through her childhood. As far as I am concerned they must have been magic carrots. All my carrots last year looked like misshapen aberrations.

So it was then that I decided that if I wanted to grow nice big straight carrots like I see in the supermarket, I was going to remove all the obstacles in the soil.

Remember I said, either very strong or very crazy, and I reiterate I am not strong.

So here is today's carrot bed prep progress:


The first couple of shovel fulls. This is back breaking work, only 74.25 cubic feet of garden soil to sift. I do not recommend wanting to grow carrots. It's crazy thinking


Check out my sifting screen. I built this over 10 years ago, and I simply replace the screen whenever it wears out.


Note all those clumps, carrots will NOT grow straight with those clumps in the soil


Look at that wonderful sifted soil you end up with, what a bitch it is to get to this point


Two hours into it


This is what it looks like before I remove the soil to be sifted. This will not support good carrot growth

What it looks like after sifting, this will absolutely support good straight carrot growth

Beautiful

 
Adding sifted compost to the mix


Four hours into it


A few days later, another hour, now five hours into it


Finally done, 5 man hours to get to this


The first layer of sphagnum moss goes in


The first layer of Builders Sand goes in
Mixing the first layer


Adding the last layer

8 man hours later


Finally ready for planting
 

If I don't get the kind of carrots you dream about I am going to be really upset


 So the first day of sifting I got within about an hour of being done sifting  (actually turned out to be three more hours of work until I was done) when the rain came in. I quickly covered the pile of sifted dirt with a tarp to keep it dry. Allowing it to be rained on now, when it is straight sifted soil would be disastrous, it would turn into a big pile of cement. It has yet to be amended and cannot be allowed to get wet at this stage.

When I am done sifting, the next step is to amend the soil as you replace it into the bed. This means adding material to the soil to both keep it from turning into cement when it get rains on, and to make it so it will remain a light an fluffy medium perfect for carrots to grow in. Which I guess is saying the same thing twice.

This means mixing in Sphagnum Peat Moss, Composted Cow Manure and Builders Sand. Now Builders Sand also known as All Purpose Sand, is NOT Play Ground Sand. It is much courser than Play Sand. Make sure you use the correct kind of sand, you don't want Play sand.

These components, sifted garden soil, Sphagnum Peat Moss, Composted Cow Manure and Builders Sand, mixed in the appropriate percentages will produce the perfect medium for growing carrots.

At least I hope so....

So in the end, I added the following back into the excavated bed:
  • All the sifted garden dirt
  • 160 lbs. of sifted top soil
  • 160 lbs of sifted composted cow manure
  • 66 cubic feet of sphagnum peat moss
  • 400 lbs. of builders sand (aka, all purpose sand)

So to summarize:


Tilling:

I plant a cover crop of winter rye every year. I believe it adds nutrients back to the soil and above all else it adds significant amounts of organic material to the soil when you till it in. I usually allow it to be a foot tall when I till it under. It makes tilling a bit more arduous but is well worth the extra effort.


Not the best picture, but you can see the winter rye in the foreground. This was back in March, it was a foot high when I tilled it under in April


I want to till the soil not to dust, God forbid, if you do that it will turn to cement at the first hard rain. But I want it fine enough to get my seeder through it. I want it to be fine, yet have a certain amount of small golf ball size balls and smaller of soil. This will allow me to run my seeder through it as needed, yet will allow the appropriate amount of air pockets in the soil. Plant roots need air just as much as they need water and soil.

This is the consistency of soil I am after when I till


This is good, fine but not dust

This is my baby, this makes tilling a garden of this size possible


By the way, I researched seeders and found that the best seeder, the one I would want is a JPH-U Jang Seeder, it's beautiful and only costs $800 friggin dollars, DOLLARS!! For a garden seeder! But it is the only one that looks like it was made to last, rugged, with heavy material, it is beautiful, but $800!! That's ridiculous. So I bought a cheaply made Earthway 1001-B Precision Garden Seeder with 6 Seed Plates. I will see this year if you get what you pay for. The one thing the Jang states that it will do, that the Earthway can't is the abilility to work with just a very small amount of tiny seeds. The Earthway will plant small seeds but only if there is a large quantity in the hopper. It won't work with say an ounce or less of small seeds for instance. This ability is still not worth $800 to me. I will plant the small amounts by hand.


Slightly less than an $800 Jang

If it holds up, and does what it is supposed to, I'll be pleasantly surprised.


It usually takes a round of tilling each evening after work for 3-4-5 days depending on how wet or dry the soil is. The rule of thumb is that you shouldn't even till until you can take a handful of dirt from about 4" down, compress it in your hand and then when you poke it with your finger, it breaks apart easily. If it clumps and doesn't break apart easily when poked, it is too wet to till. We have had a very dry spring, so the ground was very much ready to be tilled. Even so, it is still damp 8" to 10" down, so you end up doing a round of tilling, allowing the soil to rest and dry until the next evening, hoping that the sun will be out the next day to help dry it, and then do another round of tilling, allow to rest and dry, another round...well you get the picture. So after a few or more days of this, the soil consistency becomes, well luxurious if you ask me. Fluffy, fine more or less, and full of air. That is my philosophy on spring tilling.


Planting Onion Sets:

Now when I talk about Onion Sets I don't mean little scallion onions, I am talking about the kind of onions you see in the supermarket, large 6"- 8" yellow Spanish, Sweet White Onions and large Red Onions. I found what I think is the best supplier of onion sets for these kind of onions. Here is where I get mine: http://www.dixondalefarms.com, I wouldn't buy my onion sets anywhere else. They actually grow them, their not a clearinghouse like all the rest of the places that advertise onion sets on the Internet.

Onions need to be planted shallow, no deeper than 1". At least 6" or more apart in the row to allow for the largest onion growth. They also need to go in very early in the spring, I have learned that should be in March. I have yet to get my onions into the garden in March. Dixondalefarms sends wonderful directions for planting with their product. I do not follow it exactly but you should.


You can see the Red Onion Sets in this picture


Planting Potatoes:

Most of the suggestions for planting seed potatoes states to plant them 2" - 4" deep and as they grow to hill them. I did that last year with success. This year, I found web sites that suggested digging a 4" wide, 8" deep trench. Place the potatoes in the trench and cover with only 2" - 3" of soil. This is the same technique used to plant Asparagus crowns. As they grow push more soil on top, enough to cover the green growth by half, never more or your kill the plant. As the potato plant grows, keep adding soil to the trench 2" or so at a time until the trench is filled in equal to the surrounding soil level and the green growth is well above the soil level. So this was what I did tonight, and it was not easy to dig those trenches, of which I needed five trenches 9' long. But I did it, the potatoes are in, only one week behind schedule and we shall see how it turns out.


Trenches dug ready to except seed potatoes

Better picture. These were not easy to dig