I love duck, roast duck, grilled duck breast, and especially duck Confit. Traditionally this technique was a way to preserve meat prior to refrigeration. It's persistence into the modern era is a testament to the flavor of the finished product.
This technique can be applied to items other than duck, such as any poultry, pork, beef and yes even fish. And although ideally you want to use the same fat as the item being used, any neutral fat such as canola oil can be substituted.
Having said that, I have a nice big young duck and I want to confit it.
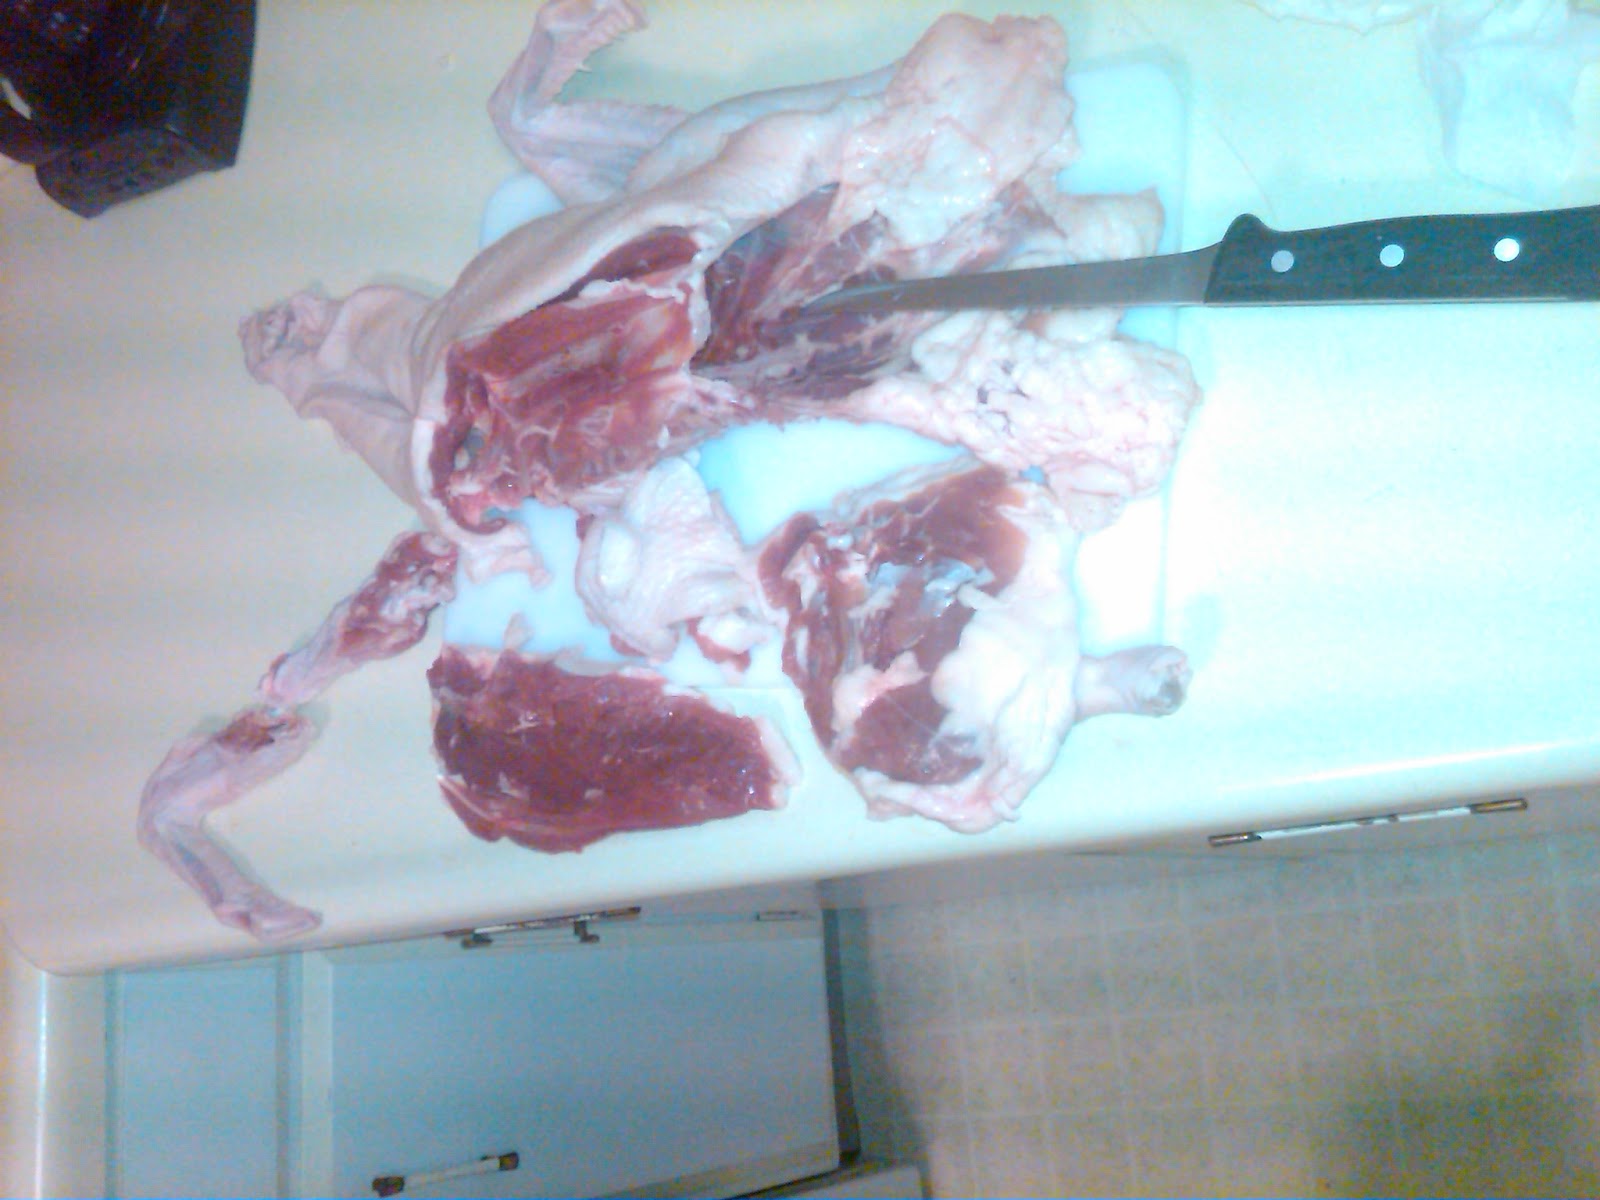
De-bone duck;
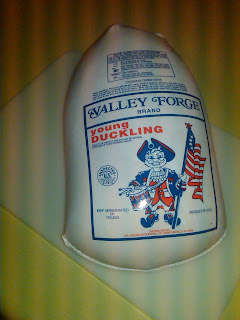 |
| Typical grocery store duck, size not very important, I try to get the biggest one I can |
 |
| Remove from wrapping, rinse inside and out under cold water, pat dry |
|
 |
| Look at those beautiful globes of duck fat at the rear of the cavity |
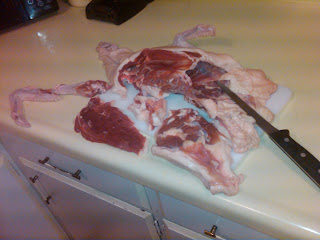 |
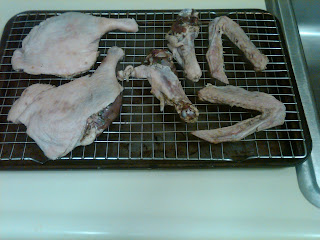
| Break down, leave thigh and drumstick connected |
 |
| One side broken down |
Remove the legs, breast, and wings, separate the wings at the joint. Do not separate the thigh from the drumstick.
 |
| Cryovac duck breasts, reserve for later use. |
I have a couple of cups of Goose fat, left over from roasting a Christmas goose. I saved this just for duck confit, but I don't think that it will be enough. So I will render all the fat from the duck carcass by slowly roasting it at 300°. After doing this it produced another 2 cups of beautiful duck fat. So together with the goose fat, I have about 4 cups of fat total available for this confit.
 |
| Duck carcass about to go into oven to render fat |
Ingredients:
Young Duck - Size unimportant
Duck Fat - About 4 c. ( I supplemented with goose fat, as stated above)
Salt Mixture: Mix to combine
Kosher Salt - 600 g.
Morton Tender Quick - 20 g. The original recipe called for 2% Sodium Nitrate, I did not have that so I substituted tender quick)
Spice Mix:
Garlic - smashed - 3 cloves
Shallots - minced - 1 large
Fresh Thyme Sprigs - 1 per each piece of duck - (I did not have fresh so I used dried)
Fresh Rosemary - 1 small per each piece of duck - (I did not have fresh so I used dried)
Bay Leaf - 2 each
Black peppercorns - 1/4 tsp.
Cloves - 3 each
Take a small sheet pan, and put about 1/8" layer of salt mixture on it. Lay duck pieces on top of salt mixture.
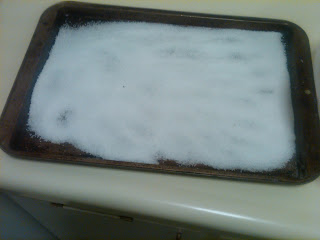 |
| About 1/8" layer of salt mixture |
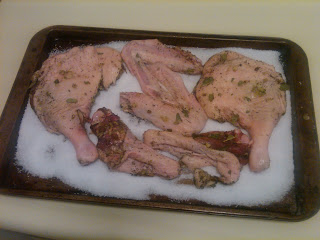 |
| Lay duck on top |
Completely cover duck with remaining salt mixture. What we are doing here, is setting the stage to dry cure the duck. This is a method of food preservation that goes back hundreds of years if not longer. The salt will draw out the moisture in the duck, this will help it to stay edible much longer than if you did not do this.
 |
| Don't be too particular, just try to cover the duck as much as possible |
Place a 2nd sheet pan on top of salted duck, and add weight. Cans work well for the weight, I did not have the room in my refrigerator to allow for large cans, so I used good old fashioned bricks.
 |
| Low tech duck press |
Place all into refrigerator for 24 hours. Less time and your duck will not be cured properly, longer and the duck will become too salty
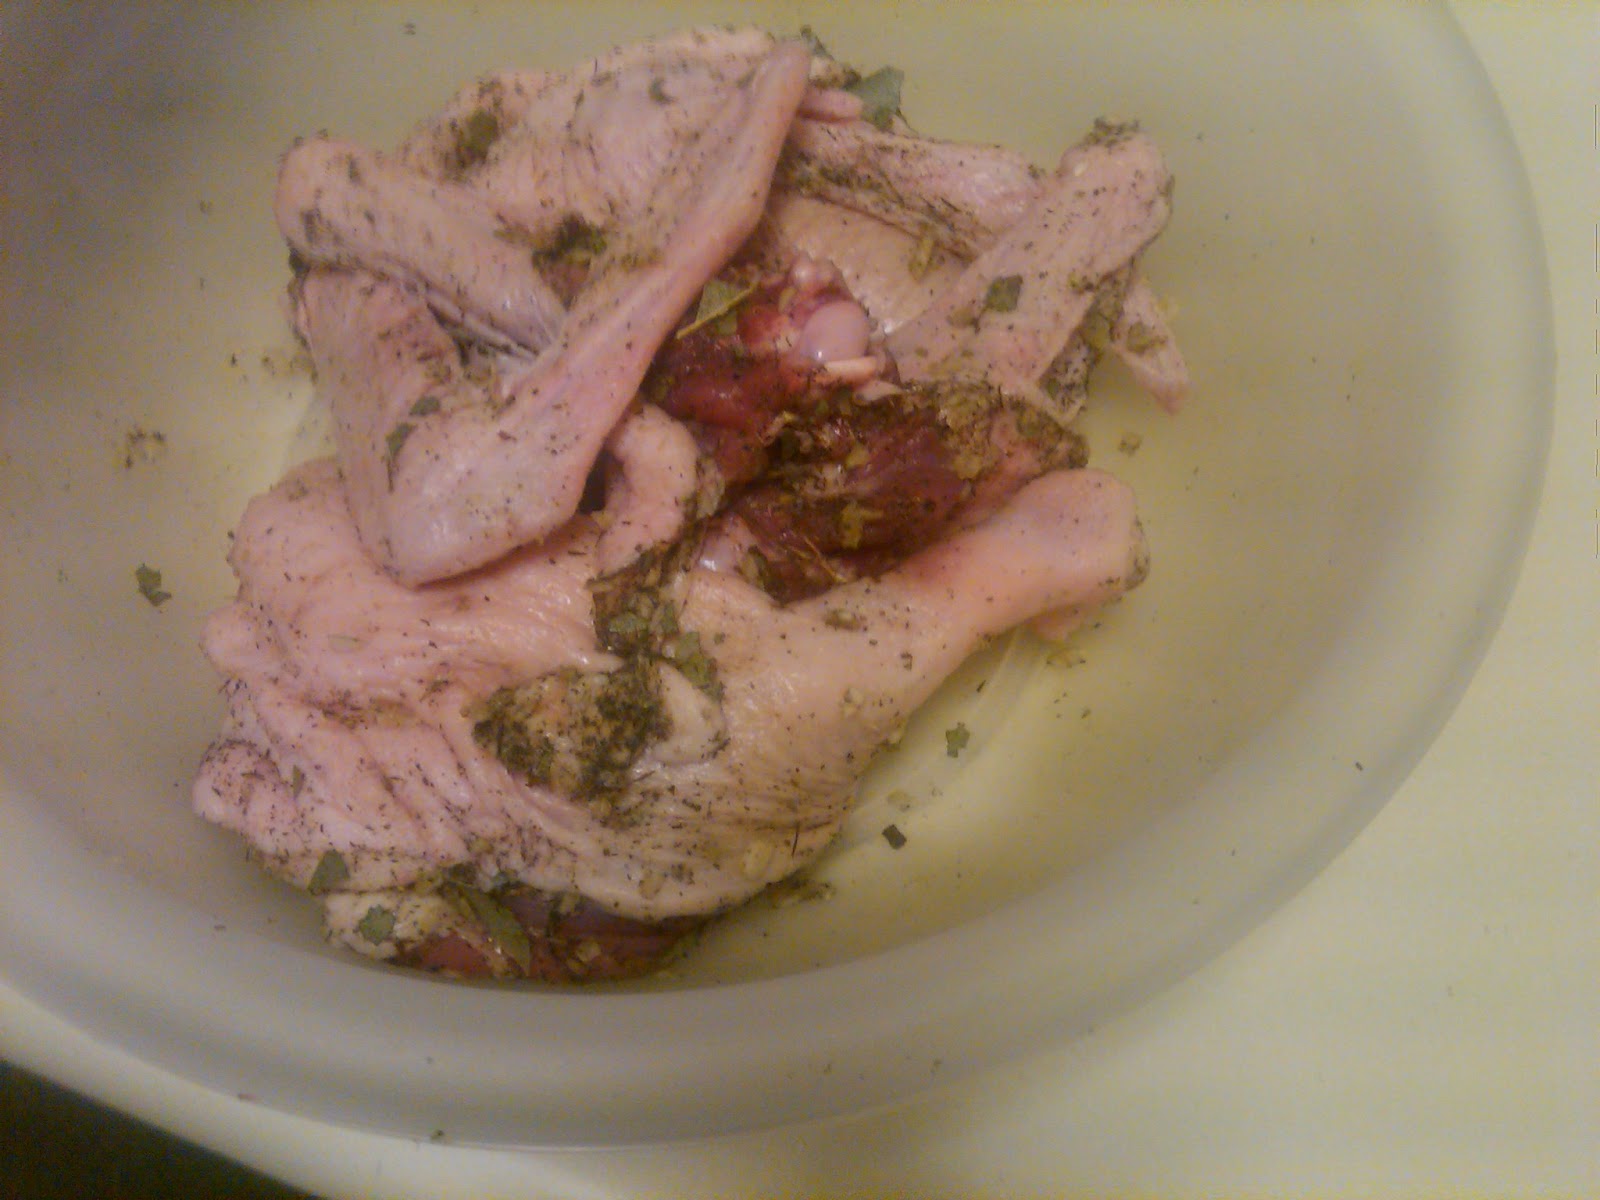
After 24 hours, remove from refrigerator and rinse as much of the salt and spices off under cold water as possible. Then place in a bowl of cool fresh water, make sure all of the duck is completely covered in water, allow to soak for at least two hours to leech out as much salt as possible. The water should end up very salty tasting. Place rinsed duck onto a rack on a sheet pan and replace into refrigerator for 4 hours. This will again result in pulling out any excess moisture on the duck from rinsing it.
 |
| After 24 hours in the refrigerator curing |
 |
| Rinsed and ready to go into refrigerator to dry off |
Prepare fat by heating it until it is just hot. Do not overheat, you should not allow the fat to get so hot that it begins to cook the duck when the two are combined
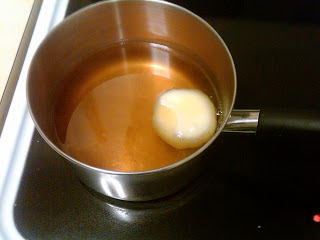 |
| Heating fat |
Place duck into small (2 1/2 quart) dutch oven, add hot fat
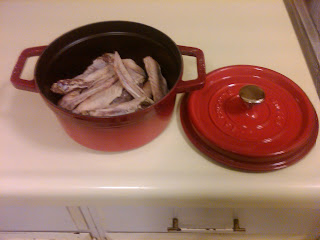 |
| Ready for fat |
Place into preheated 200° oven for 6-8 hours. Do not be alarmed by such a low oven temperature like I was when I 1st did this, the oven felt barely warm, I was sure it wouldn't cook. As it turned out, my fears where unfounded. It is done when duck is all but falling off the bone. I let mine go for a whole 8 hours. I then allow the dutch oven to come to room temperature on top of the stove, cover with lid and place into refrigerator to "mature". The duck can be used at any point now, but I believe to achieve the true confit experience you must allow the duck to mature in the fat for a minimum of two weeks, a month is better.
To remove from the fat, you can place the dutch oven over low heat to gently melt the fat to the point that you can carefully remove the duck.
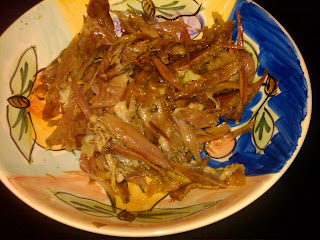
This is now traditional duck confit. You can shred it into mixed greens and create a duck confit salad, it is an essential ingredient in cassoulet, you can make any number of Hors d'oeuvres with it, . Being the simple guy I am, I shred and make Duck confit, American cheese and dill pickle sandwiches with it. So good.
To be sure were clear, what you now have is properly preserved duck covered in duck fat. This is how it was done long before we had refrigeration. This product could last up to a month or more at room temperature. The salt has cured it, the fat protects it. The fat will go rancid long before the duck does. In the refrigerator, this product will easily last up to 3 months.
 |
| Perfectly preserved |
 |
| Will keep up to 3 months + in refrigerator |
 |
| One month later, the unveiling |
 |
| Ten minutes at 450° to crisp the skin |
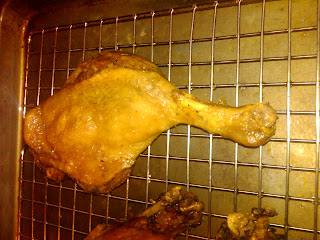 |
| And it's ready |
 |
| The best way to filter duck fat, heat slightly and use the coffee maker filtering system. Works great |
 |
| And there you have it. |


No comments:
Post a Comment