 |
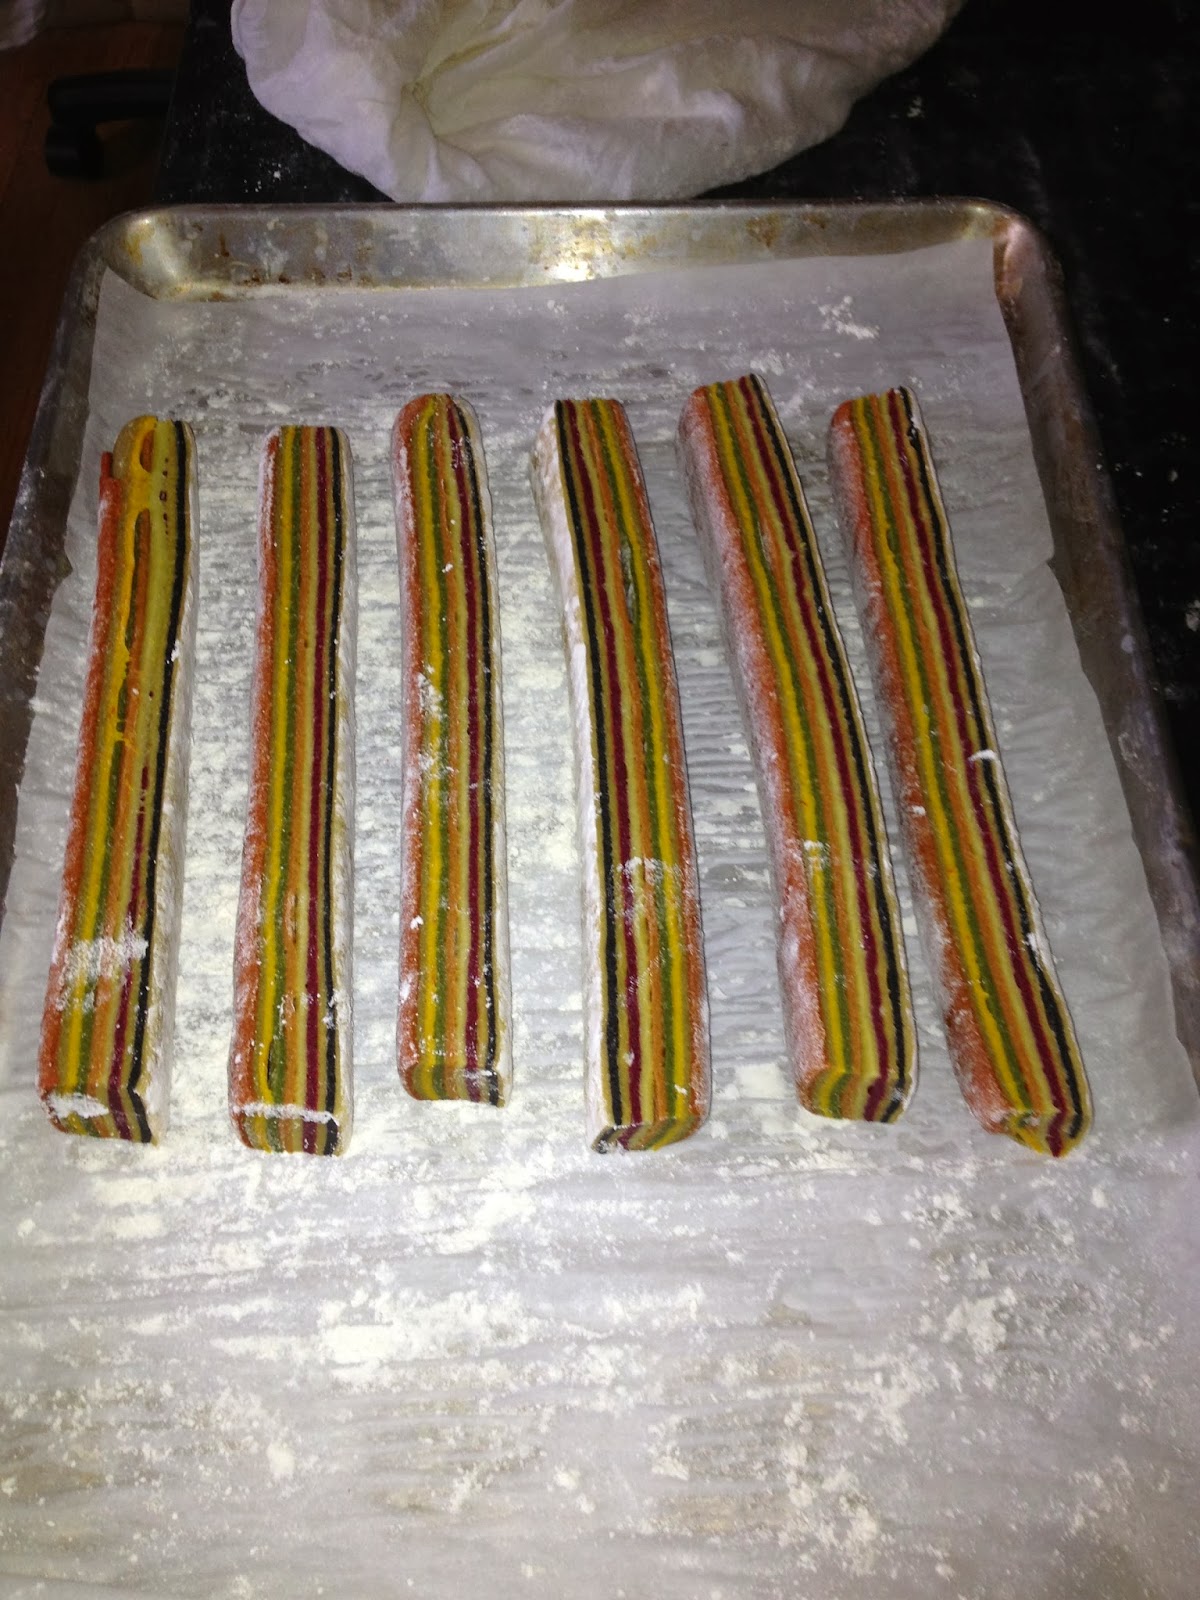
| Striped Pasta Strips ready to roll out into sheets for Ravioli |
 |
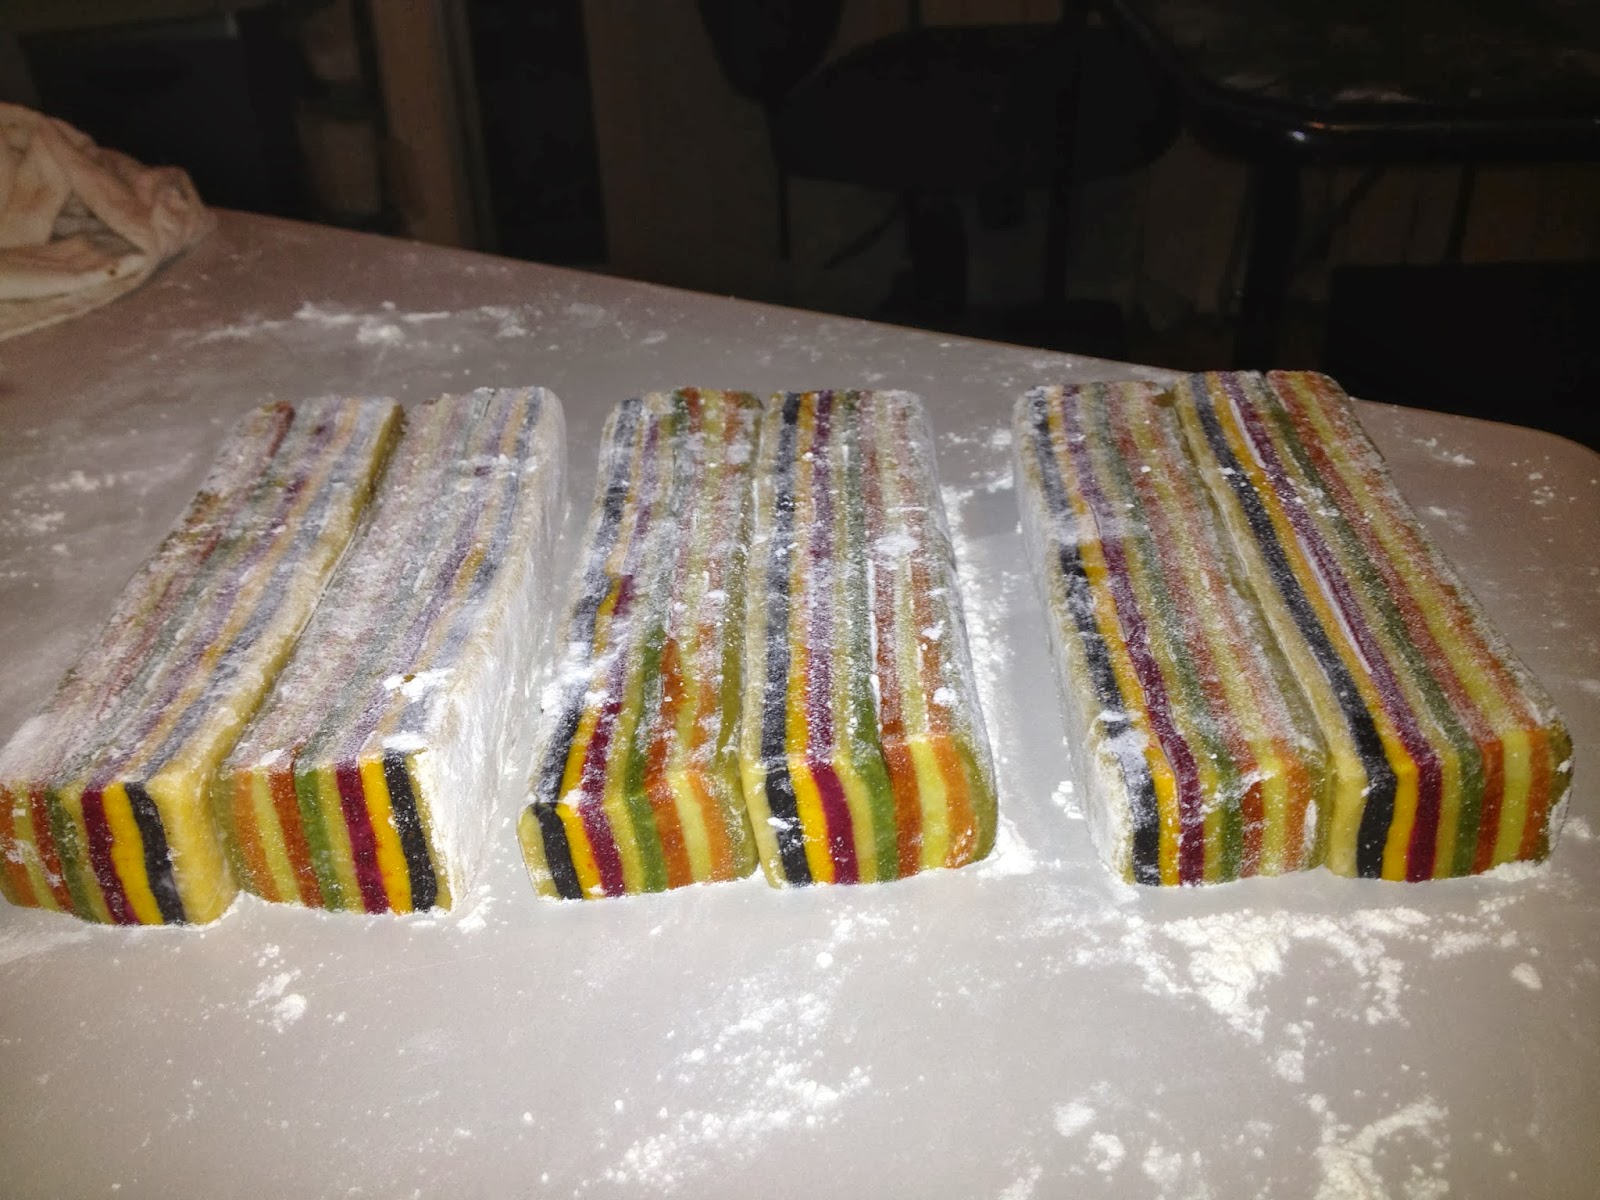
| Ravioli Sheets of Striped Pasta |
There is a web site that inspired me to attempt this. It has wonderful pictures and was done by someone with obviously more experience than I. It's in German, yet my browser allowed me the option to translate from German into English. That helped me get more of an idea of how this is done, but if you do not have this option the pictures alone are worth a "look see":
http://www.kuriositaetenladen.com/2009/01/pastakolleg-teil-2-gestreifte-nudeln.html
The Basic Pasta Dough Recipe:
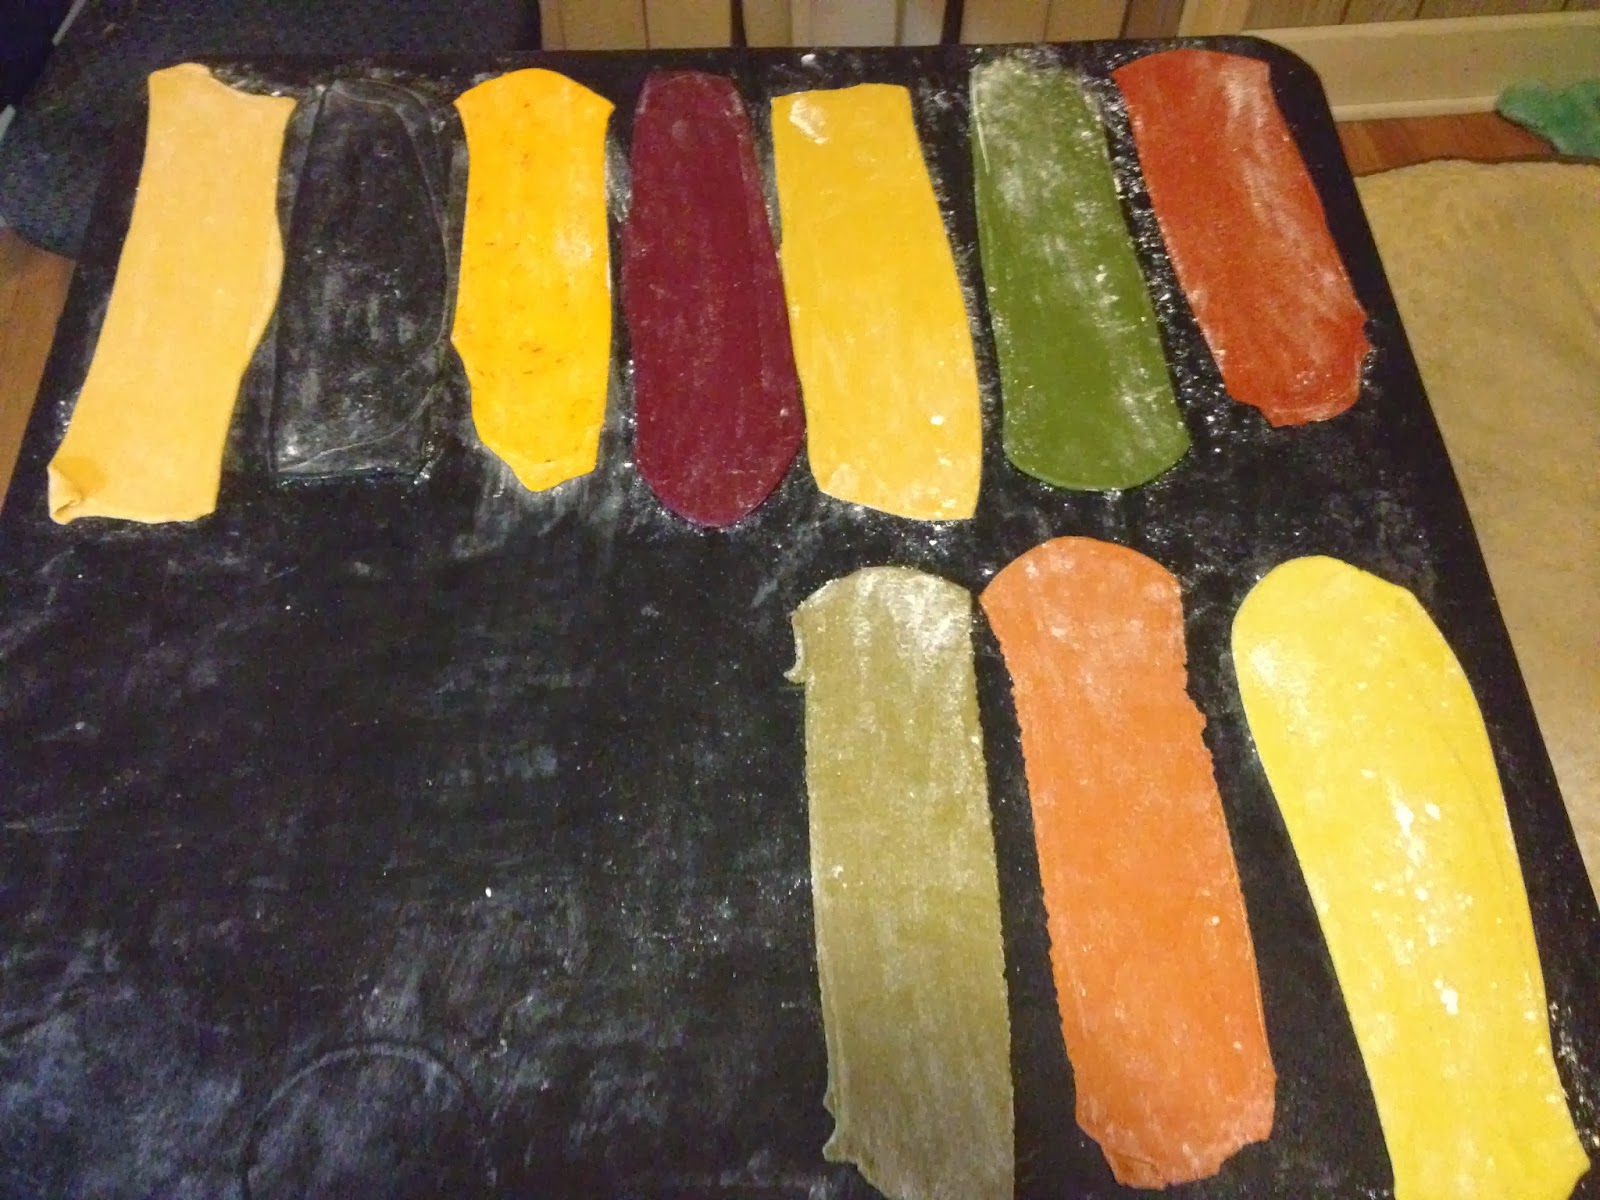
Pumpkin (Yellow)
Red Beet (Purple)
Roasted Garlic (Beige)
Jalapeno (Light Green)
Tomato (Light Red)
Wasabi (Pale Green)
Basic (Yellowish tan)
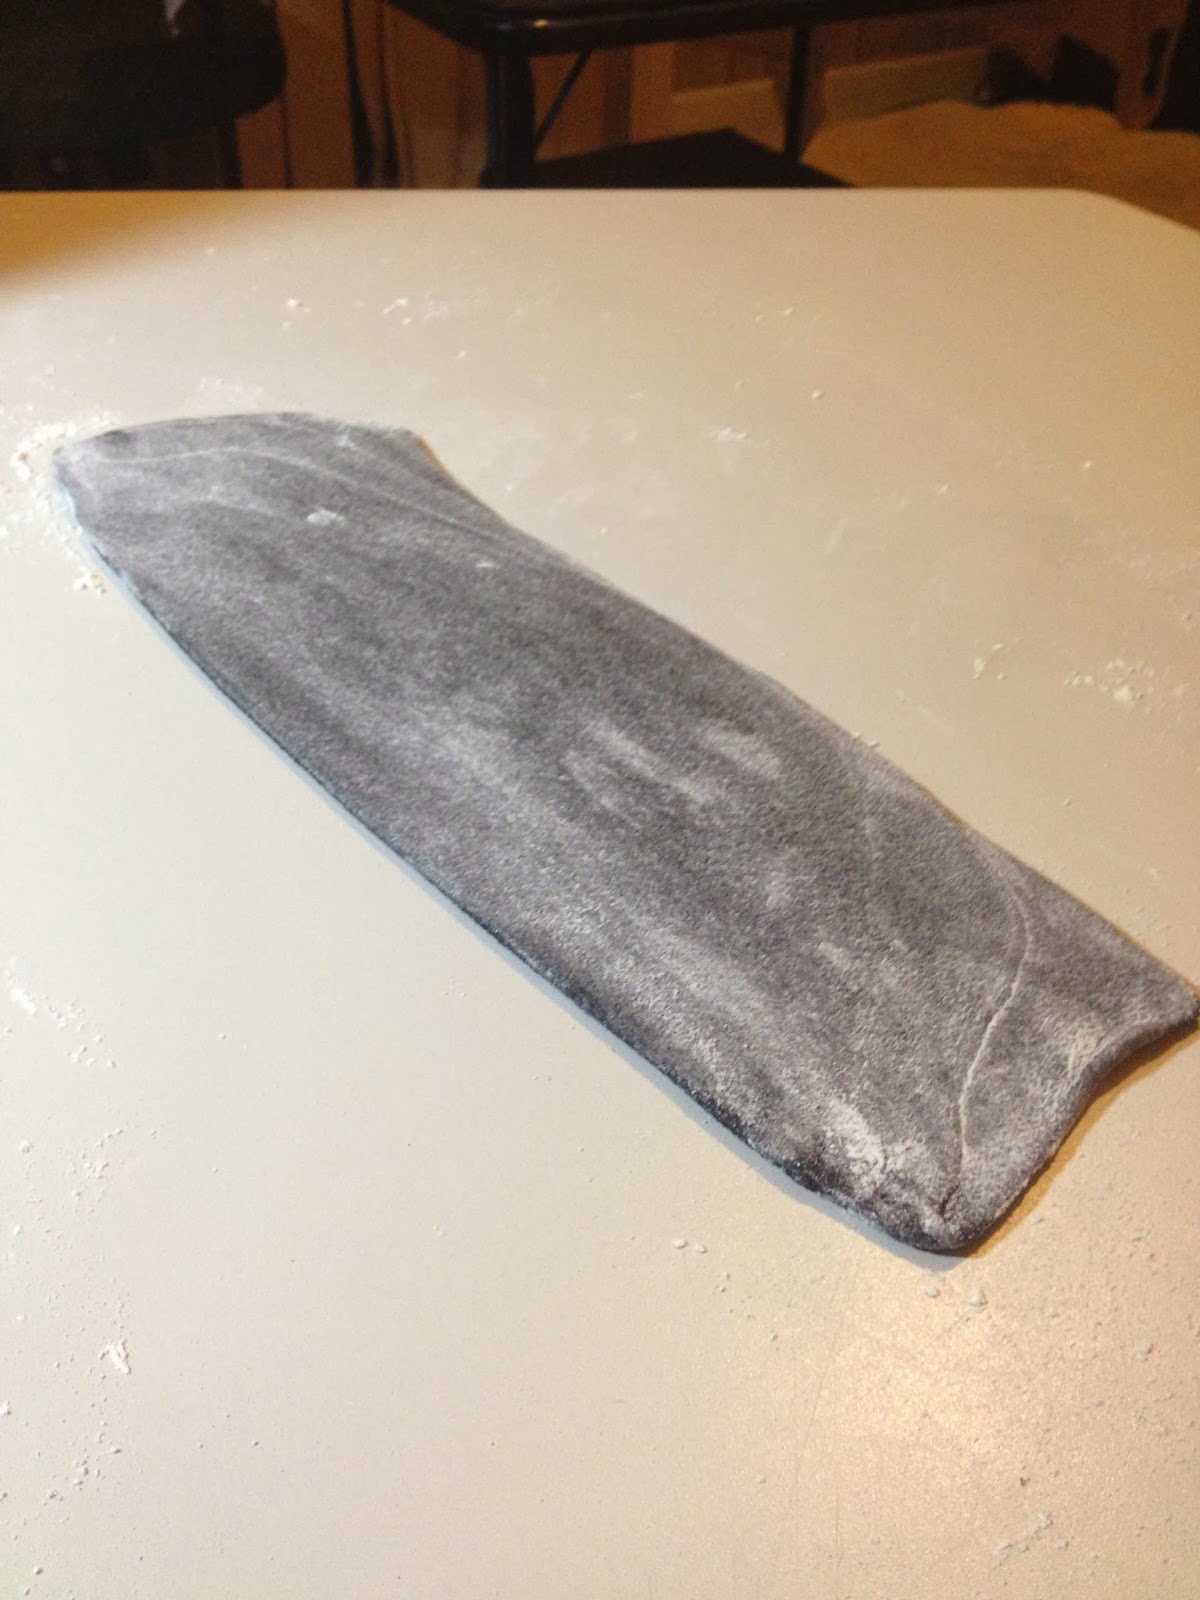
Squid Ink (Black)
Turmeric (Orange)
Spinach (Green)
Chili and Smoked Paprika (Red)
Saffron and Lemon (Yellow)
Multi-Colored Pasta - Building the "Block", Creating the Ravioli Sheets:
- Make the stained pasta, keeping each as they are completed reserved in the refrigerator wrapped in plastic wrap until all are made.
- Then when ready to begin to actually make the stripped pasta sheets, first remove all the different stained doughs from the refrigerator and allow to come to room temperature.
- Gather everything you might need prior to starting (Mise en place)
 |
| Mise en place (note dough in this picture has already been divided in half) |
- Begin by dividing each dough in half, reserving the 2nd half in the refrigerator for later use Keep the halves you will be working with wrapped in plastic wrap until you need it
- One by one, run each color through the pasta roller on the thickest setting creating sheets that are as thick as your pasta machine will allow. (Mine is makes sheets approximately 1/8" thick)

- Keep all sheets covered with damp cotton towels while until all sheets are created

- Build layered multi-colored "block"
- Make sure your layers of different colored pastas are relaxed.
- Make sure they are not dried out, keep them covered with a lightly dampened cotton cloth while you work
- Make sure they are not covered in flour or they will not bind properly when stacked
- When all the desired colors are properly rolled into sheets, stack them one on top of the other. Lightly brush the top of each sheet with water to allow the next sheet to adhere. Less water is better in this application

- When all desired colors are stacked, square edges of the stack with a sharp knife to create a perfect rectangle as square as possible

- Cut "block" in half
- Wrap each in plastic wrap and allow to rest/chill in refrigerator for at least 1 hour
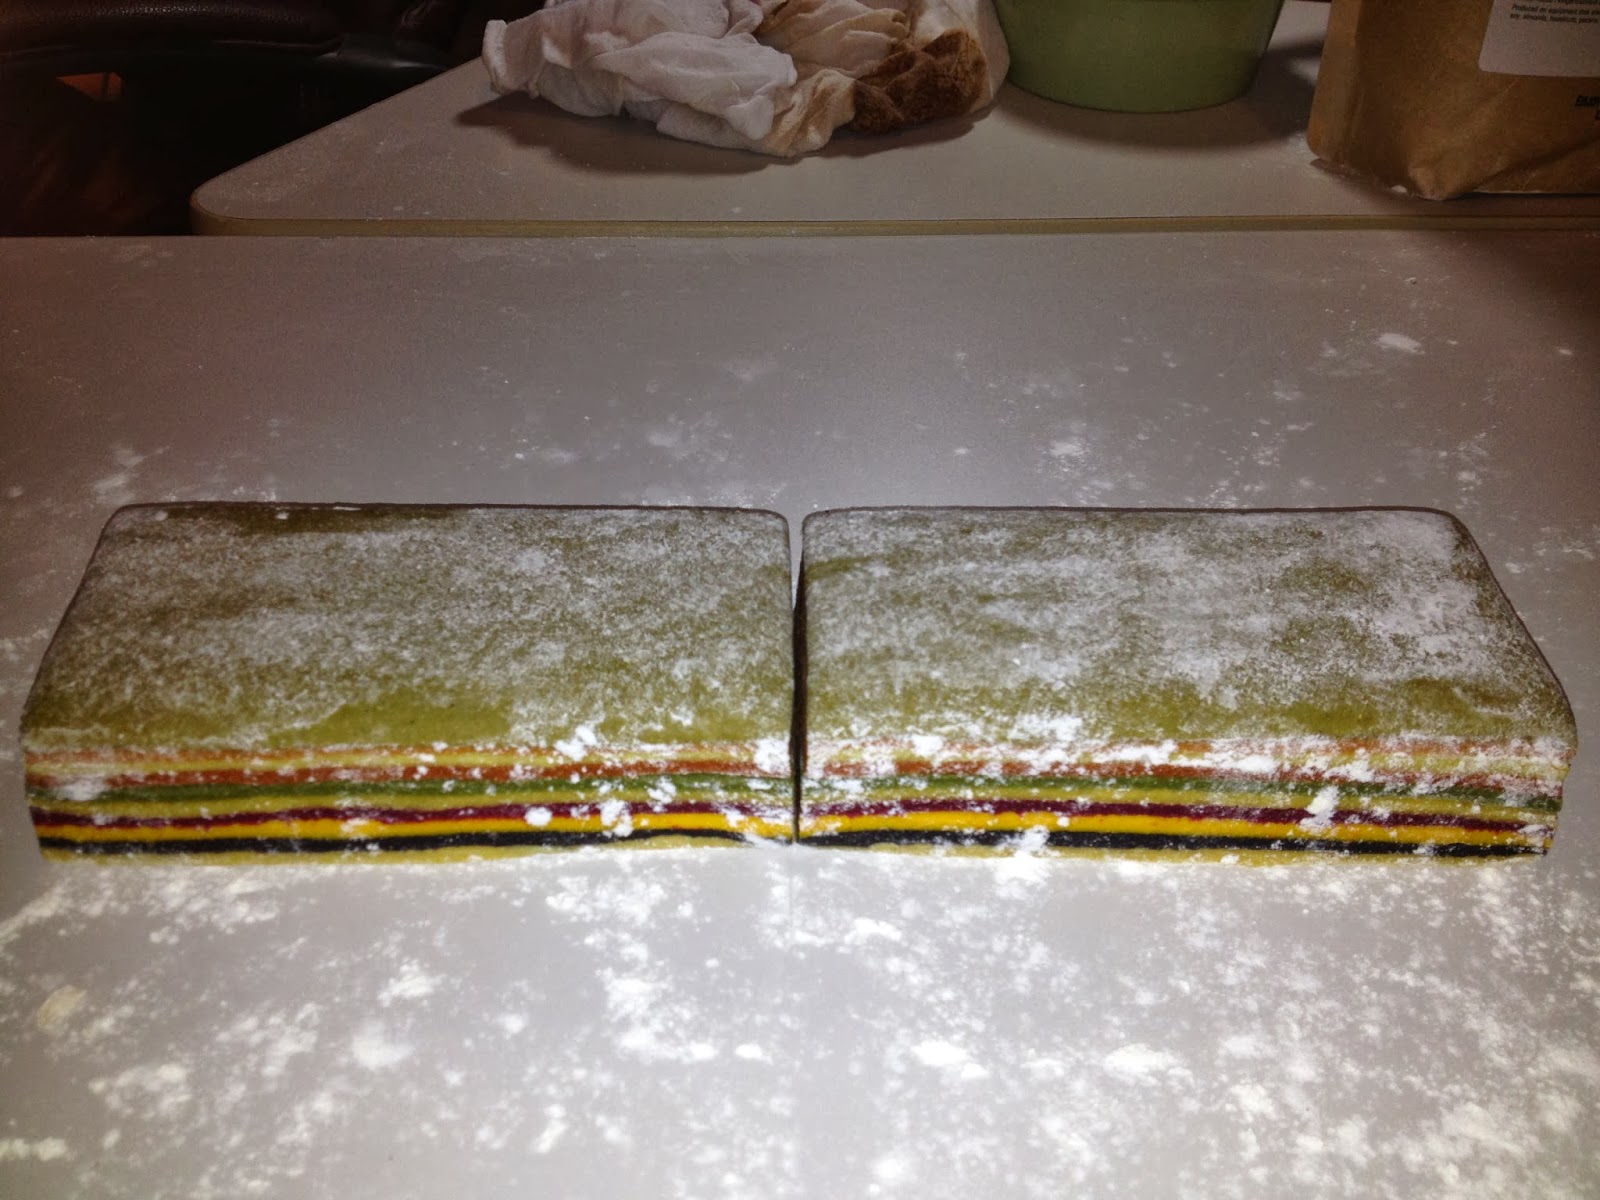
- Cut each half lengthwise into four each 1/2" strips
NOTE: I cut mine into three each 3/4" strips, I now believe that it would result in crisper less blurred lines if the pasta strips you cut at this point are thinner. If you have to then lay two side by side to result in a pasta sheet that is wide enough that would be no problem, simply glue them together with a little water
 |
| Next time I will cut into 4 thinner strips rather than the 3 you see here |
- Once all are cut, cover the strips with damp cotton towels while you roll each one

- Now flour the work bench
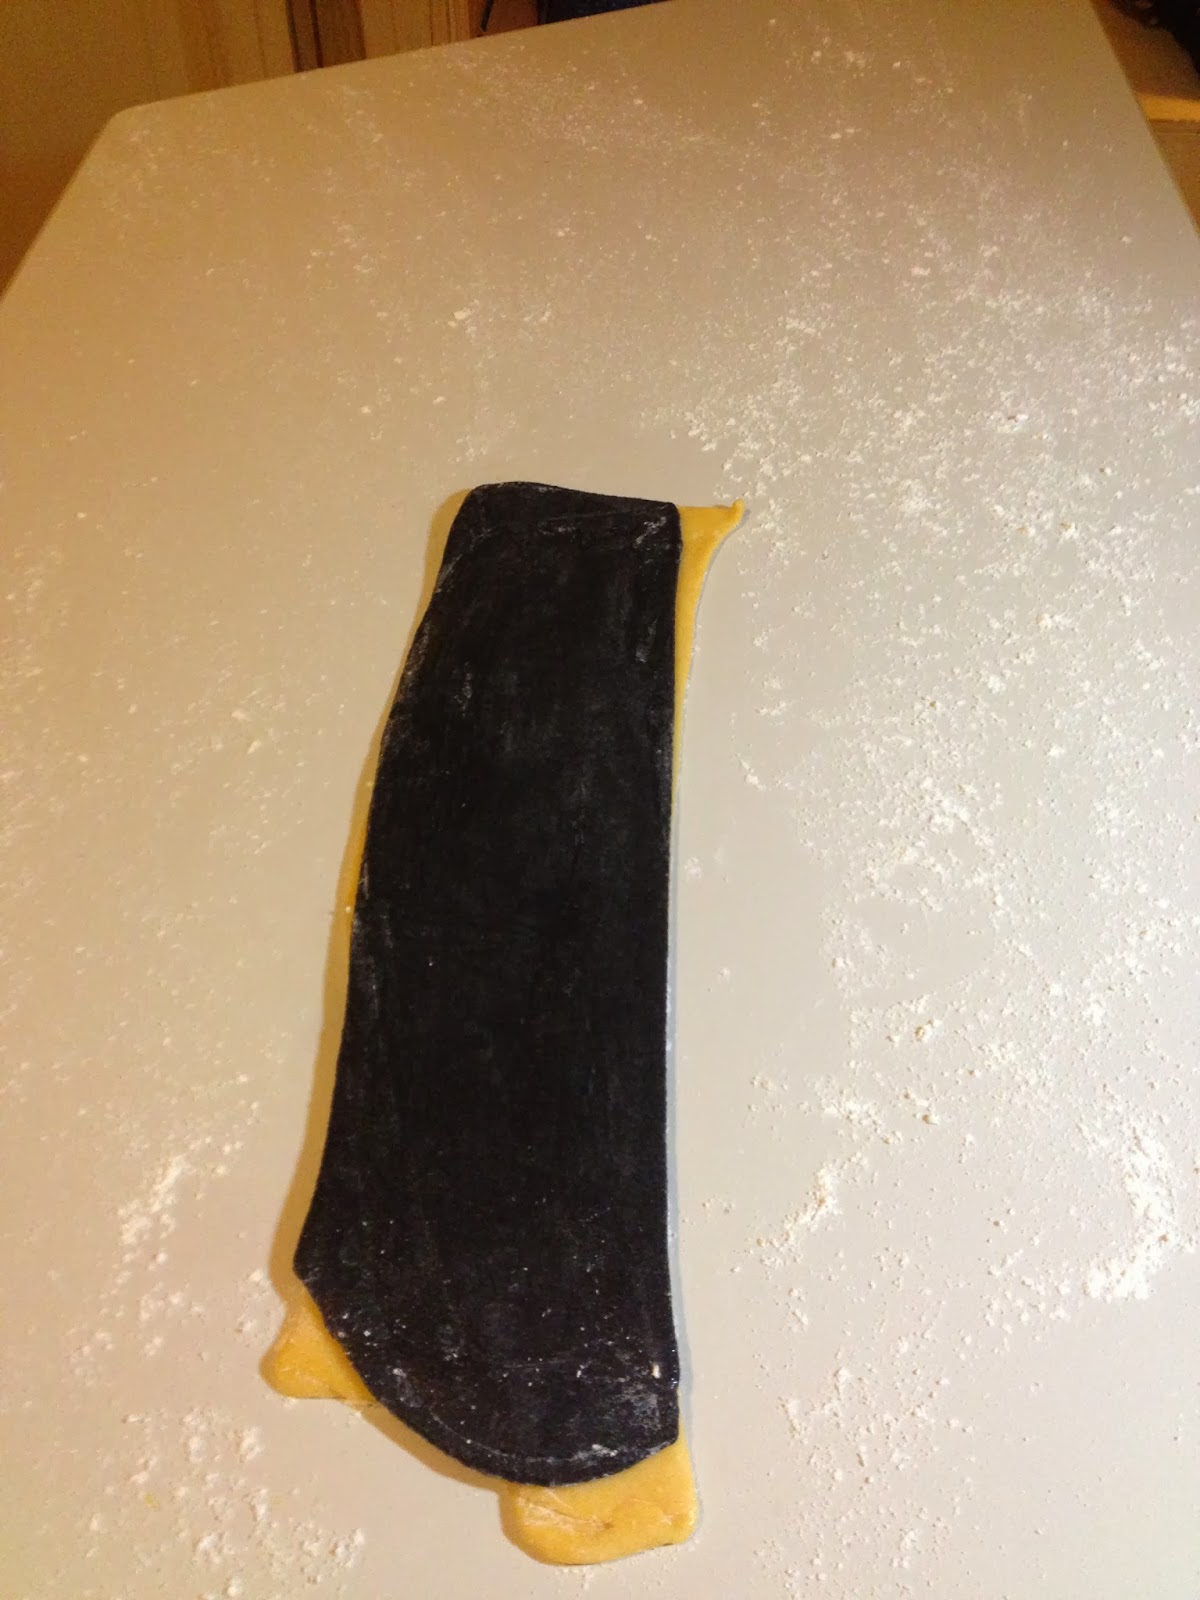
- Take one of the strips and lay it on top of the floured work bench rotated from it's original position 90°. The colored layers should now be vertical
- Working with a rolling pin, gently roll out the striped pasta into a rectangular sheet only as thin as the pasta roller requires to except at it's thickest setting without smashing the sheet of stripped dough as it enters. Work with the pin in a longitudinal direction only otherwise the lines of color will blur.
- When the sheet is sufficiently thin, use the pasta roller to process the sheet into the final sheet of Ravioli dough. I use setting #1 on my pasta roller
- Finally, remember to work quickly, if delayed at any point keep the dough at whatever stage it is covered in a lightly dampened cotton cloth. Do not at any point expose the dough to the air for an extended period of time unprotected or it will dry out

 |
| Too much flash on the camera but still you can see the sheets |
 |
| Close up of striped sheets |
No comments:
Post a Comment