 |
| It's Alive! |
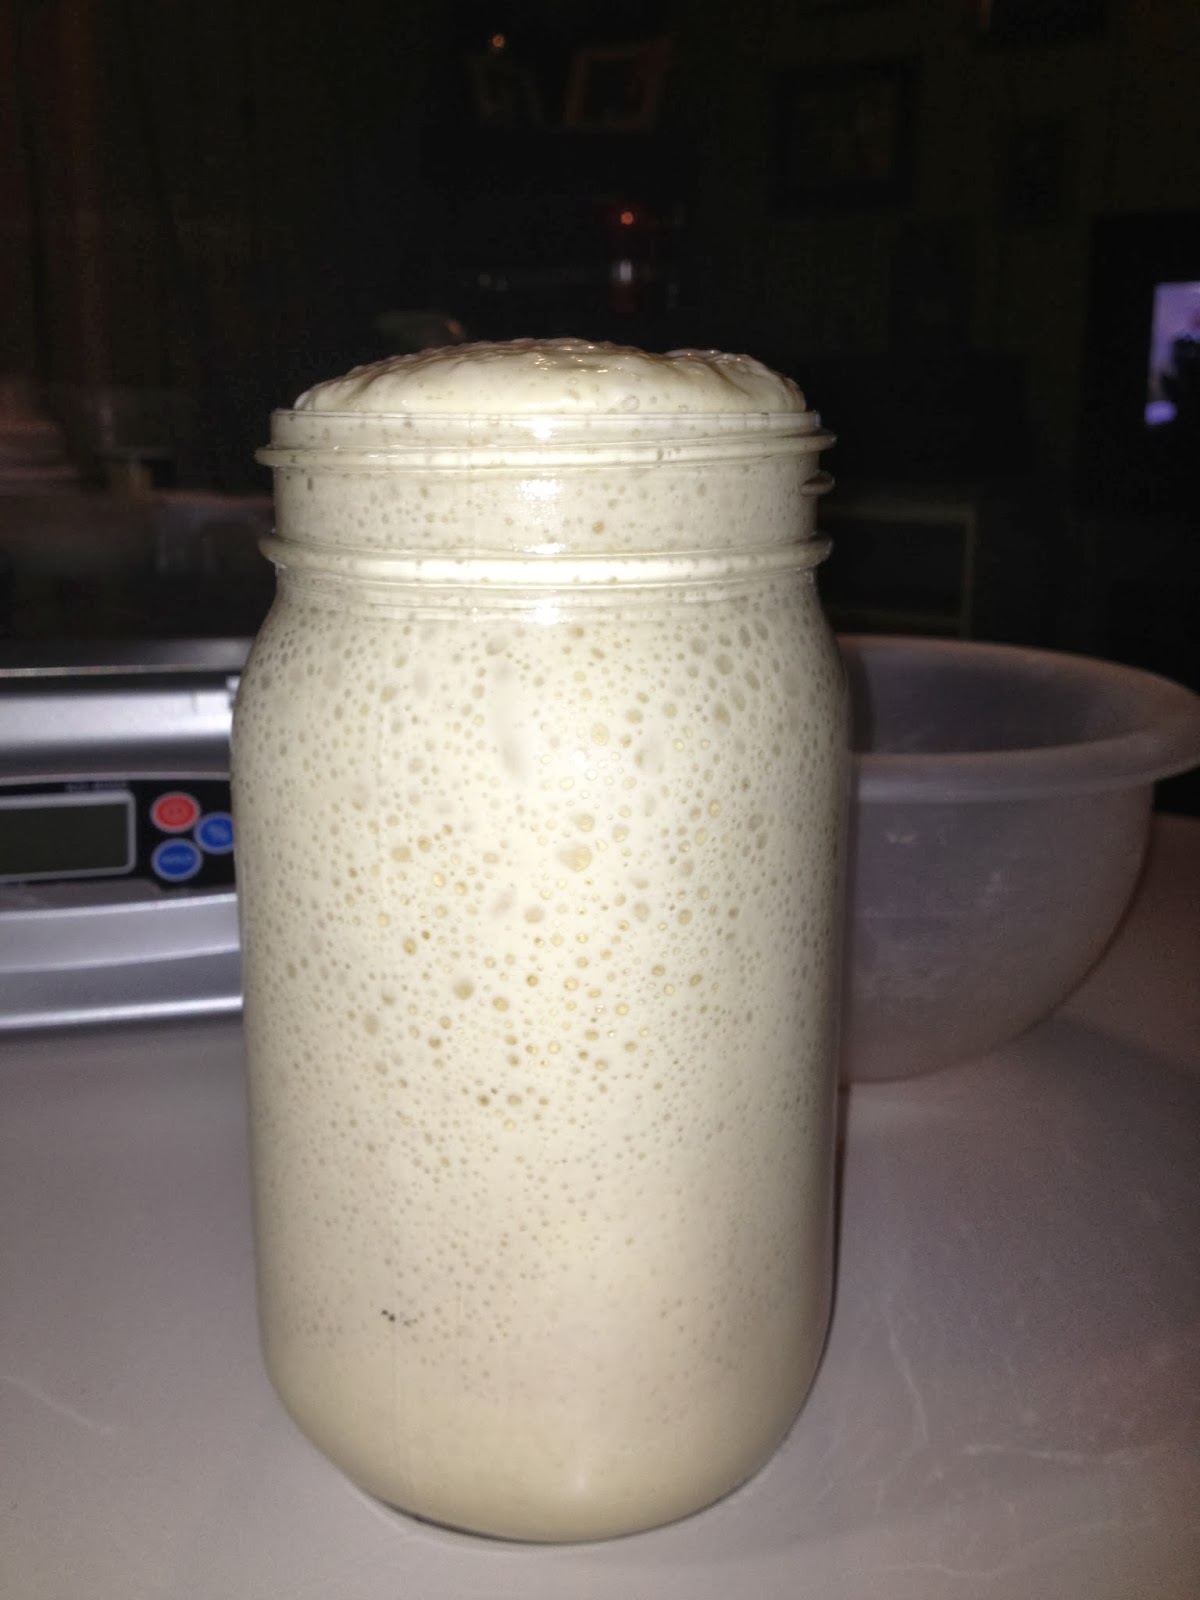 |
| A very healthy, active White 100% hydration starter just about ready to feed again |
What we're talking about is really called a Natural Leaven Starter which for better or worse is commonly known as a "Sourdough" starter. But to be clear a natural leaven starter may or may not impart a sour taste to your bread. How you develop the starter will determine how sour it is or isn't.
I spent a considerable amount of time researching this process before I settled on a particular method. There are literally thousands of different methods to do this. It's truly overwhelming. The method that I have chosen to follow was developed by Debra Wink. I found it on a web site called "The Fresh Loaf". I give all credit to her and her efforts and the web site for sharing it with the public.
I used as reference a web page titled: "Sourdough Starter, Step-by-Step and Side by Side: Intro". This web site is called Yumarama, a bread and bakers blog and follows Debra Wink's method.
I attribute my knowledge to these two web pages, the following technique was developed by them.
Sources:
*This one is a very long post, scroll down to the part that is the actual day by day instructions:
http://www.thefreshloaf.com/node/10901/pineapple-juice-solution-part-2
*This is essentially the same instructions, in a much more user friendly format:
http://yumarama.com/968/starter-from-scratch-intro/
So I want to make Sourdough Bread. I have made Bagels, pretty darn good ones too if I don't say so myself. I have made German Soft pretzels, Italian Sub rolls, and now I want to try making naturally leavened bread.
As it turns out, you don't just make Sourdough Bread like you do with a normal loaf of bread that utilizes commercial yeast. You know, follow a recipe and combine water, flour and yeast, possibly adding some enhancements such as sugar and fat, allow it to rise and bake it. Not so with Sourdough, you first must learn to make a "Starter". The starter is what will leaven the bread. A starter, is a leavening agent, used instead of commercial yeast, that can be utilized to produce bread that may or may not be sour.
So this post will focus on the "Starter", and we will allow the making of the actual Sourdough Bread to wait until we have a viable starter.
Now I am about to get into the particular steps, let me say one last time, if you really want to do this you should visit the two websites listed above in "Sources", that's what I did, that is where I learned. These web sites offer a much more thorough explanation of the process which is important for full understanding. The following is just the steps that I have distilled all that information into.
I decided to create three separate starters- Rye, Whole Wheat and White (All-Purpose) They all start out identical, and only on or about Day 5 do they diverge. I don't know if this was a smart decision, I have found in my research that you can make a single starter and turn it into any one of the three types mentioned above simply by feeding it that particular type of flour for a few days. Well, I want to make starters that as much as possible are made from their respective flour. So again, I don't know if it unnecessary to make three different kinds of starters like I am doing, but that is what I am going to do.
UPDATE: It's now a year later than when I wrote the above, and I have learned that it is in fact not necessary to make, manage and store separate starters. What a chore that was. Make one, manage and store it until you want to make a particular kind of bread. Refreshing (feeding) the starter with the appropriate kind of flour for three days before you want to use it to make your bread and it will turn into the kind of starter you need.
 |
| Three separate starters Day 1, destined to be different yet right now they are identical |
NOTE: I use 1 Qt. Wide Mouth Mason Jars for my starters
NOTE: Debra Wink breaks down the process into a number of different phases;
Phase 1 - Nothing happens (1-3 days)
Phase 2 - Starter will begin to produce it's own acid and develop a tangy taste. This is when a "False Rise" would happen if you used water instead of Pineapple juice. Again not much to see, in this phase, If it is going to get hung up, it will be here. If after 3 days in this phase the starter still doesn't show signs of rising, switch back to the original recipe of Rye/Whole Wheat/Pineapple juice (1-3 days)
Phase 3 - Starter becomes very tart, the gluten may deteriorate, tiny bubbles appear. Will not have much sour smell so sourness must be detected by taste (1-3 days)
Phase 4 - Yeast starts to grow and reproduce. The starter will expand and begin to take on a "yeasty" smell of bread or beer. If it smells like this to you, but does not expand, the smell you detect is just wishful thinking (1-7 days)
Phase 5 - Maturing - Although the starter is now ready and able to rise bread, continue to feed for a month or more. The flavor will develop and the amount of "little yeasties" in the starter will multiply (1 day-infinity)
Phase 6 - Storage and Maintenance - Store starter in refrigerator. Optimum feeding is every other day but you can get away with once a week feedings. When feeding remove from refrigerator, feed and immediately return to refrigerator. To use, refresh the starter by feeding twice daily for three days keeping the starter at room temperature.
Starter Recipe Day 1:
8.5 grams Whole Wheat Flour
8.5 grams Rye
27 grams Unsweetened Pineapple Juice
Mix to combine, add to Mason Jar, replace lid, allow to the starter to sit at slightly better than room temperature (70°F - 75°F)
NOTE: I think it's important for the culture to breath, I now cover the jar with a cotton kitchen towel.
Day 2:
Remove starter from Mason Jar to mixing bowl. Clean Mason Jar.
Add to mixing bowl-
8.5 grams Whole Wheat Flour
8.5 grams Rye
27 grams Unsweetened Pineapple Juice
Mix to combine, return all to Mason Jar, replace lid, allow to the starter to sit at slightly better than room temperature (70°F - 75°F)
Day 3:
Remove starter from Mason Jar to mixing bowl. Clean Mason Jar.
Add to mixing bowl-
8.5 grams Whole Wheat Flour
8.5 grams Rye
27 grams Unsweetened Pineapple Juice
Mix to combine, return all to Mason Jar, replace lid, allow to the starter to sit at slightly better than room temperature (70°F - 75°F)
 |
| I begin to see rise on day 3 |
NOTE: Debra Winks method changes the recipe on Day 4, I waited until Day 5
Remove starter from Mason Jar to mixing bowl. Clean Mason Jar.
Add to mixing bowl-
8.5 grams Whole Wheat Flour
8.5 grams Rye
27 grams Unsweetened Pineapple Juice
Mix to combine, return all to Mason Jar, replace lid, allow to the starter to sit at slightly better than room temperature (70°F - 75°F)
 | ||
| Just after feeding |
 |
| After 8 hours |
Day 5:
NOTE: Assuming the yeast has begun to grow, but not before, gradually step up the feeding to 2 times a day.
NOTE: The starter will rise then collapse, collapsing is indicative of the food the yeast is feeding on is exhausted and it is time to feed again. I have evolved into a twice a day (morning and night) feeding regiment.
Rye Starter:
100 grams Starter
100 grams Rye Flour
125 grams Water
Whole Wheat Starter:
100 grams Starter
100 grams Whole Wheat Flour
100 grams Water
White (All Purpose) Starter:
100 grams Starter
100 grams All Purpose Flour
100 grams Water
Use basically the same method, measure out all ingredients, mix to combine return to a clean mason jar. At this point I do not tighten the lid, I allow it to be loose, allow to the starter to sit at slightly better than room temperature (70°F - 75°F)
UPDATE: I make and manage only one starter now, a Rye Starter that I turn into whatever I need as I need it.
 |
| Measuring |
 |
| Measuring |
 | ||||
| Just after feeding, now the starters are unique to their flour |
 |
| Again after 8 hours, beginning to collapse |
Day 6 and beyond:
Maintain this feeding regiment at 12 hour intervals. I do it before I go to work and immediately upon returning home after work. Needless to say, making and maintaining a sourdough starter is a serious commitment.
 |
| Day 10, my boys are well fed again, and read for bed |
 |
| Just 2 hours later |
 |
| A few hours after feeding |
 |
| A few hours later |
 |
| Nearly 8 hours after feeding |

No comments:
Post a Comment