 |
| One of my early attempts |
 |
| A Dozen batches later |
|
 |
| I do believe they are getting better, These were shaped in the traditional method |
|
 |
| It's all about the holes |
Currently my focus has been on
making the perfect New York Style bagel, God help me. I have learned that it is
no small feat. So the following chronicles my pursuit. While my previous
attempts at making bagels produced variations of too soft, too hard, too
fluffy, too dry, too wet, too many blisters or a combination of all, my most
recent attempts at bagels seems to have produced almost what I am looking for,
an old fashioned New York style bagel, chewy, slightly crunchy golden brown
crust, with a consistently dense but soft inner crumb.
High Gluten Flour is the way to go.
I imagine you might get away with bread flour fortified with the addition of
vital wheat gluten but why bother. Just purchase High Gluten to begin with. I
use no sugar. The flavor I am after is a slightly sweet, slightly tangy
compliment to the flavor of the wheat. I don’t want any one of these to
overpower the other. You should taste the sweetness on the front of the tongue
ever so slightly immediately upon taking a bite. As you chew and then swallow,
the backdrop of sour should come into play. The flavor of the wheat is something
that is hard to explain, it is nutty, it is present while chewing like the
sweet and tanginess, but seems to "build" over time, and it lingers
in my mouth and more importantly my nostrils, even seeming to grow stronger in
the moments after I finish the bagel. I can taste and smell the
"wheat" long after I have finished the bagel. The flour provides the
wheat flavor; the preferment process enhances and "brings to life"
the flavor of the wheat. The preferment also provides the tanginess, it's a
byproduct of the fermentation process, something to do with enzymes and
starches, but as far as I am concerned the main function of the preferment is
to bring out the flavor of the wheat and provide a slight tang. I use a
combination of Diastic and Non-Diastic Malt Powder. Non-Diastic Malt to provide
the sweetness and Diastic Malt for the added enzyme action it will provide the
dough during the fermentation. I cannot explain what goes on in the enzyme
action in the preferment and ferment scientifically, but my experience has
proven that the end result of doing it this way is a better tasting bagel.
 |
| Do yourself a favor, weigh out all ingredients before you start to mix anything |
Preferment:
 |
| Preferment just mixed |
|
 |
| After 3 hours at room temperature, this is now ready for the refrigerator |
|
The preferment needs to fully
develop. It can either be done in a warm room temperature environment over 2-4-6-8
hours depending on temperature and size of batch or it can be done slowly in a
cold refrigerator environment over 8-24 hours. With the later, you would still
allow the preferment to sit at room temperature for at least an hour before
placing in the refrigerator. The important thing is that in the end of whatever
method you use, it becomes frothy, bubbly and at least doubles in size. What I
like to do with this recipe is to use almost a combination of both methods. I
mix my preferment, using warm bottled water; I allow it to sit in a 75+°
environment until it is almost fully developed. With this recipe, with how
little instant yeast is in it, this can take up to 4 hours, usually about 21/2 to 3 at
75°. Then I put it into the refrigerator overnight. In the end, since this
recipe call for very little instant yeast in total, what I do not want is to exhaust
the instant yeast that is in the preferment. You do not want to allow the preferment to
reach the point where it has doubled in size and is now starting to collapse. By
that point it is over proofed and although I cannot state in scientific terms
the results of over proofing rest assured none of them are good. You want to
allow the instant yeast and the wheat to "do their thing" but not to the
point of exhaustion. FYI, under proofing is just as detrimental as over
proofing is. With experience you can tell when it's done simply by the way it
looks.
Autolyse:
I am also a big fan of autolyse. I
mix the preferment with all ingredients except the salt just enough to combine,
and allow that to rest at room temp for 20-60 minutes depending on batch size.
The results are amazing to the senses. You can see that the flour becomes well
hydrated; you can see that all ingredients have homogenized. And if you smell
the dough before autolyse and then again after, you will be amazed at how the
smell changes in just that short amount of time. It develops perceptively, it's
amazing. I believe that doing this results in superior dough.
 |
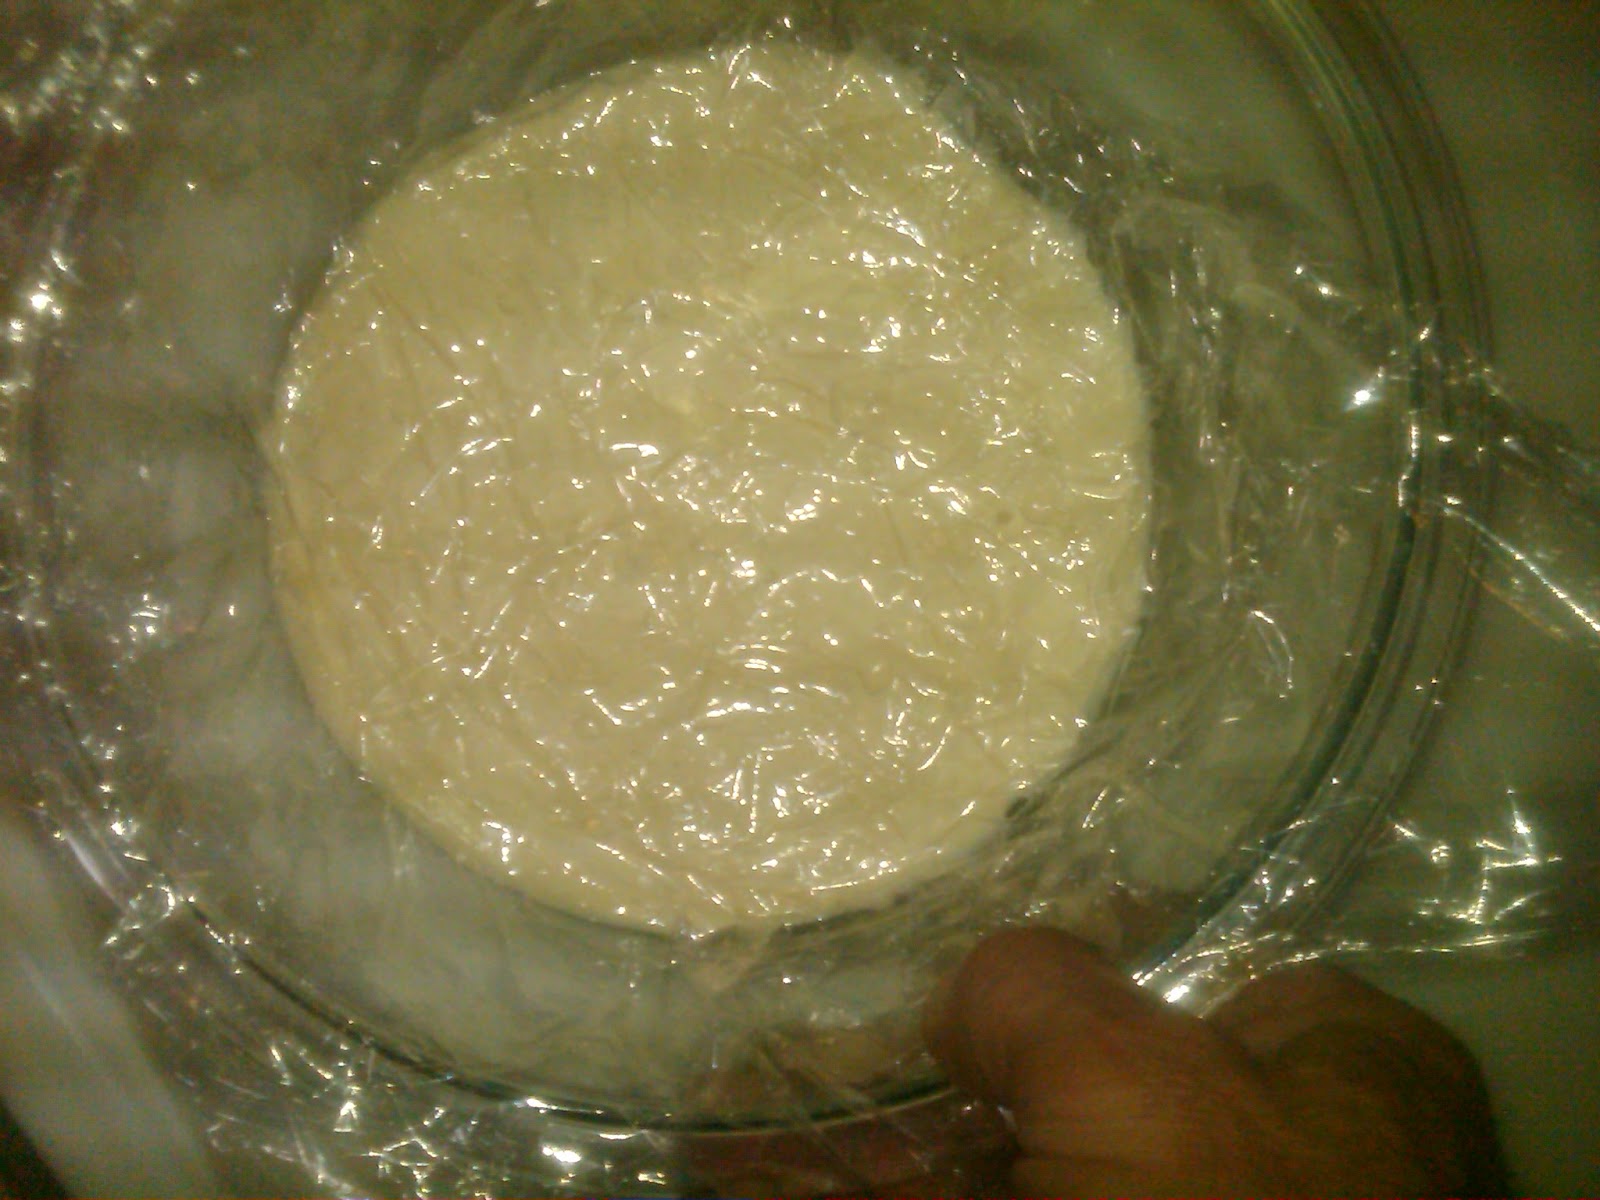
| Good Hydration of the flour after about 45 minutes of Autolyse |
 |
| Another view |
 |
| Different batch but great picture of what Autolyse can do for the dough |
Kneading:
I add the salt after the autolyse,
and begin the kneading process. I use my bread machine. What a mistake the
purchase of that was. The more I get into bread making the more I realized that
I should have bought a mixer not a bread machine. Mixing is the only function I
use it for. I need to touch the dough, I need to control the rise environment
myself, I am not comfortable letting a machine provide the rise environment, I
could go on and on. Suffice to say I believe bread machines are useless for
serious bread makers. When I can afford it I will purchase an Electrolux DLX
mixer, short of a commercial grade Hobart, it is the serious bread maker’s
mixer. I knead the dough only as much as I think the dough needs until I can
achieve the proper consistency and it can pass the window pane test. Ultimately
the goal is sufficient gluten development, and for bagels, dough that is only
slightly tacky, silky, very stiff and springy to the touch. By all accounts, if
you can stretch a small piece of dough to the point that you can almost see
through it without it tearing, and that dough is not overly tacky or God forbid
wet, the gluten is developed properly and the proportion of liquid to flour is
also proper. I have found that the hardest variable to hit just right is the
degree of tackiness. The dough gets springy, stiff and silky almost by itself,
just from the kneading process, but you directly control the degree of
tackiness or dryness of the dough by tweaking it with additional water or flour
during the kneading process. It is rare that you do not have to tweak the
dough, I always have had to. And it's never the same; it depends on current
humidity, temperature, and the state of your flour at that particular moment.
Therefore it's always different, and you simply have to get a feel for how
tacky the dough should be when it's finished kneading. Too wet and it
negatively affects the shaping step and the texture of the crumb is not dense
enough. Too dry and it negatively affects the shaping process worse than too
wet and the crumb is too dense. While kneading, at some point you have to
determine that the ingredients have reached the point that they are showing you
actually how wet or how dry the dough truly is. That in itself is a learned
ability and very important. You need to have the ability to tell what the dough
wants, and you have to allow it to mix long enough for it to reach the point
where it can tell you. Too dry and I add a couple of drops of water. Too wet
and I add a couple pinches of flour. I add slowly and wait to allow each
addition to fully incorporate before trying to judge the need for more. The
only way to make these judgments is to touch the dough. You cannot with
reliability much less repeatability make these judgment calls with your eyes
alone. You must develop a feel for the proper consistency of the final dough.
And for that matter you must learn what wet, tacky, satiny, stiff, soft and all
other stages of dough consistency feels like, and you must know how these feel
on an intimate level if you are ever going to achieve a consistent, repeatable
product regardless of if that product is bagels or pancakes. I poke and push it
as it goes around in the machine. Squeeze with my fingers and caress it. I
smell it, I love the smell of dough in process, and I all but take it out for
dinner and a movie, hoping to take advantage of it at the end of the night. And
as such over time I have developed a feel for the dough I think, I know what I
want it to feel like at the beginning, middle and end of the kneading process..
Note that it is hard to over-knead the dough unless you are using a food
processor to do the mixing. What I do not want to however find myself doing is
adding what I think it needs such as water and them thinking that I took it too
far and now have to add flour to make it dryer or visa-verse. That is the
fastest way to screw up your dough. If your recipe is correct, the total
ingredients are in finely balanced set of proportions, and you should not have
to add allot of either water or flour to fine tune the dough. If you find that
you are adding "allot", look to adjust your recipe.
 |
| Bad quality picture, but you can still see the consistency, which is firm, silky, elastic, with just a slight tack to it |
 |
| I need to learn how to take pictures with my phone, what are those lines? |
 |
| Ready to rise |
Rise and Ferment:
Now that the dough is created, place
in a container that has been lightly sprayed with oil, cover with plastic wrap
and allow it to rise for two hours at room temperature or until double,
whichever comes first. This has at times has taken 4-6 hours with larger batches. Then place in the refrigerator to ferment overnight. This is
the second opportunity for the flavor of the wheat, and the tang of the dough
in general, to be enhanced. It is at this point that you could keep the dough
up to two days in the refrigerator. It will not harm the dough to do this.
Allow the dough to sit in room temperature for an hour before continuing to the
next step.
 |
| Ready for the Rise |
|
|
|
|
|
|
|
|
|
|
|
|
|
|
|
|
|
|
|
|
|
|
|
|
|
|
|
|
|
|
|
|
|
|
|
 |
| Rise complete, Ready to ferment |
Bagels - Scaling, Rounding, and
Resting:
From this point forward we are into the Scaling, Rounding and Resting stages. In addition after that we move the the shaping stage, Although we have had numerous (2 to be exact) rise stages previously, during these particular stages, it is absolutely essential
to control the instant yeast. I do not want my dough to begin to rise and create gas bubbles in the dough during these stages until I am ready for it to do so. And when I am ready for it to do so, it will be with a finished, shaped bagel and at that point it is not called "rising" it is instead called "proofing". So if I am
doing a small batch I scale, roll into rounds and refrigerate for the rest
period quickly. If I am doing a larger batch, I refrigerate half the dough as I work on the other half.
If while scaling
you cut each piece once, instead of cutting a piece and having to add numerous
small pieces to it to get to the desired weight, you will end up with better
bagels. Once bagels are scaled and rounded, I rest them in the refrigerator for
as long as the dough needs to become relaxed. Again the dough dictates what it
wants. I want the rounds to be nice and relaxed which is not easily obtainable
with stiff, satiny, only slightly tacky, 56ish% hydration dough made from high
gluten flour. It naturally wants to be springy and resistant to shaping. I have
experienced bagel dough during my trials that has become relaxed in 20 minutes
with dough that is slightly slack (has more water). I have more recently since my recipe has
become less and less hydrated and more and more stiff found that the relaxation
period is upwards to 60 minutes. I find even then that the dough resists
shaping. What I want ideally is dough that can be shaped once, rather than
shaping and reshaping and reshaping because the center hole keeps closing up on
you. The less you handle the dough during the scaling and shaping steps the
better. This is easier said than done. Again do not let the dough rise while
shaping and scaling.
Shaping:
To
shape the bagel, you can either use the traditional method which I will call "the log roll" method or use the more modern method which I will call "the round roll" method. The traditional method is where you cut a length of dough from the dough mass, that is about 2" x 2" x however many inches long. then roll it into a rough log and wrap it around your hand, tear it off at the appropriate point and mash the two ends together by rolling it on the work surface. The following is a link to a really good "You Tube" video on making New York Style Bagels in general, that shows this method of shaping bagels really well;
http://www.youtube.com/watch?v=hrJ1zpJGrfA&feature=related
 |
| Shaped by the traditional method |
 |
| Shaped by the modern method |
|
|
|
|
The other option is the round roll method whereby you simply scale off the appropriate size pieces of dough and shape them into small rounds. Let them rest and push your thumb through the center and
spin it on your finger to create the bagel shape.
The traditional way to shape bagels is a little harder and takes
much more practice to do correctly, and does not produce bagels of all the same size. And if you do not make a good seal on the ends, they will come apart in the boil bath which is truly depressing. Also the resulting
bagel shape is much more rustic using this method while the round roll method produces a more
finished look. I have always used the round roll method on every batch so far, but I have recently started to be brave enough to try the traditional log roll method, and it's really not that hard to do correctly, and I kind of like it, it;s fun and if the dough has the proper hydration, it's just damp enough to seal properly. The following are pictures of my 1st batch bagels shaped in the traditional method. Since I wrote the oringinal text for this paragraph, I have done numerious more batches, and I have shaped them all with the triditional method. I now much prefer this method. What needs to be changed from above is, that you do not shape dough into rounds and rest, you simply use the traditional method to cut long pieces, roll them into log shape, wrap around hand and seal, then proof the completed bagel shape.
The Proof:
 |
| What you don't want, way over proofed |
|
|
 |
| Properly proofed |
 |
Close up
|
When I am ready to let the shaped
bagels proof, I try to have the room temp to at least 72° if not warmer. It will
work at lower temps but I want my proof to be fairly quick so I like 73°-75° room
temp. I use one of those large zip lock plastic bags you can purchase at any of
the large box stores, the kind that is meant to store a blanket or large amount
of cloths. The goal is to keep the outside of the bagel from drying out. It is
important to mention at this juncture that I used to use Pam Spray during my
bagel making; spraying the work surface, the parchment paper and my hands to
keep the dough from sticking. I do not do that anymore. I recommend against the
addition of any oil to the outside of the bagel, it promotes blistering during
baking. I am a fan of parchment paper on the half sheet pan I use; I very, very
lightly dust it with semolina flour. Again I do not want to introduce
additional flour to the bagel; I just want to keep the bagel from sticking to
the parchment paper. So as I said I use a large zip lock bag to keep the air and for that
matter cold drafts off the bagels while resting and proofing, so that they
resist forming a dry skin, which would be a bad thing. I remove the bagels from
the fridge after about 30ish minutes of rest, shape the bagels, if working with
a double batch, I keep the most of the rolls and all of the shaped bagels in
the fridge while working on the remaining shapes so that the ones that are
shaped or the ones waiting to be shaped do not start to proof. Note that I only rest scaled rounds before shaping, you do not need to do this if you use the traditional method of shaping. When the shaping
is done, I begin the proof process. To reiterate, the shaped bagels are placed
on a piece of parchment paper on a half sheet pan in a large plastic zip lock
bag, proofed in temps that are in the lower to mid-70's. Proofing is finished
when the bagels can pass the float test. The float test is simply a bowl of
room temp water, and my goal is to proof only as long as it takes to pass the
test and no longer, I do not want an over proofed bagel, I want one that has a
dense crumb, and the only way to get that is to strictly control the proofing
stage of the bagel making process. So I test a bagel as soon as I start the
proofing. I drop a bagel into the water and as expected it sinks. So I know
that I have successfully restrained the proofing thus far. I keep testing the
bagels at 3-5 minute intervals until one begins to float as soon as I drop it
into the water. I immediately put the bagels back into the fridge to start the
retardation process.
Retardation:
Ok, a lot of bagel recipes call for a solid 8-12 hours of retardation. But since the
purpose of retardation is to enhance the flavor of the dough, and we
have already done that twice, with the preferment and ferment, it is not
necessary to retard the bagels in this recipe. I repeat, you do not need to retard these bagels, the flavore has been enhanced twice it doesn't need another slow ferment.
The Boil Bath:
 |
| Large Pot required |
 |
| Almost boiling |
 |
| Only 30 seconds on each side |
The boil bath is 1 gallon of water,
2 Tbl. Malt Syrup, 1 tsp. baking soda. This bath must be boiling vigorously
when the bagels are placed in it. The bagels are in the bath for such a short
time, I want the bath temp to remain as close to 212° as possible. I also do
not want the bagels to remain touching for any length of time while in the
bath. The vigorous boil keeps this from happening. So here is the deal with the
boil, in scientific terms all I can say is it gelatinizes the outside of the
bagel. I cannot go any deeper into the scientific explanation of what this
means, all I know is that it does do this. What I do know for a fact, is the
length of time in the bath is the control mechanism for the thickness of the
crust of the bagel. The longer the time in the bath, the thicker the crust on
the bagel will be, relative to the inner crumb of the bagel. The less time in
the bath the thinner the crust on the bagel will be. It is very important to
note that these statements are literal, I am not saying that it will control
how crunchy or soft the crust will be, that is controlled during the baking and
cooling process. These statement literally mean that the time in the bath
controls the thickness of the resulting crust of the bagel, be that a soft or
crunchy crust. Crust "thickness", nothing more or less. The
literature I have read to research my bagel recipe and technique states a bath
time of anywhere from 30 seconds to 2 minutes per side. I have found 30 seconds
to be what produces the crust thickness I am after. Two minutes per side in the boil bath is for fools. So let’s talk crust for a
moment. I have a distinct idea about the crust I want on my bagels. I have seen
bagels that are soft, these I believe are steamed mass produced bagels and not
what I am after. What I found after much research was that the crust at
one place will not be the same at another, one will be cruncher, softer,
chewier, harder, not hard, on and on. So obviously there is no set crust
standard that everyone goes by. It is open to interpretation within reason. By
that I mean that the soft, mass produced bagels are not what we want, and an
"Old Fashioned New York Bagel" does have some crunch to the crust by
definition, yet the actual level of crunch, that actual level of chewiness, in
the crust is open to interpretation. So having established the level set that
the crust will have some amount of "crunch" and that it will have
some level of chewiness, I went about making my bagels. I learned how to
control the crust to do whatever I wanted; I can make it thicker, thinner,
crunchier, or softer. Once I achieved that, I was able to define my
interpretation and expectation for the crust. The crust on my bagels will
have a crunch, and the crunch will be distinct. Yet not so much that you will
need to fight to get through it, say a step or two softer than
"Laugenbrezel". I want the crust to have a "bite", I want
you to know it's there, but I do not want it to be the whole bagel experience.
I want it to be 1/3 of the experience. I want it to complement but not
overpower the other 2/3rds of the bagel, which are the crumb and the flavor of
the wheat. After 30ish seconds in the bath per side, the bagels are removed to
a sheet pan with a cotton towel on it. Do yourself a favor and use only 100%
cotton towels, with no nap to come off onto the bagel. Lightly dry the tops.
The bottom will take care of itself. Do not let the bagel stay on this towel
for more than a minute or you will have sticking problems, and sticking
problems translate into denting the bagels to get them off of the towel. Again
you want to handle the bagels as little as possible throughout this entire
process, and I mean that, except for the kneading process during which touching
is required, you want to only handle the dough just as much as it takes to get
through each stage and no more. This will result in a superior bagel. Manhandling
at any point results in inferior bagels.
Glazing and Topping, Bagel Boards
and Baking:
 |
| Ready for the oven |
 |
| Bagel Boards |
Glazing:
My bagels are topped with an egg white glaze.
Topping:
I then sprinkle my toppings on as
desired when they are on the towel. How much you sprinkle on is subjective. After
that, I place them topped side down on the bagel boards. So at this point let’s
talk about bagel boards. Bagels can be baked without a bagel board, you could
use a sheet pan with parchment paper or spayed or with a Silpat, but I am after
an authentic bagel, so I use bagel boards and a baking stone. I first saw bagel
boards watching how-to videos on line. They showed professional bagel
operations starting the bagels out upside down on bagel boards and after the initial
5 minutes of so in the oven, long enough to dry out the side facing up, they
flip the bagels onto the stone hearth oven floor. Another benefit is they add a
modicum of steam to the oven. You need to soak them before you use them and only
use the bagel board long enough so that the tops of the bagels are dry from the
heat of the oven such that they do not stick when flipped off the board onto a
baking stone.
Baking:
Preheat the oven for at least an hour to 450°. At this point I simply want the bagels to brown
evenly. This is easier said than done. I don’t know why but it seems they want
to brown too much on the bottom before they brown on the top.
It's been two years since I originally wrote this post. I have been refining my recipe and technique all along updating both bagel posts as I learned. I know now why my bagels always got done on the bottom before the tops were done...
Because the rack with the pizza stone was too low in the oven, and the oven temperature was too low to brown the bagal top before the heat of the stone browned the bottom. Realize that you have a dry bottom of the bagel when flipped coming in direct contact with the hot pizza stone while the top has been steamed and is very moist from the wet burlap on the board. The top needs time to dry before it starts to brown while the already dry bottom starts to brown immediately.
So....
- Make sure you place the rack with the pizza stone towards the top of your oven to get it as far away from the heating element (my oven is electric) as possible. Also it will put the bagel top in the hottest part of your oven once flipped, as hot air rises.
- After opening the door to flip the bagels off the bagel board onto the pizza stone, you will have lost tremendous amount of your oven heat. Jack the oven up as high as it will go (550°), immediately.
- This will get the bottom and the top done at the same time
Remove to a cool sheet pan and rack to cool. If you want very crispy
bagels do nothing else. If you want less crispy bagels cover with a dry cotton
towel for a few minutes. If you want soft bagels, cover with a slightly damp
towel until completely cool.
The Crumb:
 |
| A decent crumb, not perfect, but decent. Or so I thought when I made this, one of my very 1st batches |
|
| At least a dozen batches later, this is what you want, as I said earlier, it's all about the holes |
And now to crumb, let’s establish
the desired texture of the crumb. At this juncture I am not addressing flavor,
that has already been addressed, only texture. As opposed to crust texture,
crumb texture is not open to interpretation, universally it is described with
such verbs as soft, dense; close knitted, chewy, etc. Every verb used points to
a crumb that complements the crust, whereby the crust is slightly crunchy the
crumb is soft, but both are chewy. Admittedly the crust by its very nature is
chewier than the crumb, but the crumb should still be dense enough to be “bagel
like”, yet without being too dry. It should be fully cooked, and the proofing
process should be self-evident by a plethora of close knit air pockets
throughout interspersed by a few medium to larger air pockets. These larger air pockets although few in number are the essence of "Artisian" baking. They allow for butter or cream cheese to have a place to "pool up". In the Artisian baking community it is widely excepted that "it is all in the holes". In addition you must allow them to cool to room temperature before
cutting, as this is as much of the "bagel making process" as any
other part. What happens during the cooling stage is that excess internal
moisture in the crumb evaporates from the bagel, which minimizes the doughyness
that so many inferior bagels have. By skipping this step, allowing impatience
to force you to cut into a bagel before it has cooled naturally, results in
inferior bagel.
Final Thoughts:
 |
Getting better
|
 |
| Example of blistering, often called "birds eyes", a direct result being retarded too long |
|
|
|
|
|
|
|
|
|
|
|
|
|
|
|
 |
| Latest batch |
 |
| The mottled effects of the baking stone are clearly visable |
|
| I think these came out great this weekend |
|
| Made 2-25-2012 |
|
|
|
|
|
|
|
|
|
|
|
|
 |
| I wanted something to verify oven temperature |
You may realize by now that I
believe that the resulting quality of homemade, authentic New York Style Bagels
is a direct result of controlling all stages of the entire process to the point
that you can manipulate the medium, or by changing or altering your technique
make the end result crisper, softer, chewier, or whatever your little heart
desires.


After you saw that your bagel floats during the testing period, you then said you put them right back in the refrigerator immediately for retardation. If I put them in the fridge to boil later, do I bring them to room temperature first? Or boil them right away? Or skip the whole fridge process and once they are proofed boil them right away?
ReplyDeleteThanks!
Kathy