Showing posts with label Sourdough. Show all posts

Sunday, January 5, 2014

Sourdough Bread

My Sourdough has come a long way since I began to endeavor to learn how to do this. I think the main progress has been creating a Sourdough Starter that is healthy and active.

http://kdwonders.blogspot.com/2012/04/sourdough-starter.html


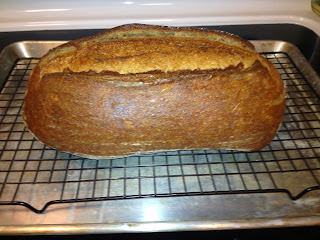
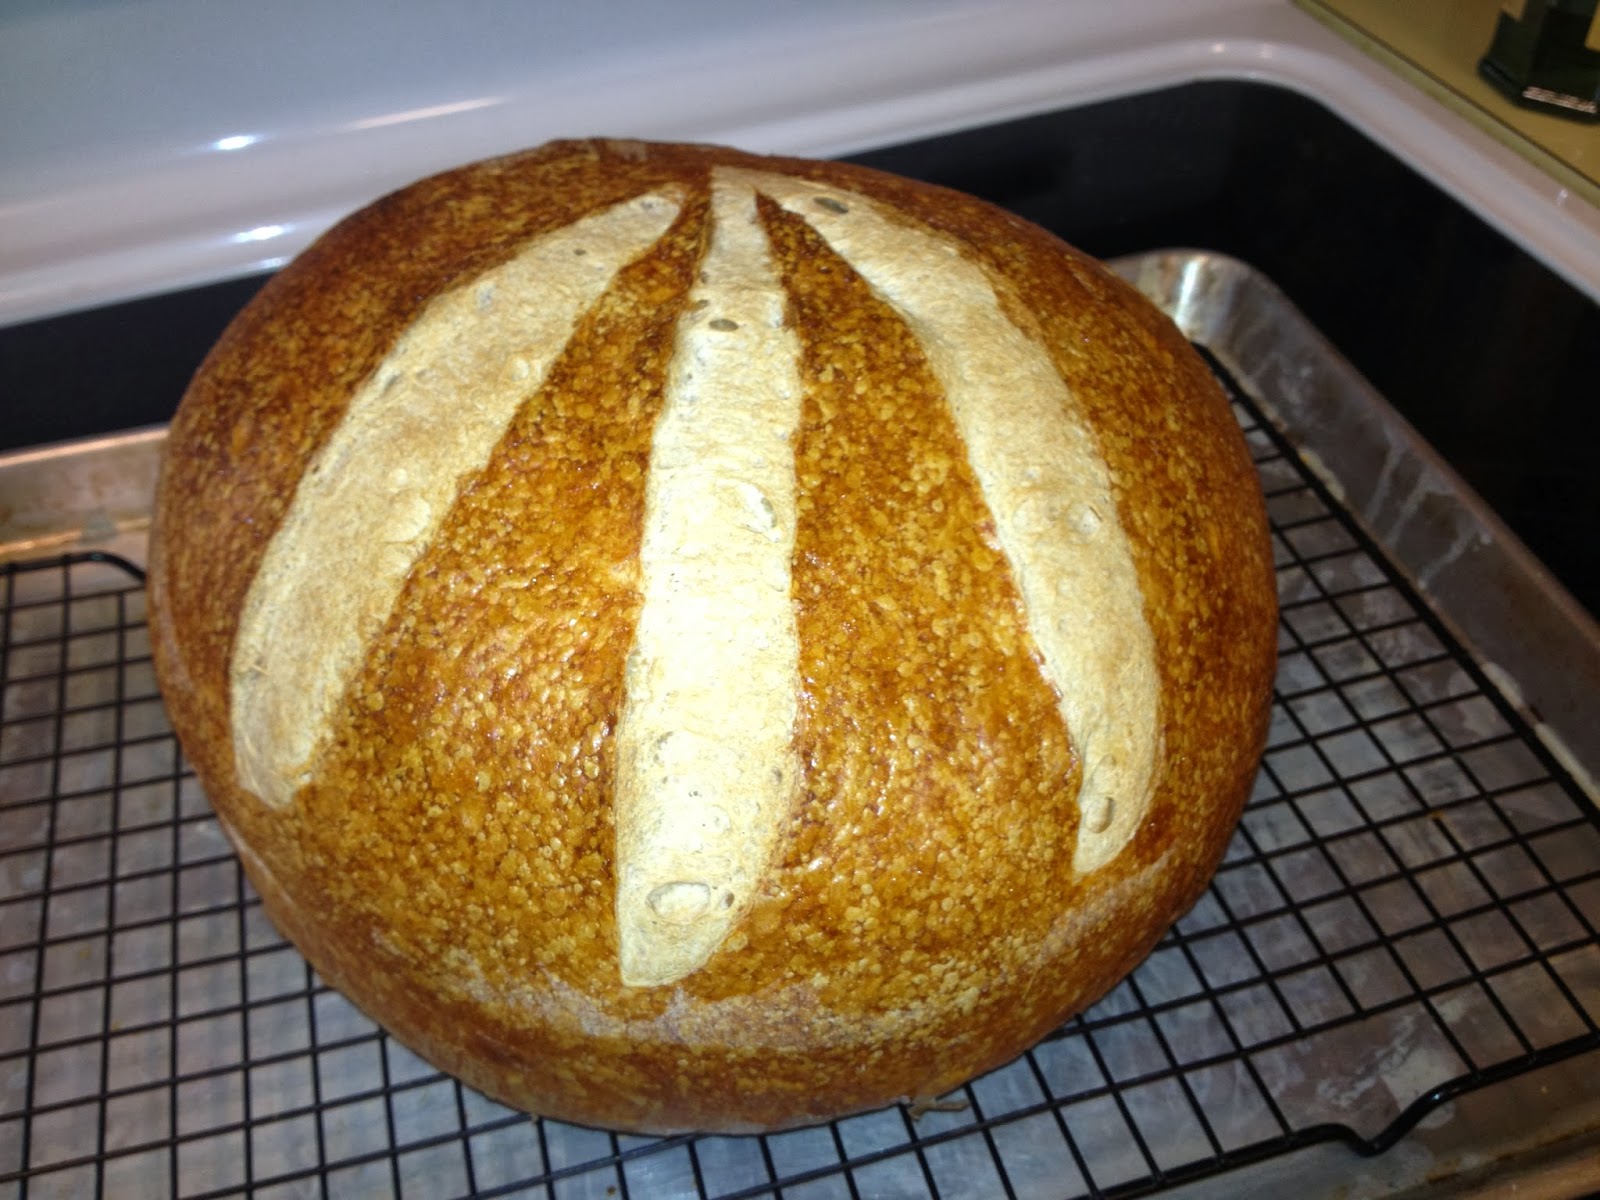
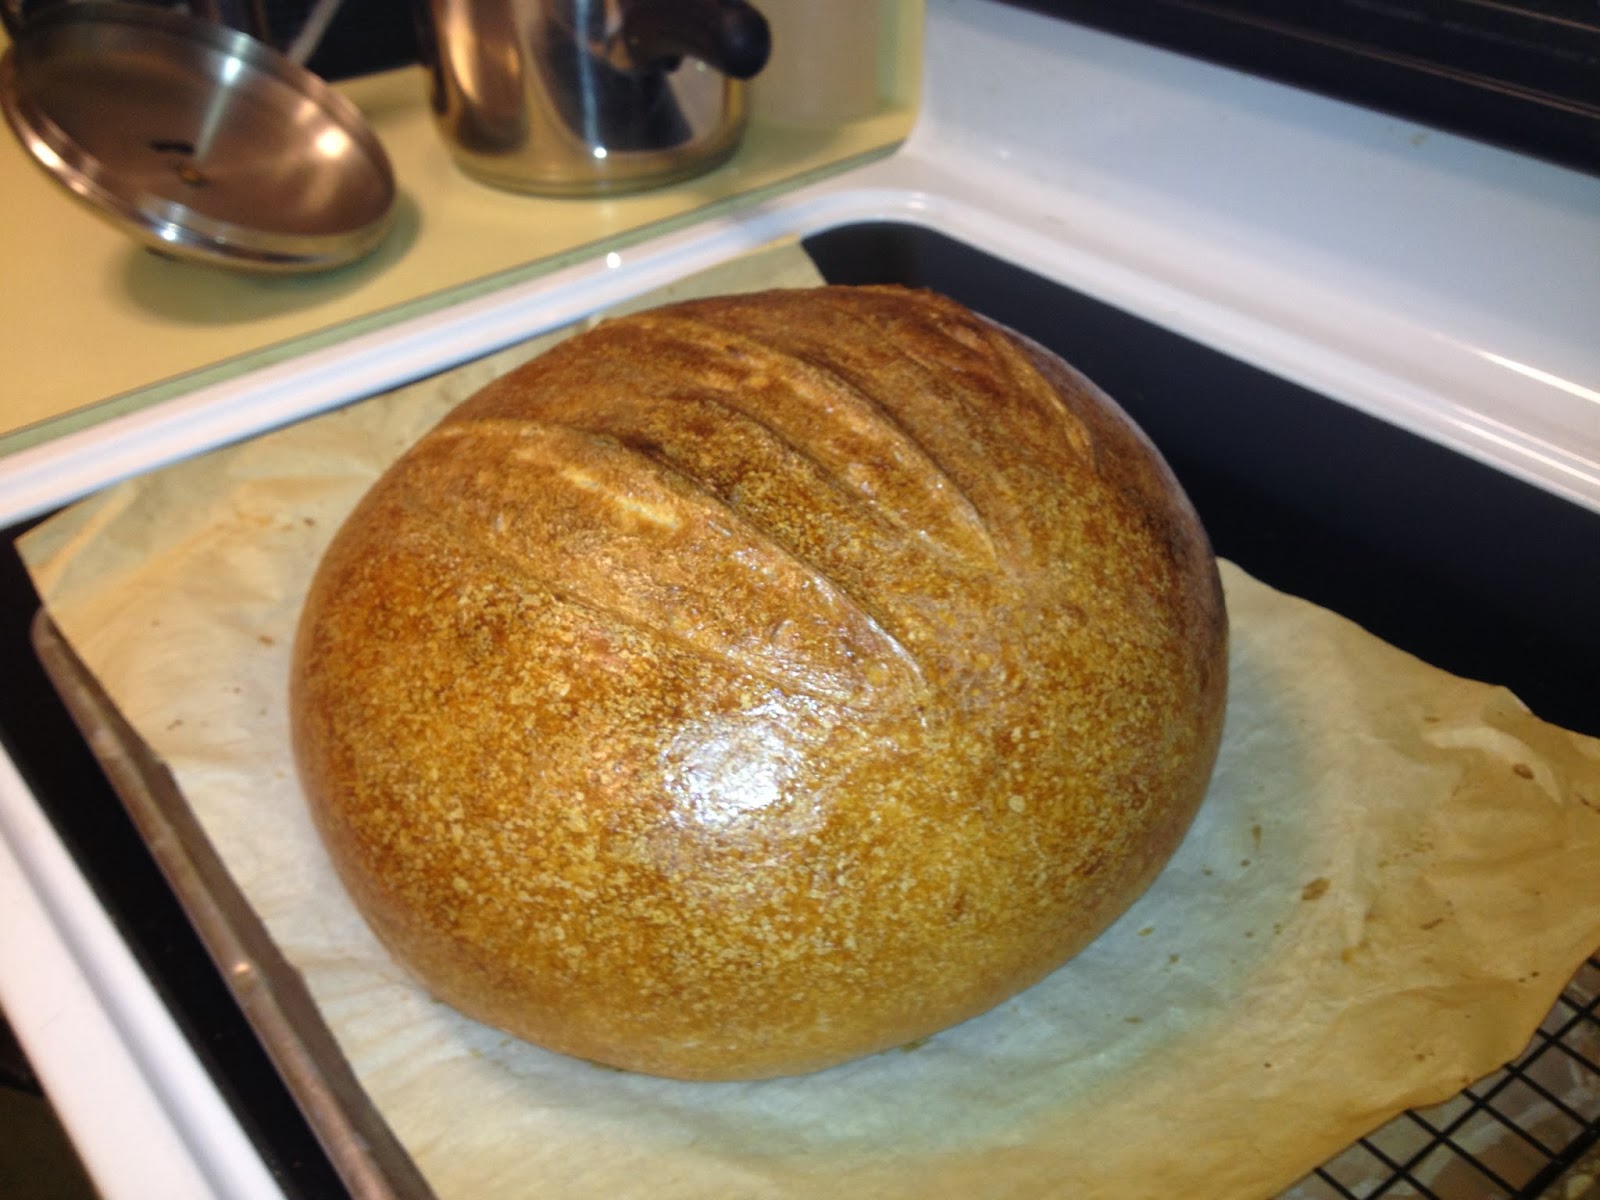
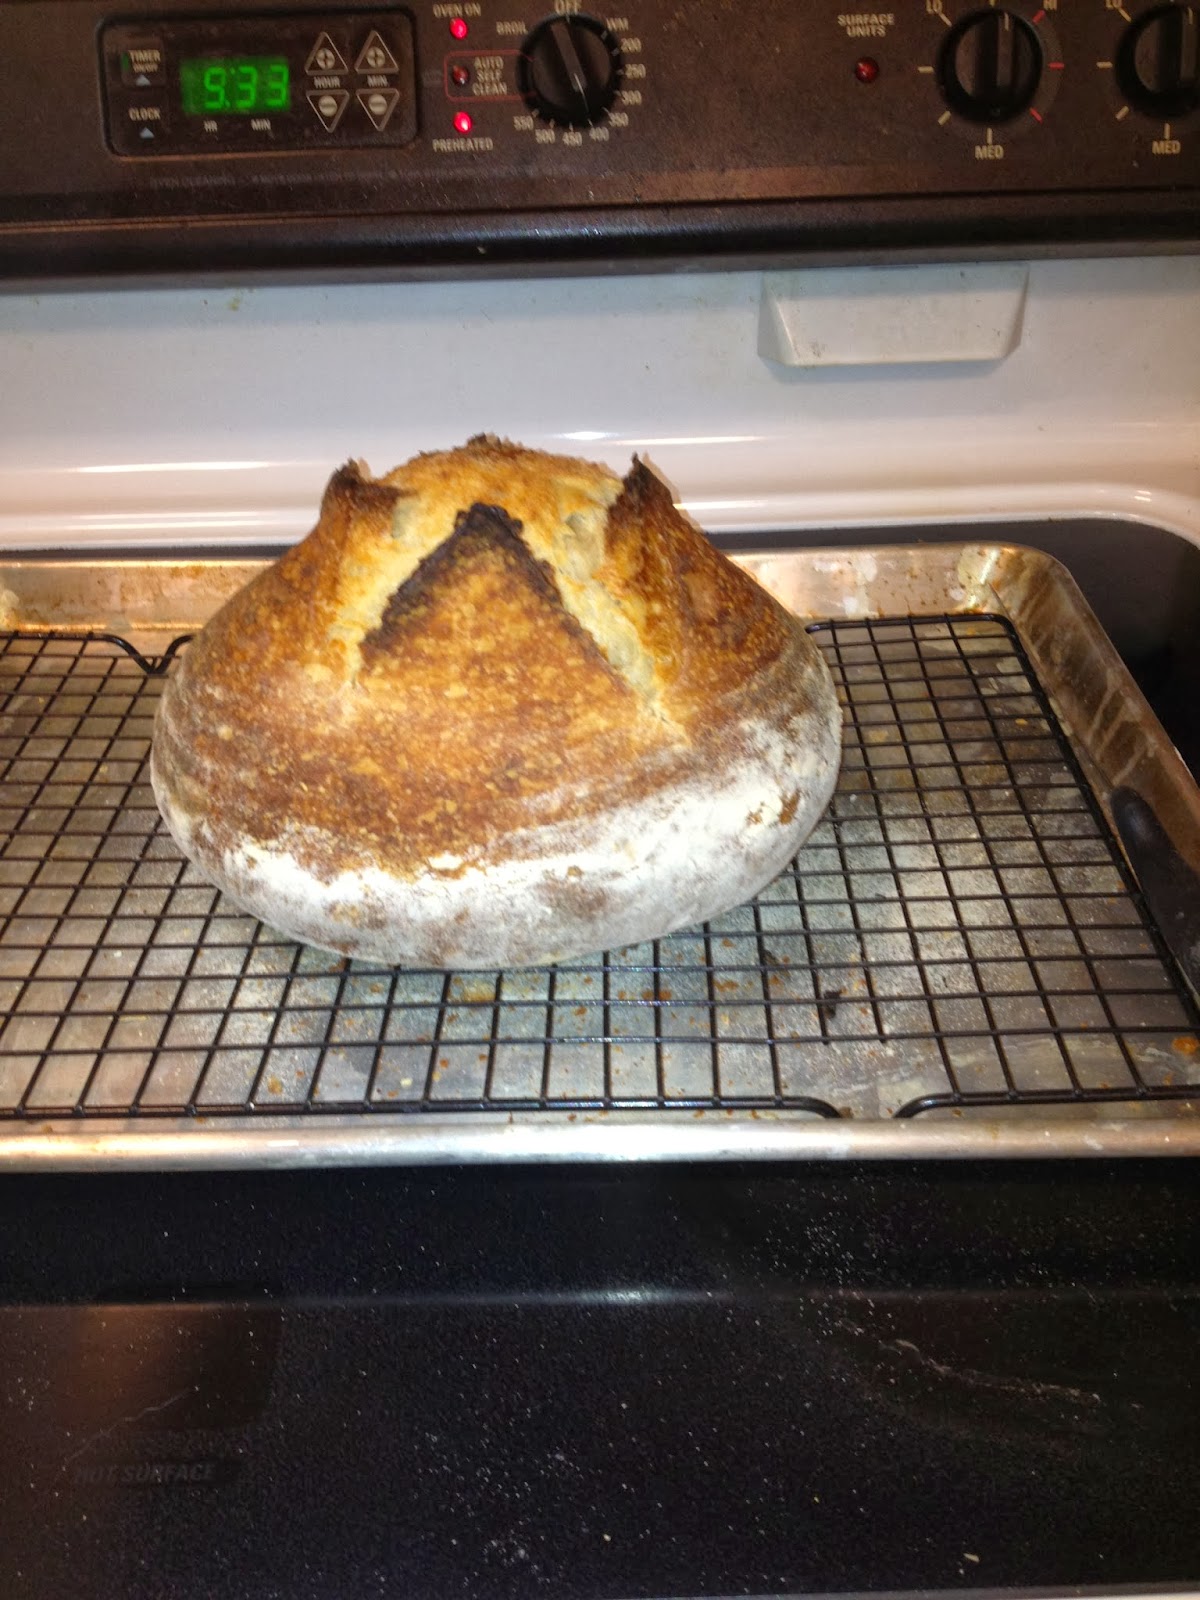
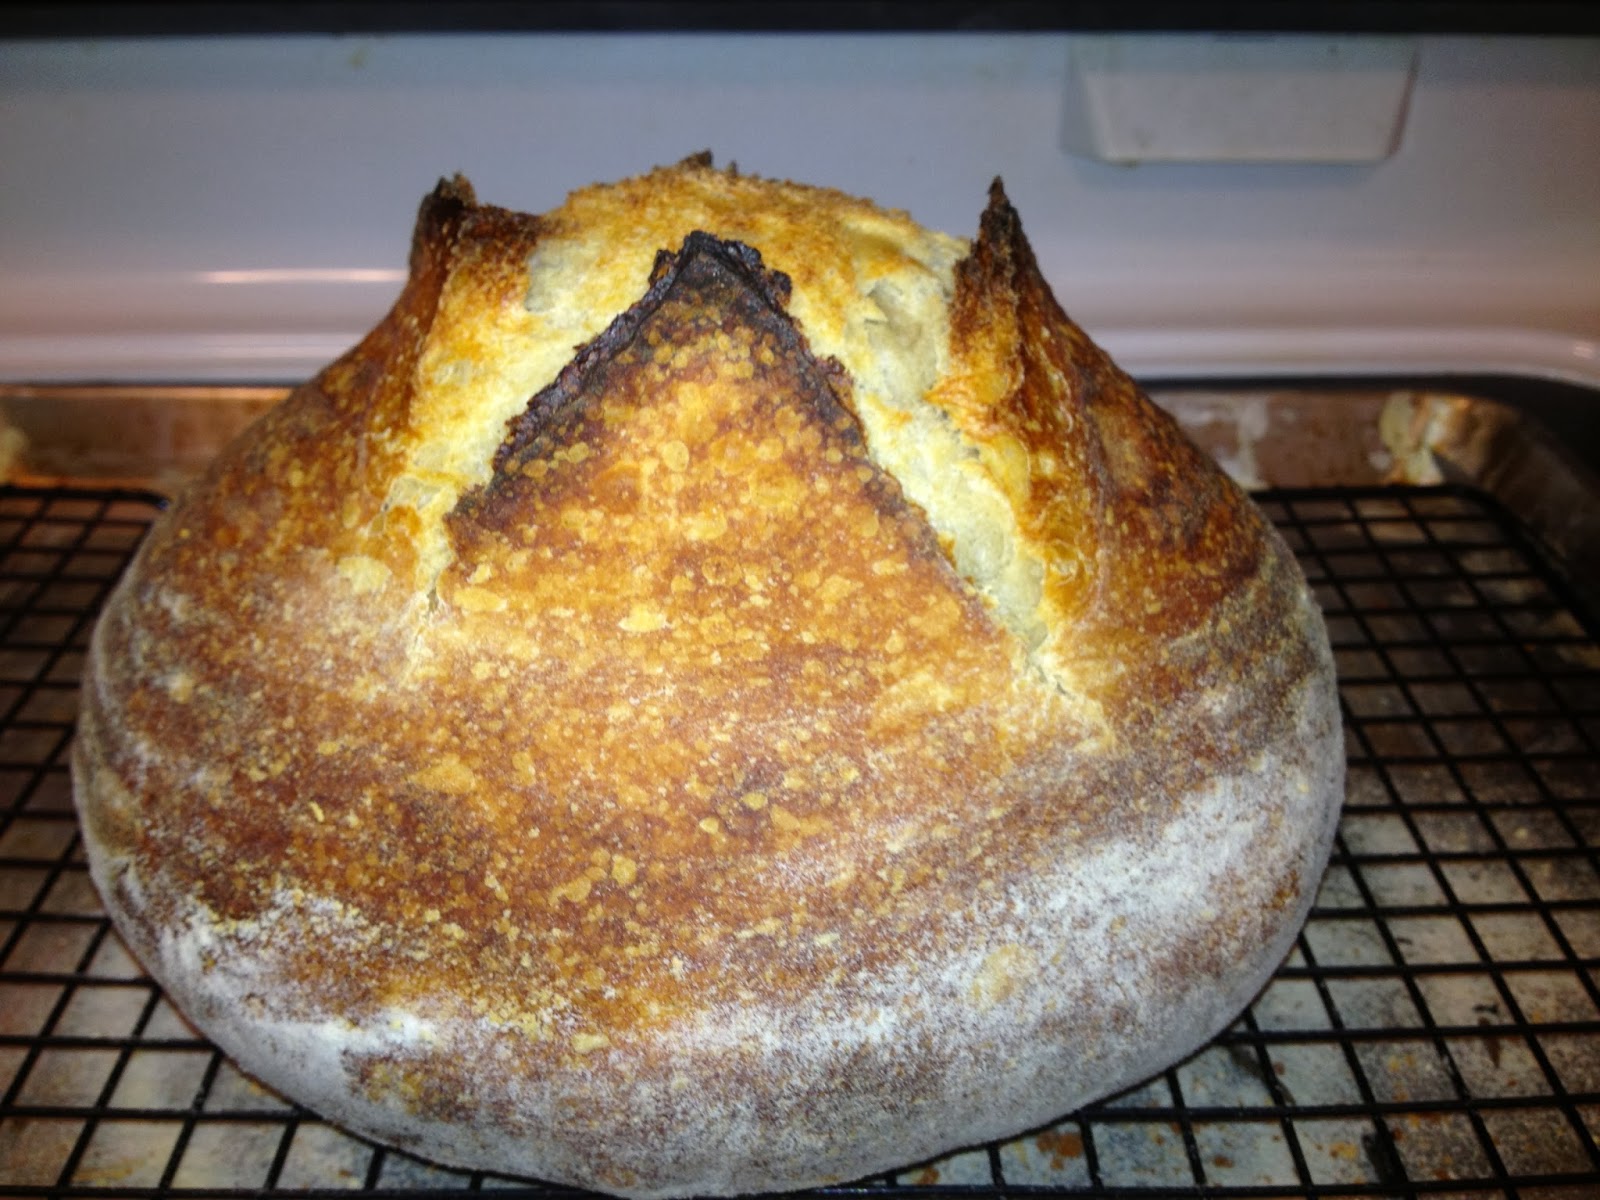
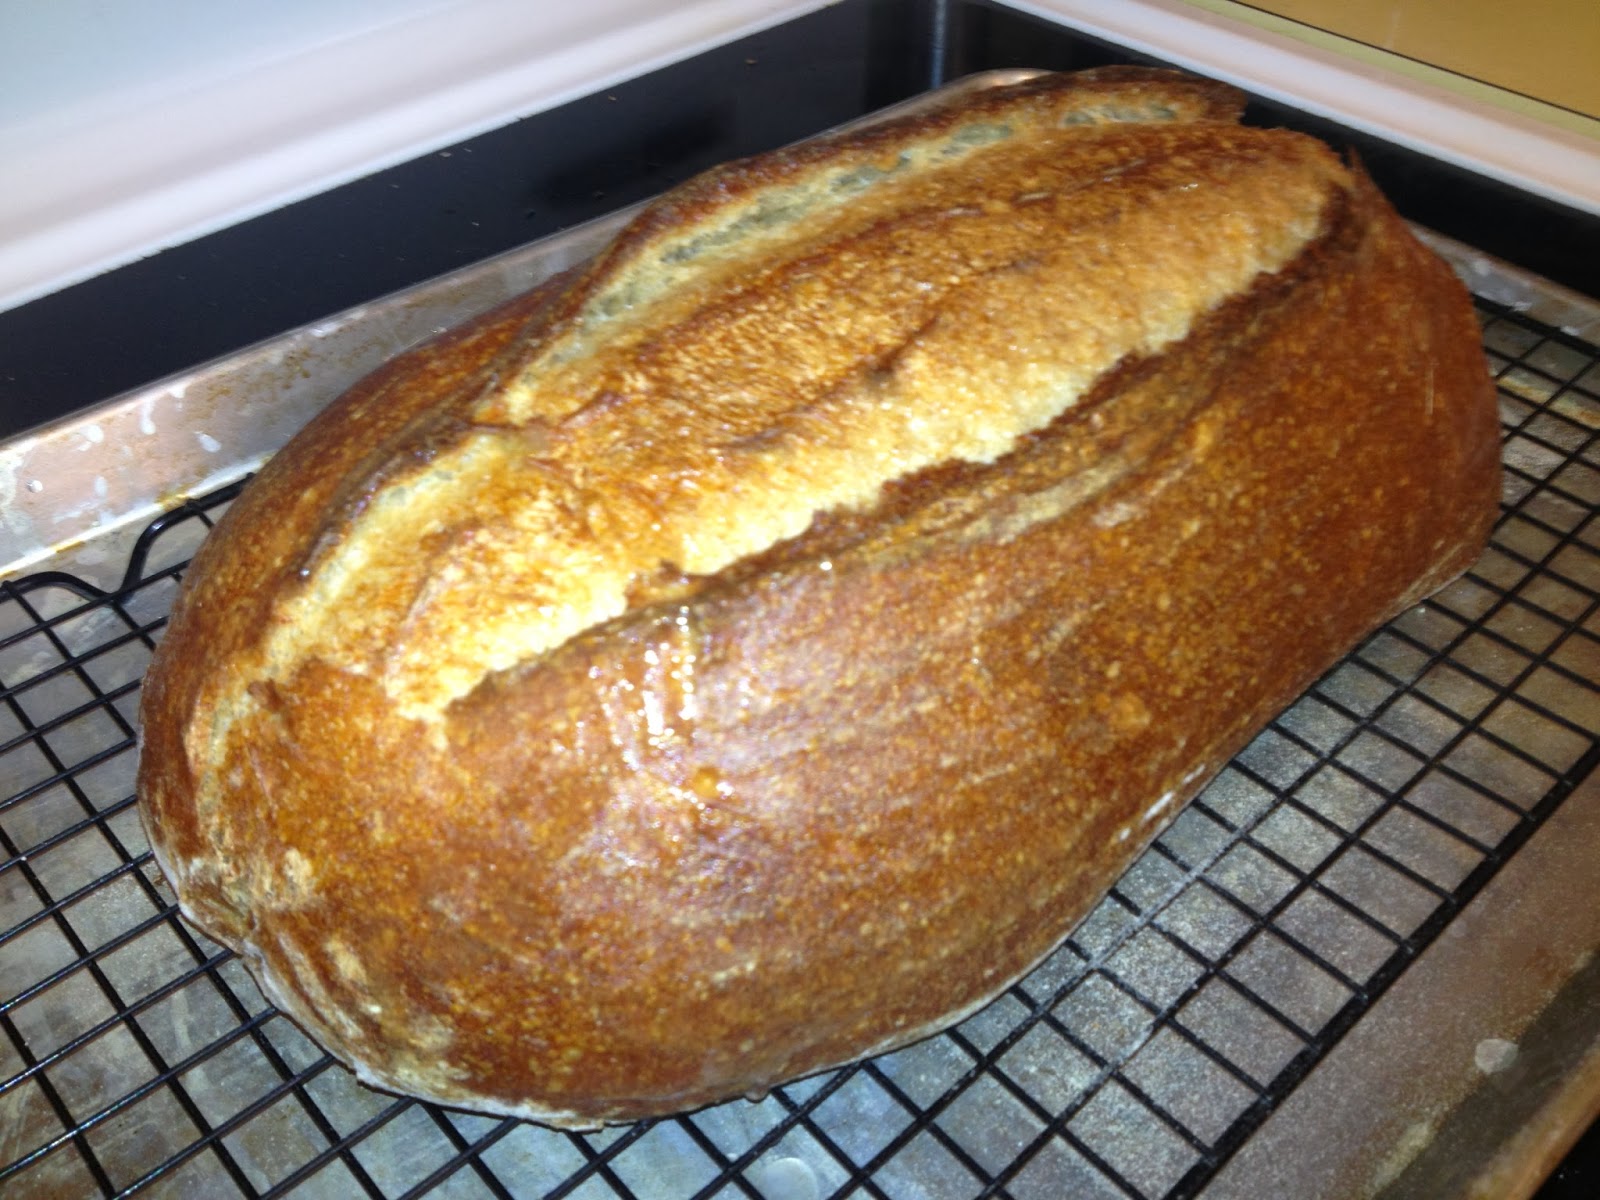
Todays bake, White Sourdough with nothing but flour, water and salt


White Sourdough with butter and honey

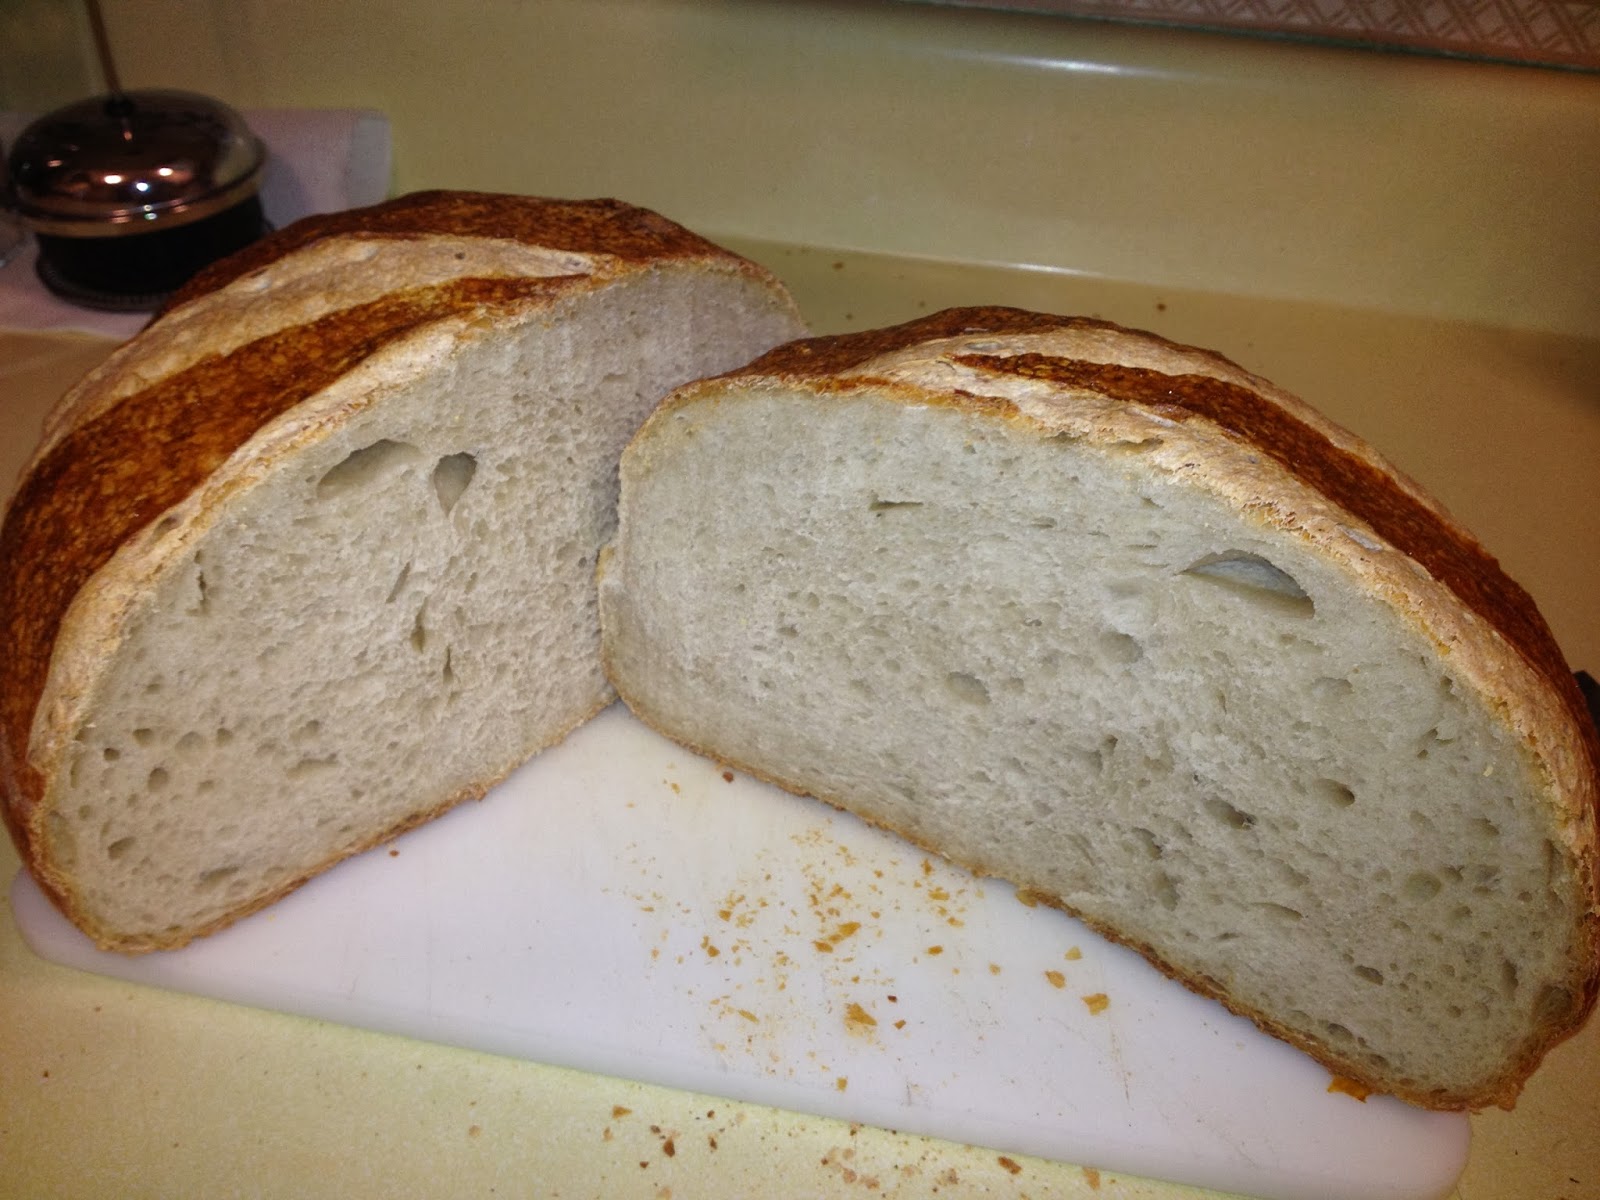
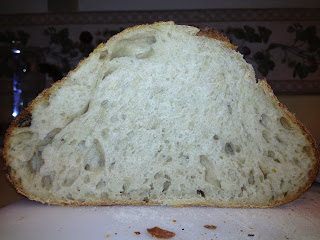
Nice even crumb, good for sandwiches


This recipe was my first to consistently work for me. It still amazes me that the wonderful bread that results is nothing more than water, flour, and salt.

I have learned that I can use this recipe as a foundation, I can use all bread flour, use half white and half whole wheat flour, change it into a Rye bread recipe with the proper percentages of Rye to First Clear flours. add honey, sugar, molasses and/or butter.

The most important thing I want to convey, is that this bread recipe; one that uses a natural leaven rather than commercial yeast; one that lists the base ingredients needed to produce a lean pure sourdough can be modified in many ways as long as you hold true to the bakers percentages in the recipe. For instance if you want to use all white flour, do so just omit the Rye flour, adding an equal amount more of white. If you want to add a sweetener, add honey at the same percentage as used in one of my earlier bread posts that has honey. Same goes for butter, if you want a softer loaf, add butter at a percentage equal to one of my earlier bread posts.


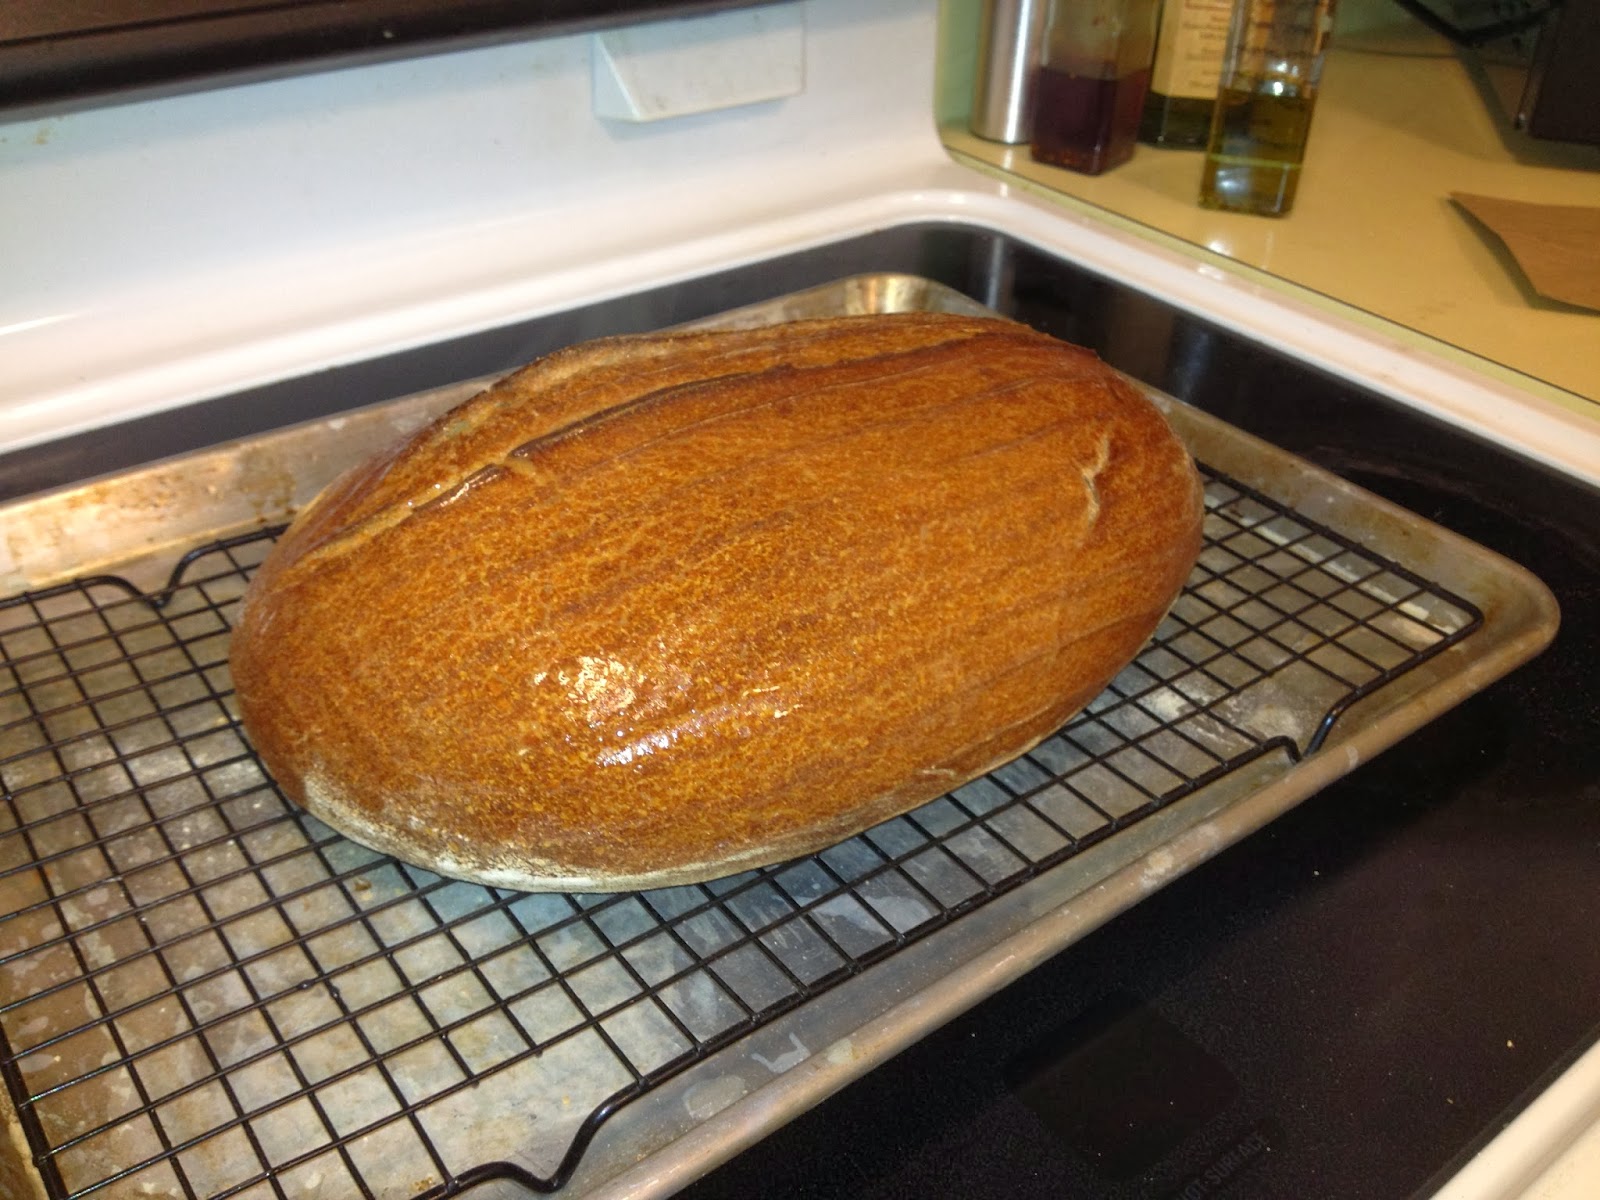
Pumpernickel


White with Rye (this recipe)


White and Whole Wheat


White and Whole Wheat


TWF: 602.5
Hydration: 70%

Dough:

Water - 331g - 55%
White Sourdough Starter - 100% hydration - 181g =
  • Water - 90.5g - 15%
  • All Purpose Unbleached Flour - 90.5g - 15%
King Arthur Bread Flour - 451g - 75%
Hodgson Mill Old Fashioned 100% Stone Ground Rye Flour - 60g - 10%
Salt - 15g - 2.5%


Note: A healthy active starter is one that rises predictably when fed. That means when refreshed with flour and water it will at least double and better yet triple or more within a predictable time. How long that takes can vary from 4-12 hours depending on many things not the least of which is temperature. Between baking's, it can be kept in the refrigerator. I typically bake on the weekends, and to prepare for a Saturdays baking, I remove the starter and feed it on say Thursday evening, feed again Friday morning and Friday evening. By Saturday morning its fully risen and bubbly.


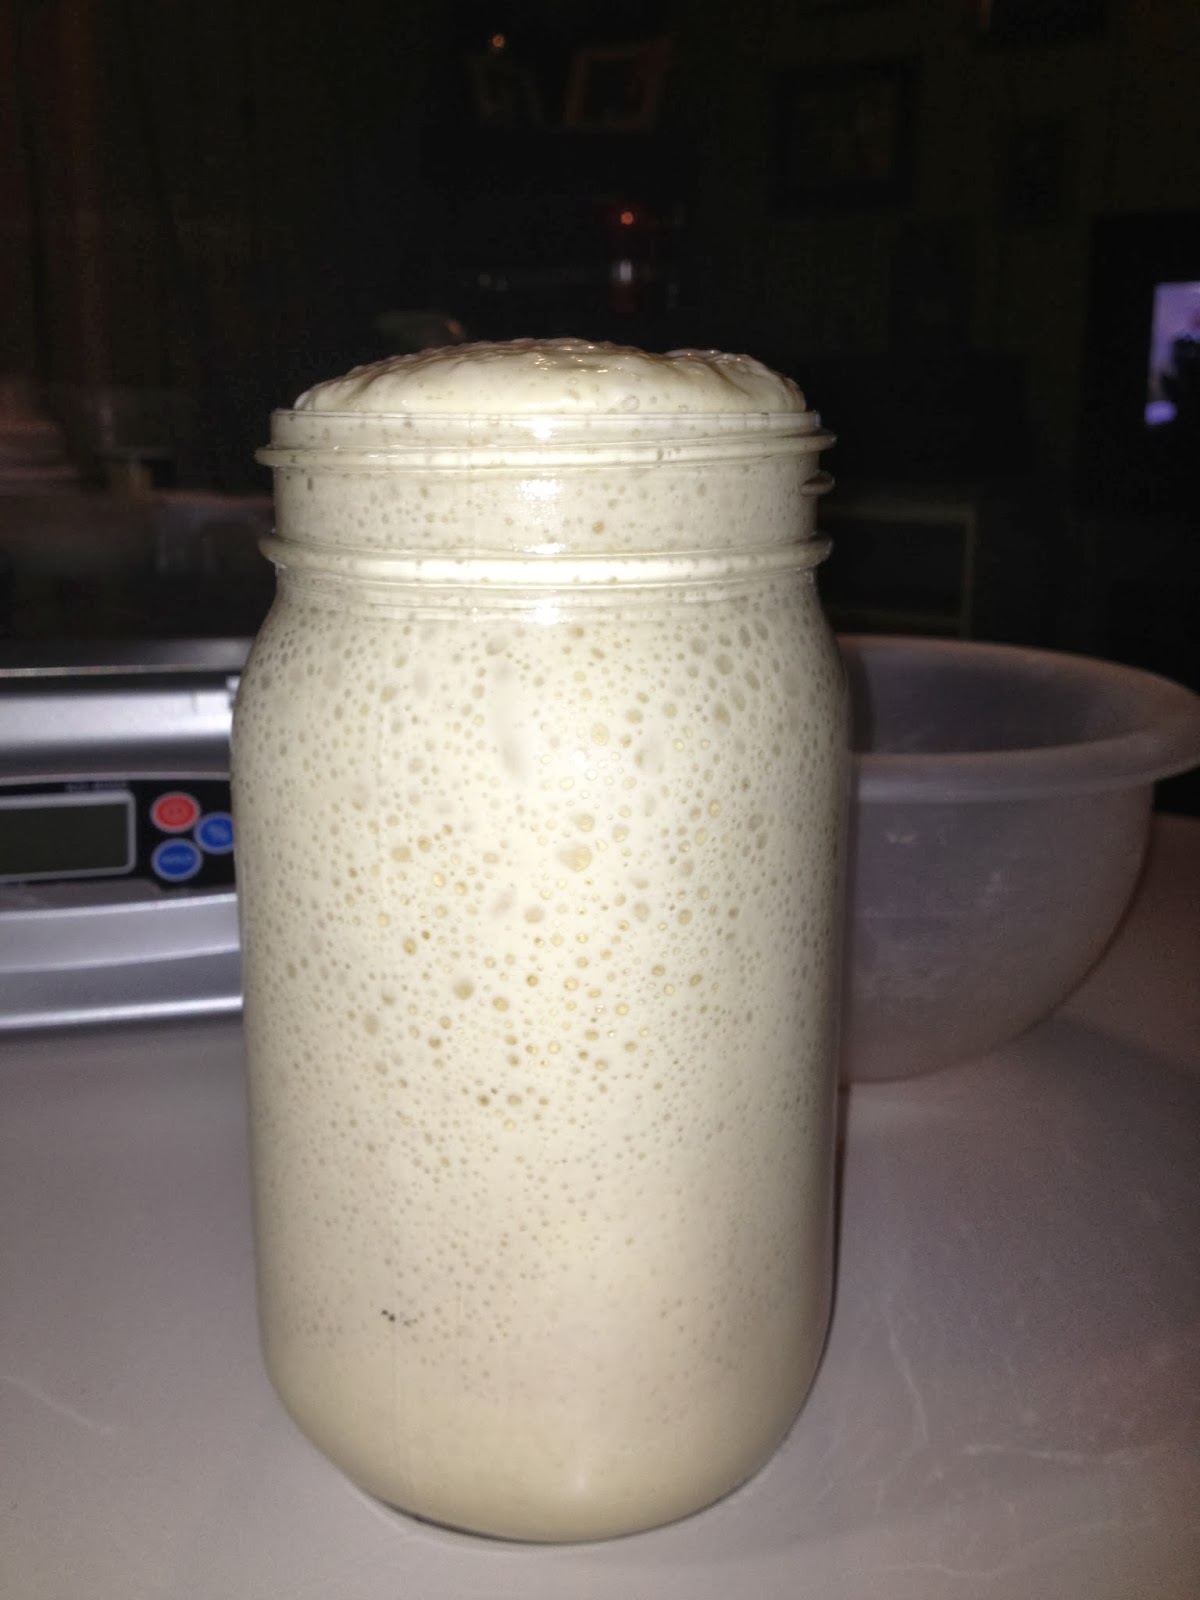
100% hydration White Starter ready to bake with

  • Combine water (Reserve 50g of the water for tweaking dough) and starter in mixer
  • Mix until just combined with beater attachment
  • Replace beater attachment with dough hook attachment
  • Add Flour and honey
  • Mix until just combined, adding reserved water 1TBL. at a time as needed to create a rough mass
  • Autolyse 30 minutes


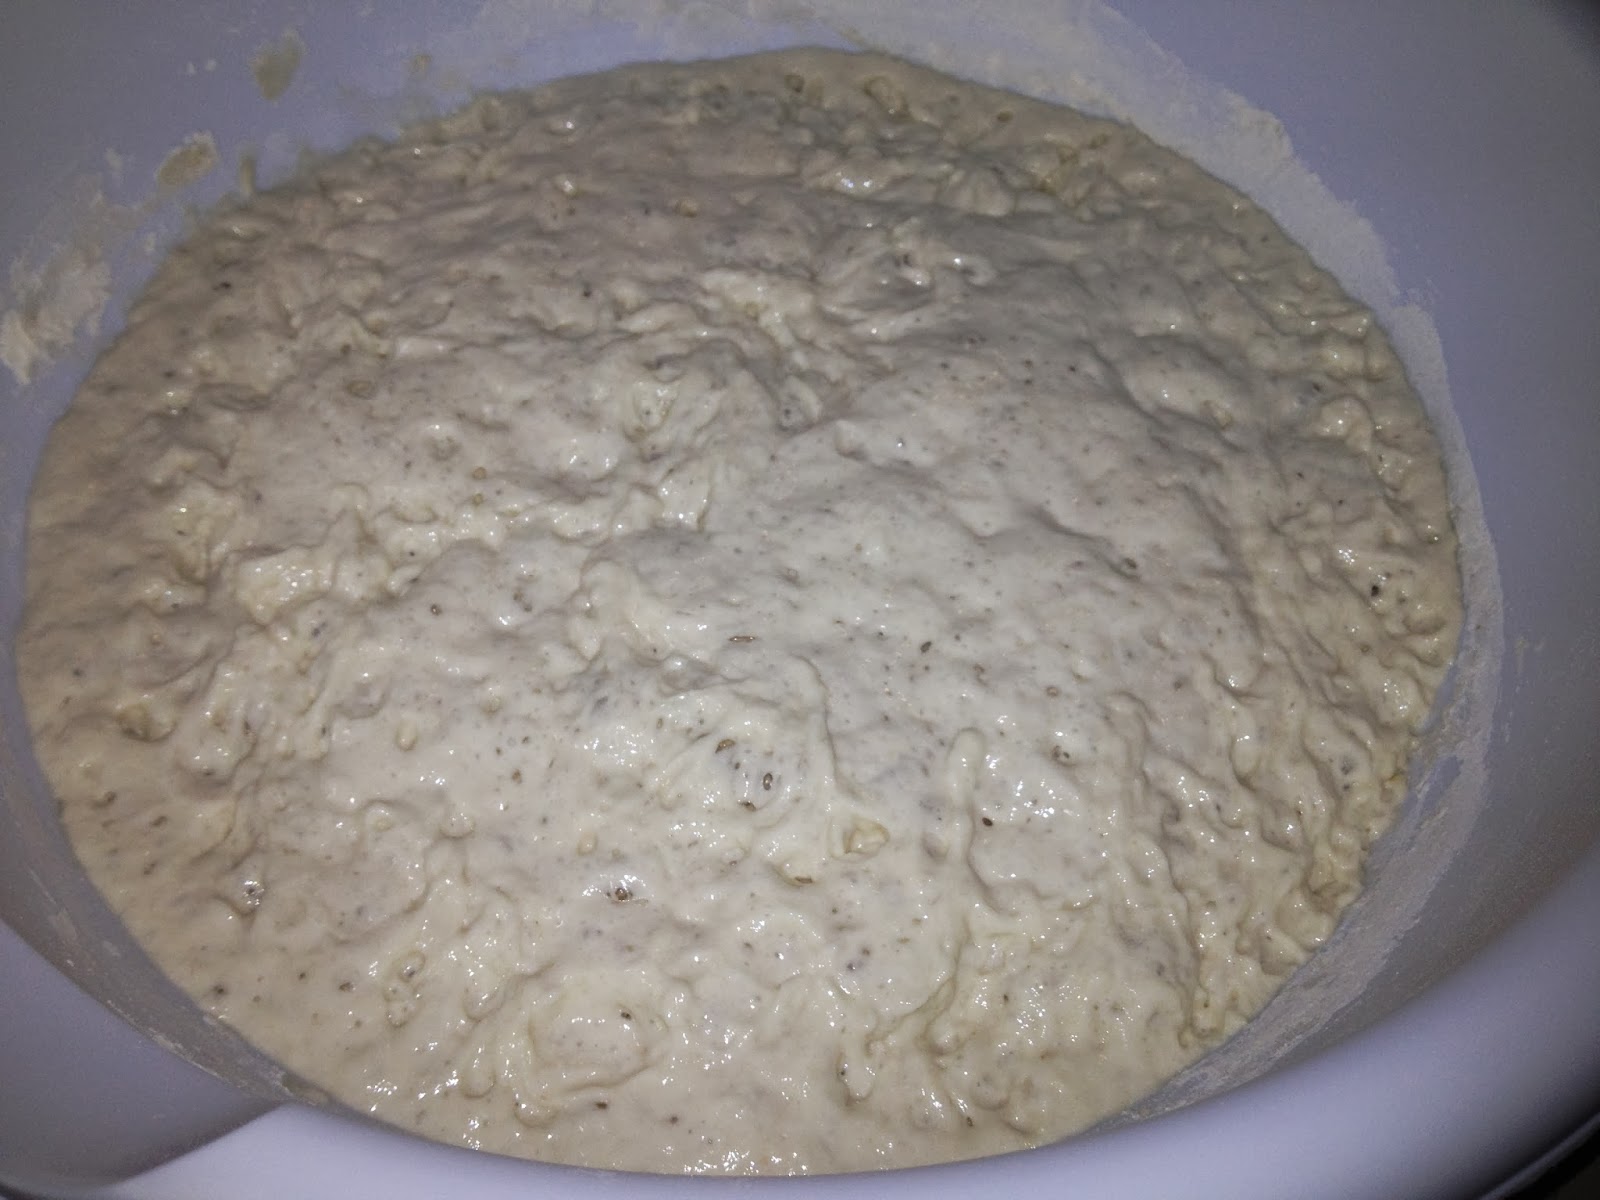
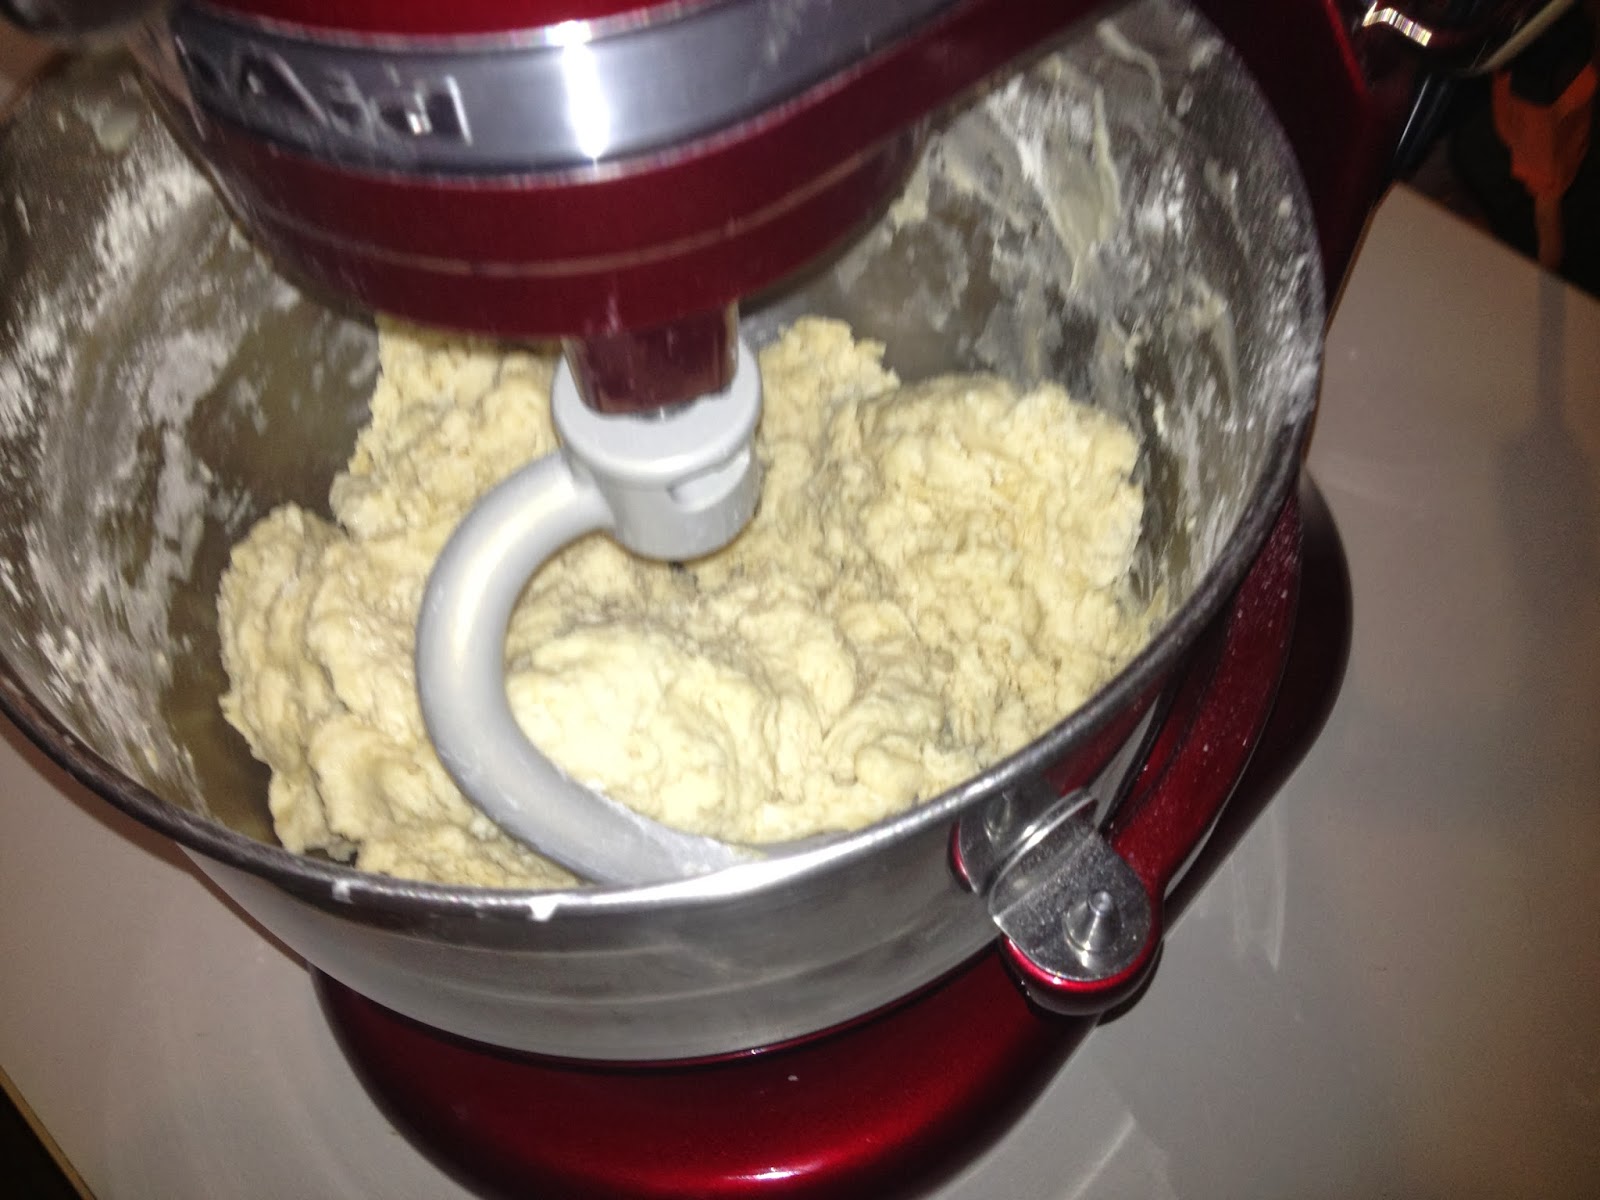
Ready to Autolyse, just a rough mass, a little dry. I always reserve a little of the water at this point


Totally hydrated after 30 minutes. The waiting is the hardest, but it helps you judge how much water to add during mixing

  • Add salt
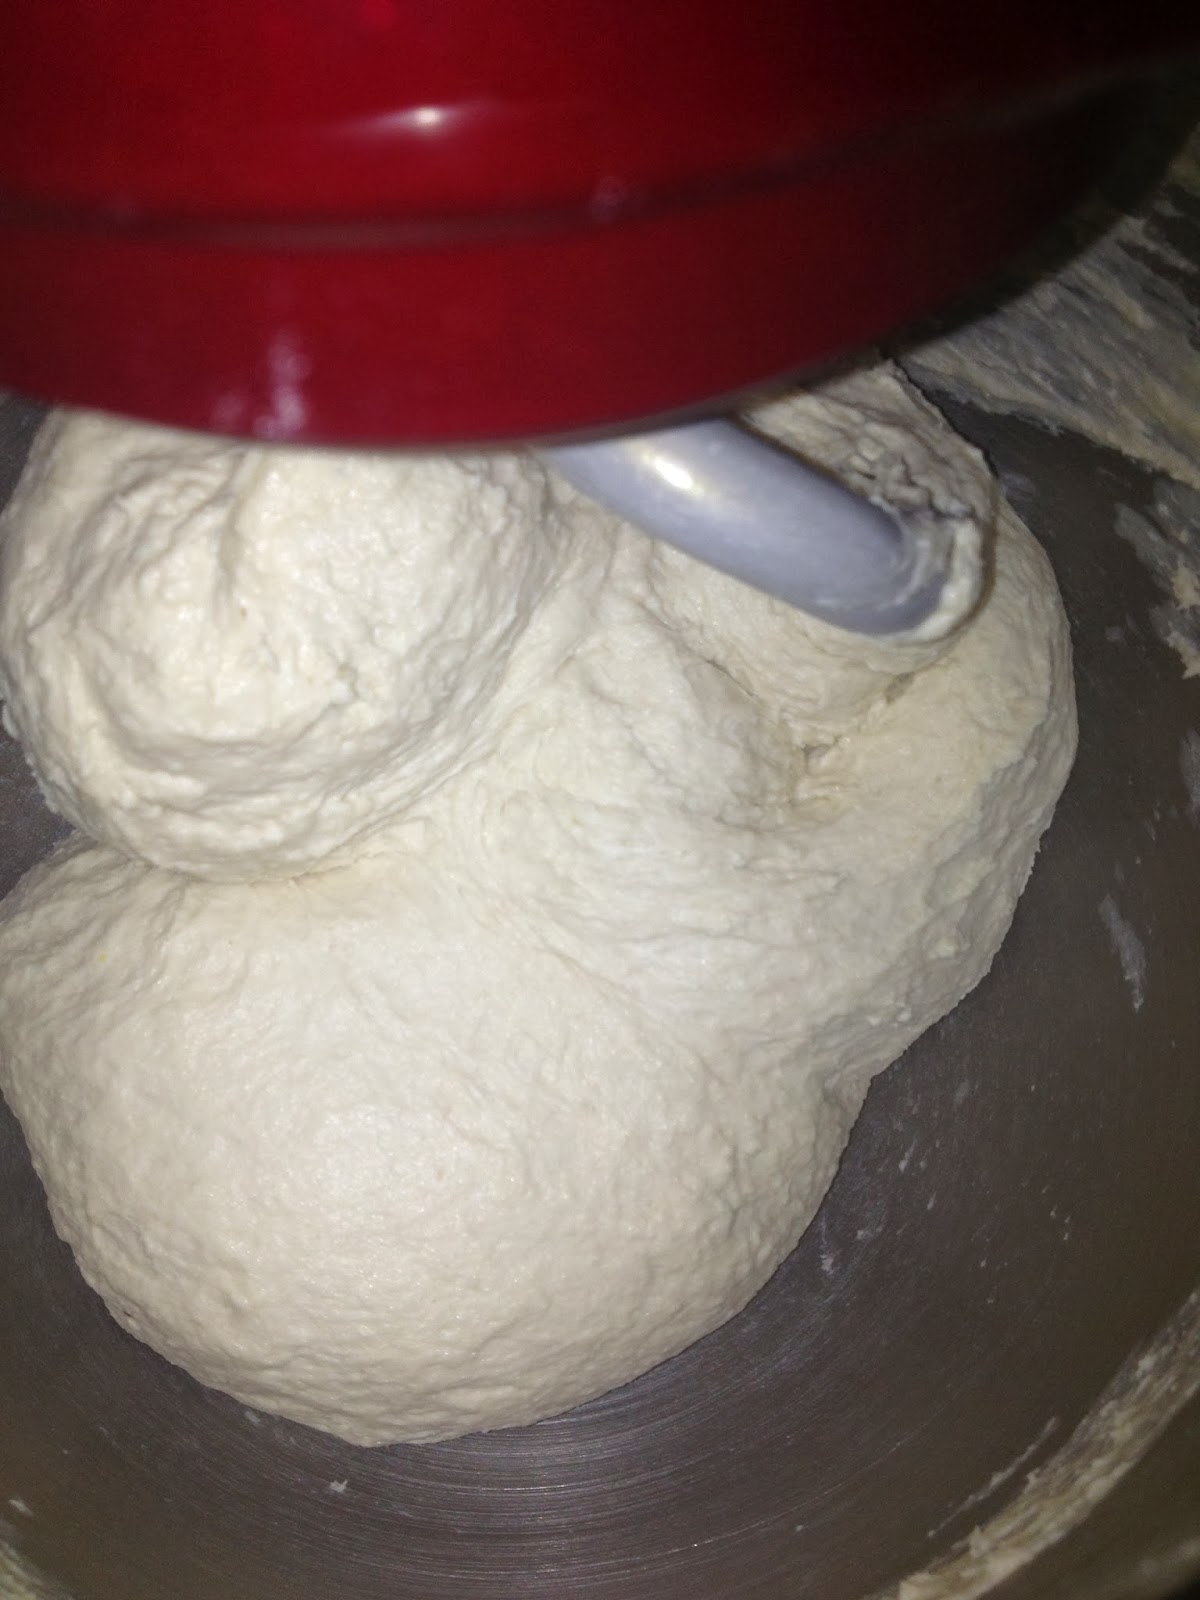
  • Knead, adding reserved water 1TBL. at a time as needed to achieve a dough that is smooth, shiny,elastic and just beginning to pull away from bowl. It will feel sticky
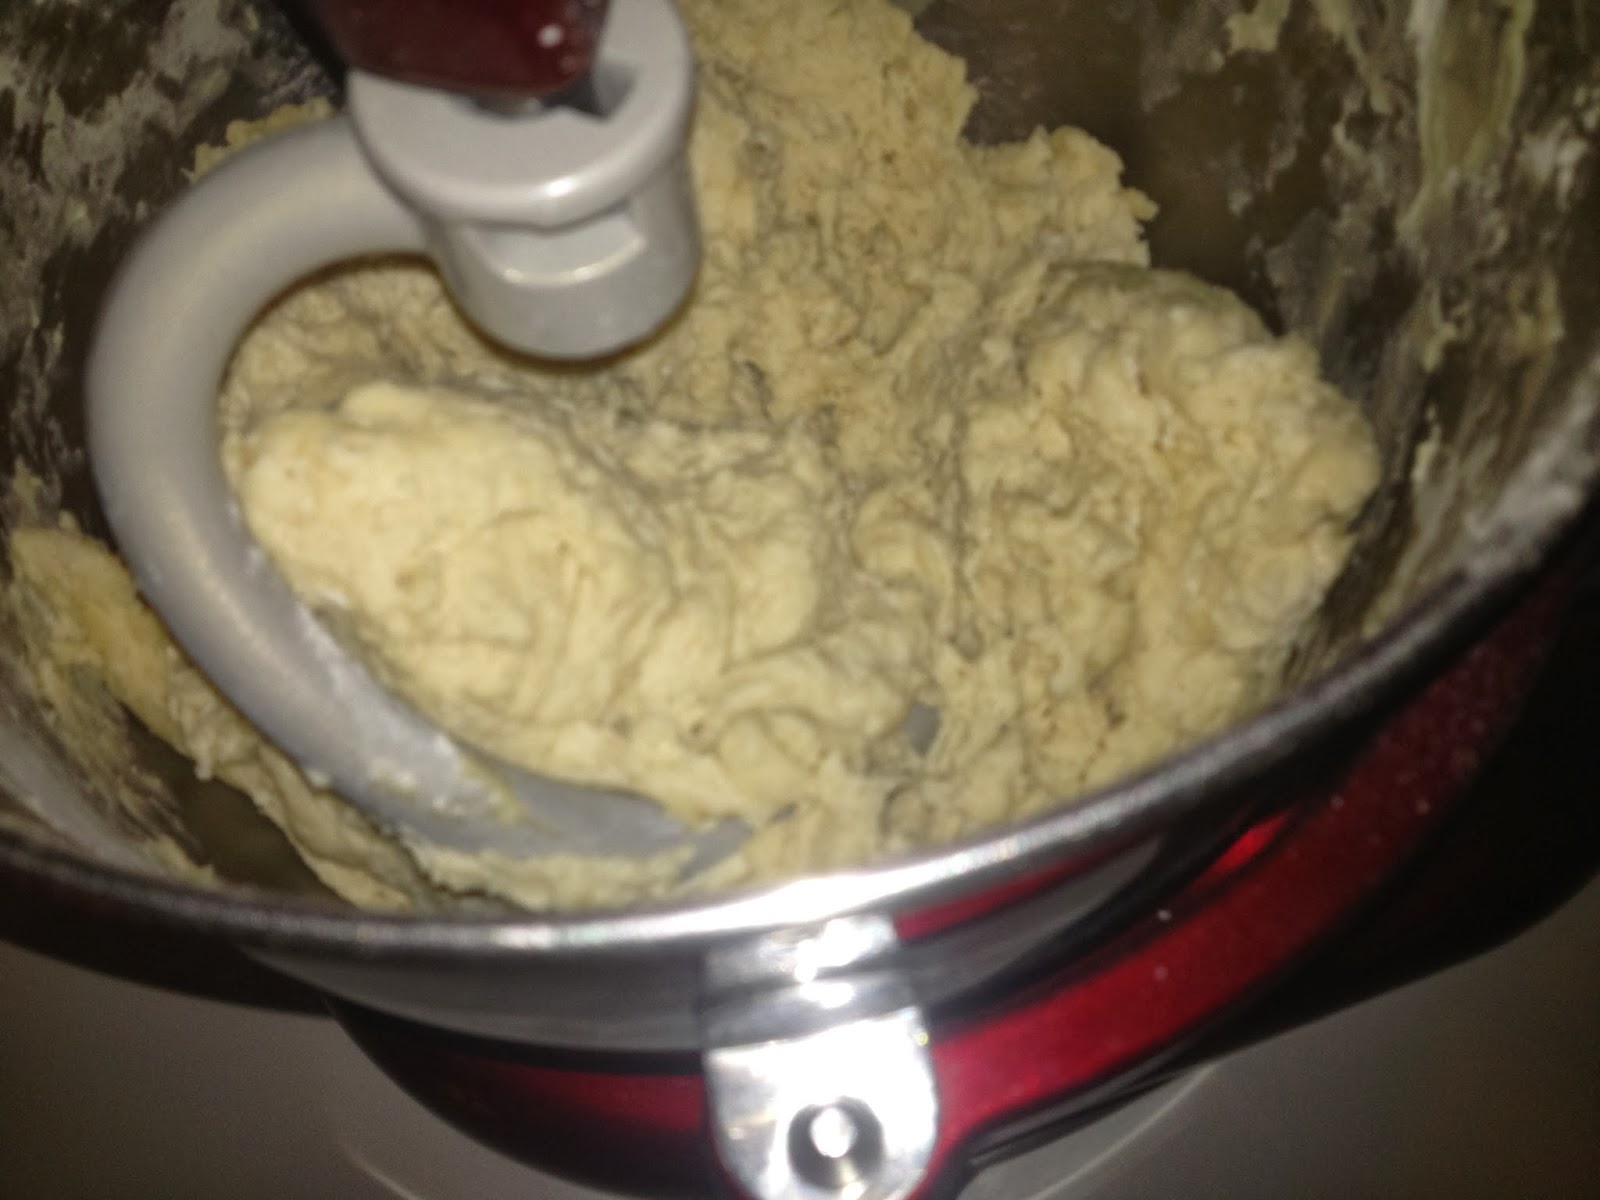
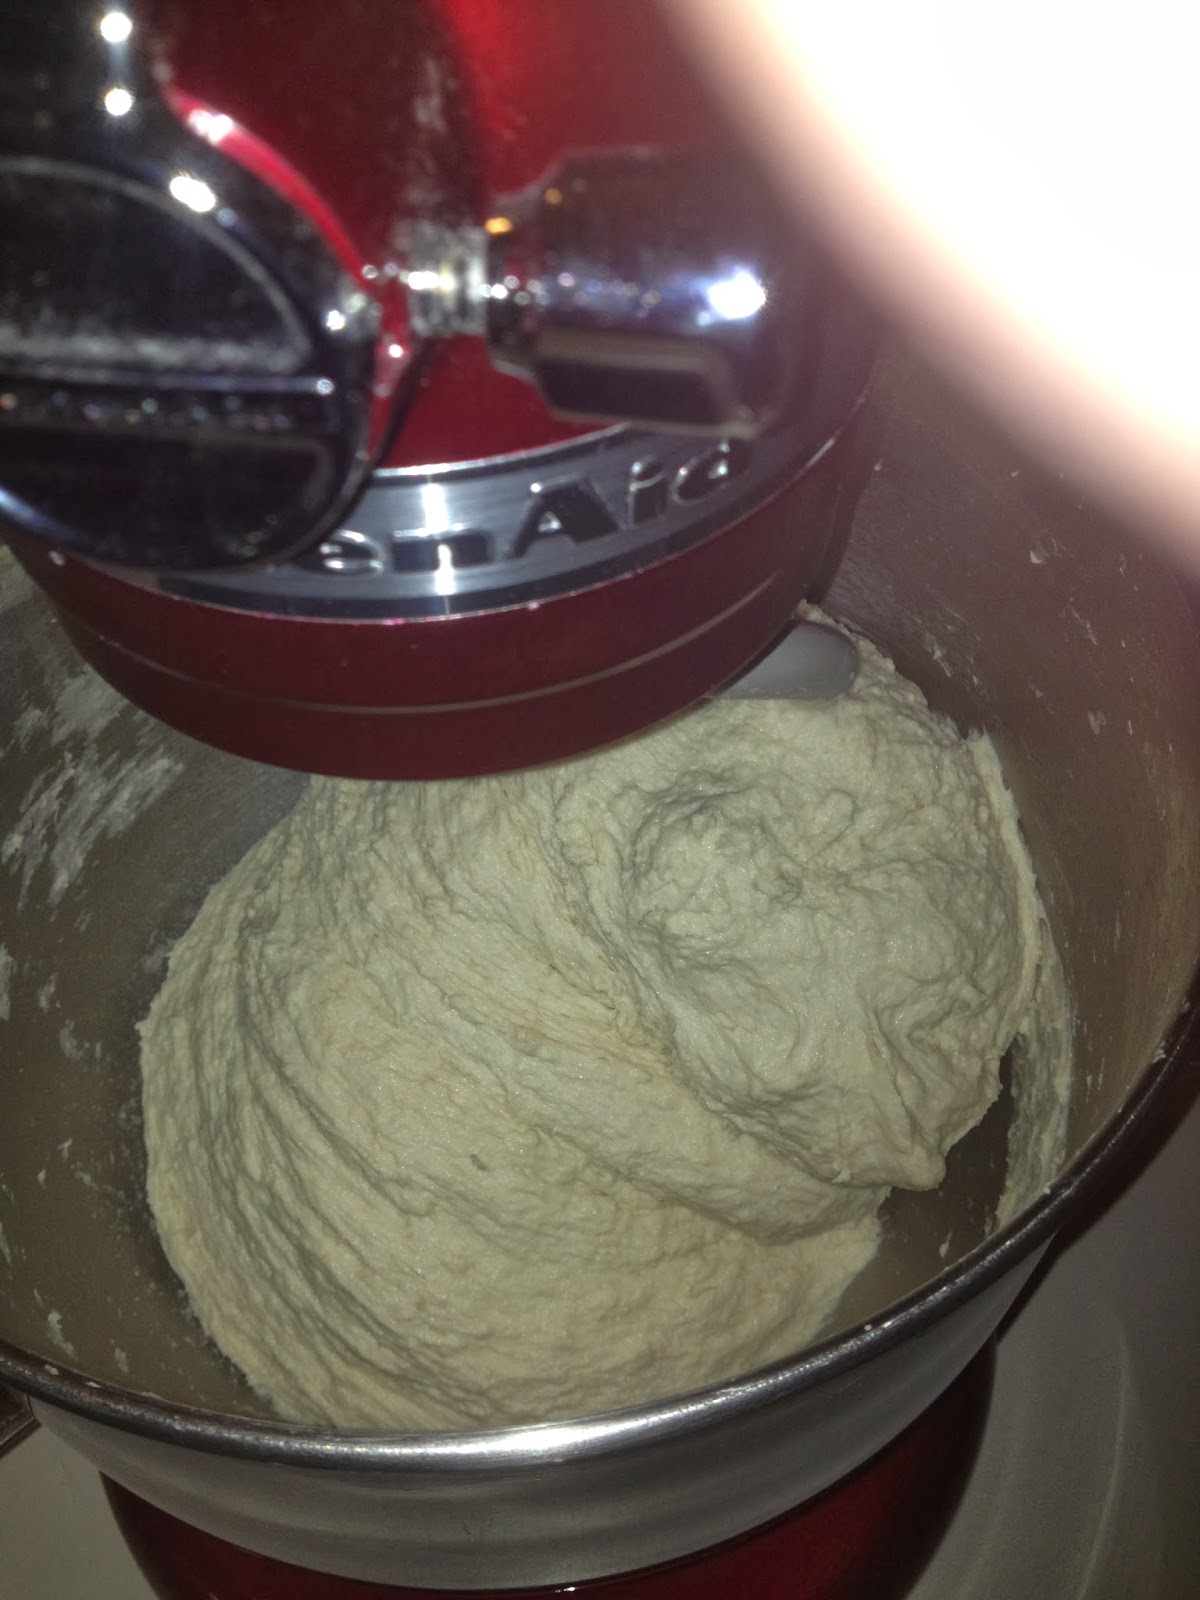
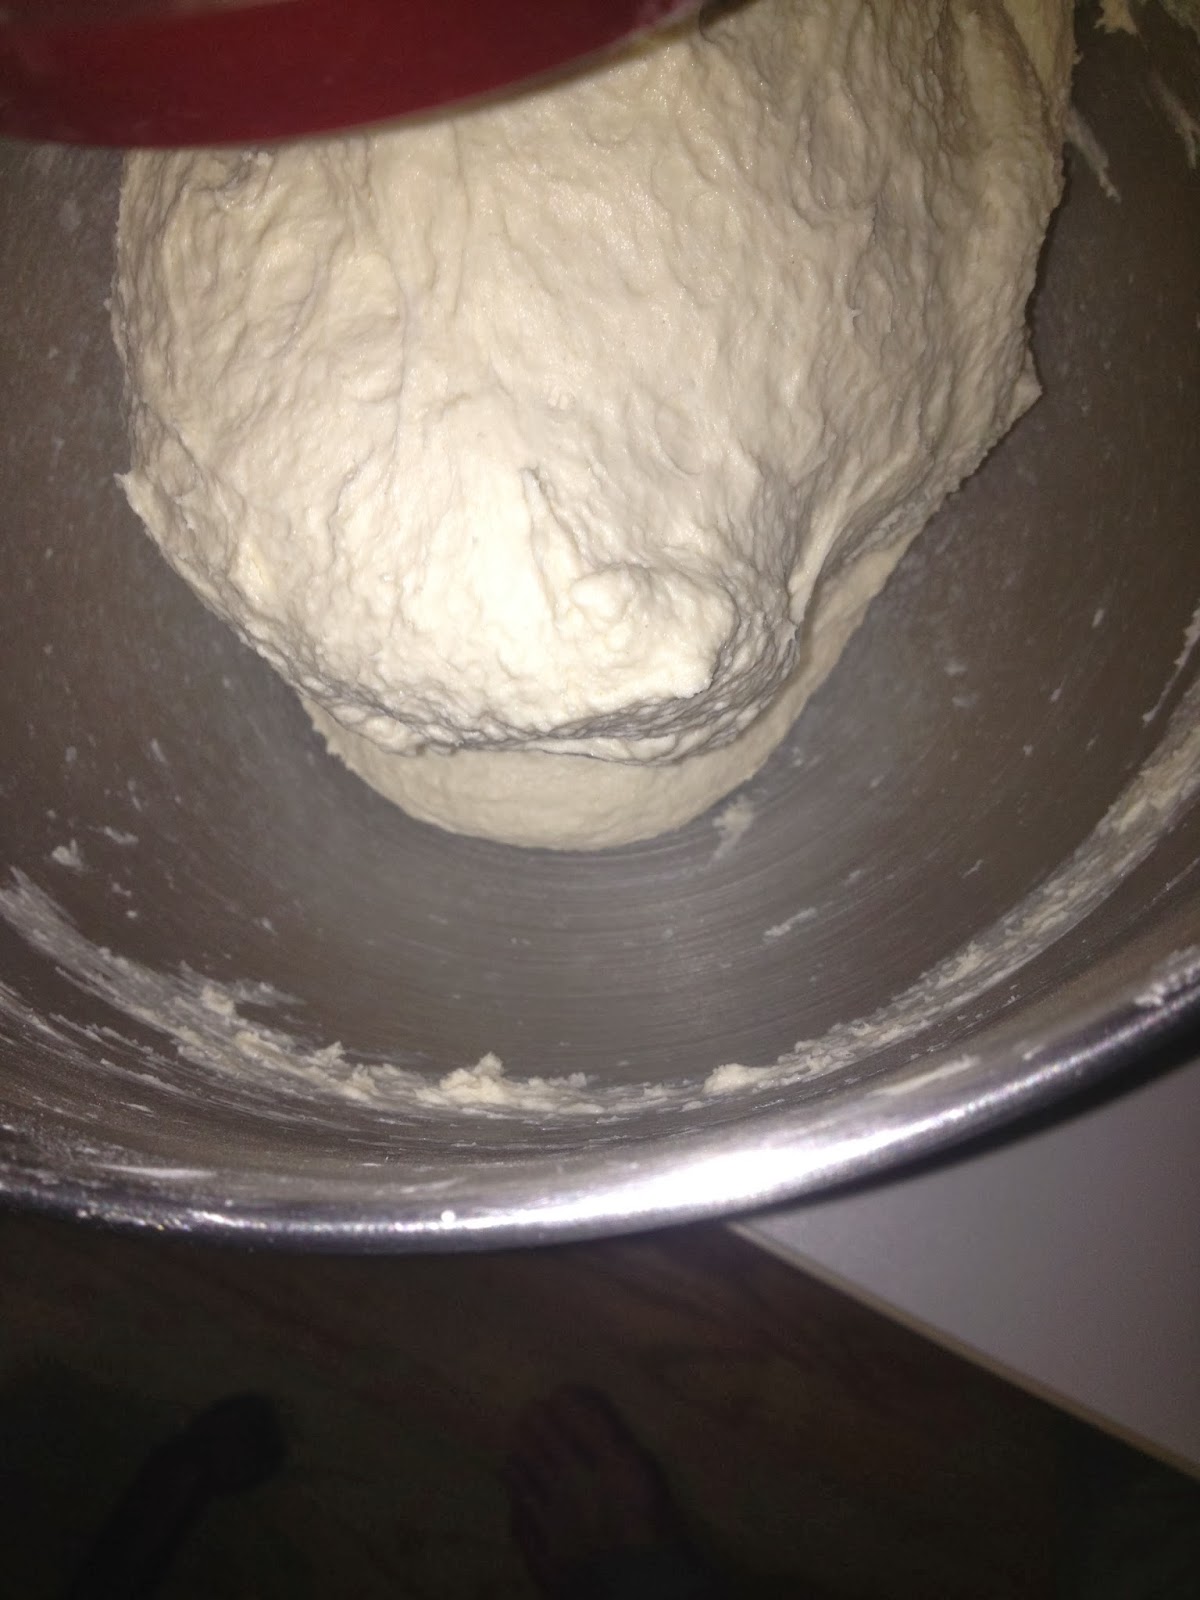
Note: As I gain experience I find that I like to end up with a dough that is as hydrated as possible without ending up with a dough that is so slack it won't support itself. That means my dough ends up distinctly sticky. The following pictures document how after I add what I think is enough water during the beginning of the kneading, the dough ends up appearing too wet, then progressively the gluten is built up during kneading, and the dough begins to look more appropriate, and begins to pull away from the bowl


Very sticky


Beginning to stiffen


Done, this is what I want

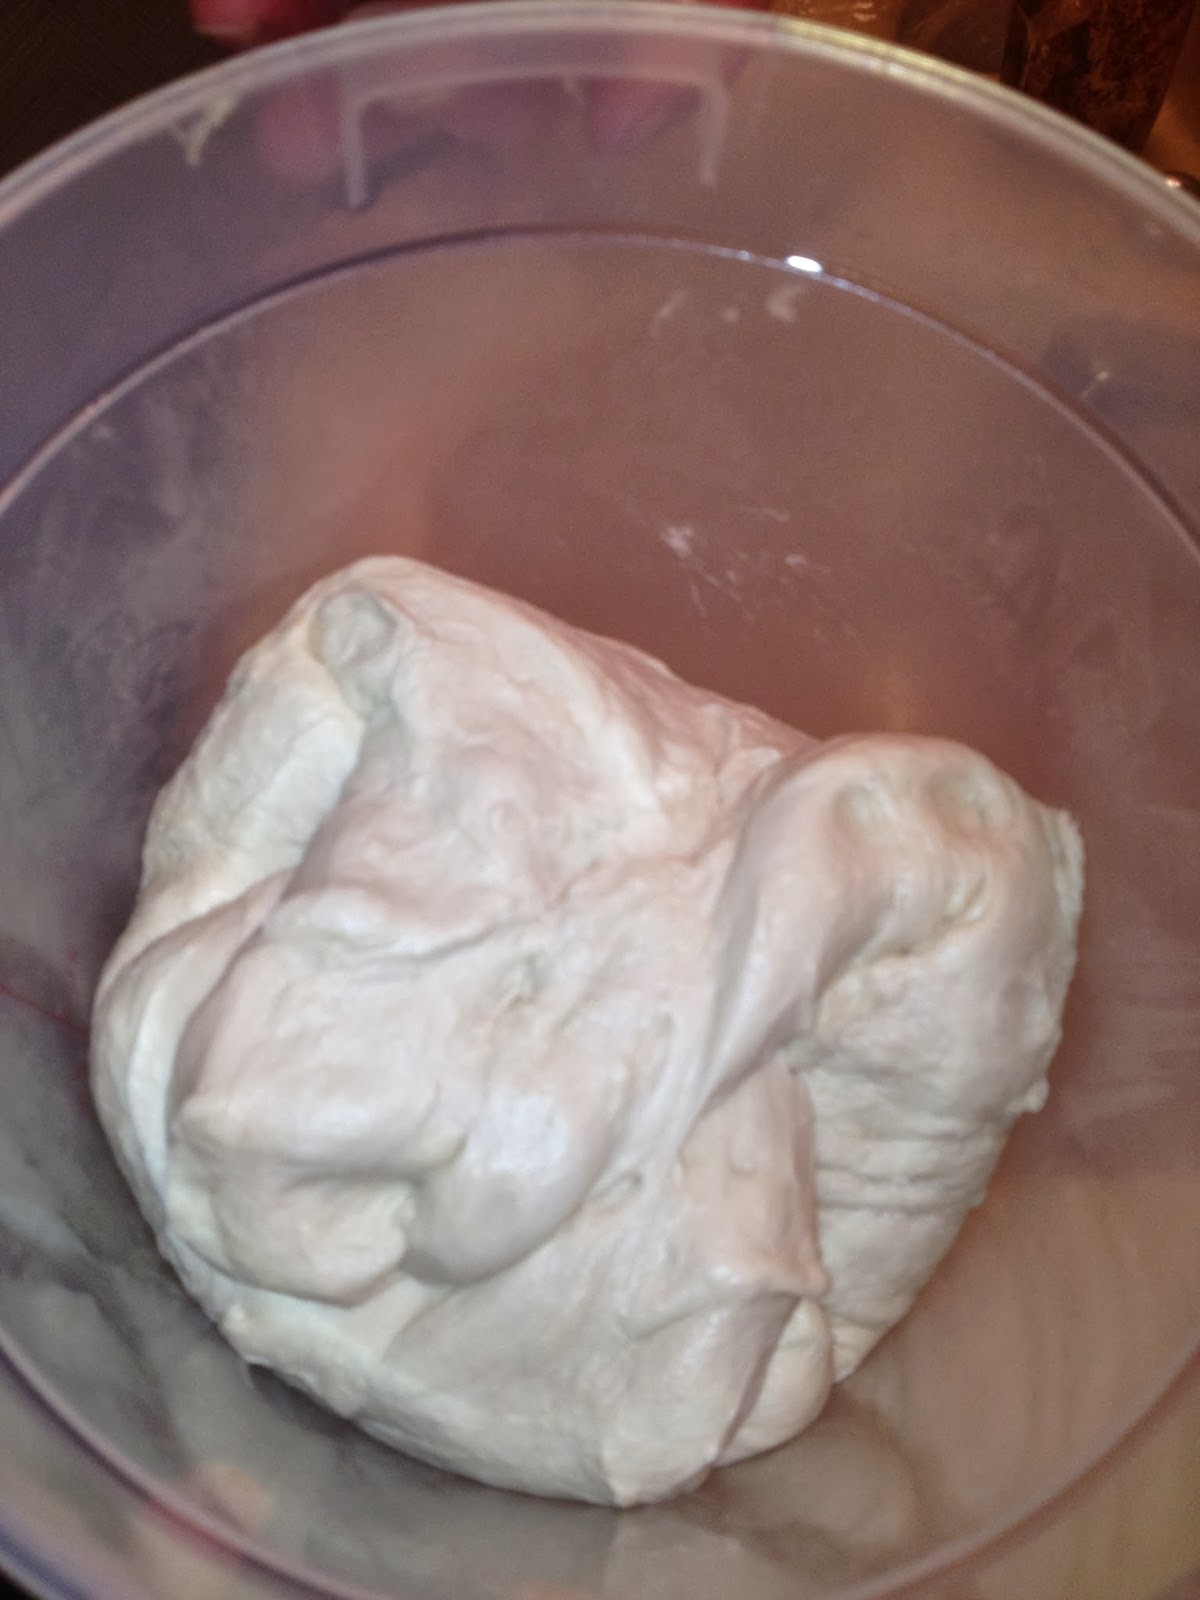
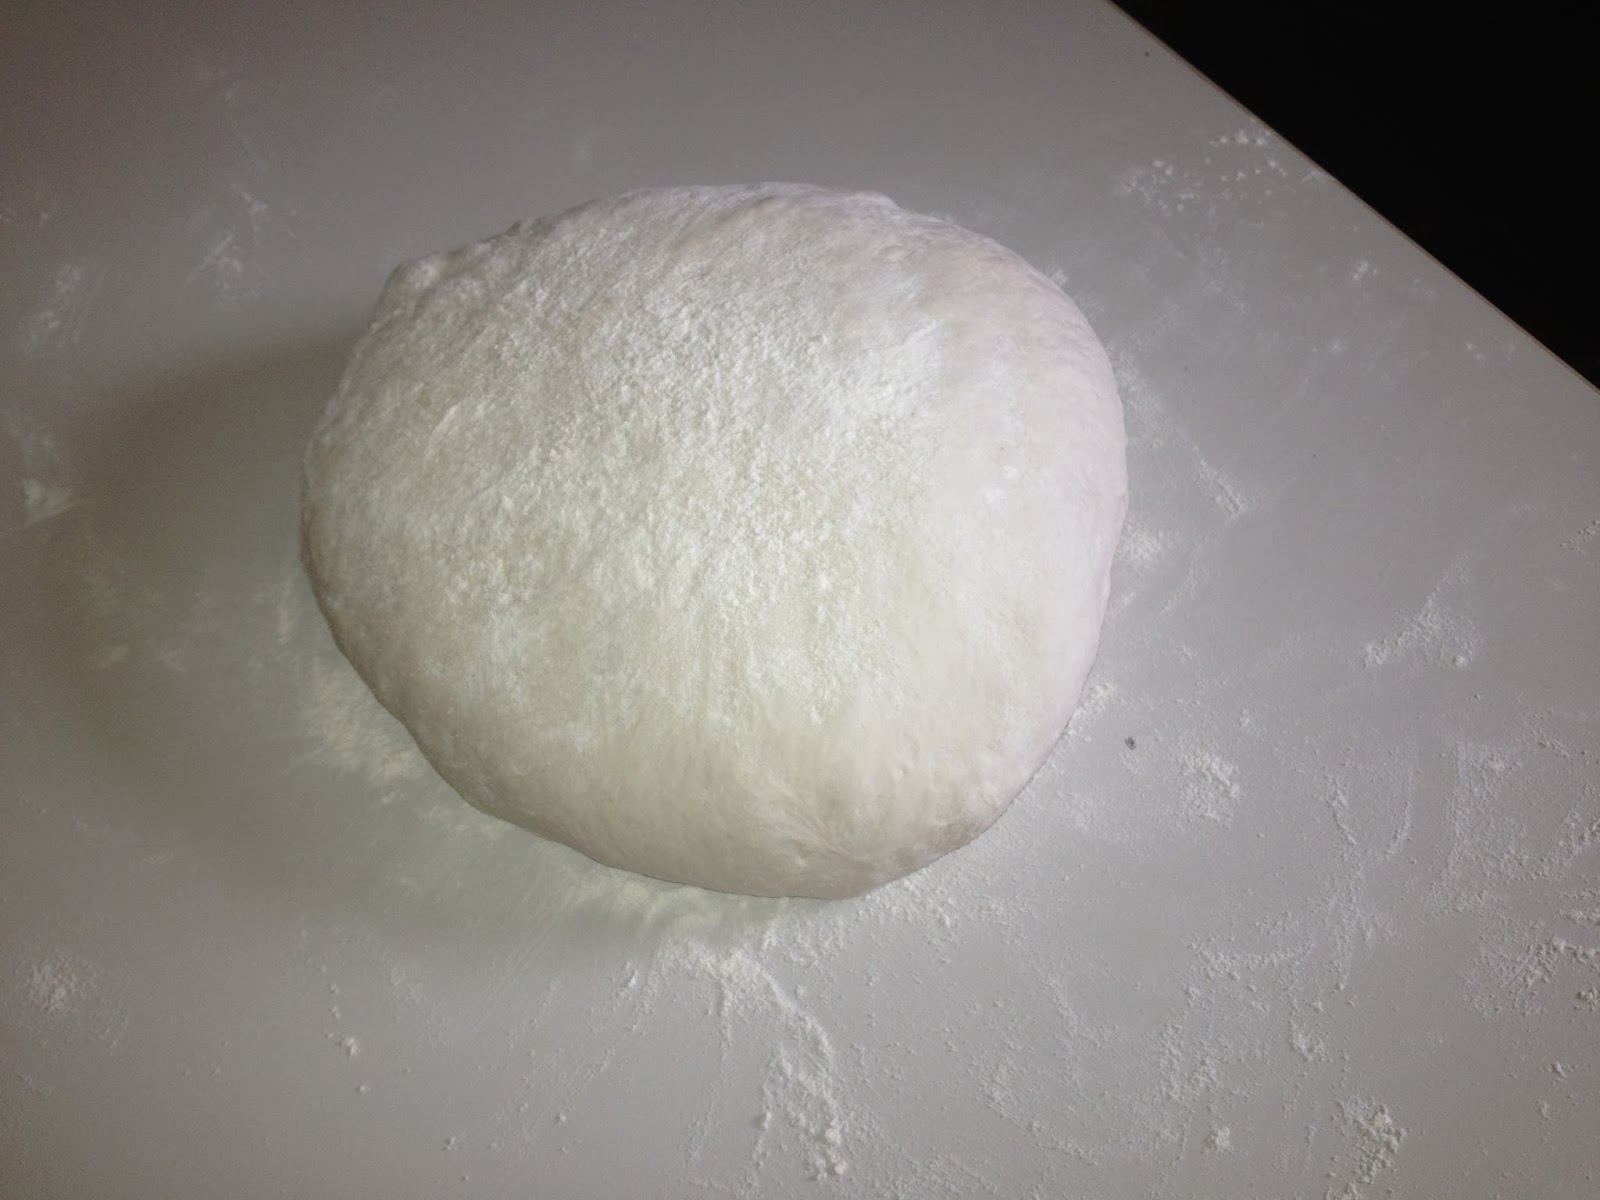
Finished dough

  • Place into a lightly oiled rising container, cover with plastic wrap

Ready to begin to rise. I want this to double but no more than that

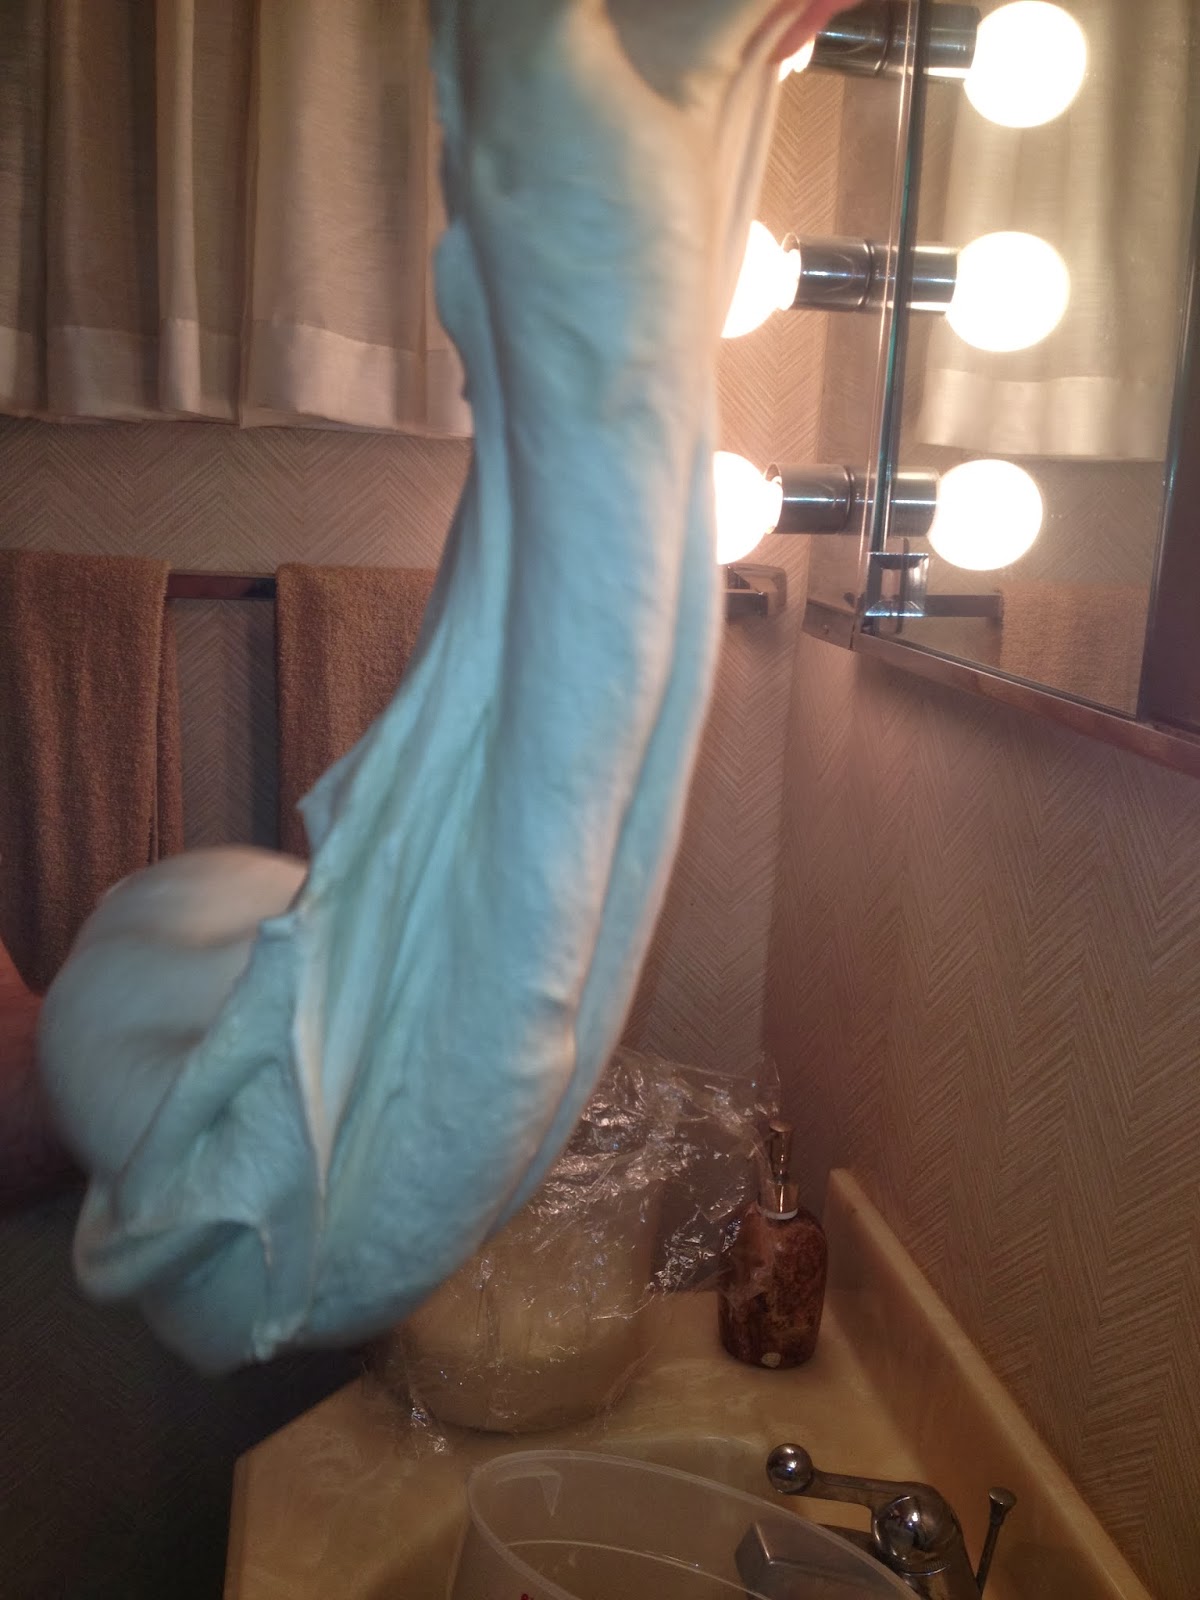
  • At this point you want to do a couple of envelope fold sessions. One at 30 minutes into the proof and another at about an hour. The number of times you fold is dictated by the "feel". You want to feel the dough stiffen as you fold. You are elongating the gluten strands and you should be able to feel the result. That result is a stiffer dough. This is one point that experience will guide you. You just have to do it a few dozen times to know what you are supposed to feel.


It will be very "slack" at first turn


As you turn or "fold" it, it will strengthen


"Envelope Fold" means to stretch out to dough and fold it in thirds one way, then turn it 90° and do the same thing the other way 


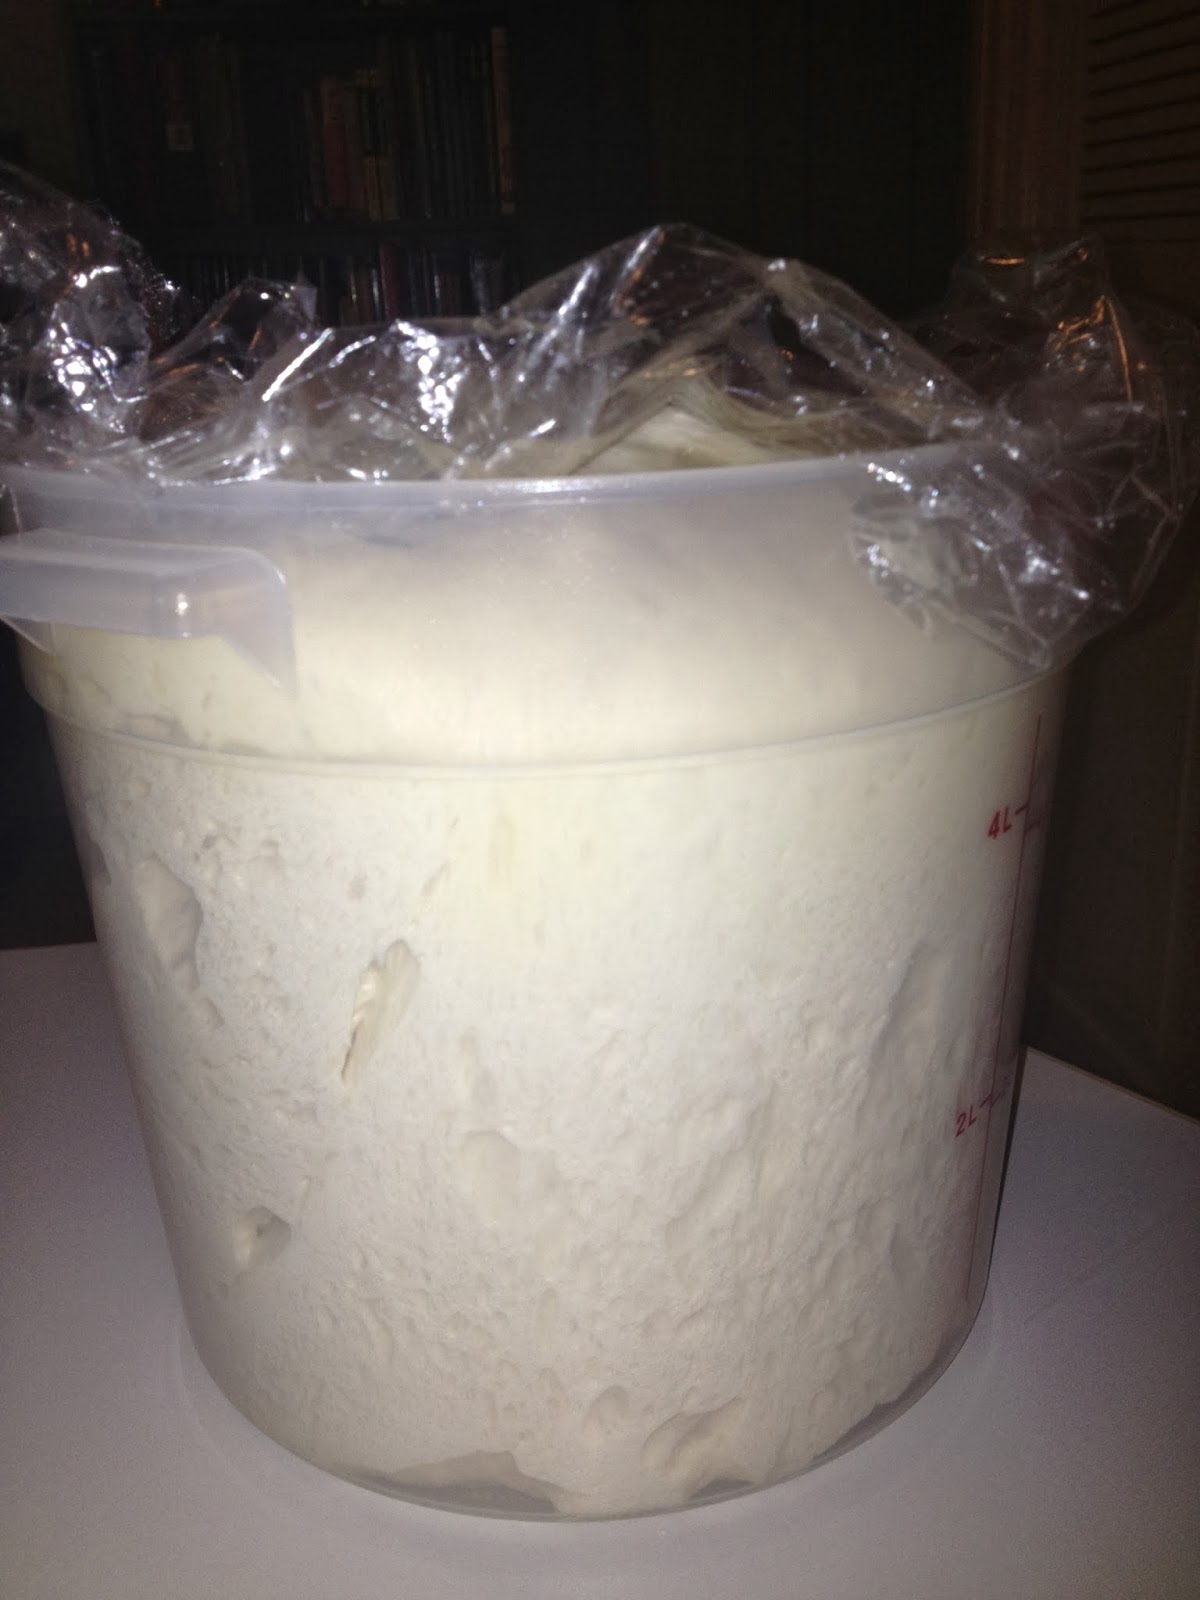
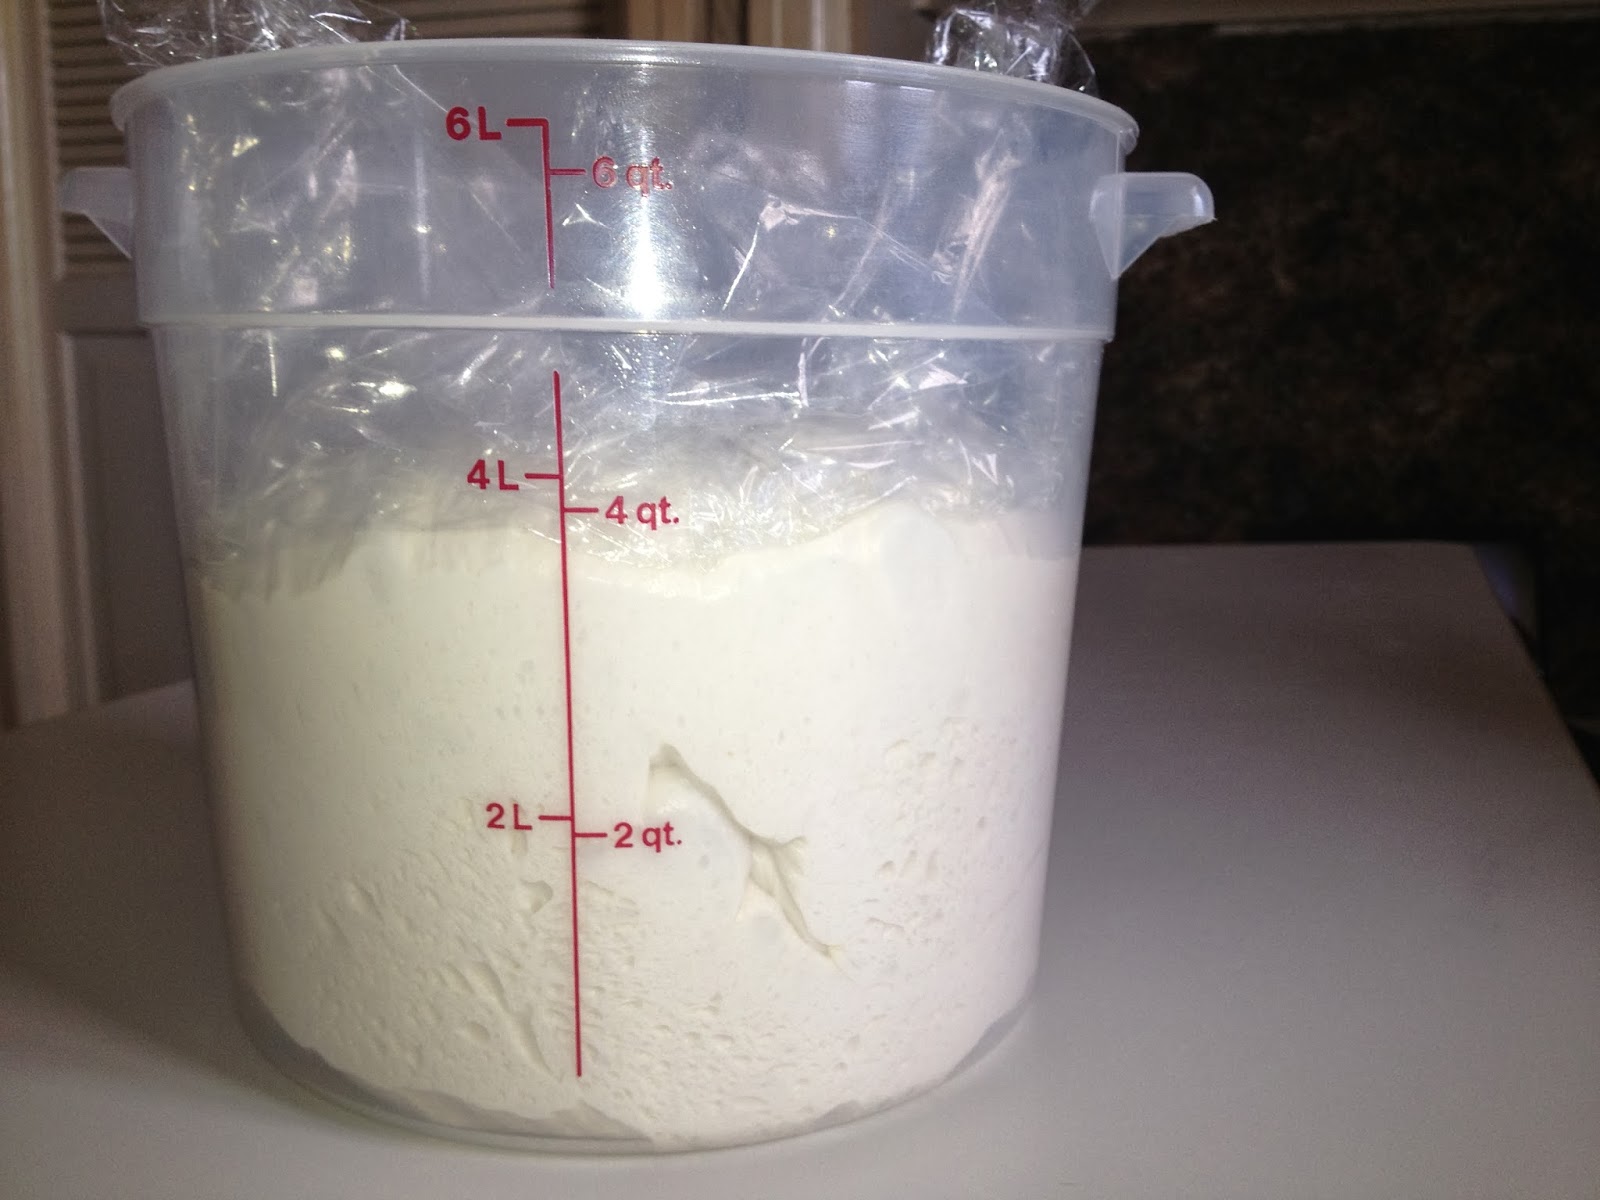
  • Allow to double in size (70° environment) 

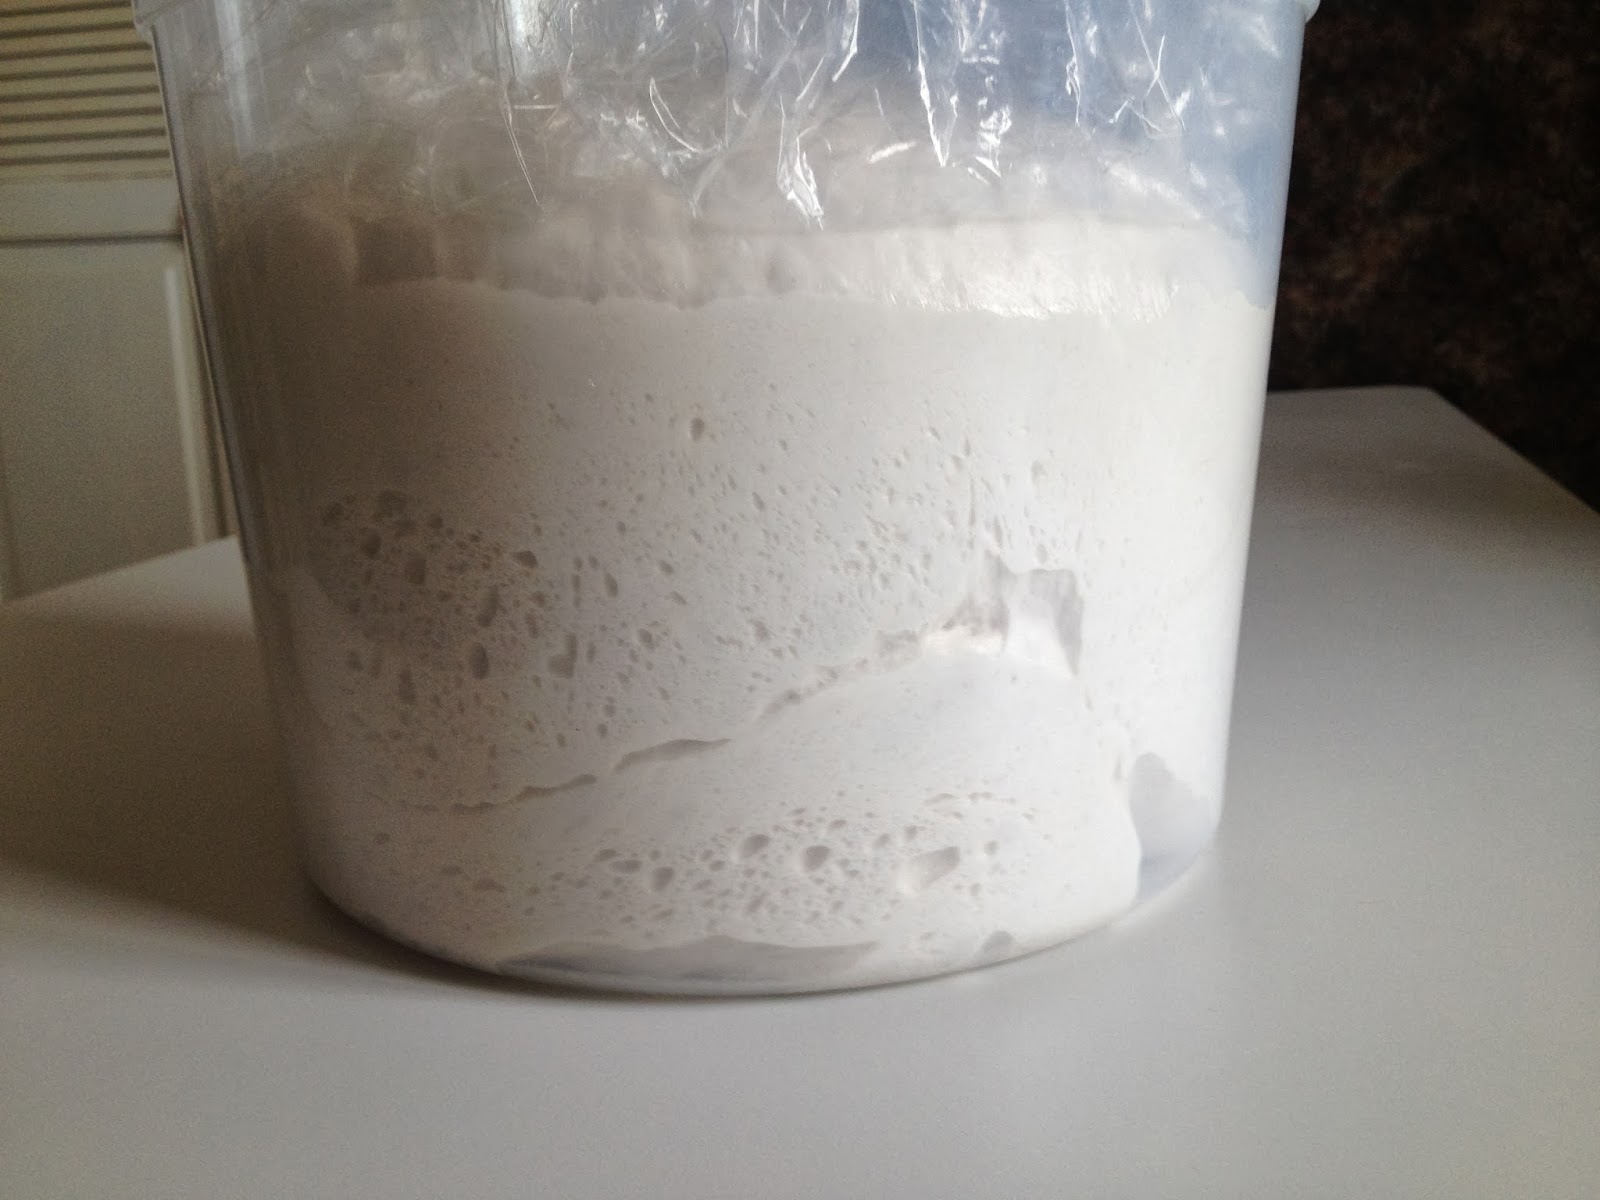
What over proofed looks like, I fell asleep on this one. It's now nothing more than a large amount of Poolish


Properly proofed


Plenty of carbon dioxide

  • Pre-shape - degas, and shape dough into what will be the final shape, i.e. round or oval

Allow rough shape to rest

  • Rest covered for 15 minutes
  • Final shaping - gently shape the dough into the final shape concentrating on creating surface tension and try not to degas 


The focus here is to create surface tension without tearing the surface. I still need practice, as you can see the surface has small tares in it

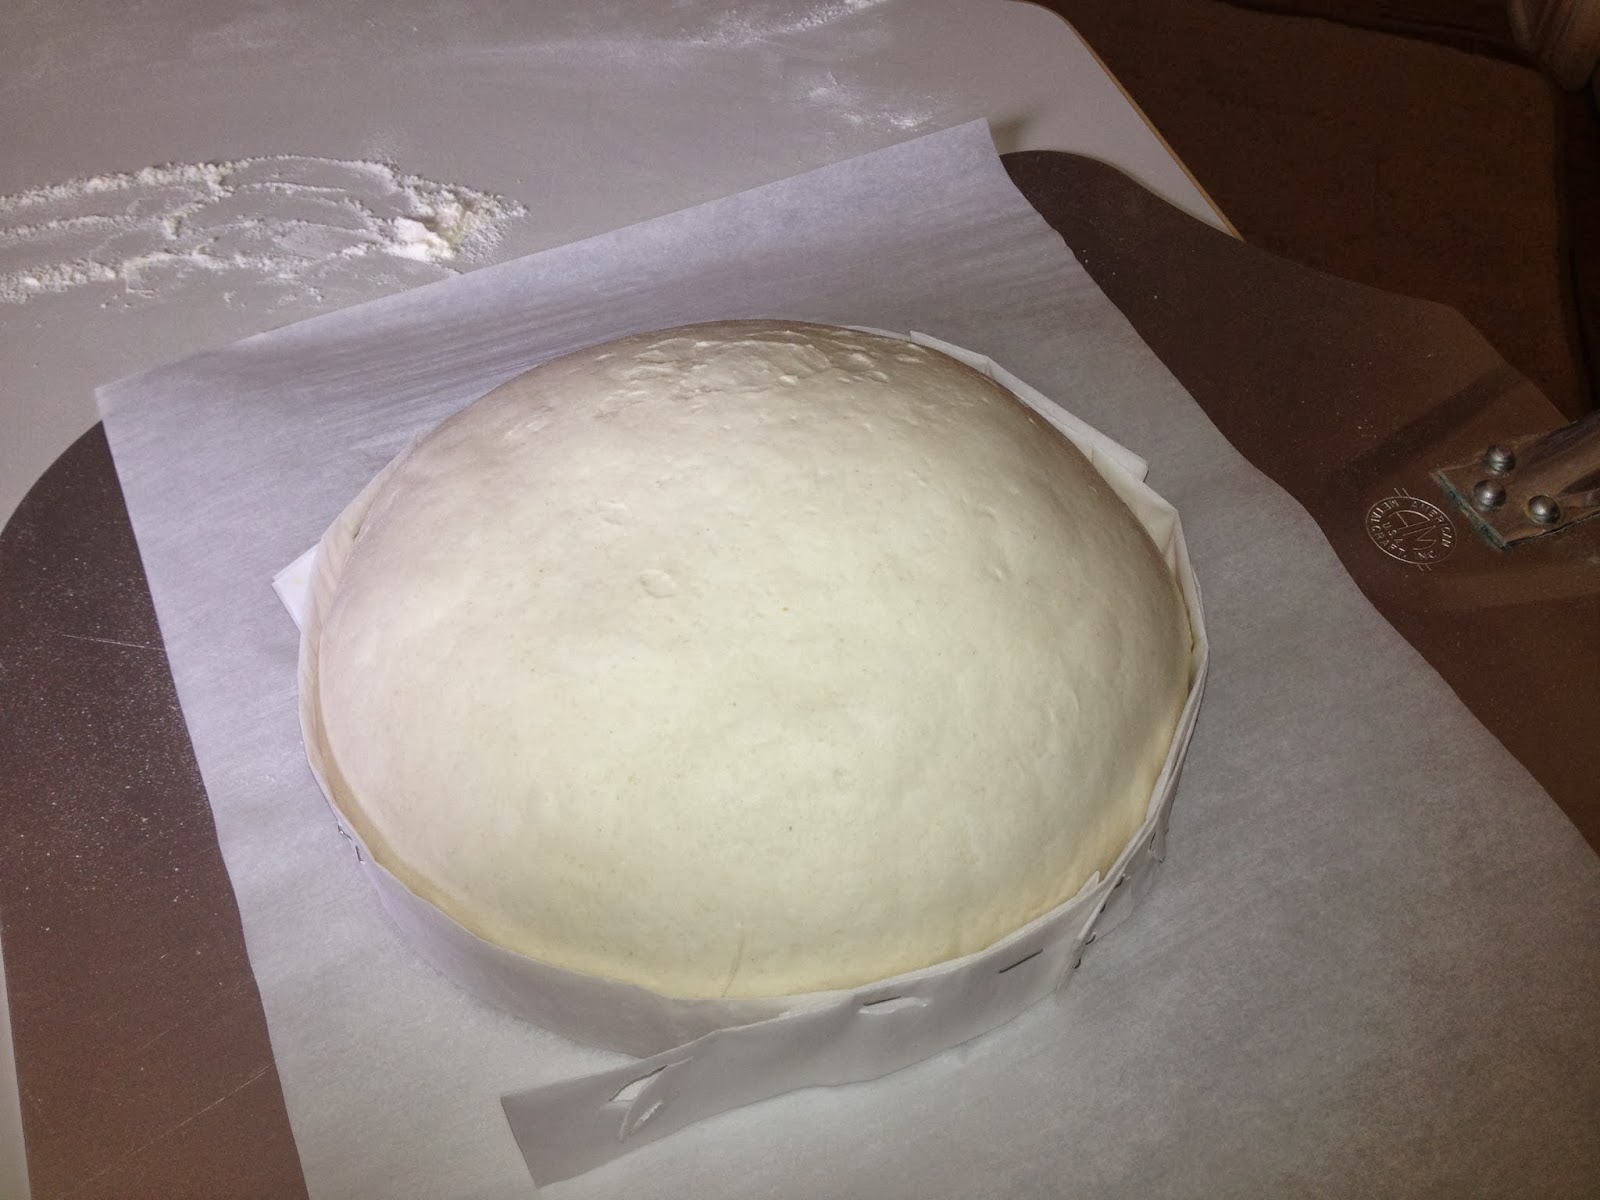
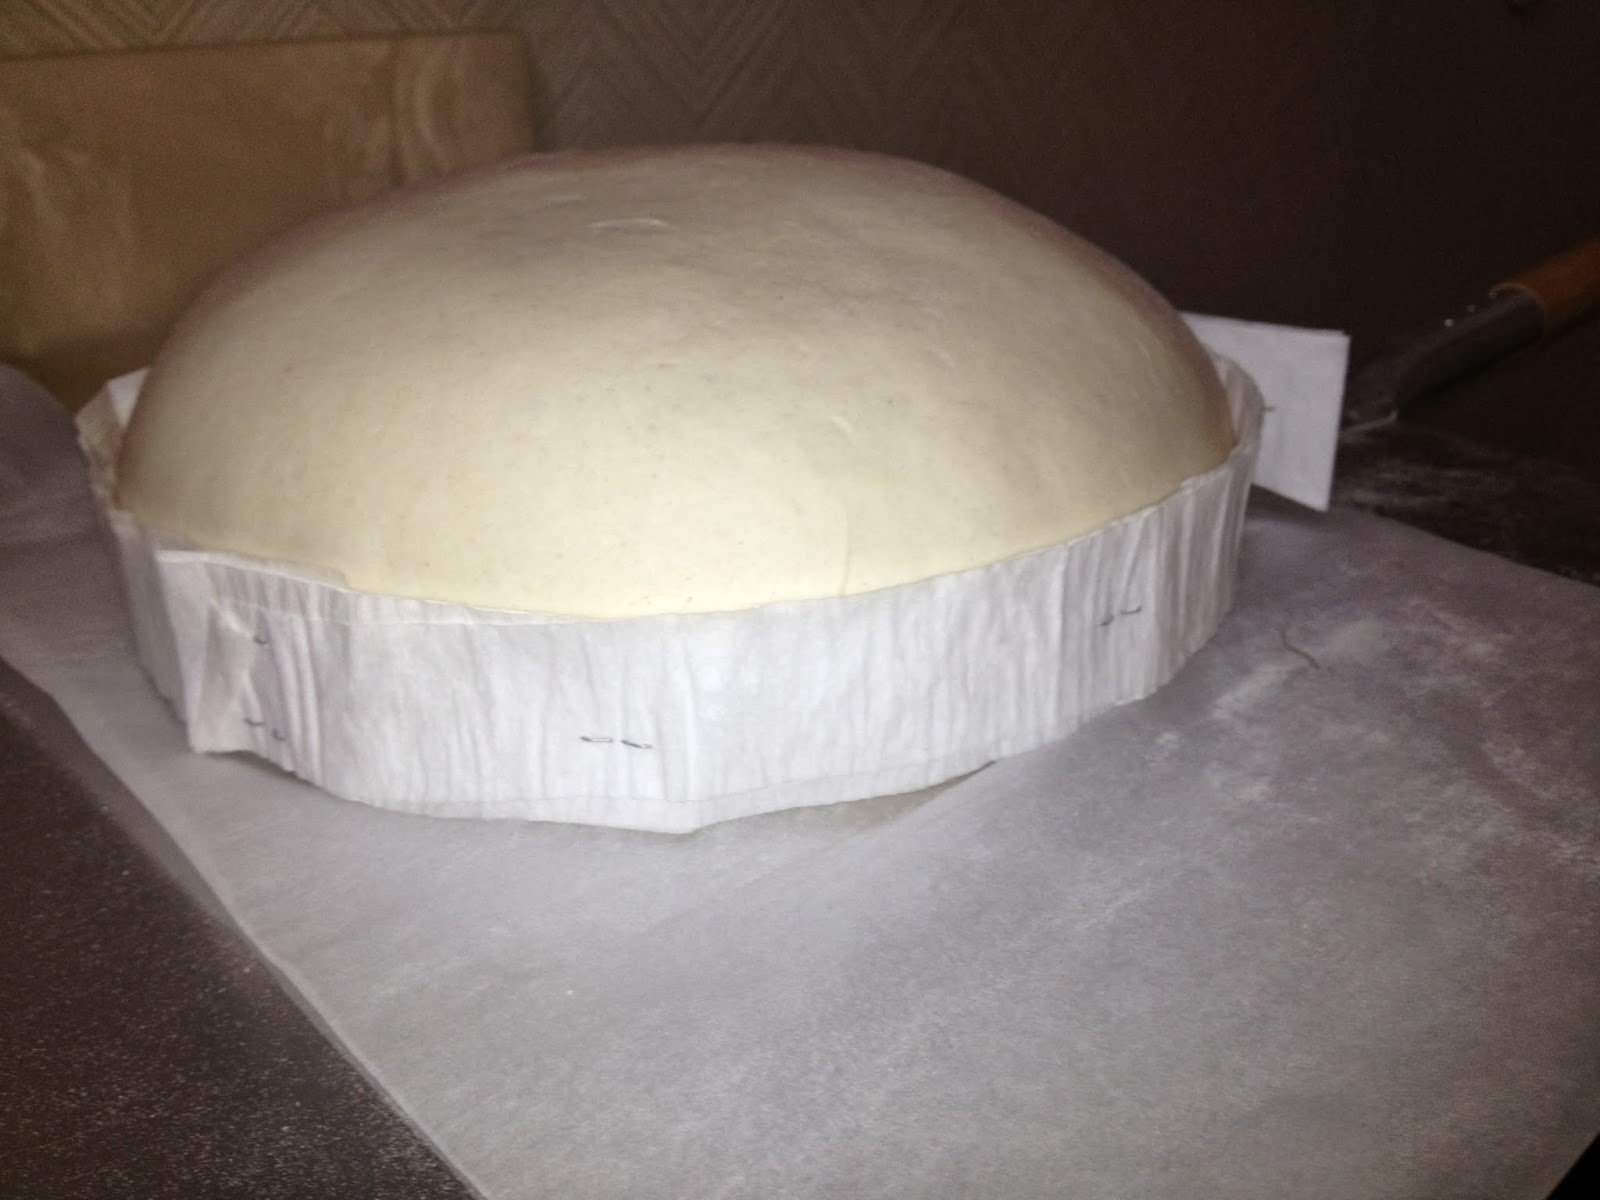
  • Cover and allow to rise to 1.75, in 80% humidity/80° environment. do not allow it to  double and you will get better oven spring and it will be easier to score


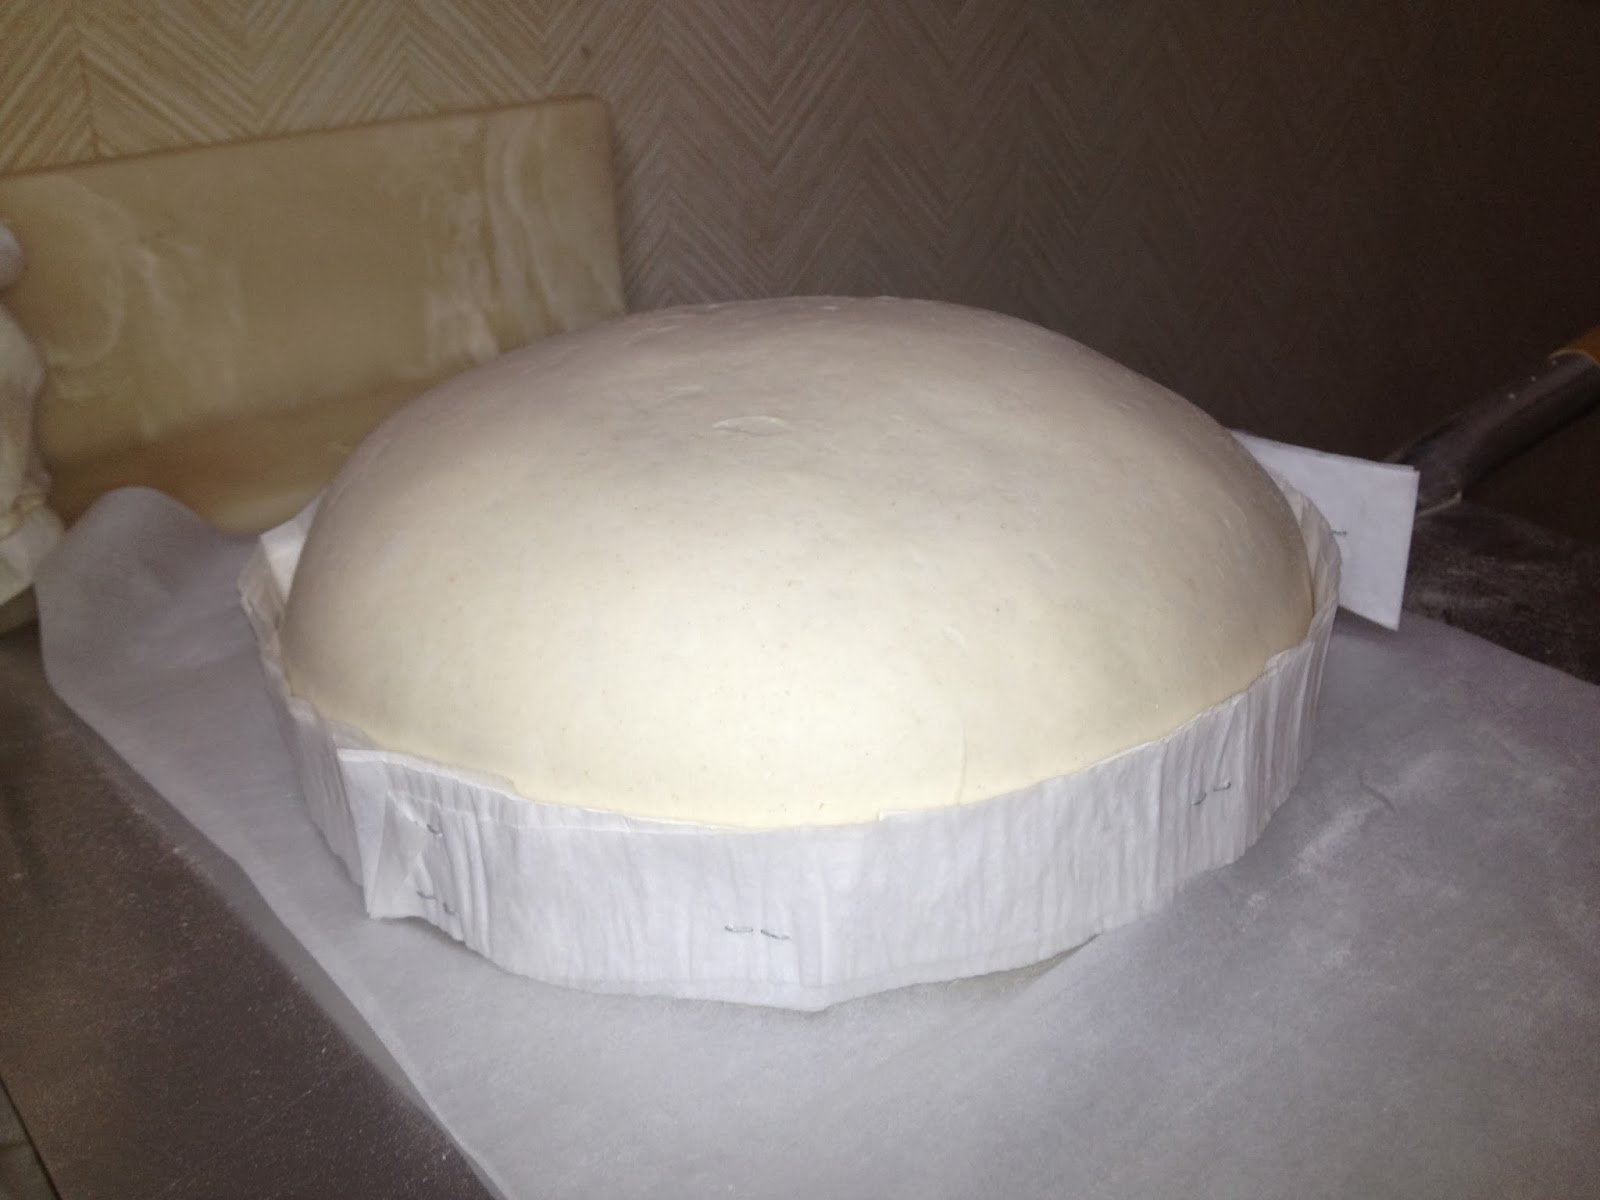
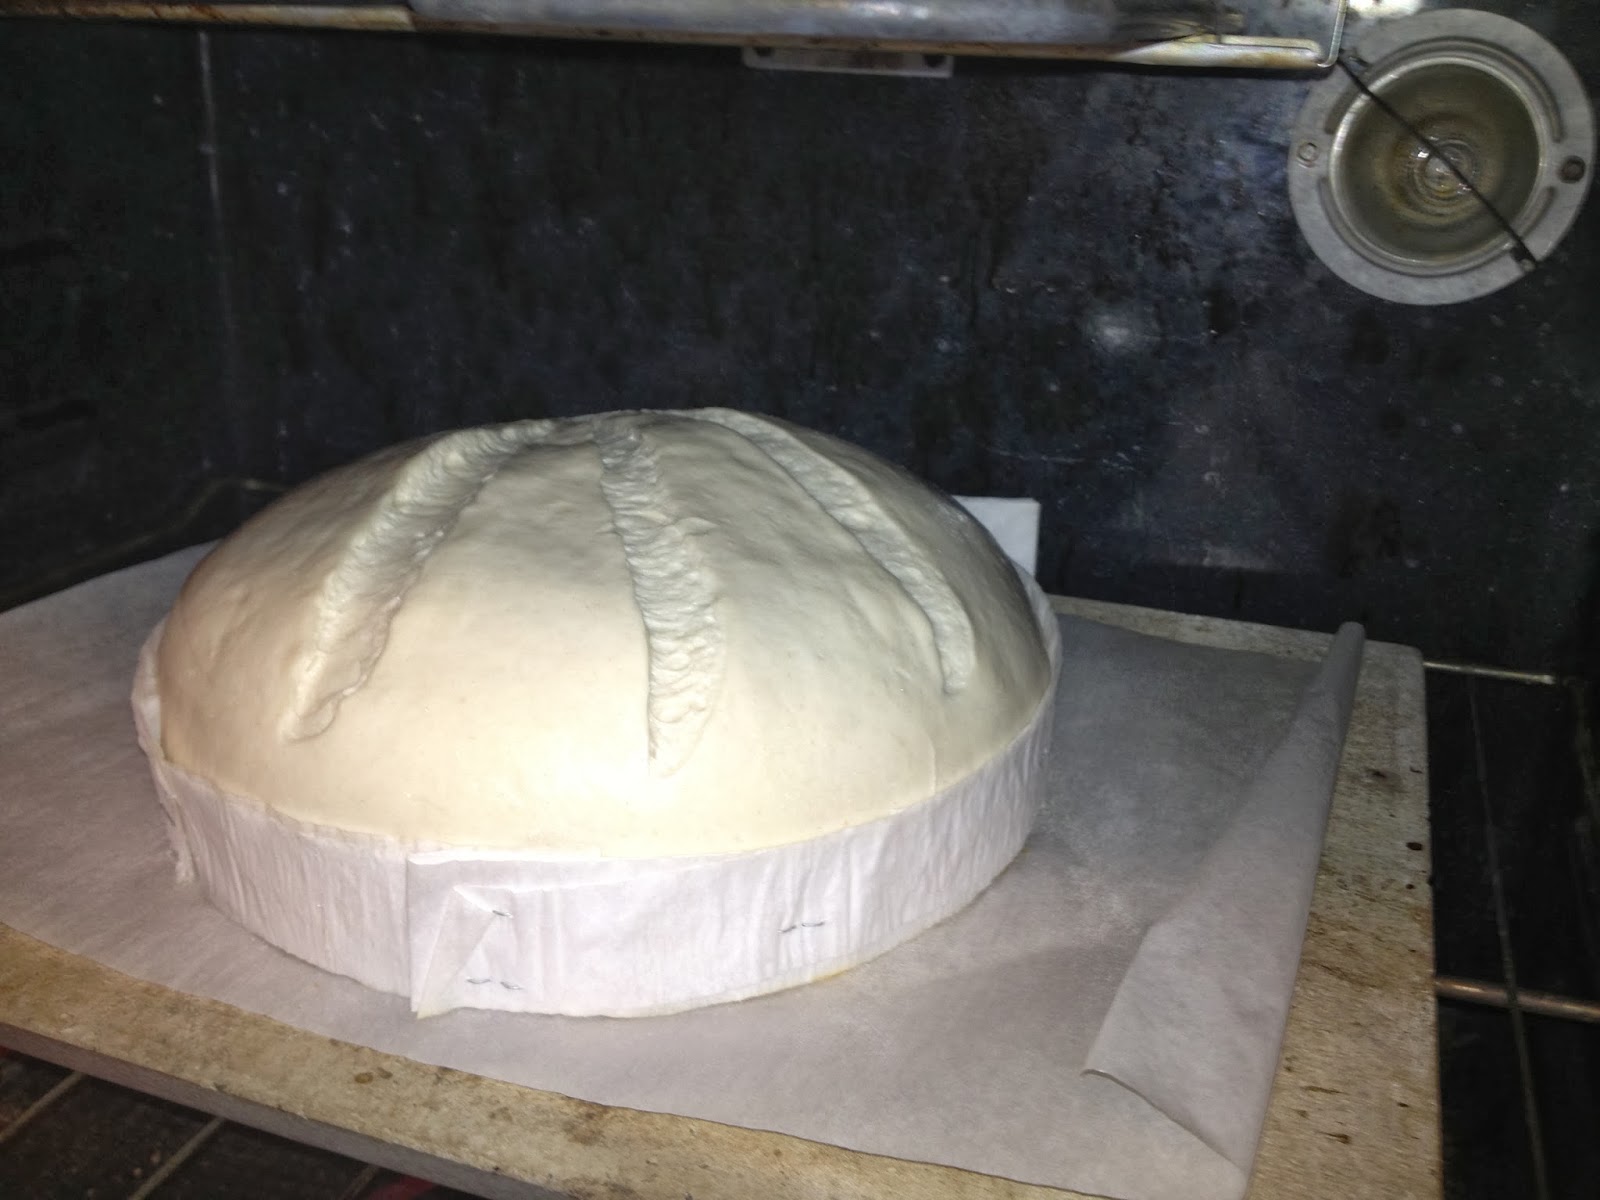
Risen by 1.75, ready to score and bake


Scored


  • Bake at 425° for first 15 minutes utilizing the following techniques:
    • Pizza stone
    • Steam Pan with well dampened cotton cloth
    • Roasting Pan lid to cover dough
  • For second 15 minutes:
    • Remove Steam Pan and cloth
    • Remove Roasting Pan lid
    • Reduce oven temperature to 350°
  • For 3rd 15 minutes:
    • Rotate bread 90° for better browning
Bread is done when internal temperature is 205° and golden/medium dark brown. Allow to cool before cutting


Sunday, April 22, 2012

Sourdough Laugenbrezel - Sourdough German Soft Pretzels

Sourdough Version of Laugenbrezel - German Soft Pretzels Dipped in Lye made with natural wild yeast leavening agent (White Sourdough Starter)


This weekend is mine and my very first Sourdough Starters' one month anniversary. This signifies tremendous effort and commitment. With my busy schedule, taking care of these starters is nothing less than a pain. You have to really want to do this. I can't count the times in the last month that I wanted to just skip feeding them. But like a father for his children, I have fed my three starters basically twice a day for a month now. I have babied them, I have fussed over them, I have worried over them...

And today all that seems to be justified;

I did this with nothing more than allot of research, flour and water

I chose my Laugenbrezel recipe as my test case. Of my three starters (White, Whole Wheat, Rye) I chose my White Sourdough Starter as my as the starter of choice for this recipe. I felt it would be the least intrusive. I wanted to minimize the amount of change introduced into this recipe. All I want to change is the leavening agent. In addition I want to add "Tang", in other words "sourness". Since the majority of the flour in his recipe is Bread Flour, of my three starters, the one made from All Purpose Flour changes the least amount of things. 

The Result: My white sourdough starter leavened this recipes' dough without any help from commercial yeast!

I feel like I created something from nothing. I did this, I did the research, I followed the direction I found, I trusted my resources. And as I watched this dough rise, all the uncertainty of a beginner, a month of wondering if I was doing things even remotely correct, faded away. It took a good 6 hours to double, but double it did. 

The dough itself did not appear any different than the dough in my regular Laugenbrezel recipe, but the smell, and I always pay particular attention to the fragrance of my dough, was truly unique and new to me. I've been smelling the starters for a month now, and the smell of the dough is similar to the smell of the starters, yet more "Developed", more "Finished", "More Complex". These words are not exactly describing it, but they are the best I can do. 

It's not that it smelled exactly "Sour" as in sour dill pickles,but rather "Tangy", with almost a "Flowery Garden Like" hint to it. It in no way was an unpleasant smell, it smelled...well like I suppose a Sourdough Pretzel dough is supposed to smell, "Tangy". As in previous posts when I try to describe what dough smells like, it's difficult, you can only get near describing the smell with words, words only hit near the mark, never directly on the mark. It's something that needs first hand experience to truly know.

But I turned what you see in the picture above into this:

After all these times I have made this recipe, still not very good at "Shaping", look I even forgot the twist

I will not bother to document all the steps from "here to there", this is all described and documented in detail in my regular Laugenbrezel post. This one in appearance is no different. All the steps are the same, and if I took pictures they would look identical to that previous post. 


But Lord, even as I type this, I have my half sheet pan of Sourdough Laugenbrezel "Proofing" next to me, the pan is covered in a plastic bag to hold in the humidity as it proofs. The smell is coming though the bag, I can smell what I can only describe as a distinctly "fragrant tang" enveloping me. 


Now I am beginning to worry again, I hope my pretzels don't end up with an unpleasant, overly strong "Tang". The smell is just so prevalent.


I hope.


Ok, now it's two hours later. I have gone through the "freeze", i.e. placed the proofed pretzels in the freezer for an hour to firm them up enough to handle. I have done the Lye Dip, 30 seconds each, salted them and now they are back in their bag next to me, in an 80° room, going through a second proof. The first proof's rise, is always lost in the freezer. I don't really know if illuminating the proof before freezing, since they inevitably flatten in the freezer, would be detrimental, someday I will try it. I do it because that is what the original recipe I built my recipe around said to do.


So after their time in the freezer and dipping them in a 3% lye solution, the pretzels are kinda flat, having lost their initial proof. I then spend another hour or more allowing them to thaw and to proof one final time to add some "Roundness" to them prior to baking.


Is this the right thing to do, who knows, all know is this is what I have been doing with success. Will I achieve the same success with this recipe? Will the wild yeasts present in this dough be enough to rise these shaped pretzels a second time. Will they spring in the oven? Who knows, I am a half an hour into the second rise....it's 11:45pm on a Saturday, and I wait to see.

Ok, here we go; it's 12:15am, an hour of second proof, I am happy with the rise, thank you wild yeasts. Ready to score and bake. 


So I turned what you see in the picture above, into this:


Final Results/Analysis:

  • Rise/Oven Spring- Rise and Oven Spring from wild yeast equals commercial yeast. Wonderful crumb, full of holes. I would consider this requirement a success
  •  The "Tang" I was after is there but subtle. I wish it were more pronounced. The taste has enough "Tang" to differentiate it from the regular recipe.
  • The "Sheen" is missing. All my previous attempts at this recipe, from the very first one, has produced a beautiful sheen to the outside of the pretzel. It's missing in this batch. They browned properly, it's just not a shiny brownness. As if the Lye dip, which is sole responsible for the outside of the pretzel, didn't fully do it's job.
  • There are blisters present (birds eyes). I know that others don't, but I consider blisters a flaw. Not sure how to combat this, since I have always considered blisters a direct result of over retardation. Retarding too long. I did not retard these pretzels at all. So that mystery is to be left for another day.
Summery:

  • Primary goal of verifying the strength of my White Sourdough Starter a resounding success
  • Secondary goal of my White Sourdough Starter producing a distinctive "Tangy" flavor in this recipe- more work to be done...not as pronounced as I would like
 Tertiary issues- Sheen and blisters. To be dealt with at a later date


I did this!


Sunday, April 1, 2012

Sourdough Starter, AKA Natural Leaven Starter

It's Alive!


A very healthy, active White 100% hydration starter just about ready to feed again


What we're talking about is really called a Natural Leaven Starter which for better or worse is commonly known as a "Sourdough" starter. But to be clear a natural leaven starter may or may not impart a sour taste to your bread. How you develop the starter will determine how sour it is or isn't.

I spent a considerable amount of time researching this process before I settled on a particular method. There are literally thousands of different methods to do this. It's truly overwhelming. The method that I have chosen to follow was developed by Debra Wink. I found it on a web site called "The Fresh Loaf". I give all credit to her and her efforts and the web site for sharing it with the public.

I used as reference a web page titled: "Sourdough Starter, Step-by-Step and Side by Side: Intro". This web site is called Yumarama, a bread and bakers blog and follows Debra Wink's method.

I attribute my knowledge to these two web pages, the following technique was developed by them.

Sources:

*This one is a very long post, scroll down to the part that is the actual day by day instructions:

http://www.thefreshloaf.com/node/10901/pineapple-juice-solution-part-2

*This is essentially the same instructions, in a much more user friendly format:

http://yumarama.com/968/starter-from-scratch-intro/

So I want to make Sourdough Bread. I have made Bagels, pretty darn good ones too if I don't say so myself. I have made German Soft pretzels, Italian Sub rolls, and now I want to try making naturally leavened bread.

As it turns out, you don't just make Sourdough Bread like you do with a normal loaf of bread that utilizes commercial yeast. You know, follow a recipe and combine water, flour and yeast, possibly adding some enhancements such as sugar and fat, allow it  to rise and bake it. Not so with Sourdough, you first must learn to make a "Starter". The starter is what will leaven the bread. A starter, is a leavening agent, used instead of commercial yeast, that can be utilized to produce bread that may or may not be sour.

So this post will focus on the "Starter", and we will allow the making of the actual Sourdough Bread to wait until we have a viable starter.

Now I am about to get into the particular steps, let me say one last time, if you really want to do this you should visit the two websites listed above in "Sources", that's what I did, that is where I learned. These web sites offer a much more thorough explanation of the process which is important for full understanding. The following is just the steps that I have distilled all that information into.


I decided to create three separate starters- Rye, Whole Wheat and White (All-Purpose) They all start out identical, and only on or about Day 5 do they diverge. I don't know if this was a smart decision, I have found in my research that you can make a single starter and turn it into any one of the three types mentioned above simply by feeding it that particular type of flour for a few days. Well, I want to make starters that as much as possible are made from their respective flour. So again, I don't know if it unnecessary to make three different kinds of starters like I am doing, but that is what I am going to do.

UPDATE: It's now a year later than when I wrote the above, and I have learned that it is in fact not necessary to make, manage and store separate starters. What a chore that was. Make one, manage and store it until you want to make a particular kind of bread. Refreshing (feeding) the starter with the appropriate kind of flour for three days before you want to use it to make your bread and it will turn into the kind of starter you need.


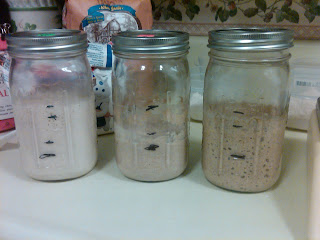
Three separate starters Day 1, destined to be different yet right now they are identical


NOTE: I use 1 Qt. Wide Mouth Mason Jars for my starters

NOTE: Debra Wink breaks down the process into a number of different phases;

Phase 1 - Nothing happens (1-3 days)

Phase 2 - Starter will begin to produce it's own acid and develop a tangy taste. This is when a "False Rise" would happen if you used water instead of Pineapple juice. Again not much to see, in this phase, If it is going to get hung up, it will be here. If after 3 days in this phase the starter still doesn't show signs of rising, switch back to the original recipe of Rye/Whole Wheat/Pineapple juice (1-3 days)

Phase 3 - Starter becomes very tart, the gluten may deteriorate, tiny bubbles appear. Will not have much sour smell so sourness must be detected by taste (1-3 days)

Phase 4 - Yeast starts to grow and reproduce. The starter will expand and begin to take on a "yeasty" smell of bread or beer. If it smells like this to you, but does not expand, the smell you detect is just wishful thinking (1-7 days)

Phase 5 - Maturing - Although the starter is now ready and able to rise bread, continue to feed for a month or more. The flavor will develop and the amount of "little yeasties" in the starter will multiply (1 day-infinity)

Phase 6 - Storage and Maintenance - Store starter in refrigerator. Optimum feeding is every other day but you can get away with once a week feedings. When feeding remove from refrigerator, feed and immediately return to refrigerator. To use, refresh the starter by feeding twice daily for three days keeping the starter at room temperature.

Starter Recipe Day 1:

8.5 grams Whole Wheat Flour
8.5 grams Rye
27 grams Unsweetened Pineapple Juice

Mix to combine, add to Mason Jar, replace lid, allow to the starter to sit at slightly better than room temperature (70°F - 75°F)

NOTE: I think it's important for the culture to breath, I now cover the jar with a cotton kitchen towel.

Day 2:

Remove starter from Mason Jar to mixing bowl. Clean Mason Jar.

Add  to mixing bowl-

8.5 grams Whole Wheat Flour
8.5 grams Rye
27 grams Unsweetened Pineapple Juice

Mix to combine, return all to Mason Jar, replace lid, allow to the starter to sit at slightly better than room temperature (70°F - 75°F)

Day 3:

Remove starter from Mason Jar to mixing bowl. Clean Mason Jar.

Add  to mixing bowl-

8.5 grams Whole Wheat Flour
8.5 grams Rye
27 grams Unsweetened Pineapple Juice

Mix to combine, return all to Mason Jar, replace lid, allow to the starter to sit at slightly better than room temperature (70°F - 75°F)


I begin to see rise on day 3
Day 4:

NOTE: Debra Winks method changes the recipe on Day 4, I waited until Day 5

Remove starter from Mason Jar to mixing bowl. Clean Mason Jar.

Add  to mixing bowl-

8.5 grams Whole Wheat Flour
8.5 grams Rye
27 grams Unsweetened Pineapple Juice

Mix to combine, return all to Mason Jar, replace lid, allow to the starter to sit at slightly better than room temperature (70°F - 75°F)


Just after feeding


After 8 hours

Day 5:

NOTE: Assuming the yeast has begun to grow, but not before, gradually step up the feeding to 2 times a day.

NOTE: The starter will rise then collapse, collapsing is indicative of the food the yeast is feeding on is exhausted and it is time to feed again. I have evolved into a twice a day (morning and night) feeding regiment.

Rye Starter:
100 grams Starter
100 grams Rye Flour
125 grams Water

Whole Wheat Starter:
100 grams Starter
100 grams Whole Wheat Flour
100 grams Water

White (All Purpose) Starter:

100 grams Starter
100 grams All Purpose Flour
100 grams Water

Use basically the same method, measure out all ingredients, mix to combine return to a clean mason jar. At this point I do not tighten the lid, I allow it to be loose, allow to the starter to sit at slightly better than room temperature (70°F - 75°F)

UPDATE: I make and manage only one starter now, a Rye Starter that I turn into whatever I need as I need it.


Measuring


Measuring


Just after feeding, now the starters are unique to their flour


Again after 8 hours, beginning to collapse

Day 6 and beyond:

Maintain this feeding regiment at 12 hour intervals. I do it before I go to work and immediately upon returning home after work. Needless to say, making and maintaining a sourdough starter is a serious commitment.


Day 10, my boys are well fed again, and read for bed

Just 2 hours later

A few hours after feeding

A few hours later

Nearly 8 hours after feeding