Showing posts with label Laugenbrezel. Show all posts

Sunday, April 22, 2012

Sourdough Laugenbrezel - Sourdough German Soft Pretzels

Sourdough Version of Laugenbrezel - German Soft Pretzels Dipped in Lye made with natural wild yeast leavening agent (White Sourdough Starter)


This weekend is mine and my very first Sourdough Starters' one month anniversary. This signifies tremendous effort and commitment. With my busy schedule, taking care of these starters is nothing less than a pain. You have to really want to do this. I can't count the times in the last month that I wanted to just skip feeding them. But like a father for his children, I have fed my three starters basically twice a day for a month now. I have babied them, I have fussed over them, I have worried over them...

And today all that seems to be justified;

I did this with nothing more than allot of research, flour and water

I chose my Laugenbrezel recipe as my test case. Of my three starters (White, Whole Wheat, Rye) I chose my White Sourdough Starter as my as the starter of choice for this recipe. I felt it would be the least intrusive. I wanted to minimize the amount of change introduced into this recipe. All I want to change is the leavening agent. In addition I want to add "Tang", in other words "sourness". Since the majority of the flour in his recipe is Bread Flour, of my three starters, the one made from All Purpose Flour changes the least amount of things. 

The Result: My white sourdough starter leavened this recipes' dough without any help from commercial yeast!

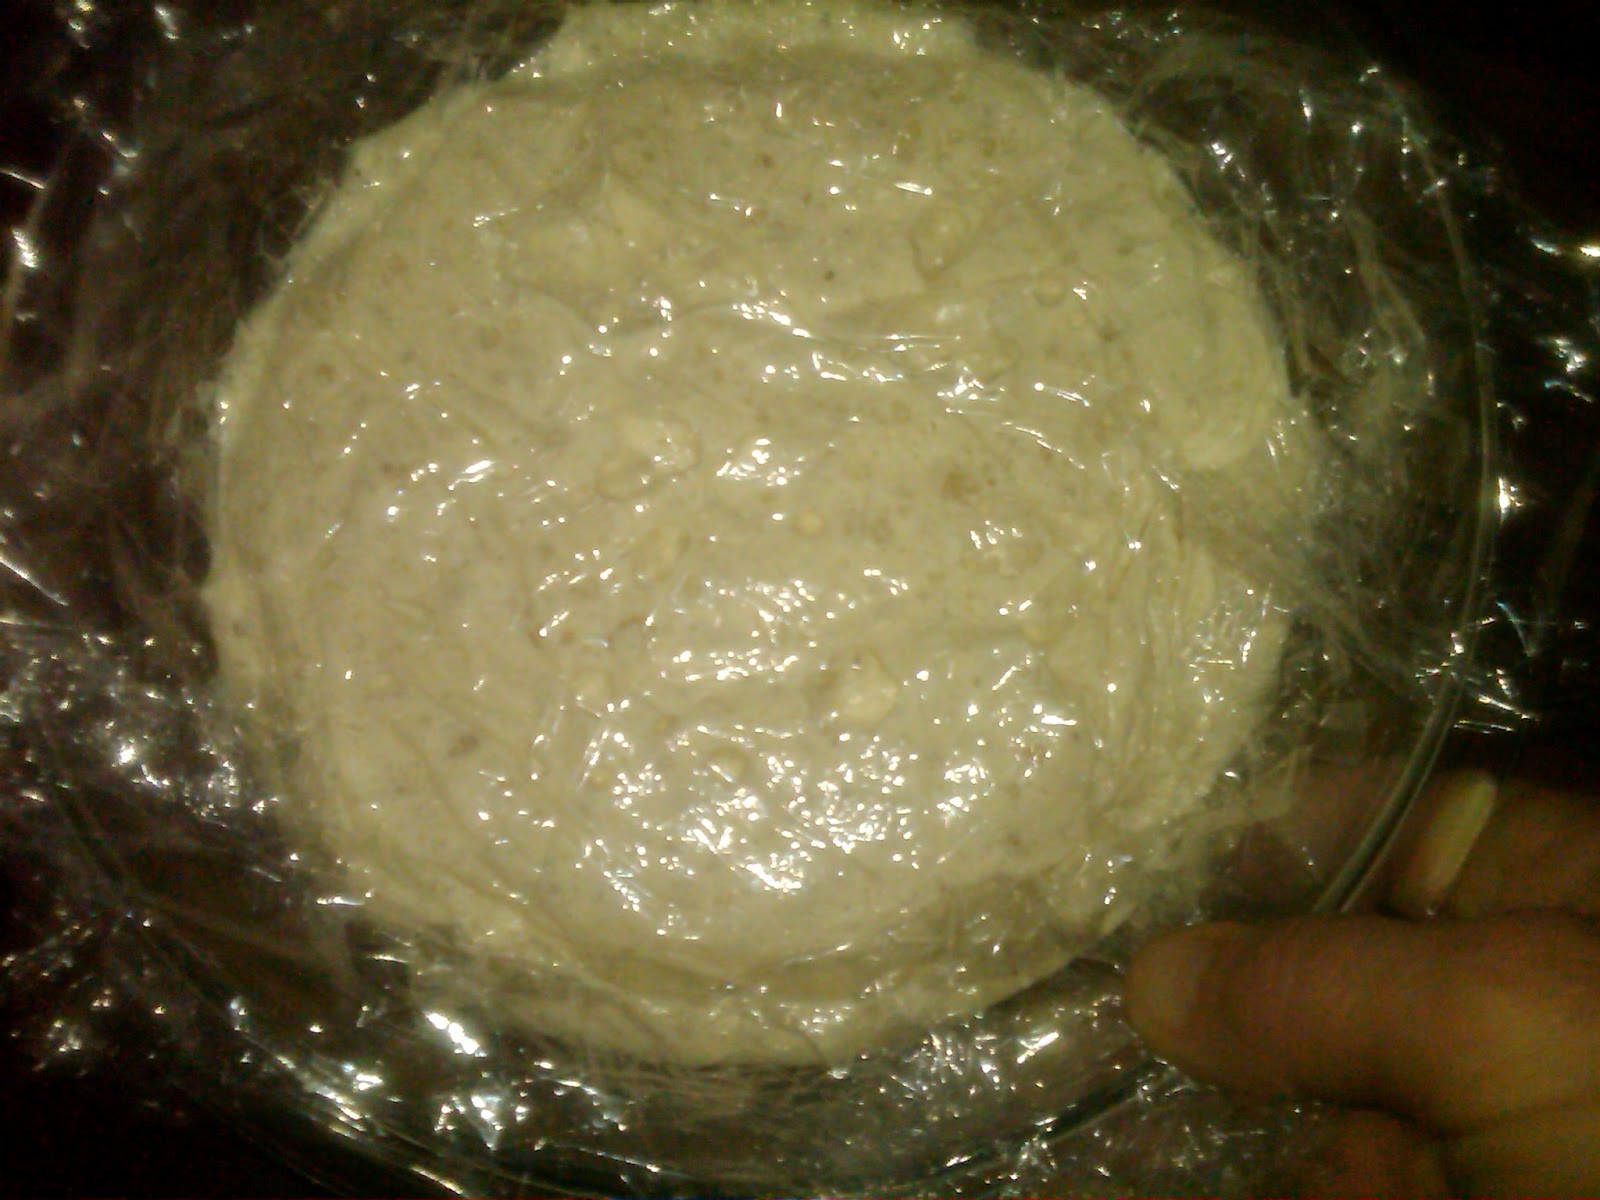
I feel like I created something from nothing. I did this, I did the research, I followed the direction I found, I trusted my resources. And as I watched this dough rise, all the uncertainty of a beginner, a month of wondering if I was doing things even remotely correct, faded away. It took a good 6 hours to double, but double it did. 

The dough itself did not appear any different than the dough in my regular Laugenbrezel recipe, but the smell, and I always pay particular attention to the fragrance of my dough, was truly unique and new to me. I've been smelling the starters for a month now, and the smell of the dough is similar to the smell of the starters, yet more "Developed", more "Finished", "More Complex". These words are not exactly describing it, but they are the best I can do. 

It's not that it smelled exactly "Sour" as in sour dill pickles,but rather "Tangy", with almost a "Flowery Garden Like" hint to it. It in no way was an unpleasant smell, it smelled...well like I suppose a Sourdough Pretzel dough is supposed to smell, "Tangy". As in previous posts when I try to describe what dough smells like, it's difficult, you can only get near describing the smell with words, words only hit near the mark, never directly on the mark. It's something that needs first hand experience to truly know.

But I turned what you see in the picture above into this:

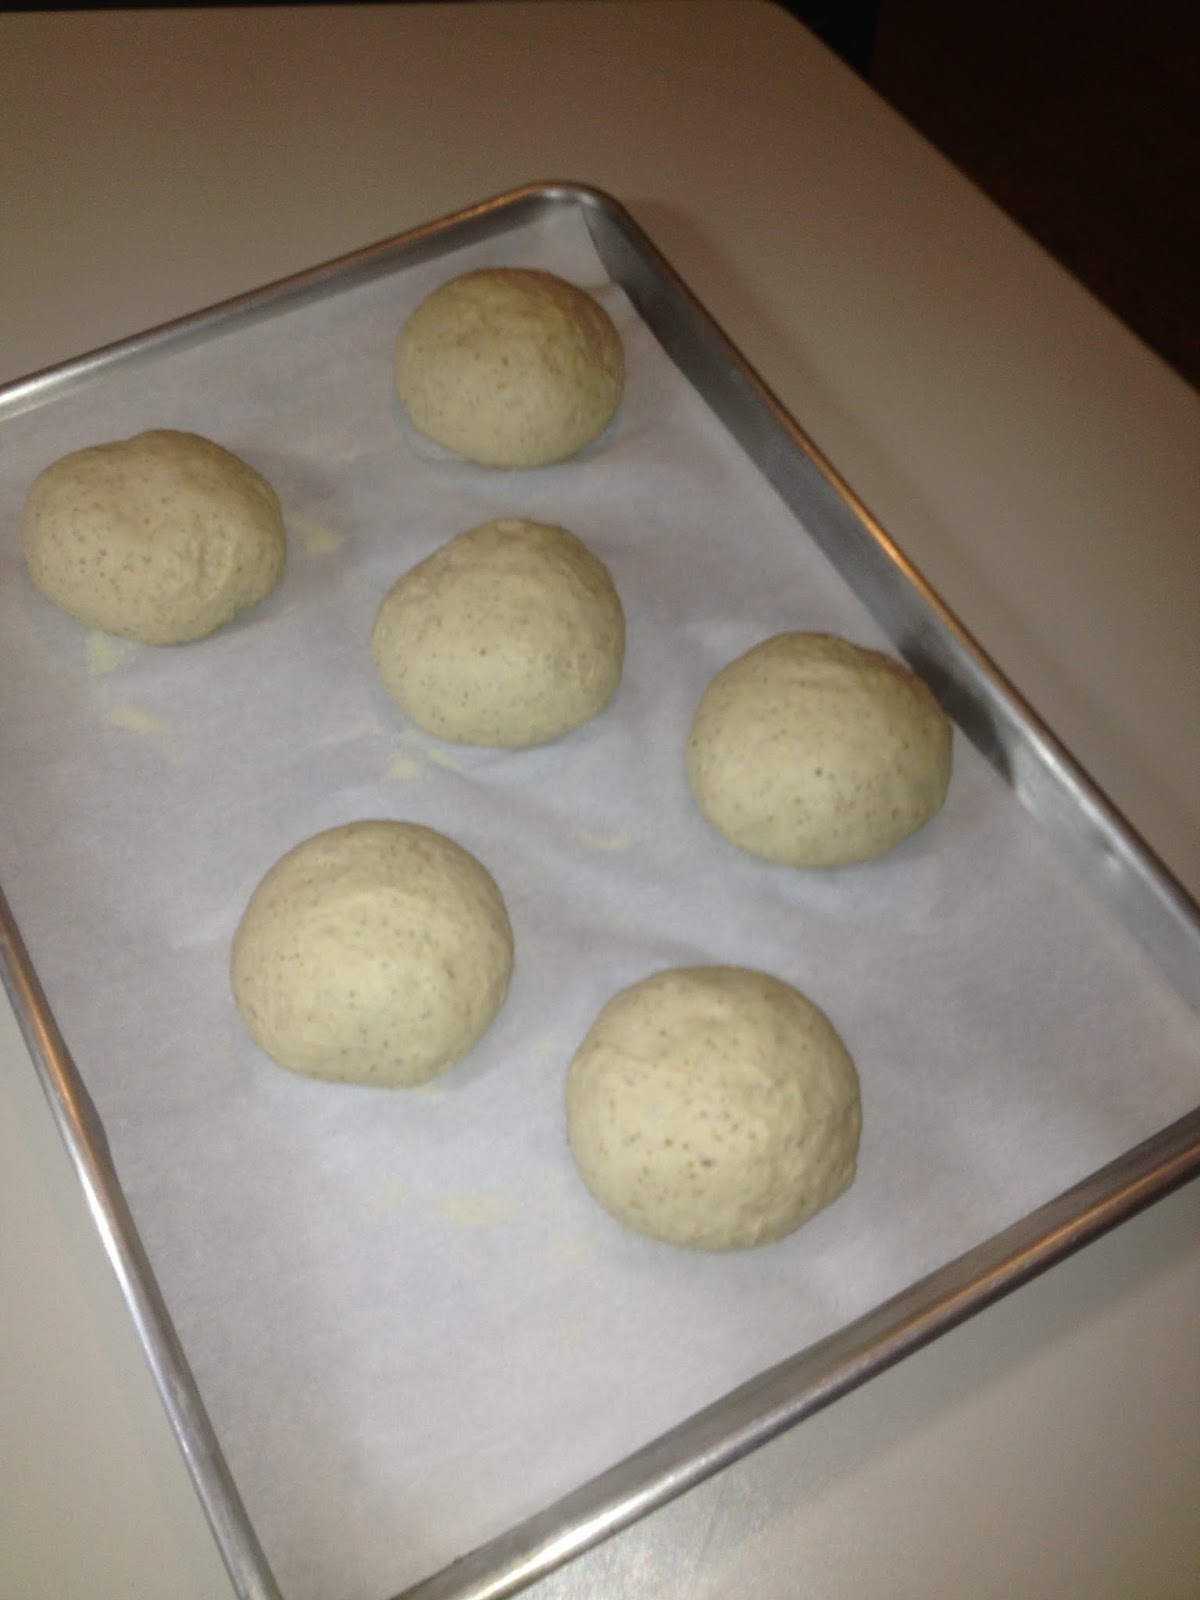
After all these times I have made this recipe, still not very good at "Shaping", look I even forgot the twist

I will not bother to document all the steps from "here to there", this is all described and documented in detail in my regular Laugenbrezel post. This one in appearance is no different. All the steps are the same, and if I took pictures they would look identical to that previous post. 


But Lord, even as I type this, I have my half sheet pan of Sourdough Laugenbrezel "Proofing" next to me, the pan is covered in a plastic bag to hold in the humidity as it proofs. The smell is coming though the bag, I can smell what I can only describe as a distinctly "fragrant tang" enveloping me. 


Now I am beginning to worry again, I hope my pretzels don't end up with an unpleasant, overly strong "Tang". The smell is just so prevalent.


I hope.


Ok, now it's two hours later. I have gone through the "freeze", i.e. placed the proofed pretzels in the freezer for an hour to firm them up enough to handle. I have done the Lye Dip, 30 seconds each, salted them and now they are back in their bag next to me, in an 80° room, going through a second proof. The first proof's rise, is always lost in the freezer. I don't really know if illuminating the proof before freezing, since they inevitably flatten in the freezer, would be detrimental, someday I will try it. I do it because that is what the original recipe I built my recipe around said to do.


So after their time in the freezer and dipping them in a 3% lye solution, the pretzels are kinda flat, having lost their initial proof. I then spend another hour or more allowing them to thaw and to proof one final time to add some "Roundness" to them prior to baking.


Is this the right thing to do, who knows, all know is this is what I have been doing with success. Will I achieve the same success with this recipe? Will the wild yeasts present in this dough be enough to rise these shaped pretzels a second time. Will they spring in the oven? Who knows, I am a half an hour into the second rise....it's 11:45pm on a Saturday, and I wait to see.

Ok, here we go; it's 12:15am, an hour of second proof, I am happy with the rise, thank you wild yeasts. Ready to score and bake. 


So I turned what you see in the picture above, into this:


Final Results/Analysis:

  • Rise/Oven Spring- Rise and Oven Spring from wild yeast equals commercial yeast. Wonderful crumb, full of holes. I would consider this requirement a success
  •  The "Tang" I was after is there but subtle. I wish it were more pronounced. The taste has enough "Tang" to differentiate it from the regular recipe.
  • The "Sheen" is missing. All my previous attempts at this recipe, from the very first one, has produced a beautiful sheen to the outside of the pretzel. It's missing in this batch. They browned properly, it's just not a shiny brownness. As if the Lye dip, which is sole responsible for the outside of the pretzel, didn't fully do it's job.
  • There are blisters present (birds eyes). I know that others don't, but I consider blisters a flaw. Not sure how to combat this, since I have always considered blisters a direct result of over retardation. Retarding too long. I did not retard these pretzels at all. So that mystery is to be left for another day.
Summery:

  • Primary goal of verifying the strength of my White Sourdough Starter a resounding success
  • Secondary goal of my White Sourdough Starter producing a distinctive "Tangy" flavor in this recipe- more work to be done...not as pronounced as I would like
 Tertiary issues- Sheen and blisters. To be dealt with at a later date


I did this!


Friday, February 24, 2012

Laugenbrezel - German Soft Pretzels

Laugenbrezel - German Soft Pretzels Dipped in Lye


This same dough makes great pretzel sandwich rolls


The following posts document my efforts to perfect Laugenbrezel. These are not your ordinary soft pretzels; the lye dip imparts a unique tangy flavor, not obtainable any other way. I started out wanting to make these because I thought it was kind of cool to work with the lye bath. But after the first batch, oh my god they are good. They are so good their addictive. The recipe is fairly straight forward and the technique is not quite as demanding as making bagels. As with most bread baking, much the same technique is used as was with bagels, and since my opinions on those techniques are already expounded on in my bagel segments, my Laugenbrezel posts will follow a more standard recipe format.  So let’s get started...

Oh yea, be careful with the lye dip, it's caustic


Laugenbrezel the Recipe:

*All ingredient Baker Percents listed in recipe are based on Total Weight of Flour 


Note: Hydration is just a general guideline and or baseline. Don’t get too caught up on trying to get it to be absolute in the end dough. It's just a baseline to start with. In reality when you make any kind of bread, the actual fluid to flour ratio (i.e. hydration) varies based on many influences. You will never use the exact same amount of flour from one batch to the next. So these percentages are just baselines that you can use to discover patterns between different classes of dough. What you should be focusing on is the consistency of the final dough, which is what needs to be the same from batch to batch.


TWF = 1327 grams
Hydration = 53% - 55.3%


Makes about 15ish each 4 oz. pretzels 

Note: My experience has shown that 53.4% is too dry and 58% is too wet, strive for something in between. But this still must be dictated by the dough.


Do yourself a favor, weigh out all ingredients before you start to mix anything

Preferment:
Note: Neither a true sponge, poolish or biga, this is what works for me
Dry Active Yeast - 7 grams - .5%
Bread Flour – 630 grams – 48%
Rye Flour – 78 grams – 6%
Bottled Water –  100° - 708 grams - 53%
Pinch of sugar to feed the yeast
*Proof the yeast in 123 grams of the water listed above - 100° - 10 minutes or so until it's frothy

Dough:
Dry Active Yeast – 7 grams - .5%
Bread Flour - 618 grams - 46%
Diastic Malt Powder – 8.4 grams - .6%
Non-Diastic Malt Powder – 45 grams - 3.4%
Butter – Non Salted – room temperature – 70.8 grams - 5.3%
Salt – 11.4 grams - .8%
Water - 30 grams (for tweaking the dough) - 2.3% (reserve)


Lye Dip:
Water – Tap – Room Temperature – 1 liter
Food Grade Lye – 30 grams


CAUTION: The lye bath solution will burn your skin if you get it on you, it will do worse things to your eyes if you splash it up into them, BE CAREFUL with it.

Follow these simple rules when working with the lye bath and you will not have a problem.

DO NOT, EVER ADD WATER TO LYE, a violent reaction will happen, you will be sorry. ALWAYS ADD LYE TO WATER. I cannot stress this enough.

Use a plastic or glass container for the dip; I use a simple plastic mixing bowl.

Add lye to water slowly, use a wooden spoon to dissolve lye into water.

Where plastic gloves that go at least 8” up your arm. 

Where long sleeves.

You should wear eye protection (I do not, I am simply careful not to splash the stuff into my eyes)

Wipe up any spills (just don’t spill) or splatters immediately with paper towel and immediately throw out paper towel.

If working on a wood counter, lay down newspaper as lye will stain wood counters.

Work with the dip slowly and thoughtfully.

Discard remaining lye bath carefully down the toilet when finished. Again wipe up any
splatters immediately when doing this.

Rinse all utensils with plenty of water and white distilled vinegar. The vinegar will help neutralize the residual lye.

Poolish Preferment and Autolyse:

Poolish Preferment just created
After 2 hours at room temperature, it's now ready for the refrigerator

Preferment:
Add the proofed yeast to mixer bowl, (do yourself a favor and make sure the bowl is at least 70°) add water, flour and sugar then mix with a dough hook until combined well. Allow to ferment at room temperature (70° - 75°) until it is frothy, obviously active and has at least doubled in size. This could take considerable time, in the realm of numerous hours.  It will depend on the room temperature and humidity among other things, but generally it will take “awhile”. Alternatively remove to a 40° environment overnight for a long slow ferment. this will result in a "tangier" end product.

*Note: That once the Poolish Preferment has matured sufficiently it is perfectly acceptable to hold for up to 72 hours in the refrigerator until you are ready to use it. 

Dough:
Add to mixer; the Poolish Preferment, and all the dough ingredients except the reserved water, the butter and the salt. Mix until just combined. I try to get all the dry to be incorporated into the Poolish Preferment before I autolyse, but I am not too concerned if some is not. At first the dough will be rough and will not want to come together. That is because it is still at this point too dry. Add only enough of the reserved water as needed 1 Tbl. at a time such that the dough just comes together in a mass. Try to do this quickly, you do not want to mix (knead) the dough too much at this point. You just want to get the dough to come together as soon as possible. 

Autolyse:
Autolyse until the dry ingredients are completely hydrated. This will take about 30 minutes.

Autolyse - Poor picture quality but you can still see the hydration

Even better picture of Autolyse


Different batch but great picture of what an Autolyse can do for the dough
 Kneading:

Add salt and butter. Knead until all ingredients have completely mixed and you believe that the dough is the proper hydration. Bakers talk about “letting the dough show you what it needs”. I like to start out dry, adding more water little by little until the dough is the proper consistency for that particular recipe. You have to use the first few moments of the kneading process to decide if the dough needs more water to reach the hydration you are after.  So during the first 1/3 of the total kneading time I am adjusting the dough with water 1 tablespoon at a time, until the dough is beginning to look AND feel like I want it to. This particular recipe calls for a dough that ends up soft, velvety and yet have a bit of tack. The percent of hydration of this dough recipe as written is almost identical to the percent of hydration of my bagel dough, yet in practice I try to end up with it a little wetter than that. 


Right after mixing I like to temp the dough

Firm, silky, smooth, with a slight tack


Another view, what the heck are those lines in my pictures
 

I like that way dough looks and smells

The Rise and Second Ferment:

Now that the dough is created, place in a container that has been lightly sprayed with oil, cover with plastic wrap, place in room temperature and allow it to double (depending on many things, one of which is batch size, this can take hours). Again as an alternative, you can place it in the refrigerator to ferment overnight. This is the second opportunity for the flavor of the wheat, and the tang of the dough in general, to be enhanced. 

*Note: Again at this point that you could keep the dough up to three days in the refrigerator. It will not harm the dough to do this. If you do, allow the dough to sit in room temperature for an hour or two before continuing to the next step.


Ready to rise

Doubled and ready to ferment


Scaling, Shaping, Proofing and Retardation:


Shaping is the true challenge of this recipe...


Or simply shape into rounds for sandwich rolls


Scale to 3oz for small pretzels or 4oz. for larger. I like to scale to 4oz. Round into balls and place on sheet pan lined with parchment paper. I do not add flour at any point during the shaping process.I also do not want the dough to start rising, so I work quickly until all the rounds are made. And then I rest them, covered to keep them from drying out, for 15 full minutes.

After resting, I remove each round in turn and as quickly as possible shape into the initial "cigar" shape. Again I do not add any flour. Shaping pretzels can be challenge; I will not try and describe it here. You can Google it and find many videos that will show you how it’s done. That’s what I did. Just remember, don’t be too hard on yourself about how the shaped pretzels look when you are done, unless you plan to sell them. They are in fact “homemade” and do not need to be perfect. Again, work quickly, you do not want the dough rising too much at this point in the shaping process. From the scaling stage, work in three subsequent stages, create each roll, allow to rest, turn each into an initial long "cigar" shape about 8" long, allow to rest, turn each into the final 24" long rope and flip into the classic pretzel shape. Then place them on sheet pans lined with parchment paper. You do not have to dust the parchment paper with anything if you freeze them afterwards as directed below. You will flip them over and simply peel off the parchment paper. 

Once they are all shaped allow them to proof in a 80°+ temperature/80% humidity environment until they rise to about 1 1/2 - 2 times their original size. You can use the float test as described in my previous bagel technique posts (they are very fragile at this point, you can if you like omit the float test, and just allow them to proof until they visibly have risen appropriately).

Freeze until firm and easy to handle. Slightly freezing them makes them easier to handle during the Lye dip process. 

Lye Bath, Topping, and Baking:


Getting ready for the lye dip. What's that in the paper bag, could it be the best Italian Sub Rolls ever?

Food Grade Sodium Hydroxide

You want this stuff

30 grams Sodium Hydroxide to 1 liter of cool H2O, 3% solution Lye Dip

ALWAYS ADD LYE TO WATER, NOT THE OTHER WAY AROUND

Wear Gloves, work slow, don't splash

Clears up when dissolved


WEAR GLOVES WHEN WASHING ANYTHING THAT HAS TOUCHED THE LYE SOLUTION

Prepare the lye bath, and preheat the oven to 450°. Remove the pretzels from the retardation process, and following all the rules regarding working with lye I stated above, allow each pretzel to be dunked into the lye bath for 30 seconds. Hold them under if you have to, they tend to want to float, if they don't you didn't proof them enough. They should be totally submerged. Remove from lye bath to the sheet pan with parchment paper that now has been dusted with Semolina flour. 

Now replace these Immediately into another 80°+ temperature/80% humidity environment until they start to rise again. You want to "wake" them up. Approximately 15 minutes. 

Sprinkle with salt or any number of toppings just before putting into the oven. Any earlier the salt will melt before going into the oven Pretty much all the same topping options are available to be used on bagels can be used on your pretzels. I stick to traditional salt, and I use French Gray Sea Salt - Light Grey (Coarse) - "Sel Gris De GuĂ©rande" French Sea Salt, it’s absolutely wonderful. If you do try to use this kind of salt, do not worry about it being grey (not white), it turns white from the lye in the oven. Bake at 450° until dark honey brown. This took me about 15ish minutes. Remove to cooling rack. Allow to cool before eating if you can.
I found these to be OH MY GOD good, and they are still good 4-8 hours after coming out of the oven, but not as good beyond that.

Enjoy 


Sandwich Rolls, all topped with salt


Top with Salt, Garlic or Onion