Showing posts with label KitchenAid Pasta Attachments. Show all posts

Sunday, January 5, 2014

Stained Pasta


The term "Stained Pasta" is used here because the ingredients used to color the pasta adds very little in the way of flavor. Creating Stained Pasta can be a little laborious, but is fun and results in an array of vibrant colors and subtle flavors.

NOTE: In all of these variations you are simply building on the Basic Pasta Dough Recipe, http://kdwonders.blogspot.com/2013/12/fresh-pasta.html. If when you add the flavorings your dough ends up too wet, add more flour 1TBL at a time. If it ends up too dry add water drop by drop.
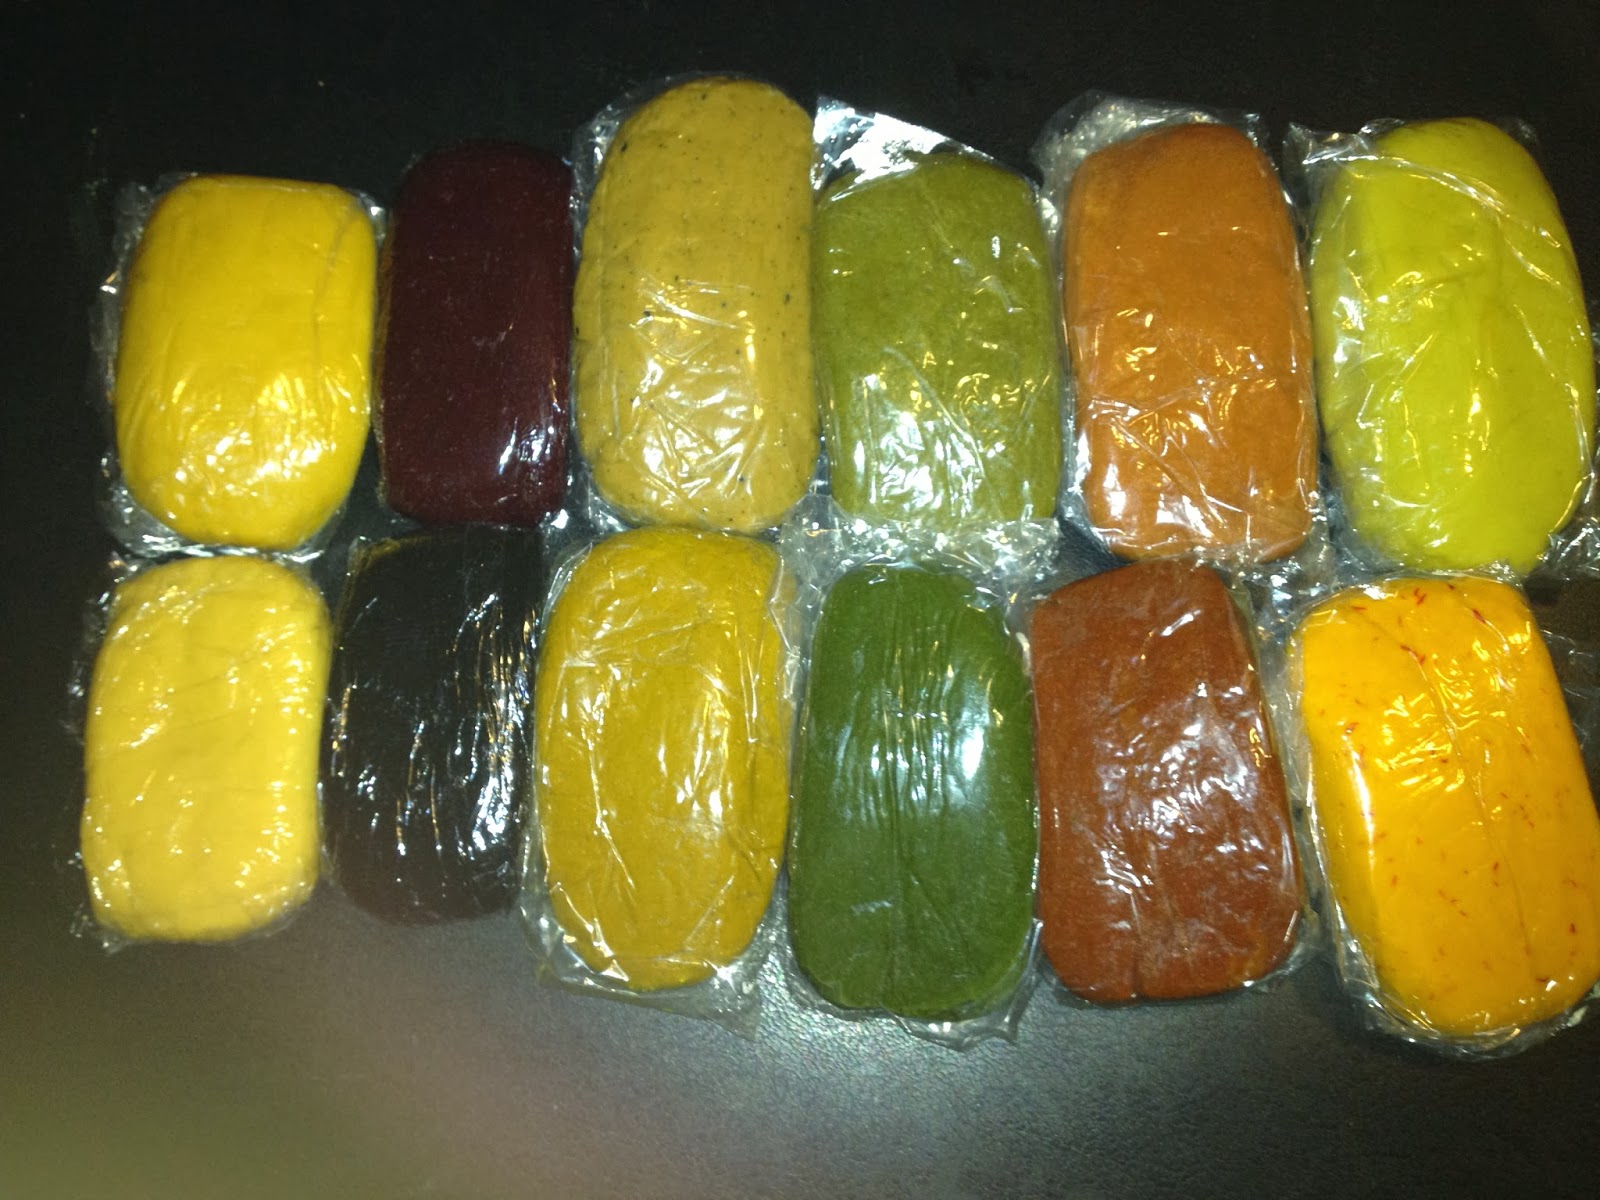

Top Row/Left to Right: Pumpkin, Red Beet, Roasted Garlic, Jalapeno, Tomato, Wasabi
Bottom Row/Left to Right: Basic, Squid Ink, Turmeric, Spinach, Chili and Smoked Paprika, Saffron


So lets begin:


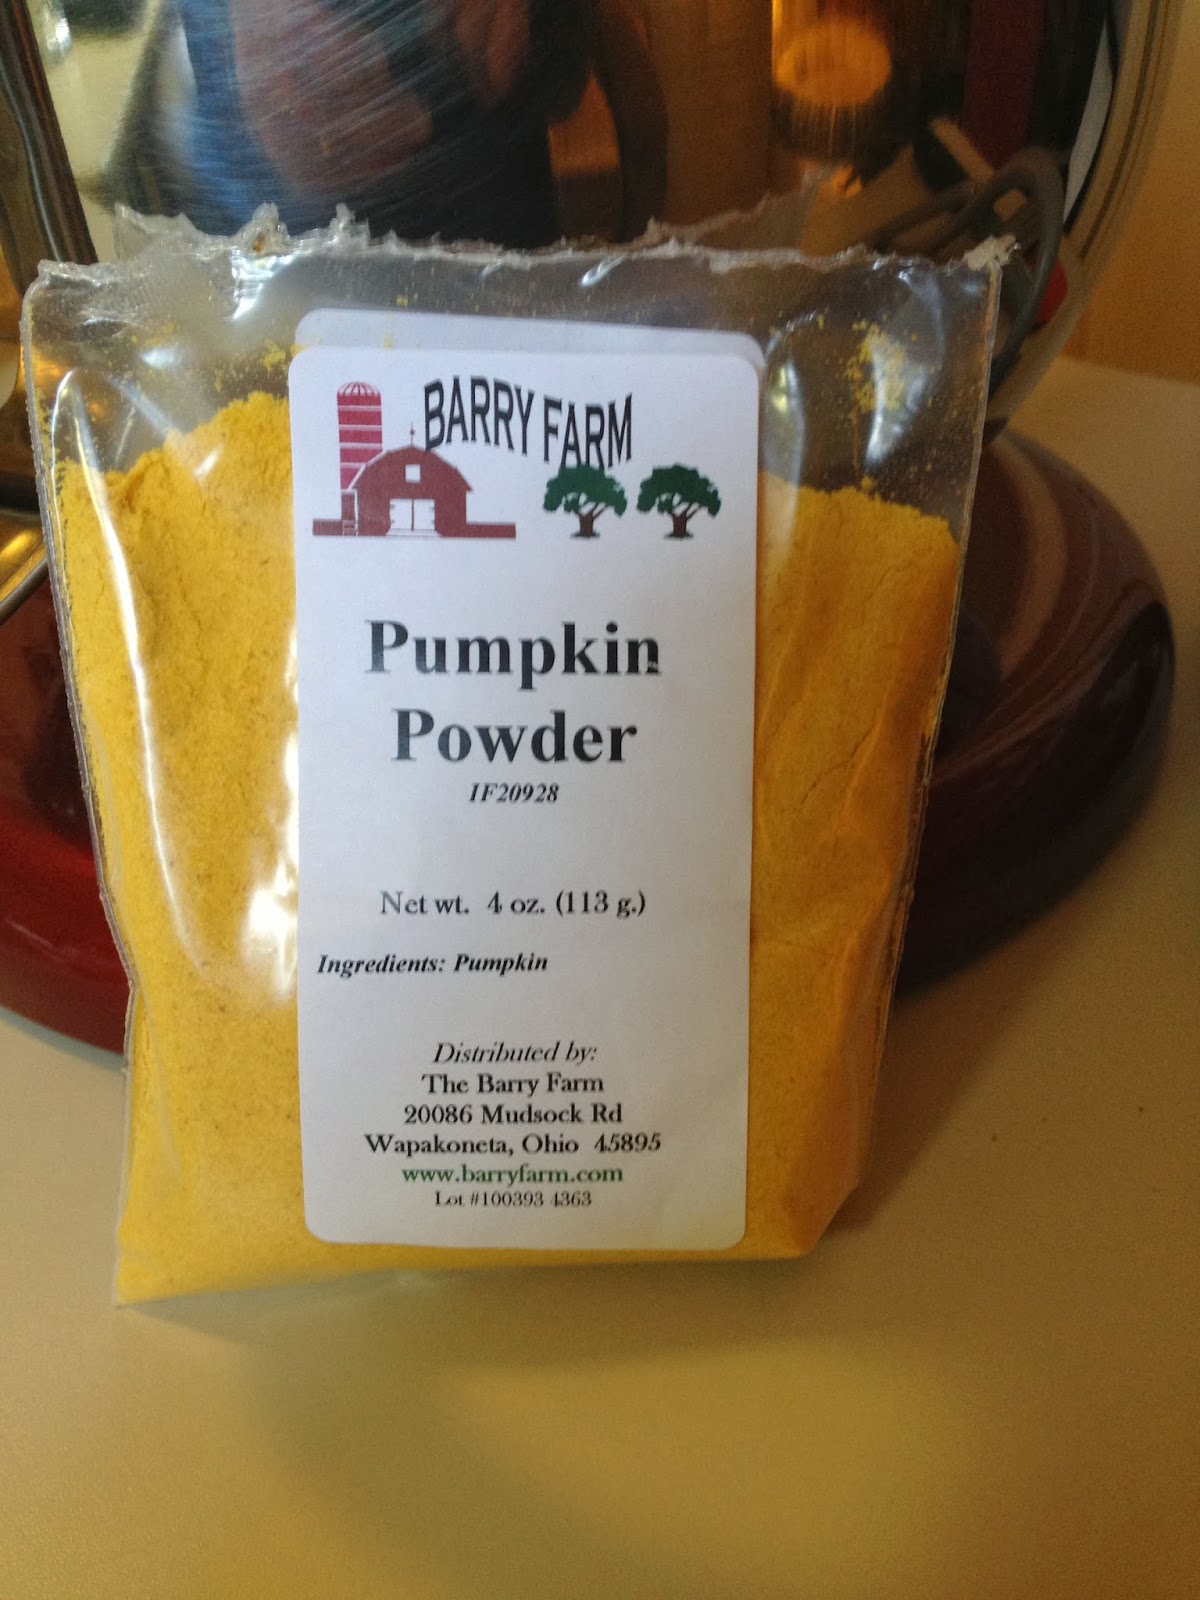
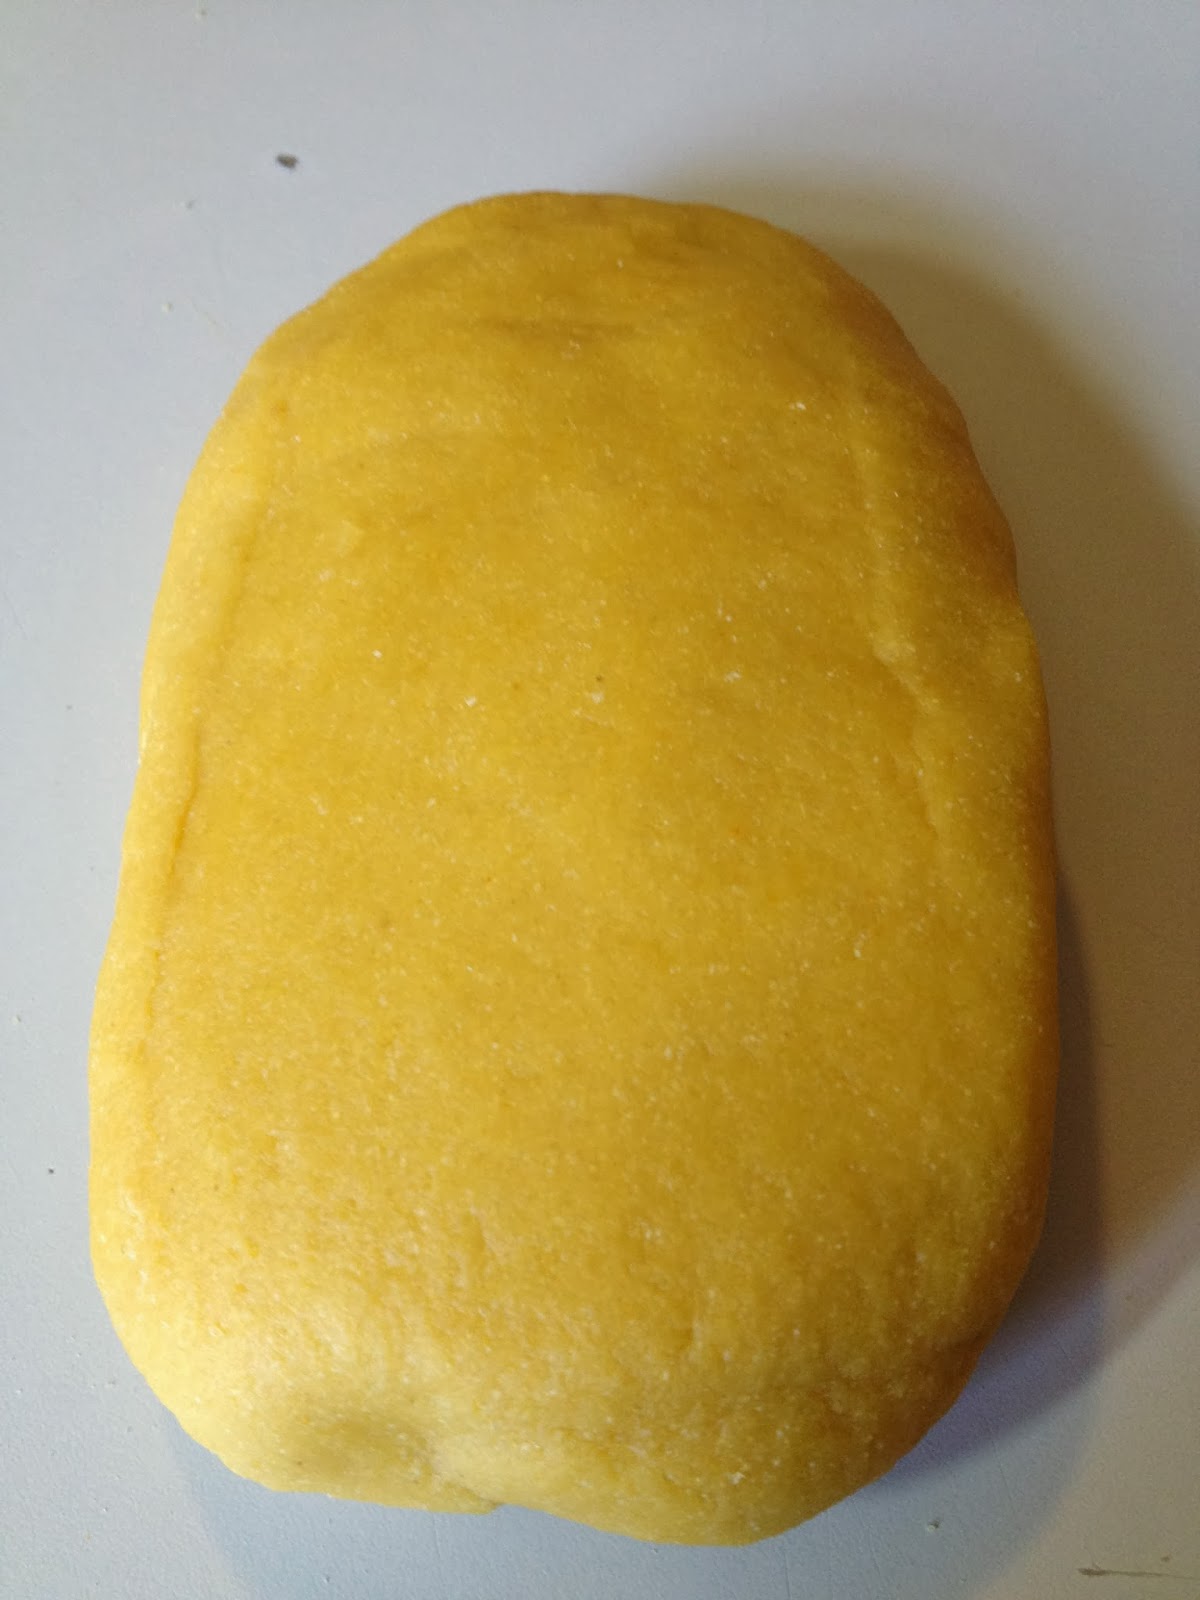
Pumpkin Pasta:
  • Add to flour;
    • 25g Pumpkin Powder
    • Use 25g less flour 
  • Continue with recipe as normal


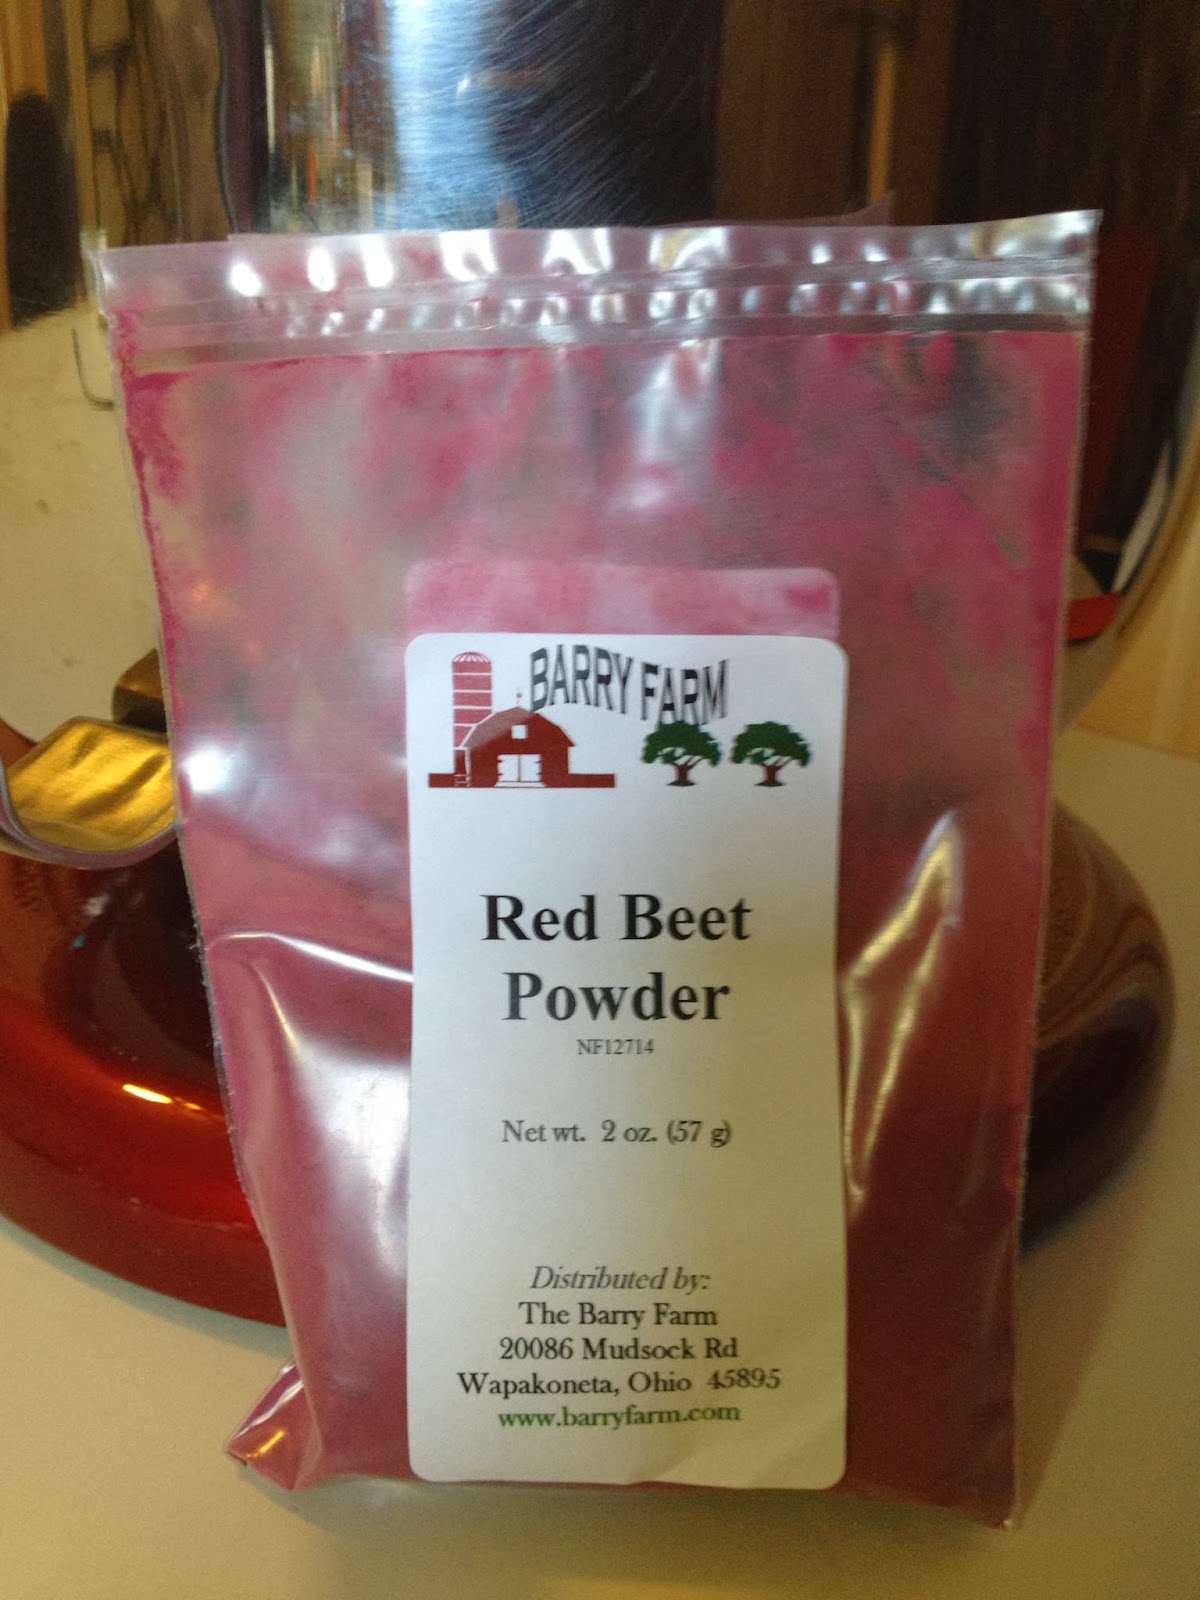
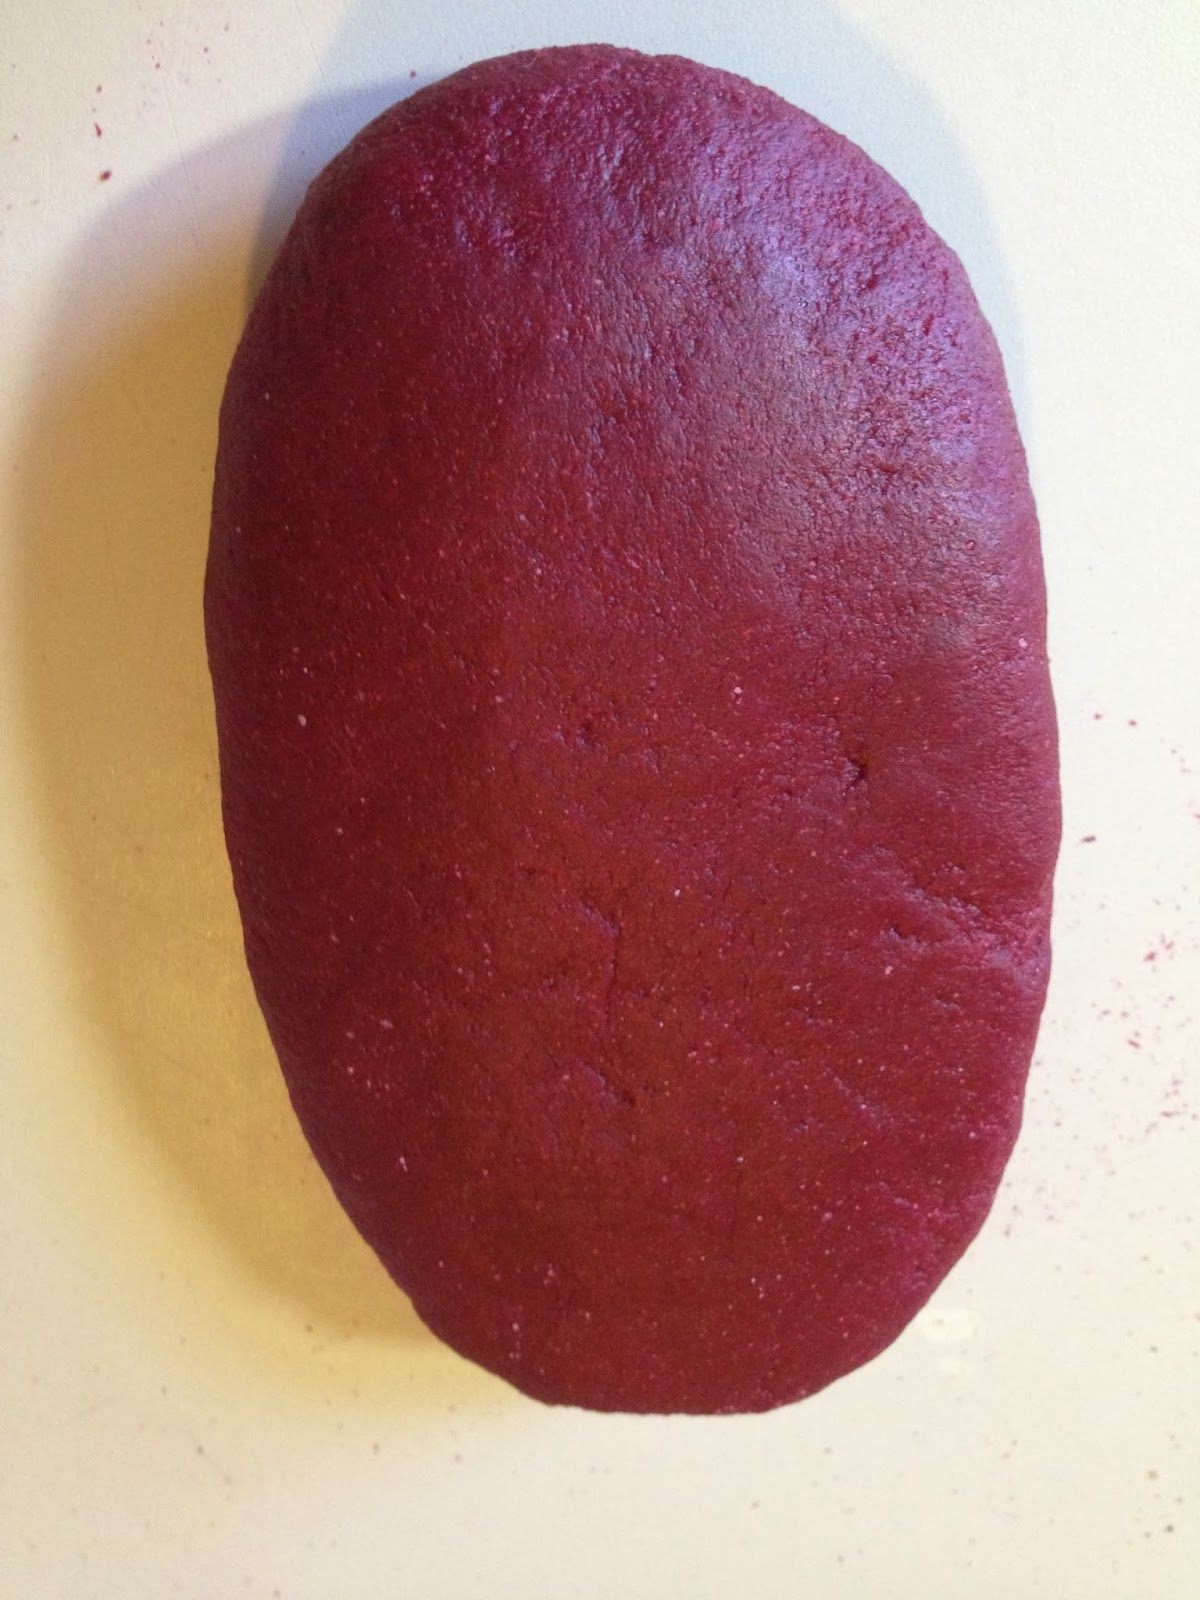
Red Beet Pasta:
  • Add to flour;
    • 20g Red Beet Powder
    • Use 20g less flour
  • Continue with recipe as normal 


Roasted Garlic Pasta:

This takes a little more work:

Roasted Garlic:
  • 5 Whole Garlic Heads
    • Lightly coat with Extra Virgin Olive Oil
    • Lightly season with Salt and Fresh Ground Black Pepper
    • Loosely wrap garlic and in aluminum foil, leaving a small opening in the top
  • Place Garlic in it's aluminum foil pouch in a pre-heated 500° oven
  • Roast until heads are just beginning to brown and caramelize
  • Allow to cool
  • Squeeze out roasted garlic from each clove, chop, crush or purée until you achieve a paste.

Roasted Garlic Pasta:
  • Add 70g Roasted Garlic Purée to eggs
  • 40g additional Durum Flour
  • Continue with recipe as normal

Roasted Garlic Purée


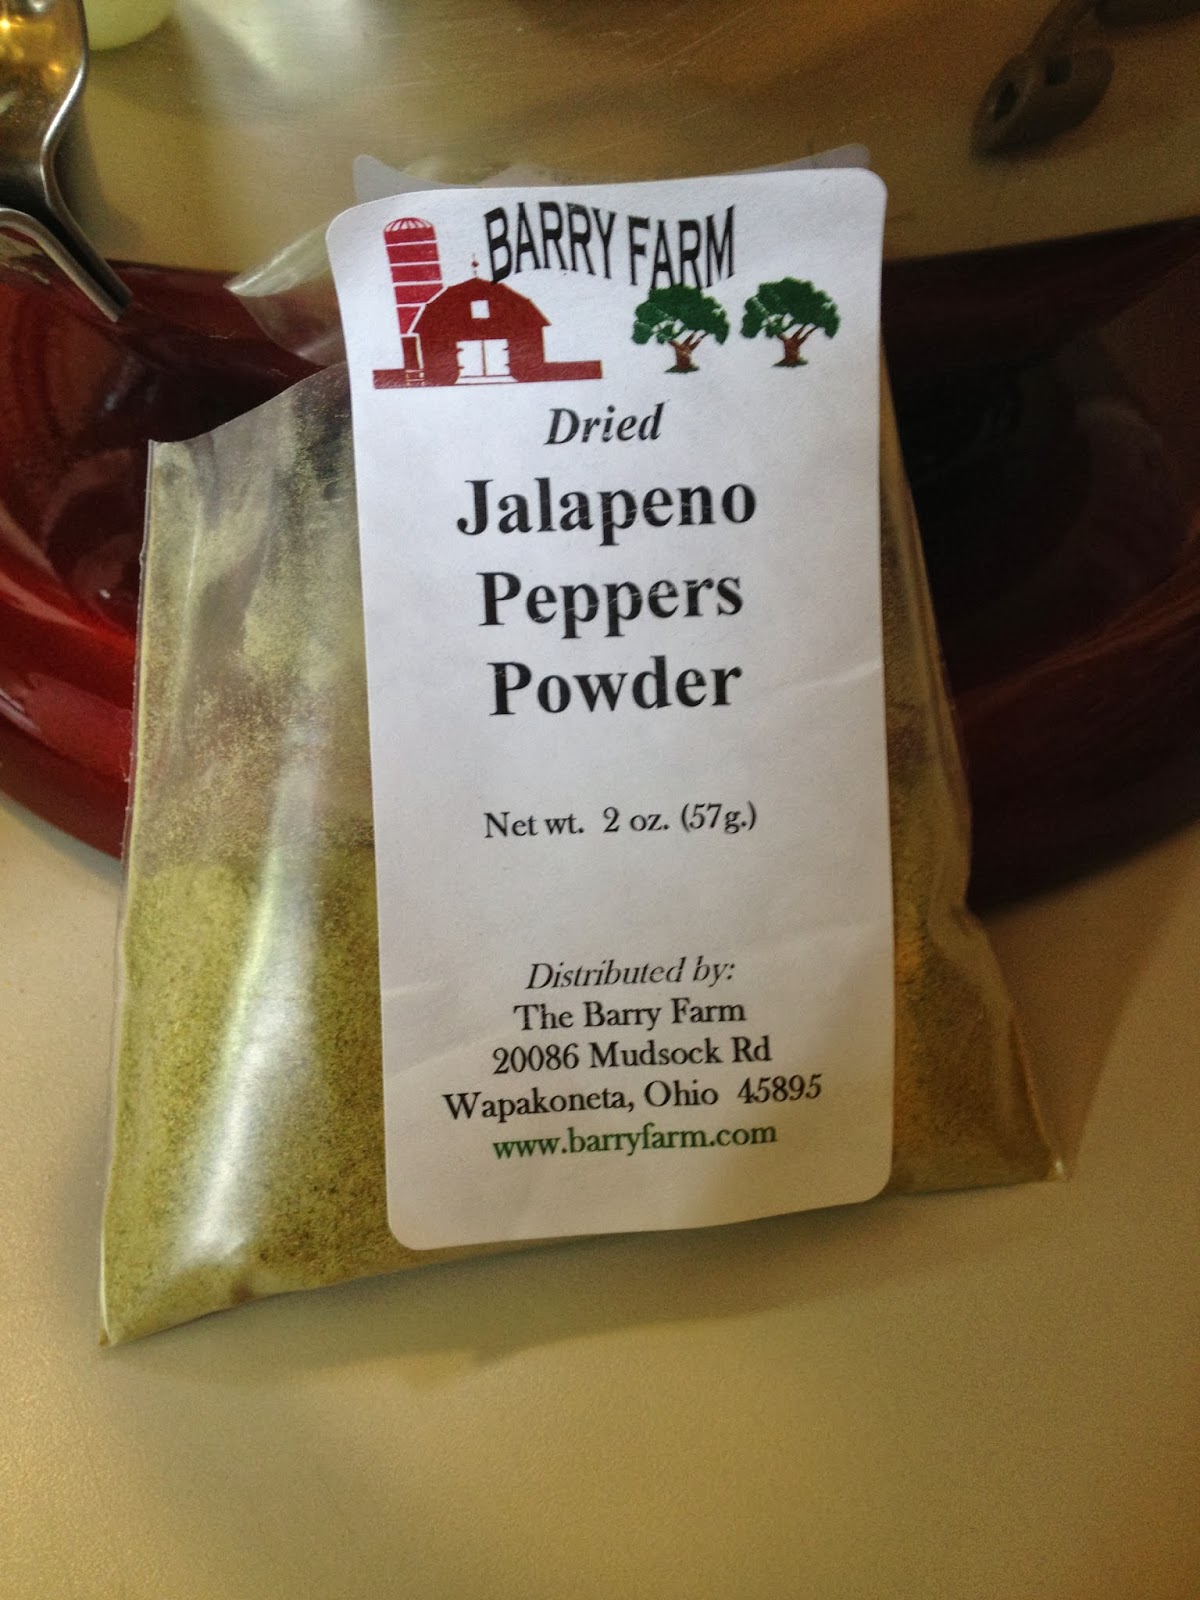
Jalapeno Pasta:
  • Add to flour;
    • 20g Jalapeno Powder
    • Use 20g less flour
  • Continue with recipe as normal


Tomato Pasta:
  • Add to flour;
    • 20g Tomato Powder
    • Use 20g less flour
  • Continue with recipe as normal


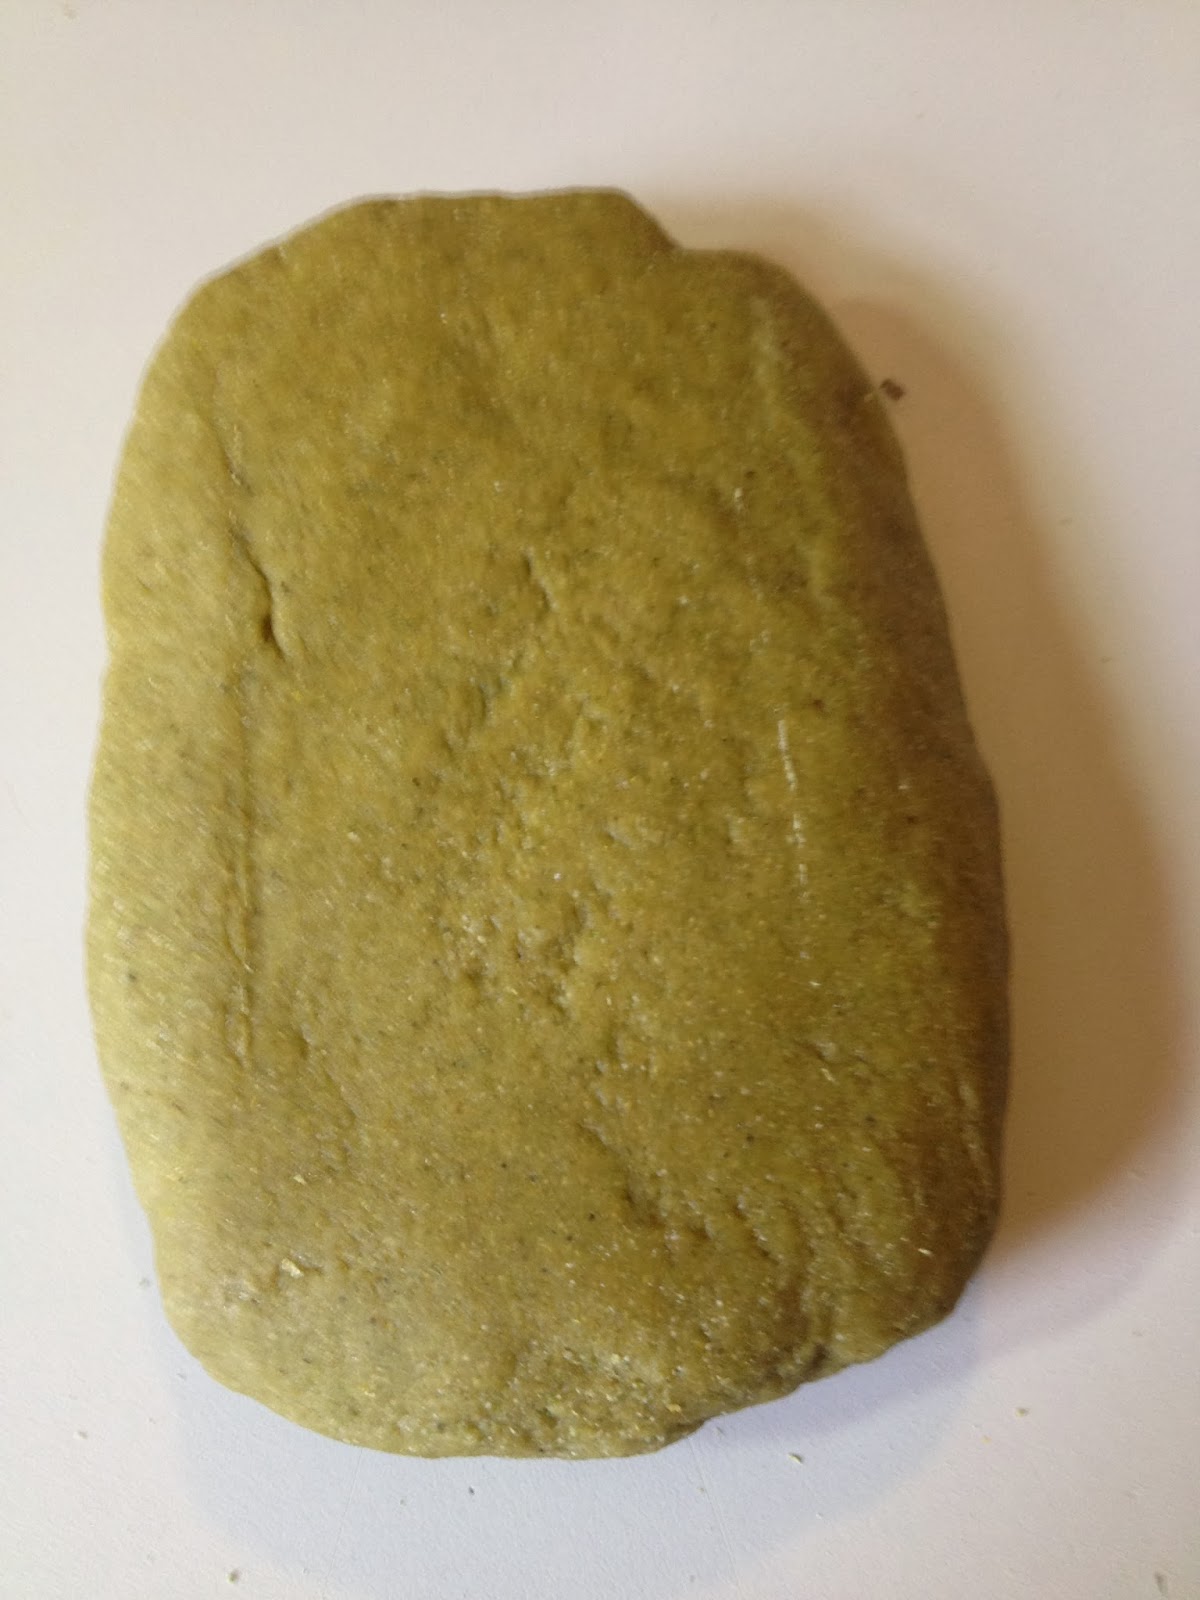
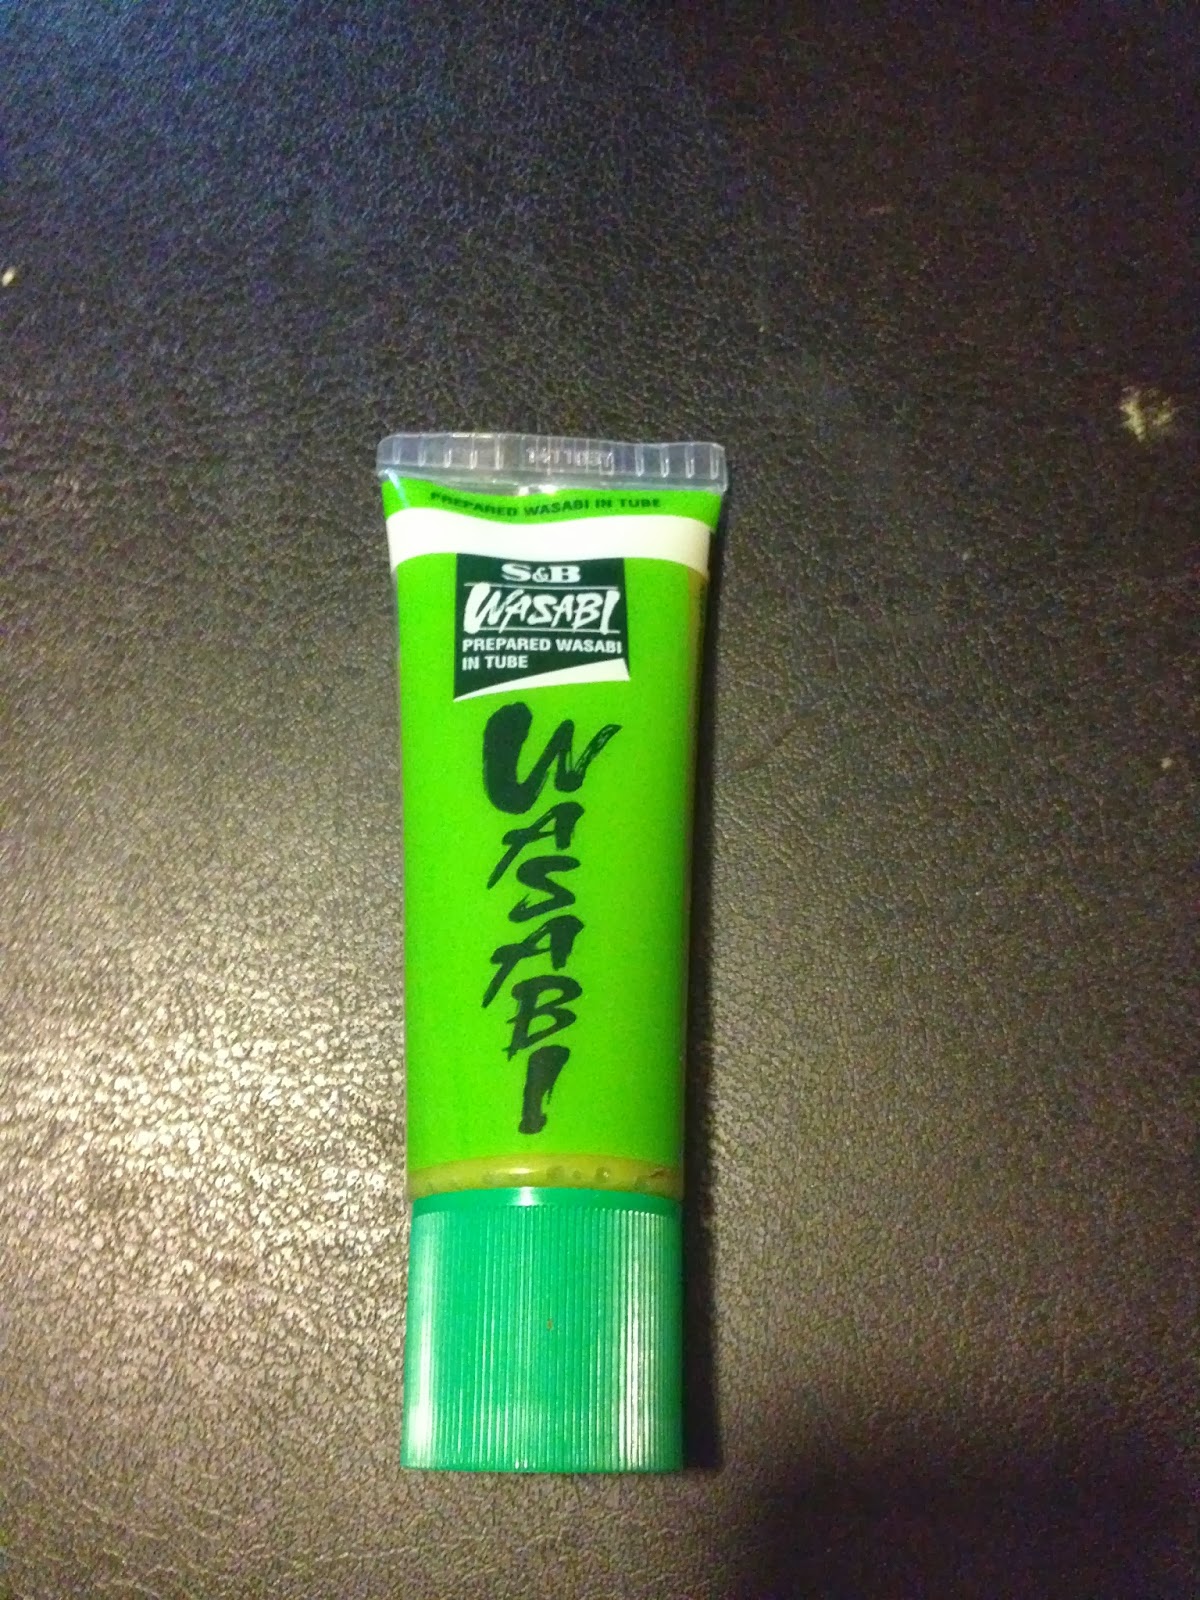
Wasabi Pasta:
  • Add 65g of Wasabi Paste to eggs
  • Mix Well
  • Use 18g additional Durum Flour
  • Continue with recipe as normal

Wasabi Paste


Basic Pasta Recipe:


Squid Ink Pasta:
  • Add 10 grams of Squid Ink to eggs in Basic Pasta Dough Recipe
  • Add 3 drops Zatarains Concentrated Shrimp and Crab Boil to eggs
  • Add 5g additional Durum Flour
  • Continue with recipe as normal


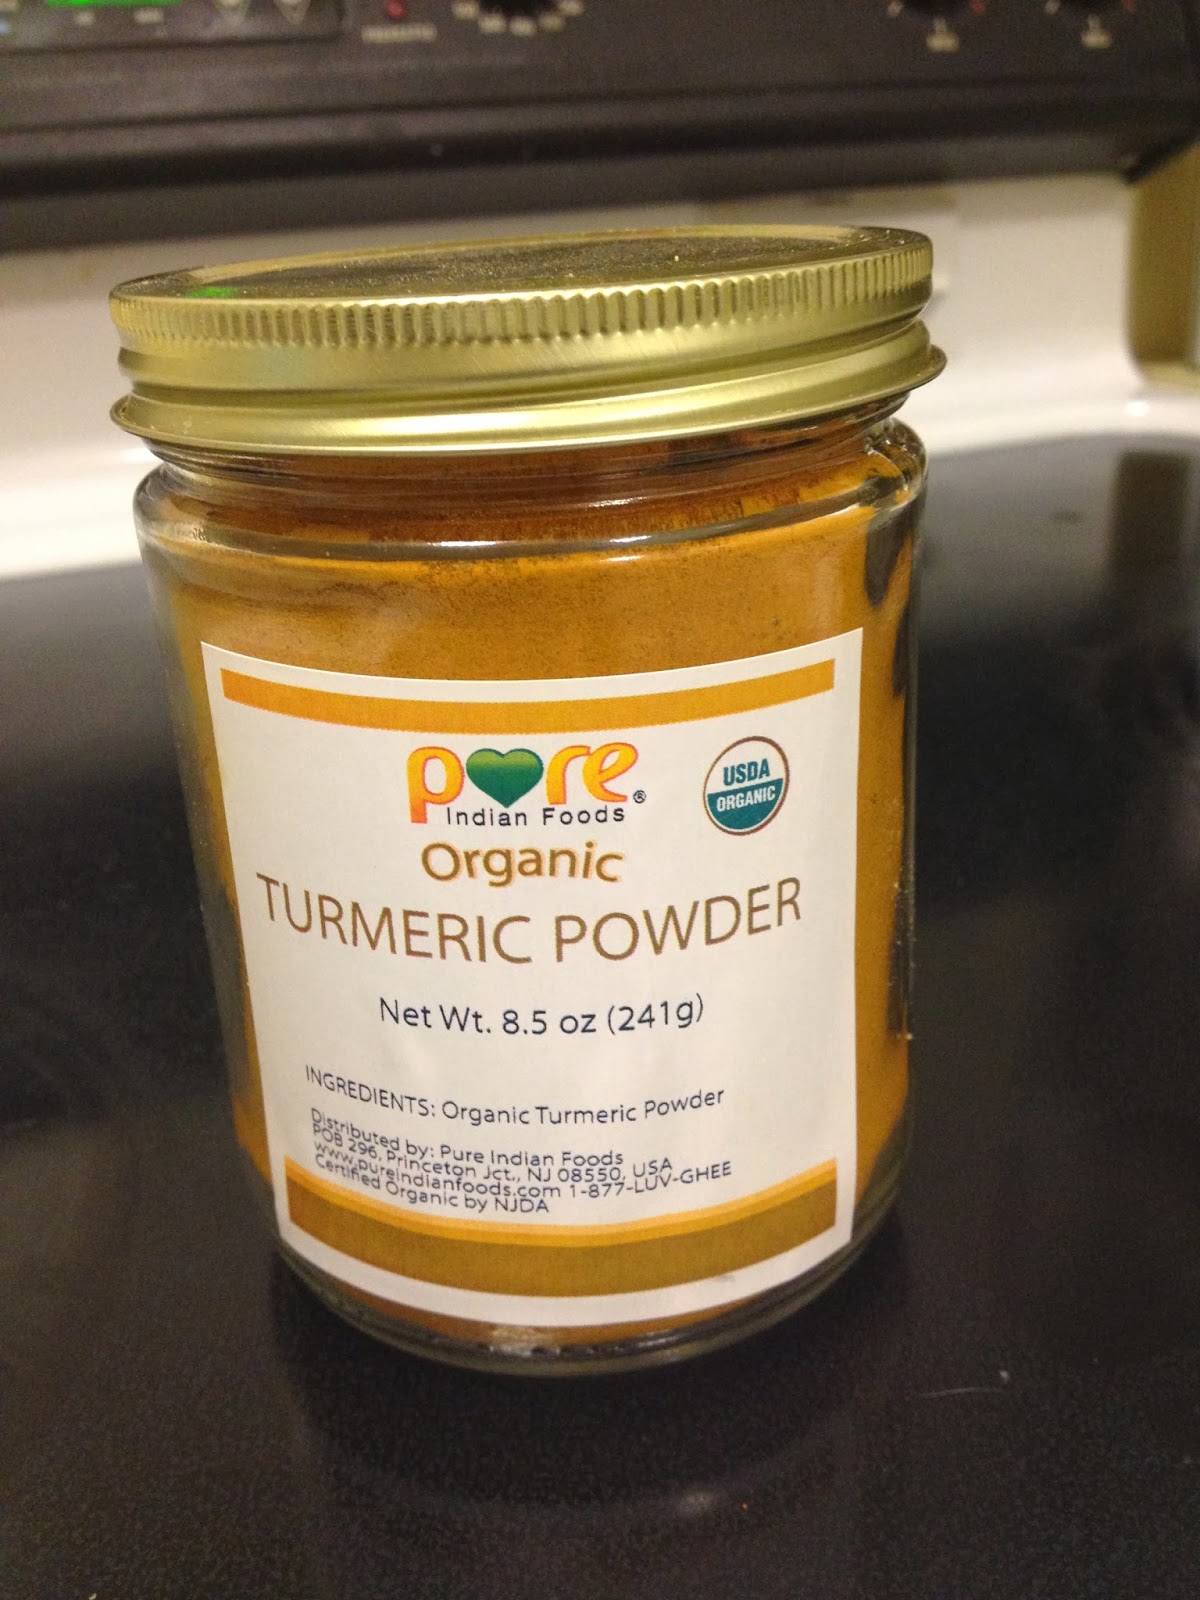
Turmeric Pasta:
  • Add to flour;
    • 20g Turmeric Powder
    • Use 20g less flour
  • Continue with recipe as normal


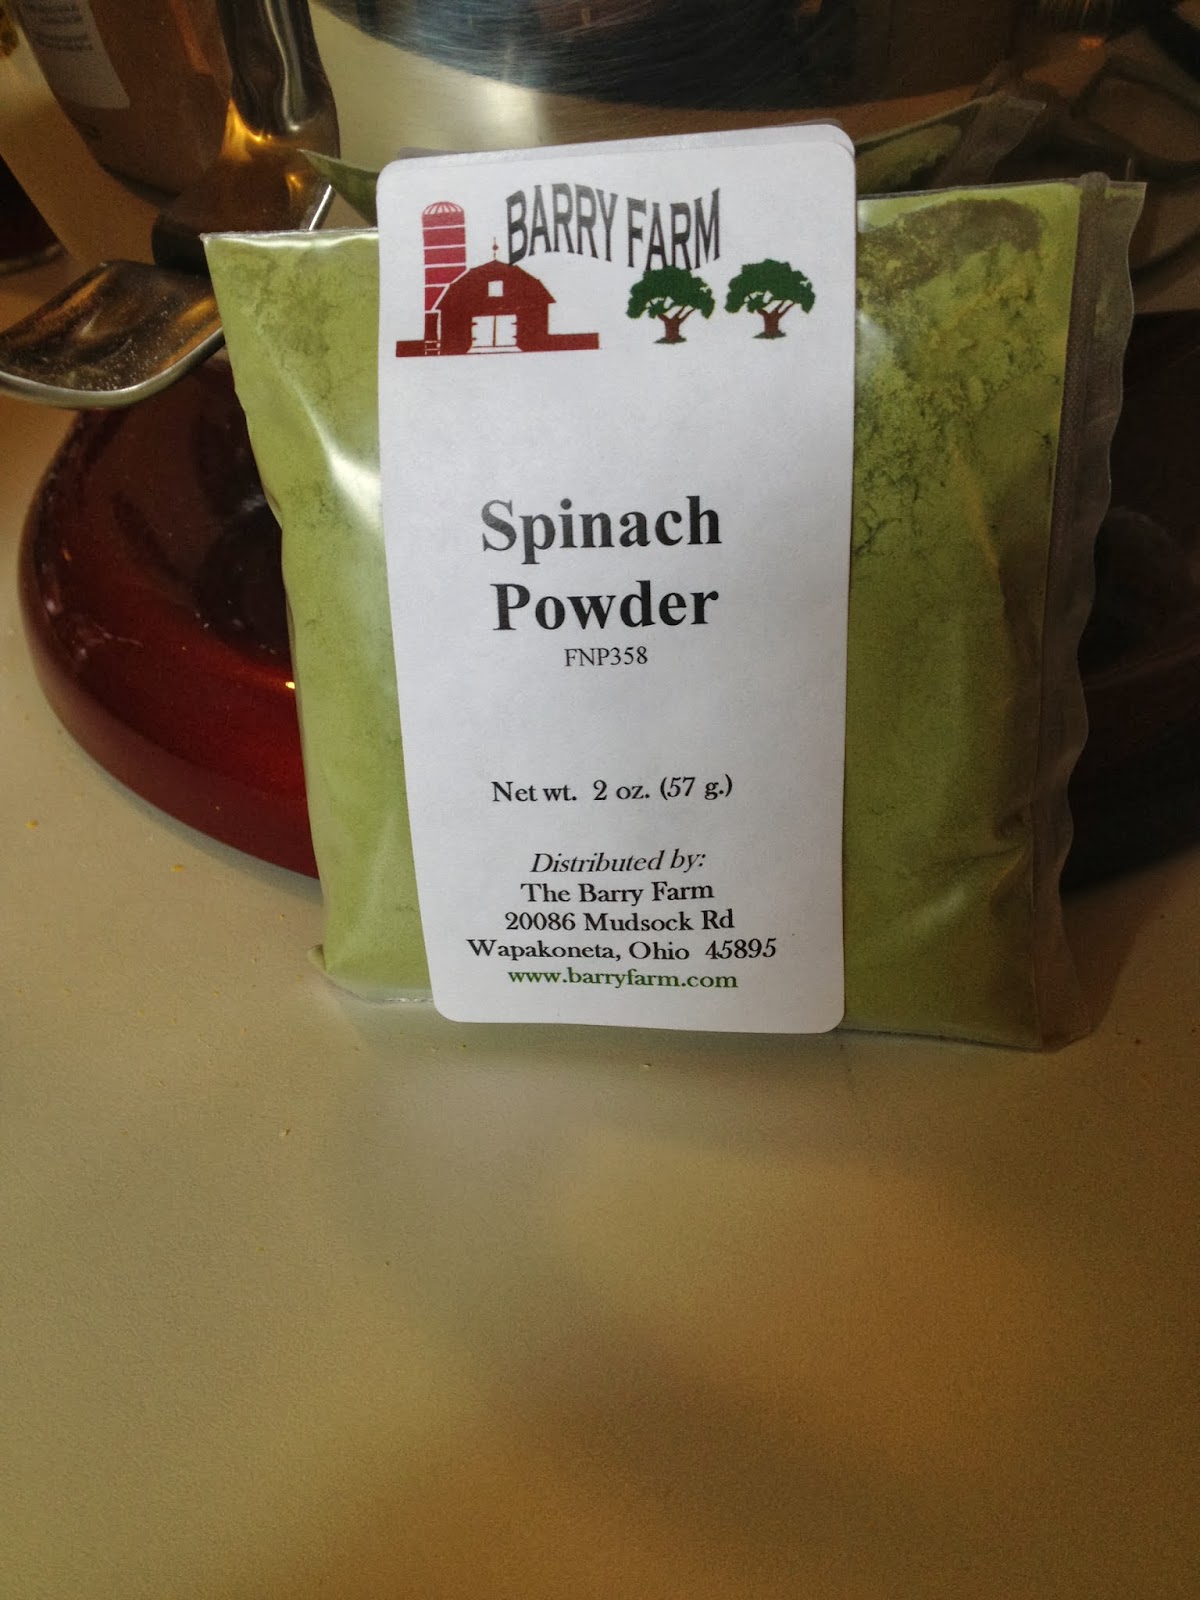
Spinach Pasta:
  • Add to flour;
    • 20g Spinach Powder
    • 20g less flour 
  • Continue with recipe as normal


Chili and Smoked Paprika Pasta:
  • Add to flour;
    • 10g Chili Powder
    • 10g Smoked Paprika
    • Use 20g less flour 
  • Continue with recipe as normal


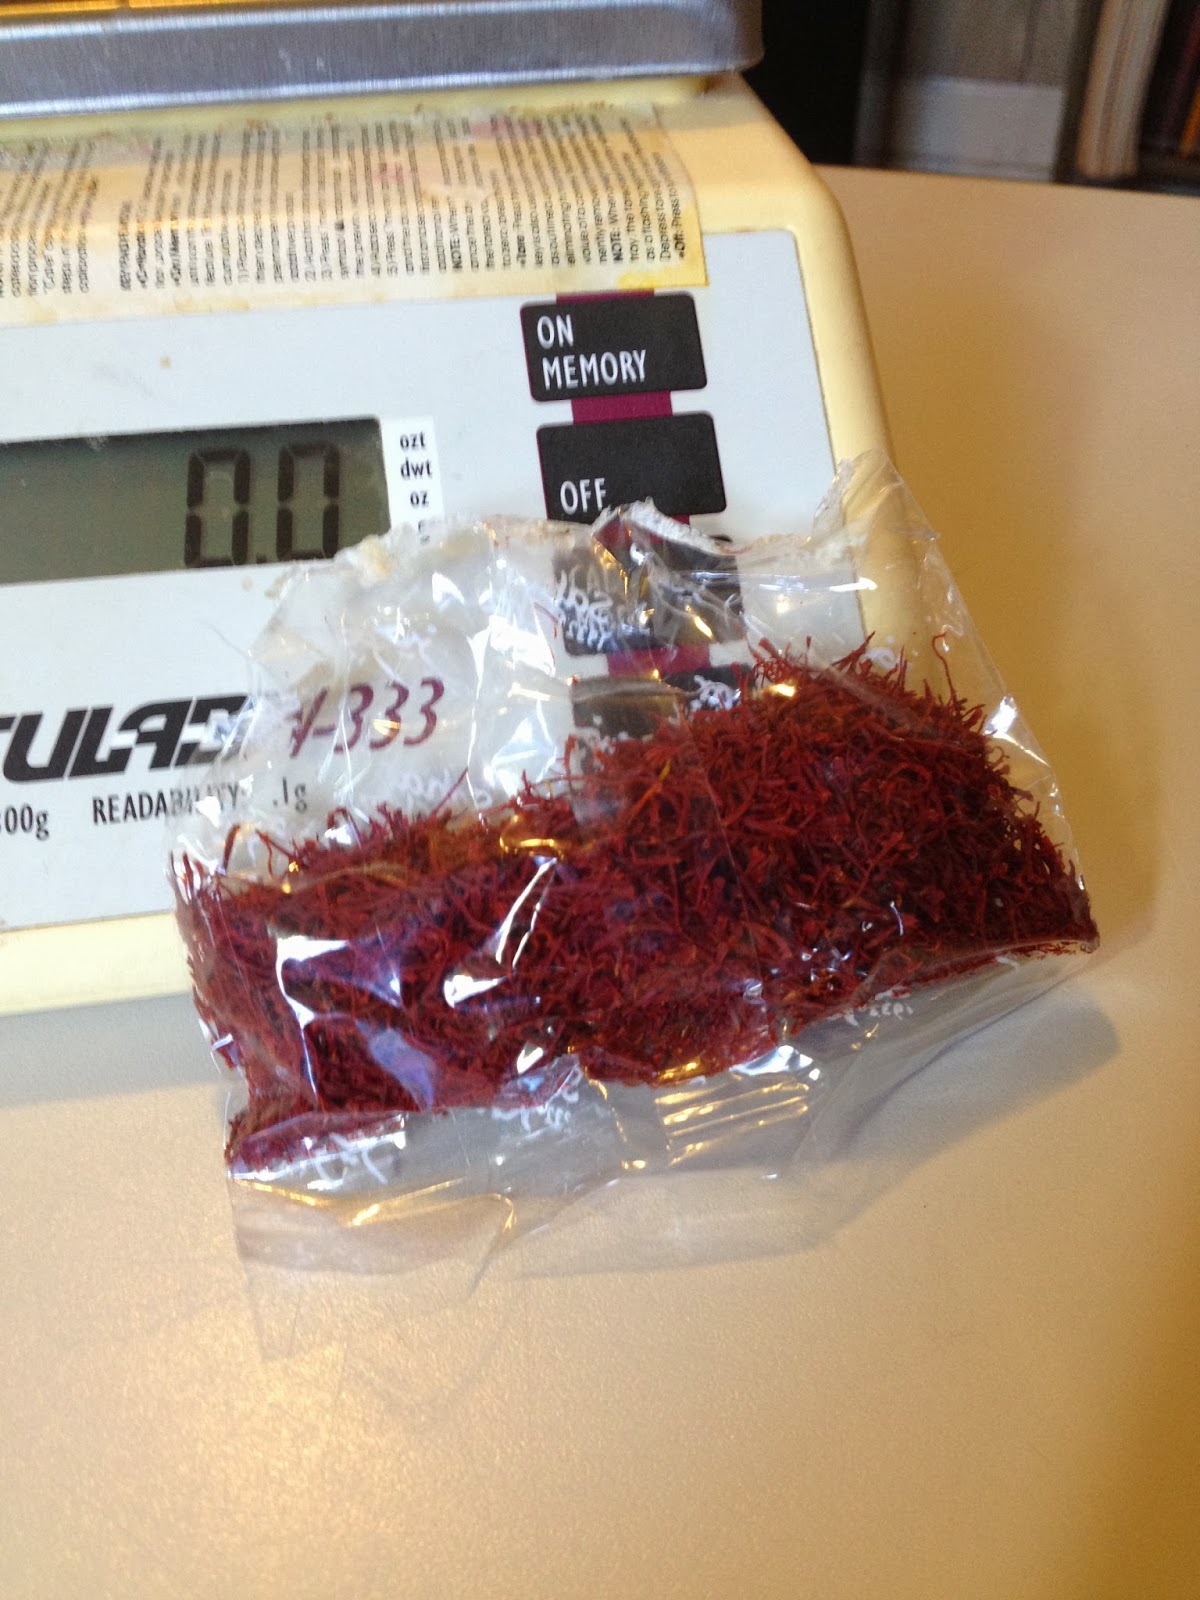
Saffron with Lemon Pasta:

Note: Saffron is very expensive. It comes in different grades from "average" to "premium". Since saffron pasta although brilliant in color it will end up very subtle in flavor, therefore you do not need to spend the extra money on a premium saffron.

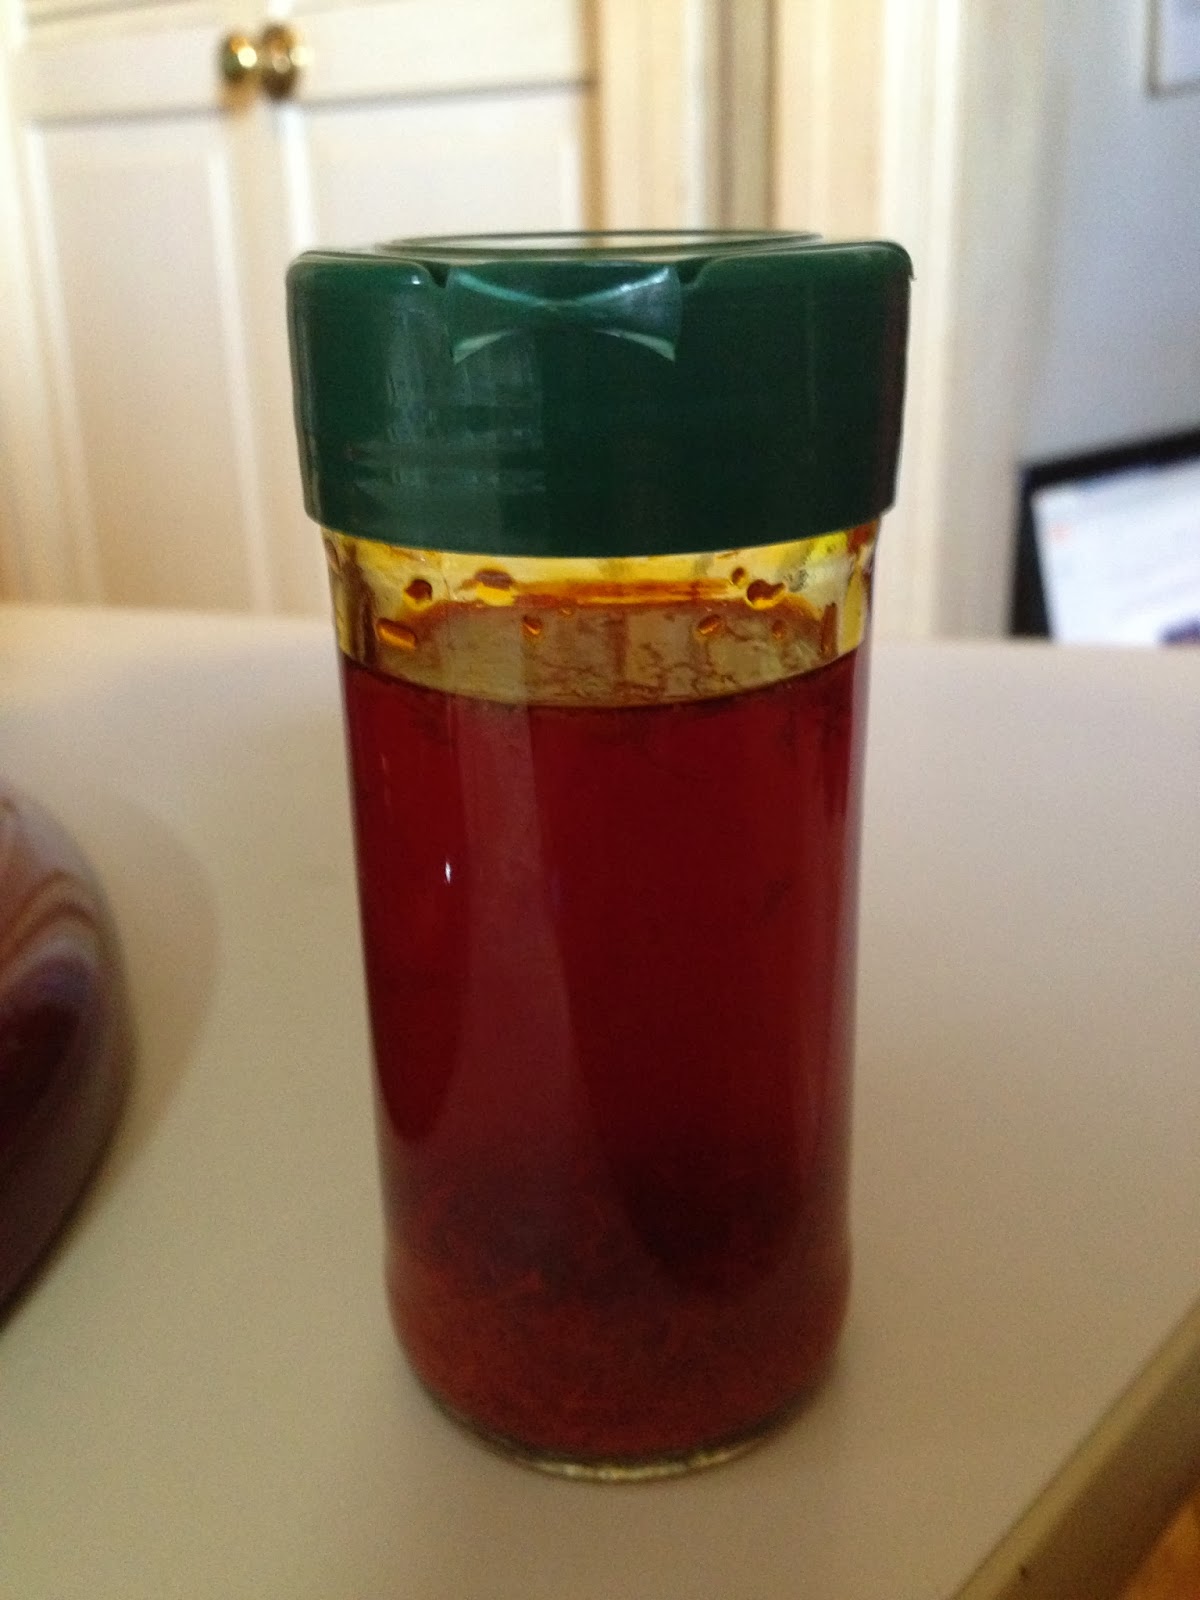
Saffron Water:

  • Bring 194g water to a boil
  • 2.3g Saffron stamens gently crushed between the fingers into a jar
  • Add boiling water to Saffron
  • Allow to cool before using

Saffron Pasta:

  • 27g Saffron water with stamen threads
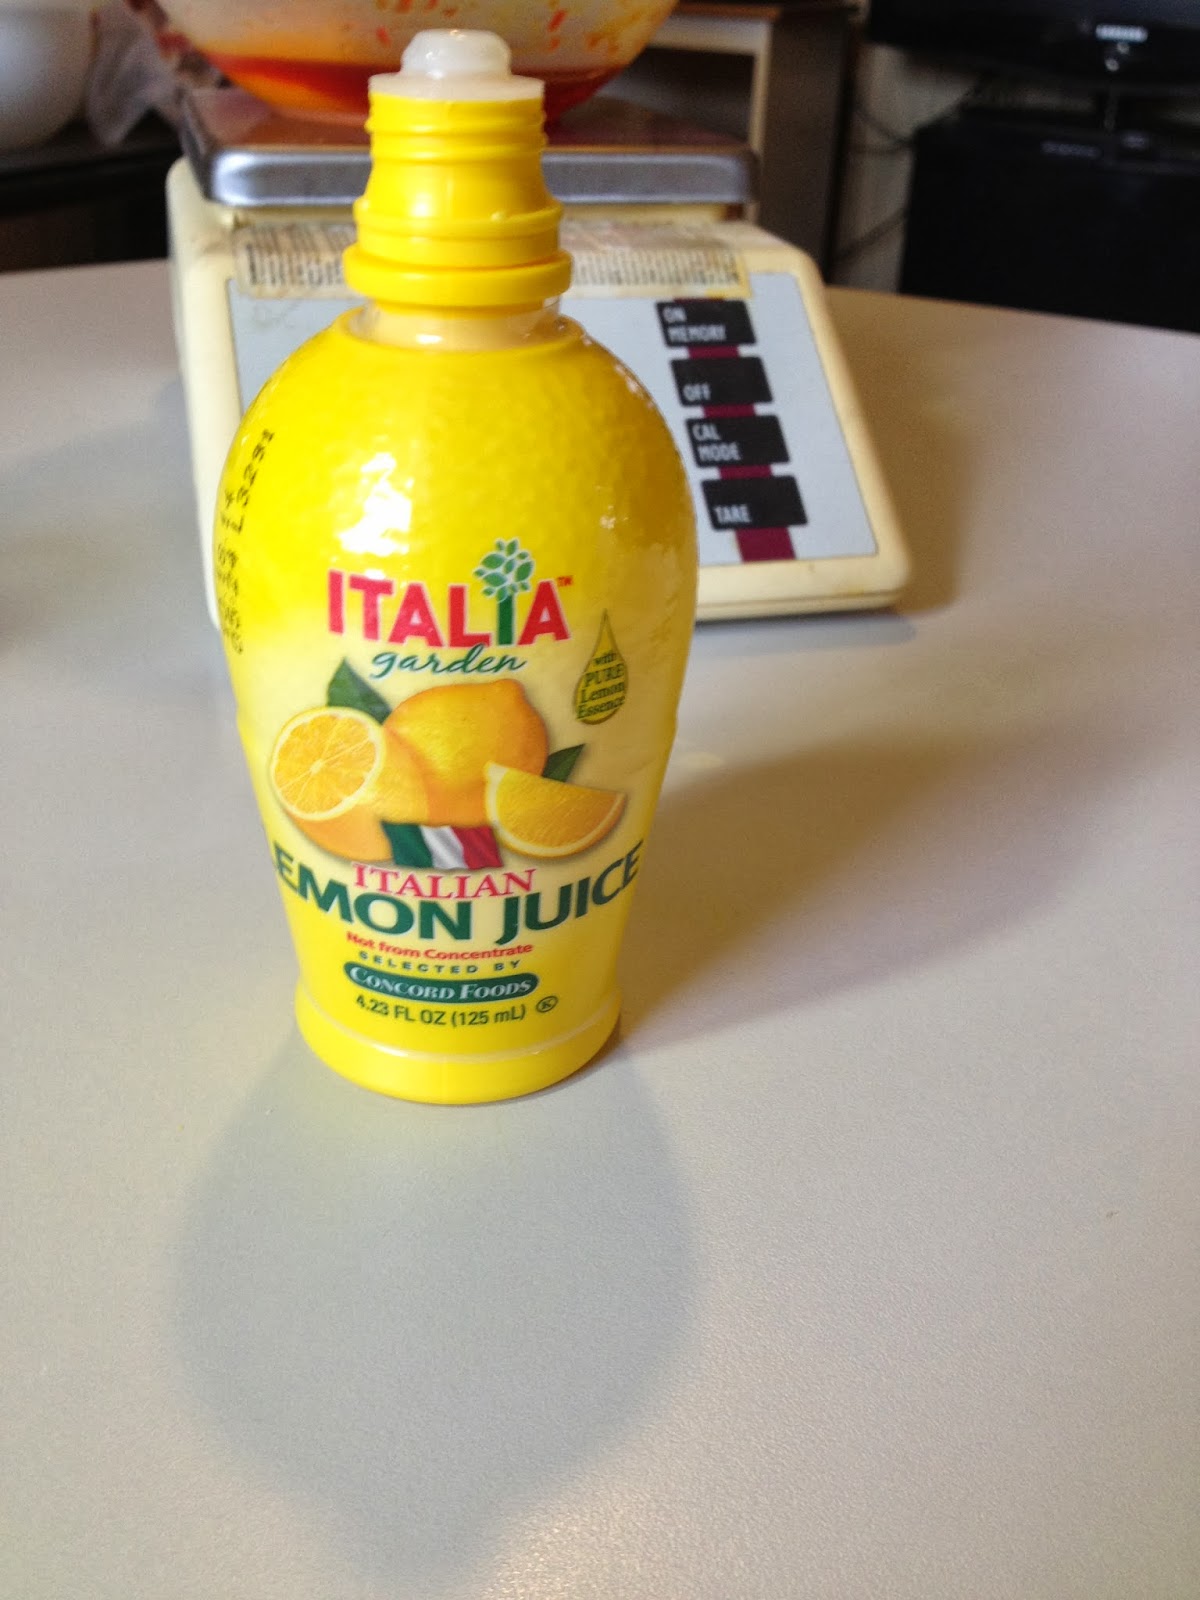
  • 20g Fresh Lemon Juice
  • 10g Water
  • Omit one egg
  • Continue with recipe as normal


Spanish Saffron

Steeped Saffron Water

I did not have fresh Lemons, but I did have this


Tuesday, December 31, 2013

Fresh Pasta

I have always wanted to do fresh pasta, now I finally took the time. It turns out that it's incredibly easy, but also incredibly messy. Flour goes everywhere.

It is basically a two stage process. First you make the dough, then you cut it. Done...it's as simple and as complicated as that. Unless of course you want flavored pasta, or God forbid, multi-colored pasta. Then it's gets a little more complicated.

Lets start simple.

Equipment:

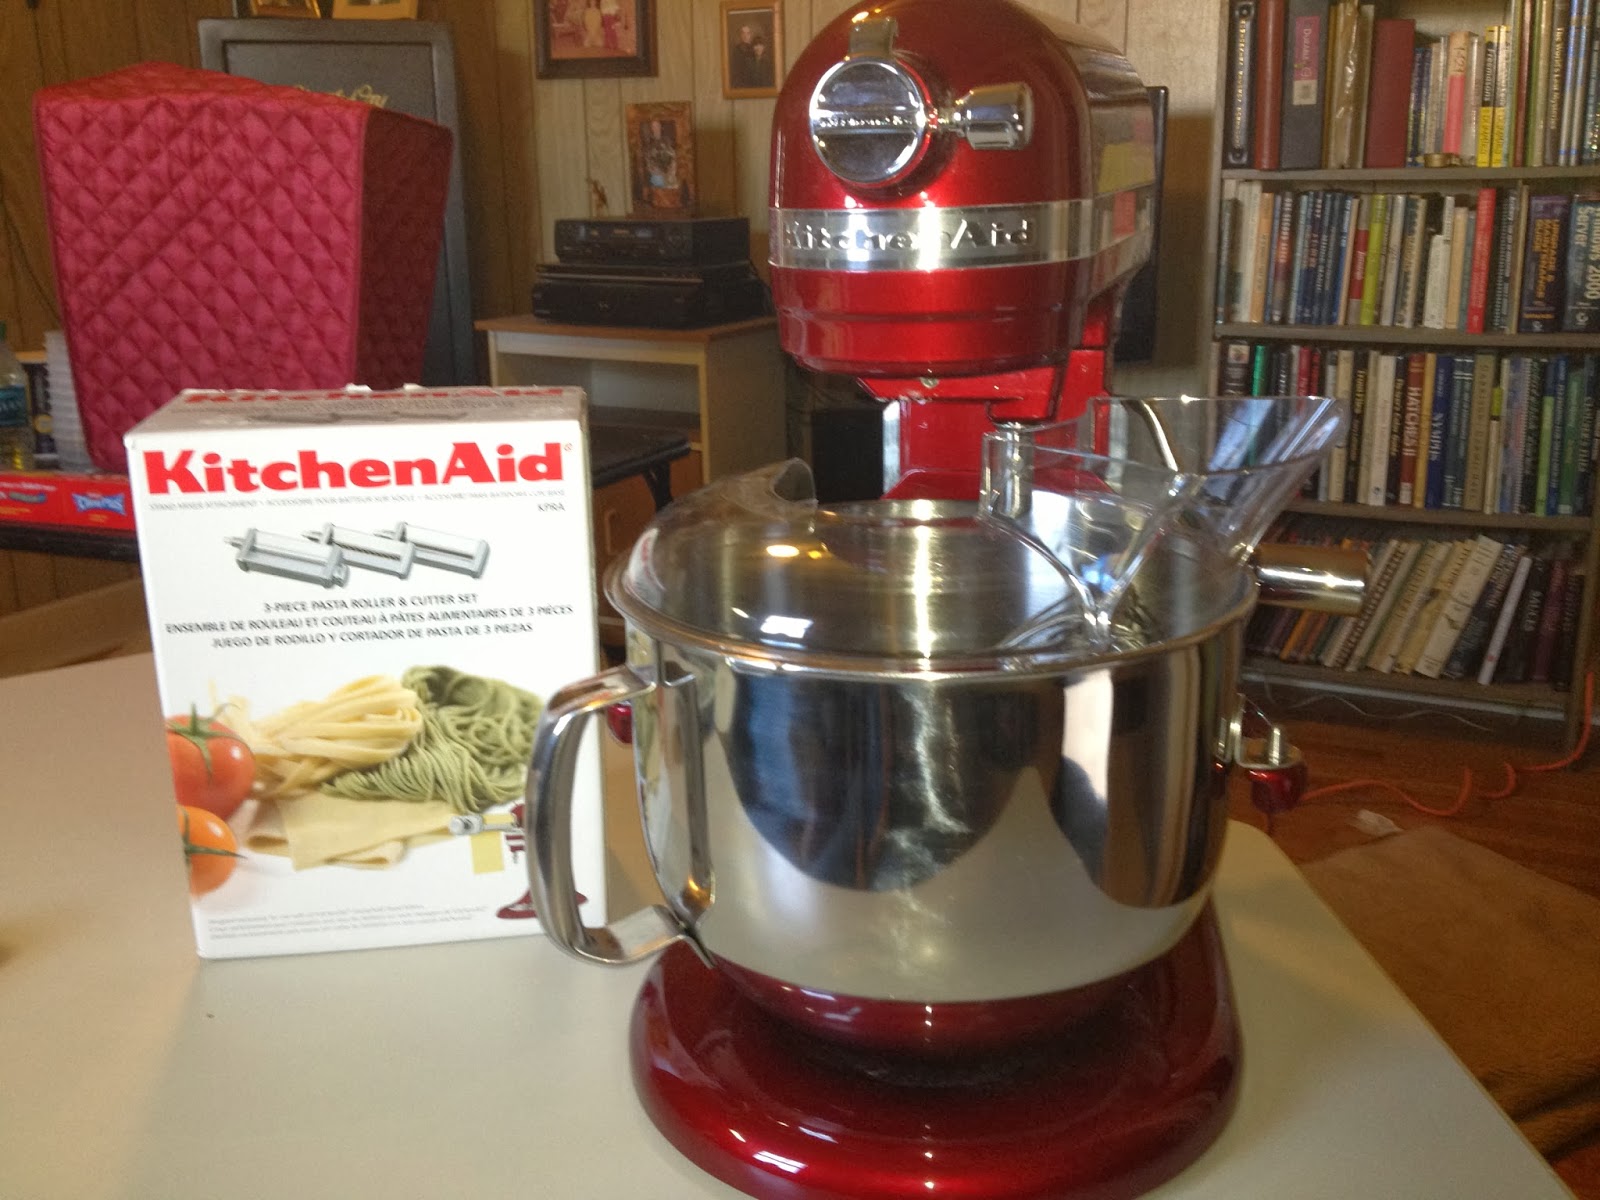
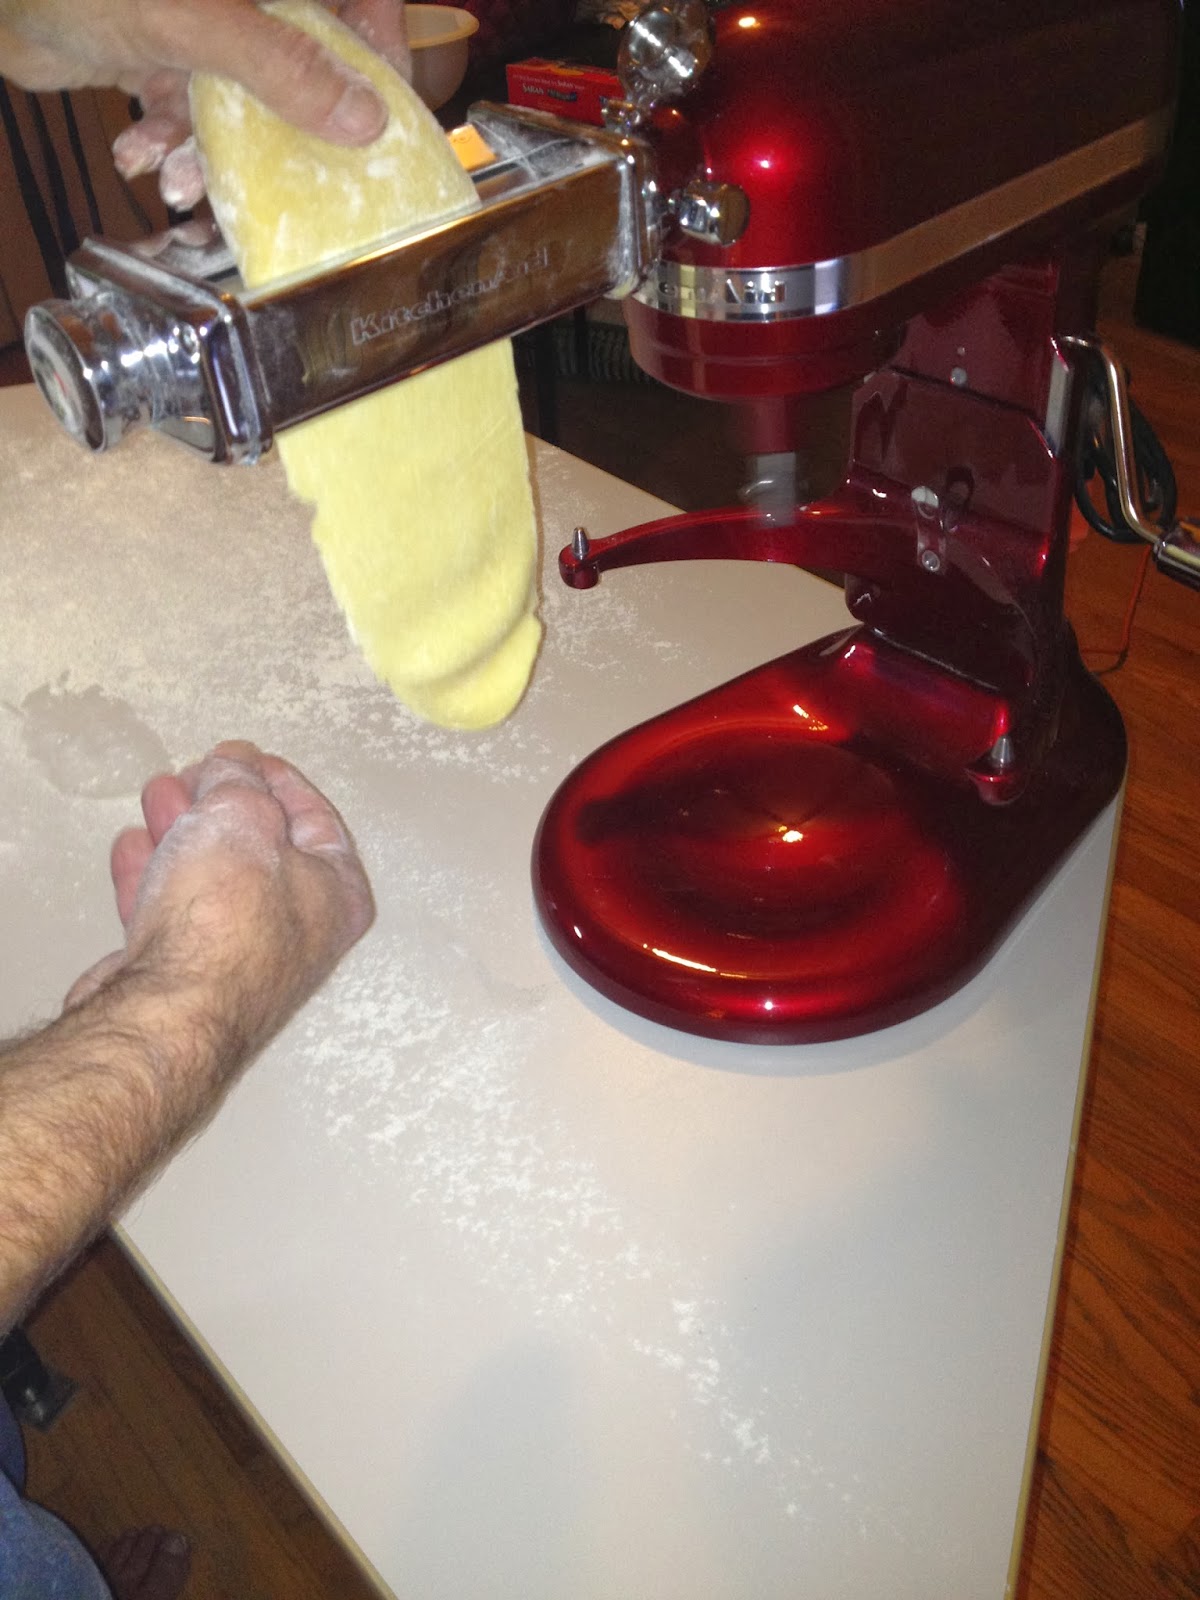
You need some sort of pasta roller/cutter. I bought a KitchenAid mixer that gives me the option of pasta attachments. So I didn't need to buy a separate pasta maker, I just needed to purchase the appropriate pasta attachments for my mixer. One huge advantage of this is that unless you want to spend big bucks on a electric pasta maker, affordable ones are hand cranked. With the attachments on my mixer it's essentially electric. One of the reasons I opted for this mixer.

With the following attachment package, I can make Lasagna, Ravioli, fettuccine spaghetti and Angel Hair pasta:


3-piece pasta roller & Cutter set, item #KPRA


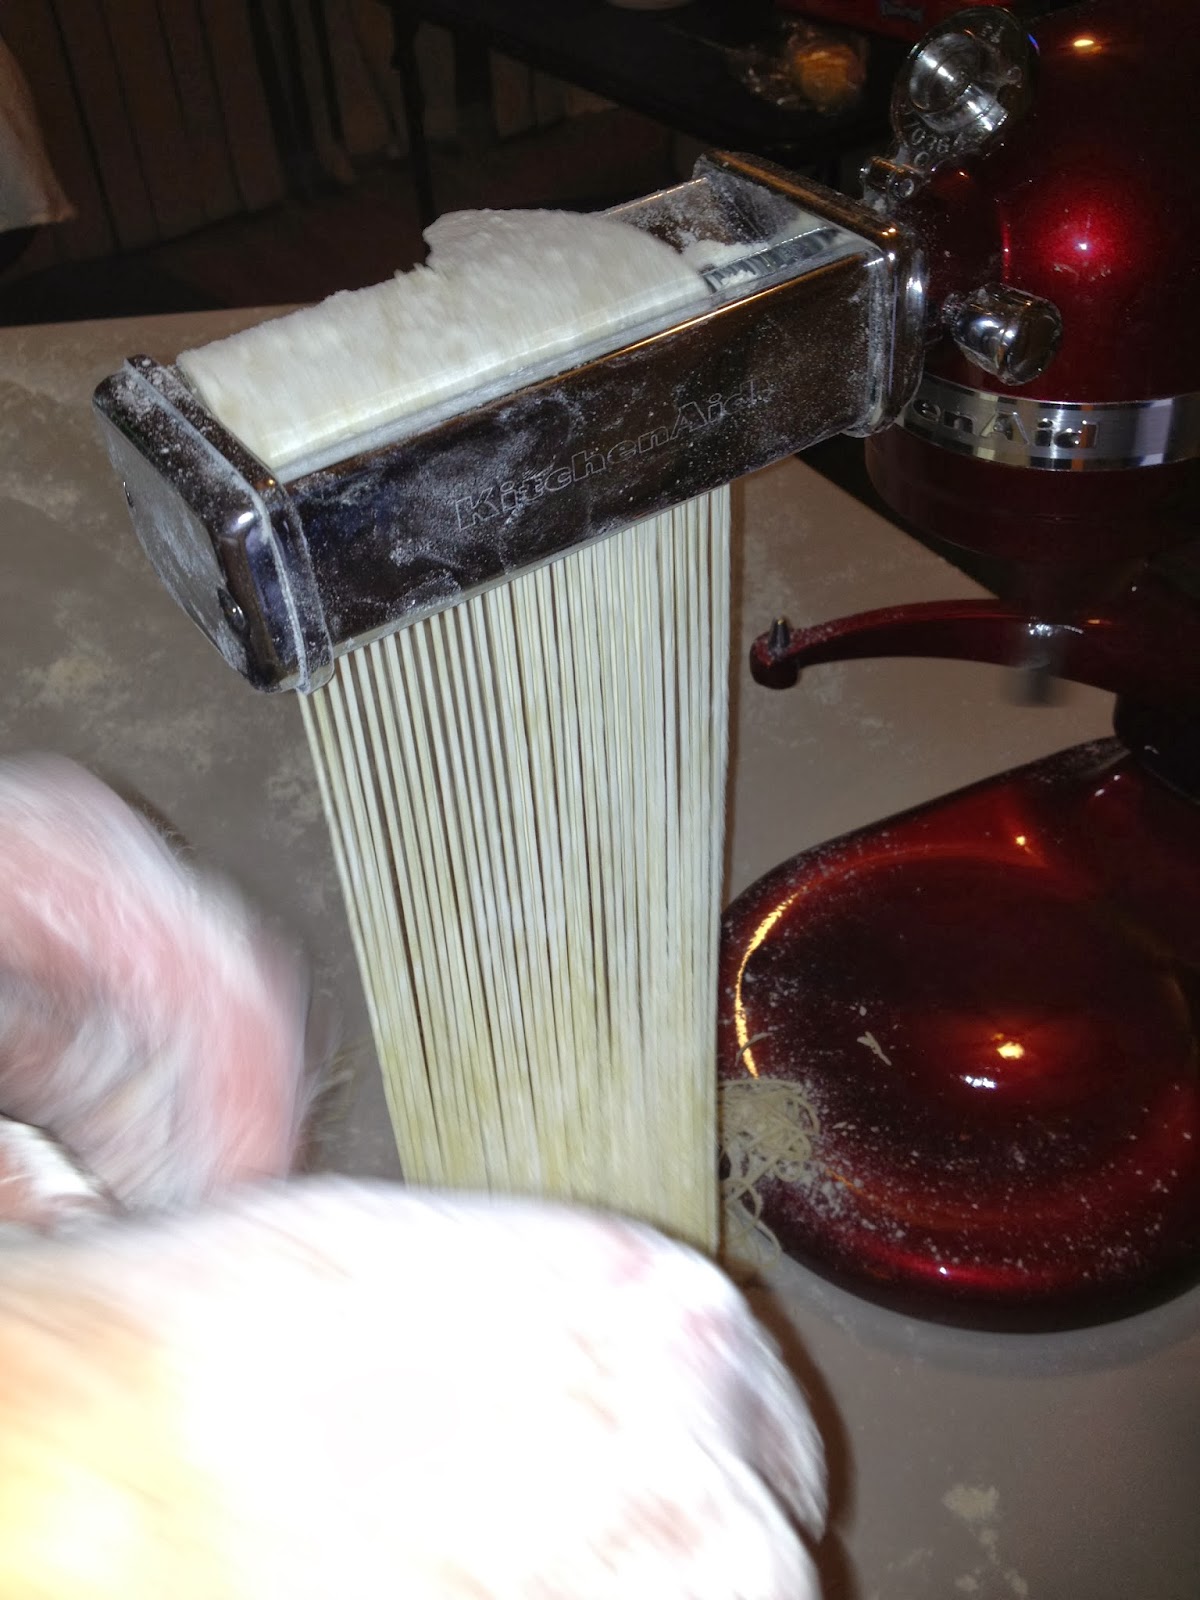
Left to right, spaghetti, fettuccine cutter and roller


Roller attached to mixer


Fettuccine cutter attached to mixer

Basic Pasta Dough:

4 Portions
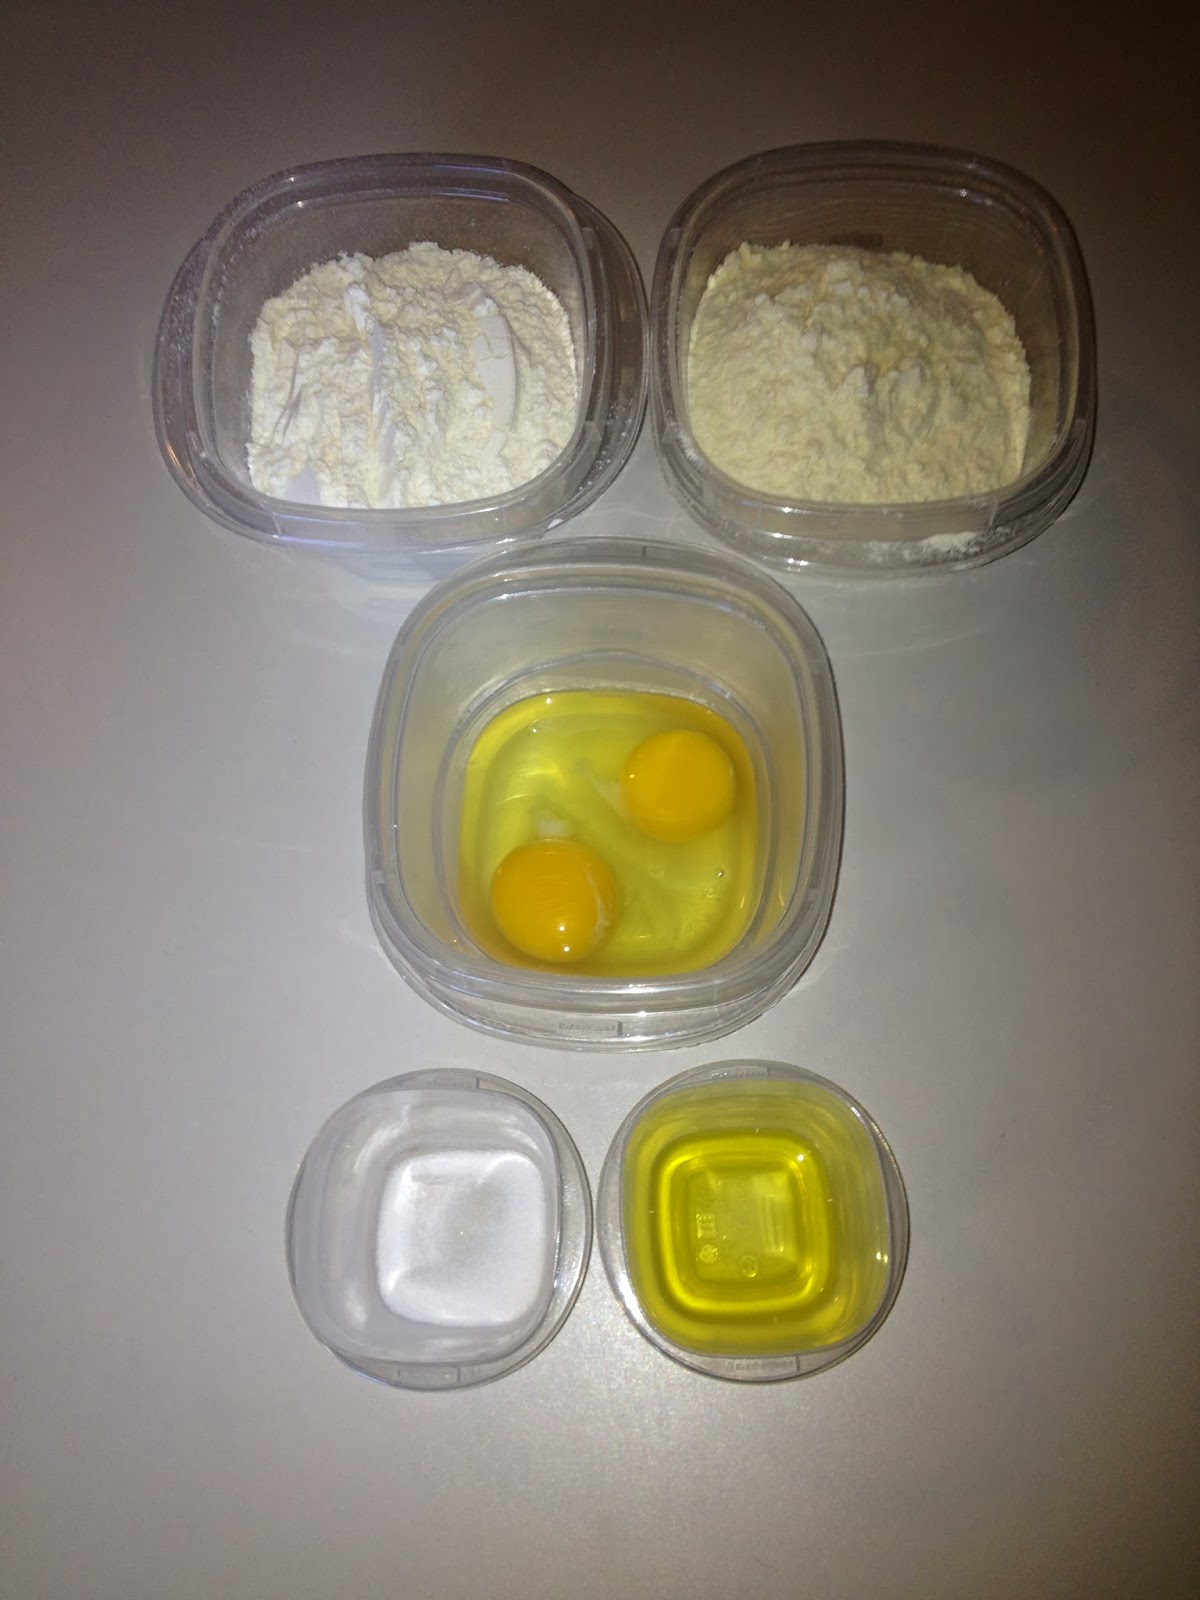
TWF - 200g
Hydration - 56%

Semolina Flour - 100g
Durum Flour - 100g
Egg - 2 Large - (about 56g water per egg)
Salt - 1.5g
Extra Virgin Olive Oil - 1.5g


*All ingredients to be at room temperature


  • Combine in a mixer with paddle 
    • Both flours
    • Salt
  • Mix
  • Add eggs and oil

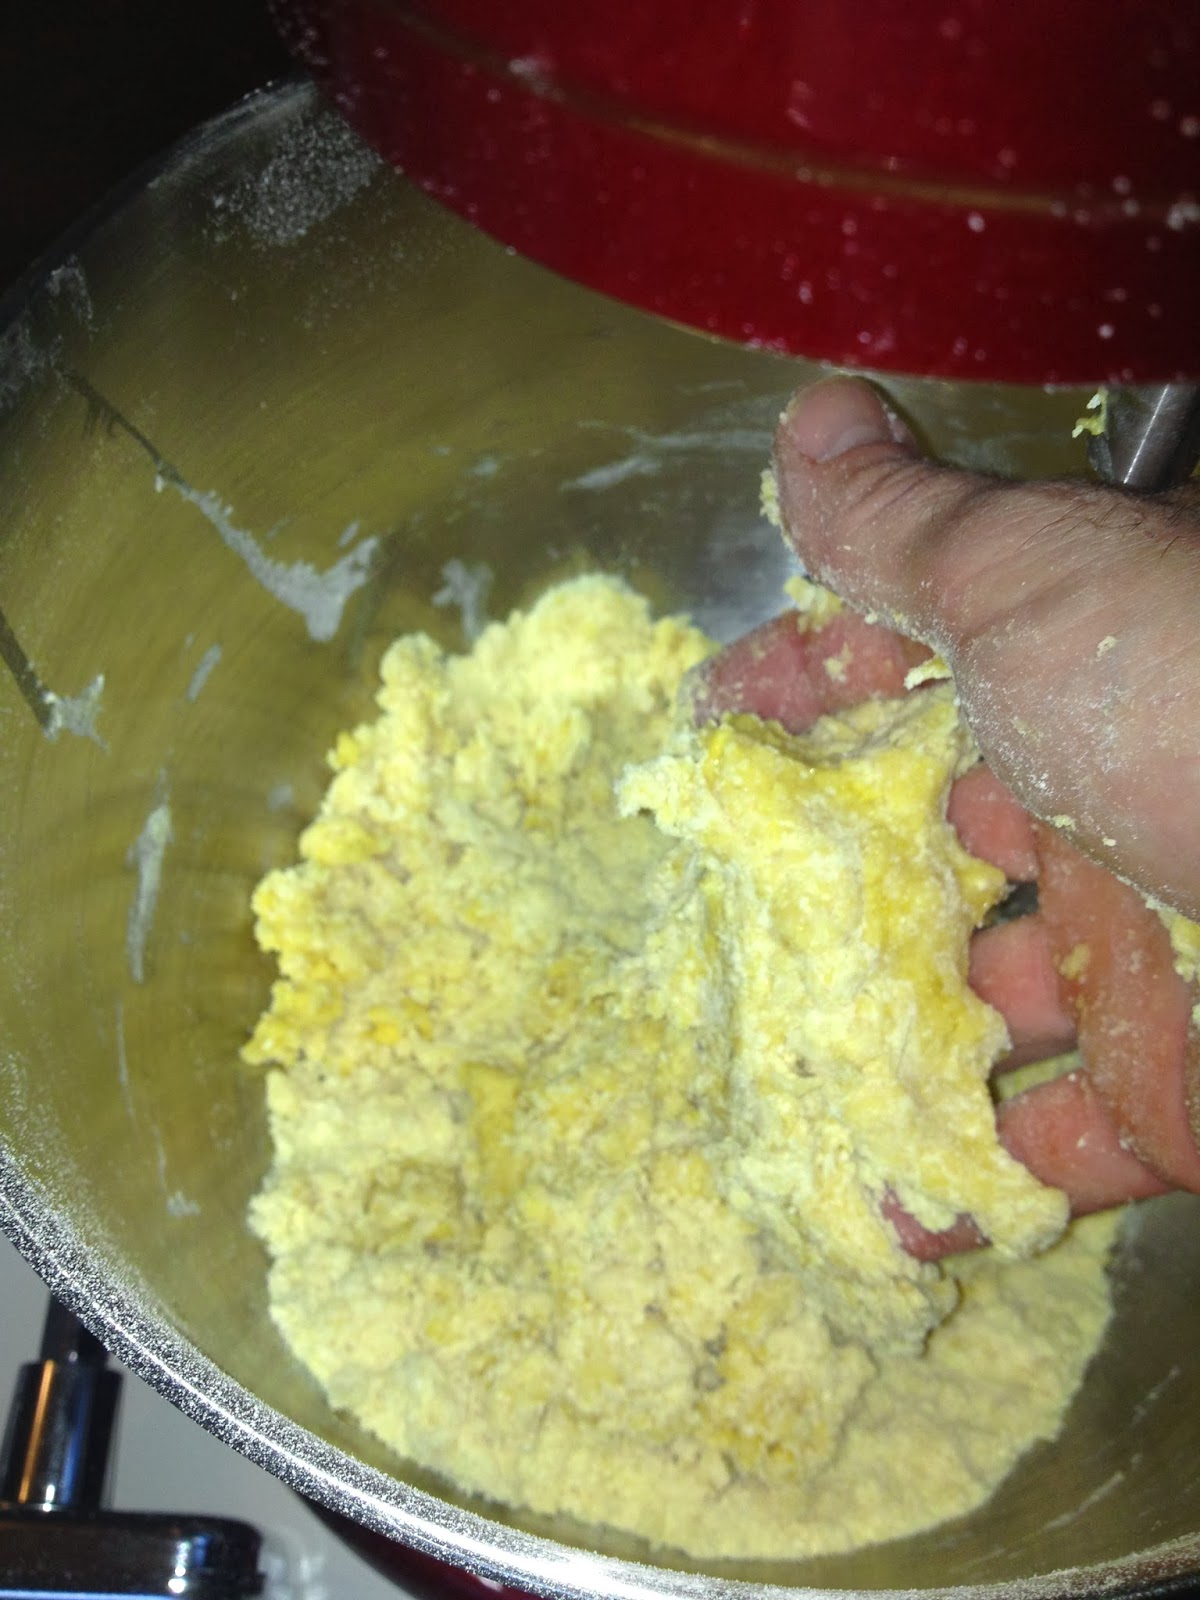
  • Mix on low (speed #2, my KitchenAid mixer) until crumbly


The mixture should be able to "clump"
  • Change paddle out for dough hook
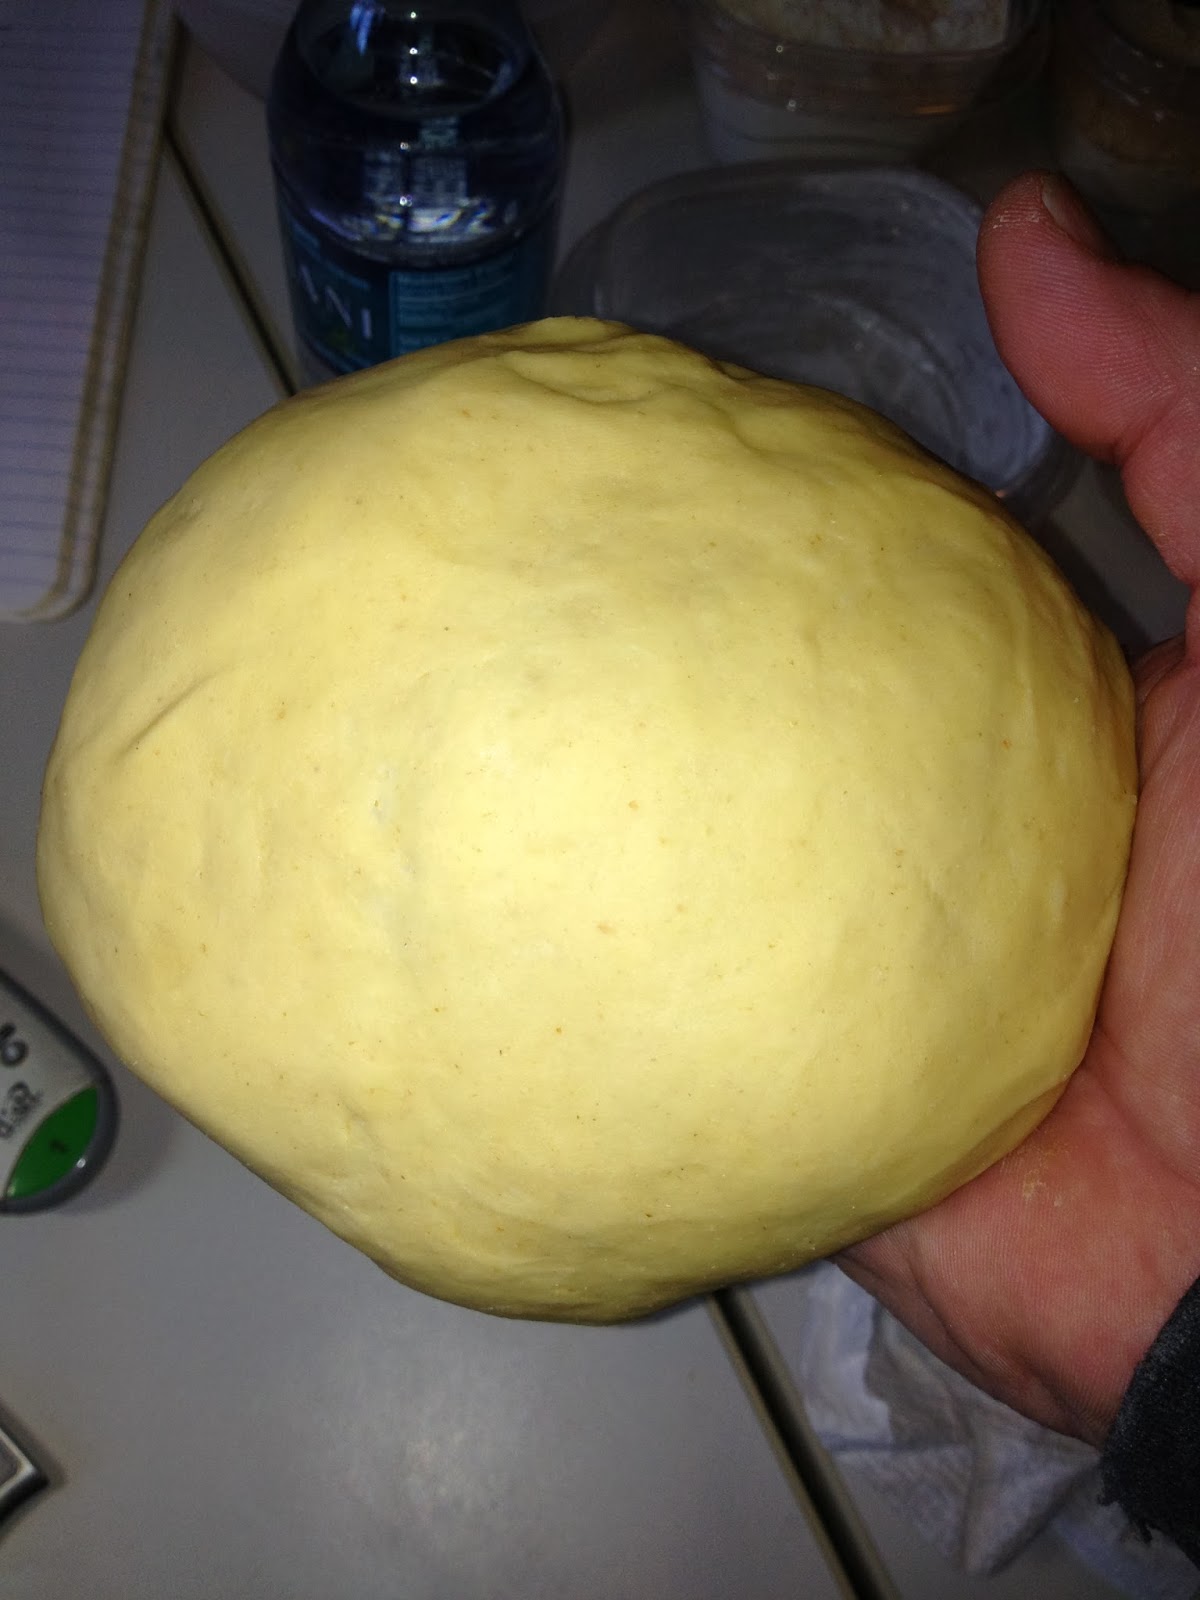
  • Mix on low (speed #2) until smooth


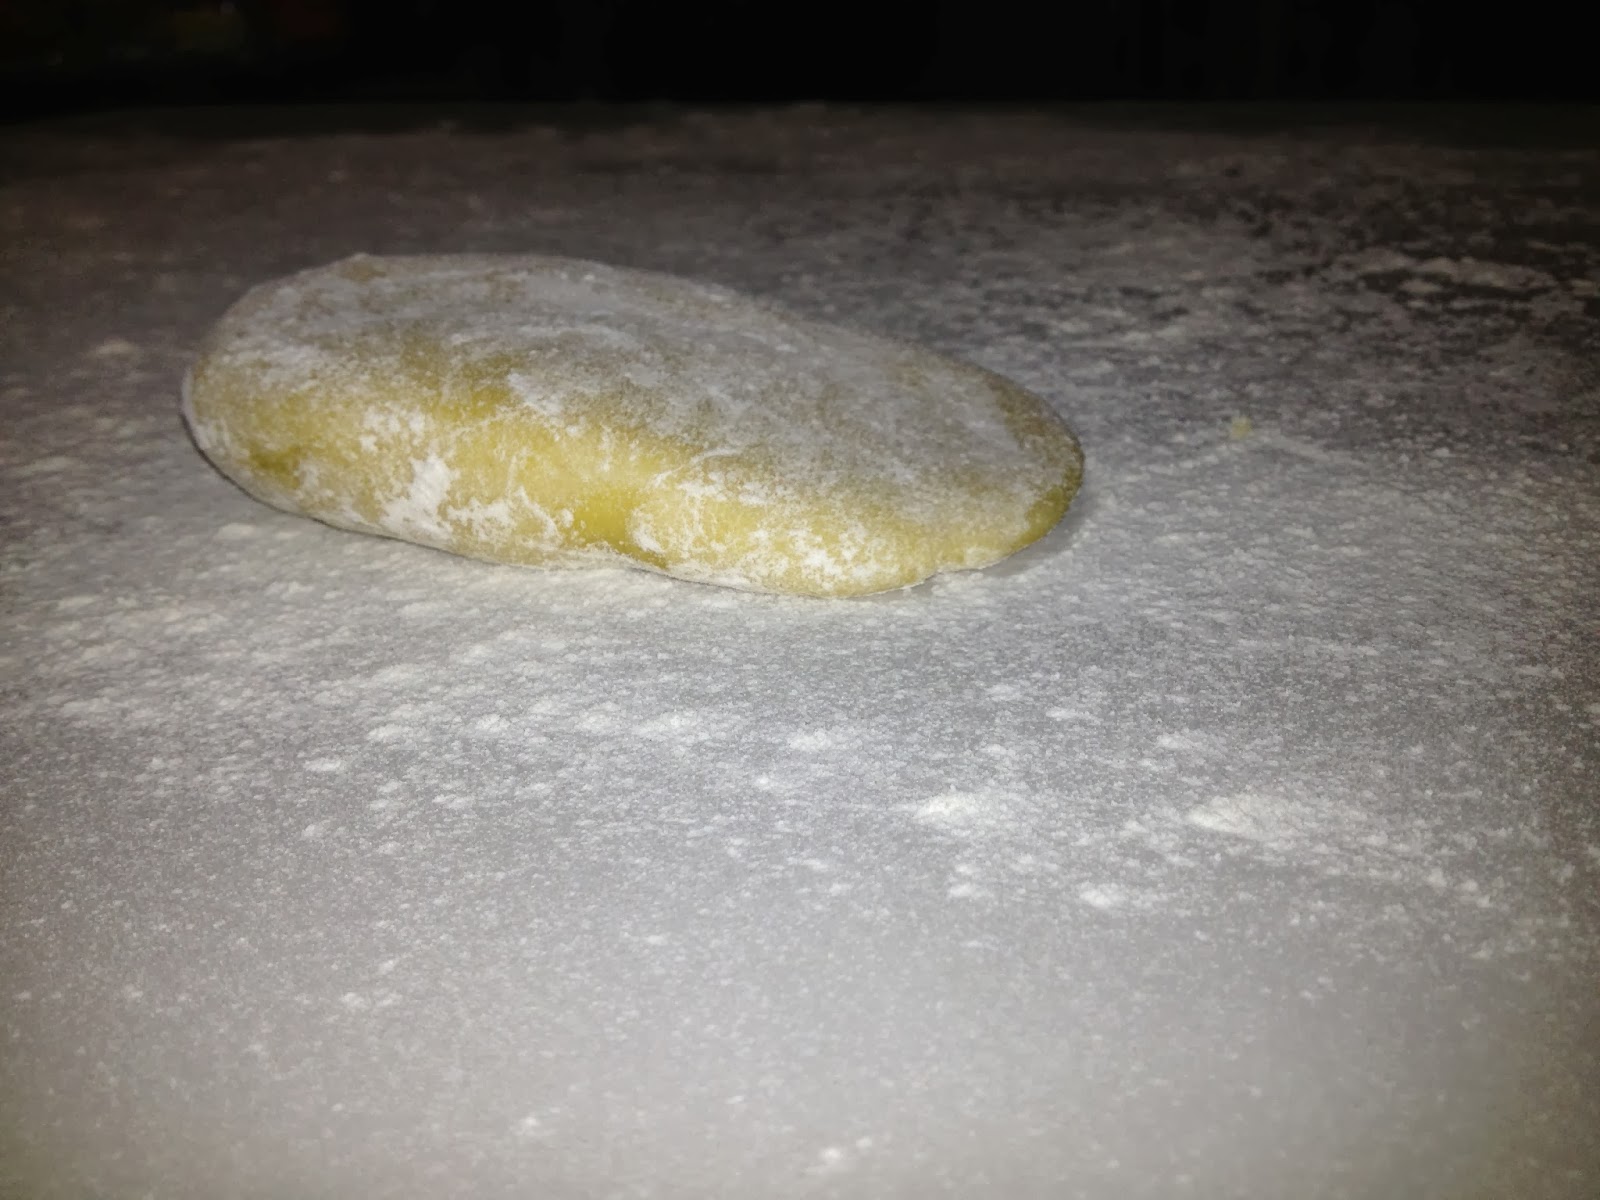
  • Remove to well floured bench
  • Dust liberally on all sides, brush off excess
  • Wrap in plastic wrap, rest for 30 minutes. (Can be refrigerated for up to 3 days...or more)
  • If refrigerated, bring to room temperature prior to moving forward
  • Divide in half
  • Wrap 2nd half in plastic wrap and reserve
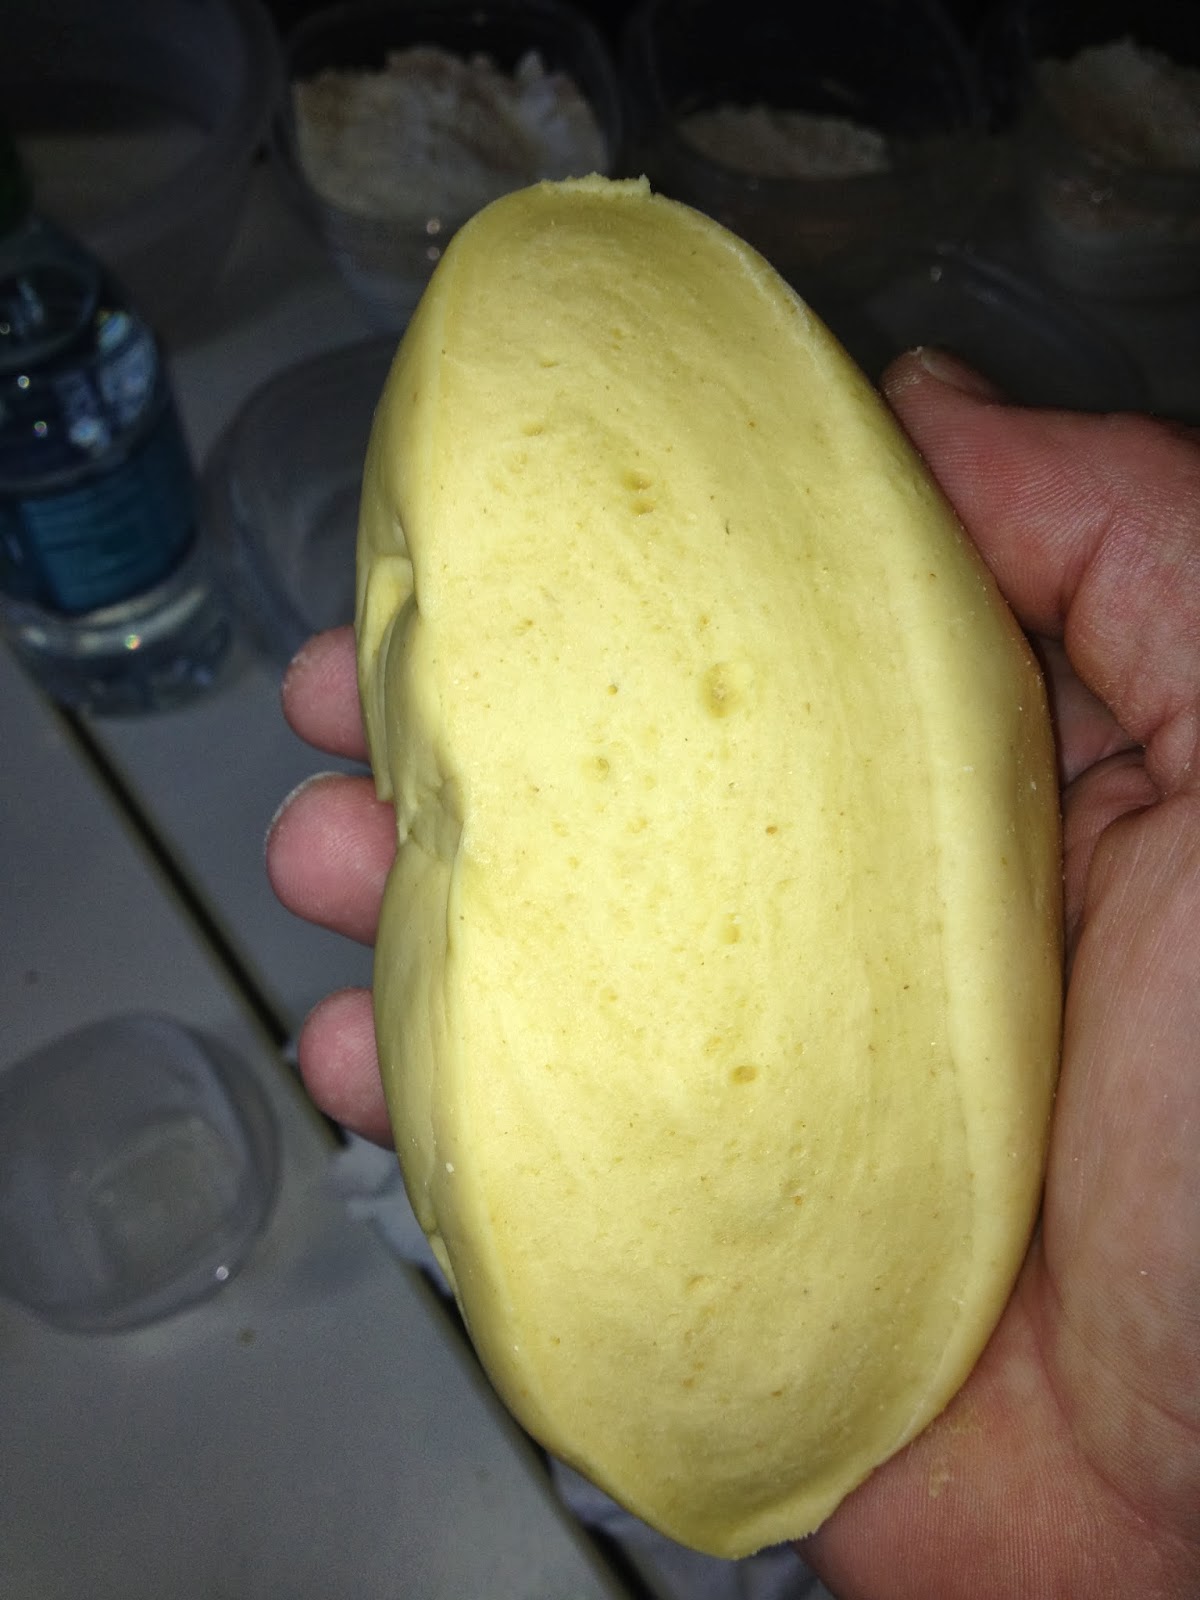
  • With your palm, shape dough into a rough 3"W x 6" L x 11/2" H rectangle


  • Slope one end of rectangle (11/2" down to 1/4"


  • Place into pasta roller angled end first (Roller set on #1)

  • Roll
  • Fold in half, dust both sides liberally with flour


  • Place back onto roller folded side first


  • Roll
  • Fold in half, dust both sides liberally with flour
  • Place back into roller folded side first
  • Roll

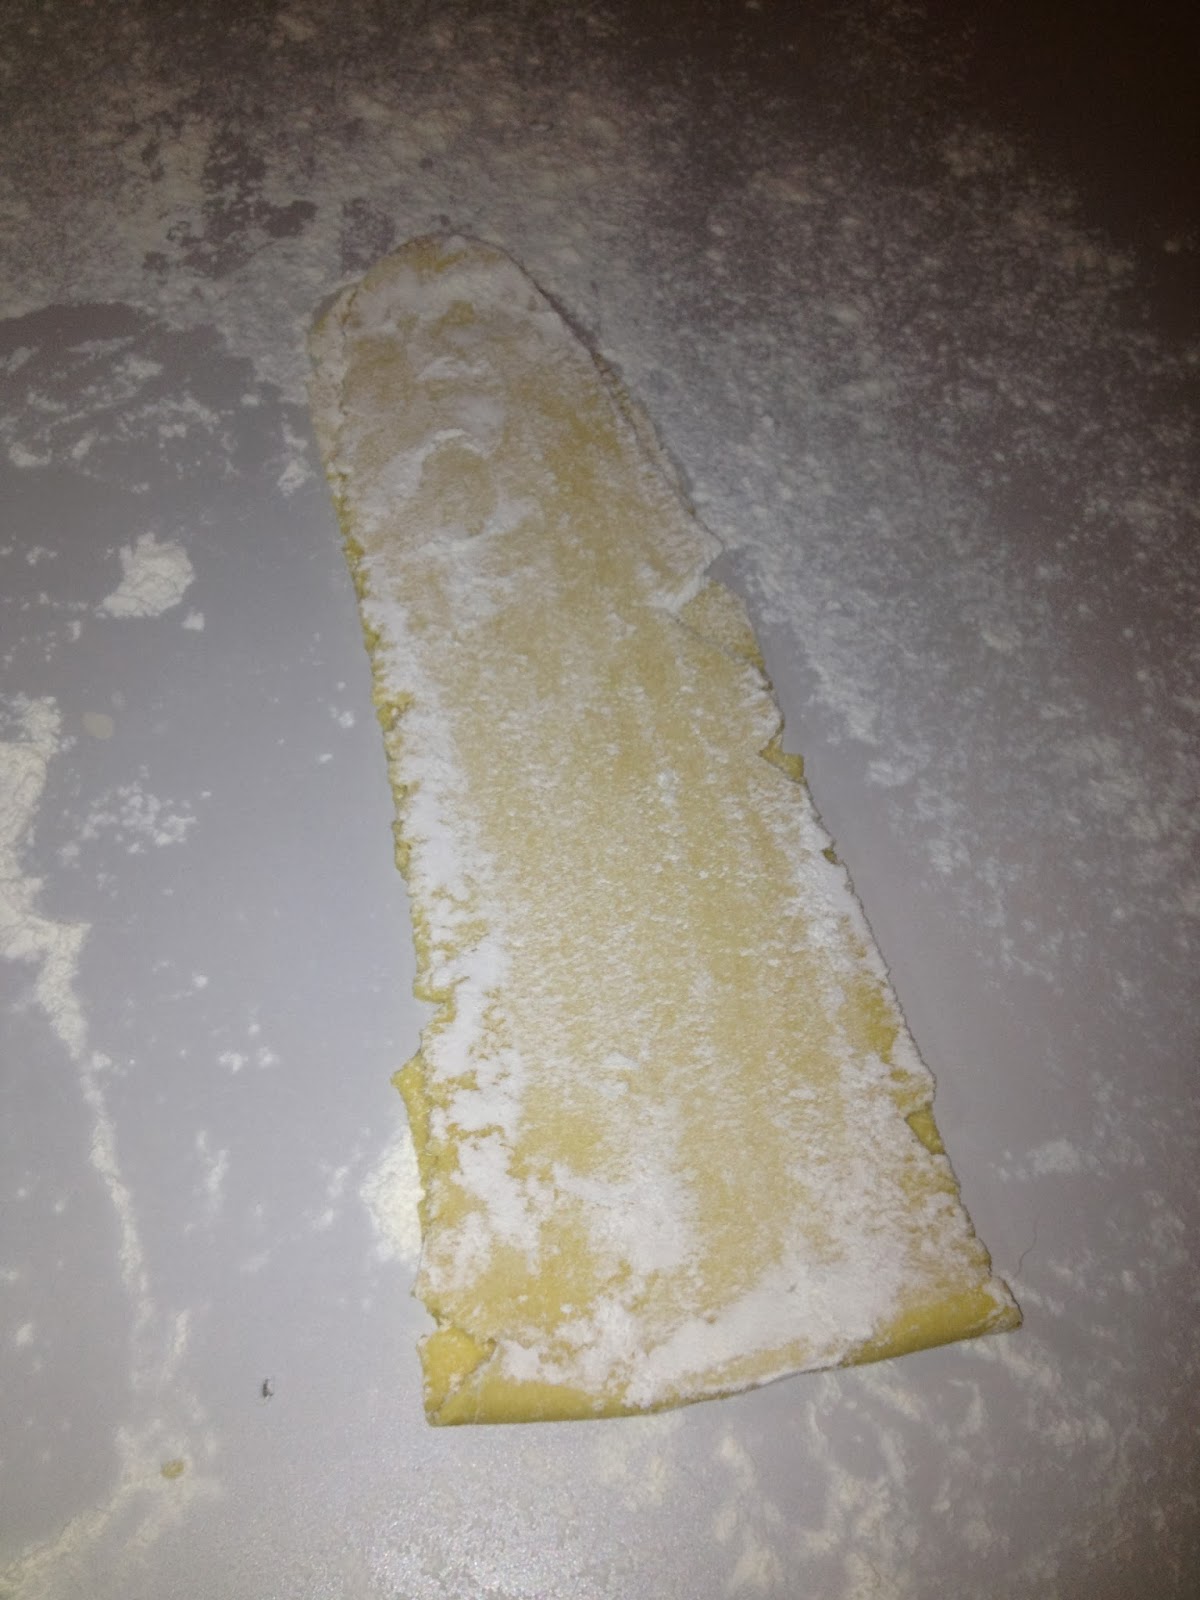
  • Lay on bench, dust liberally on both sides
  • Set pasta roller on #2


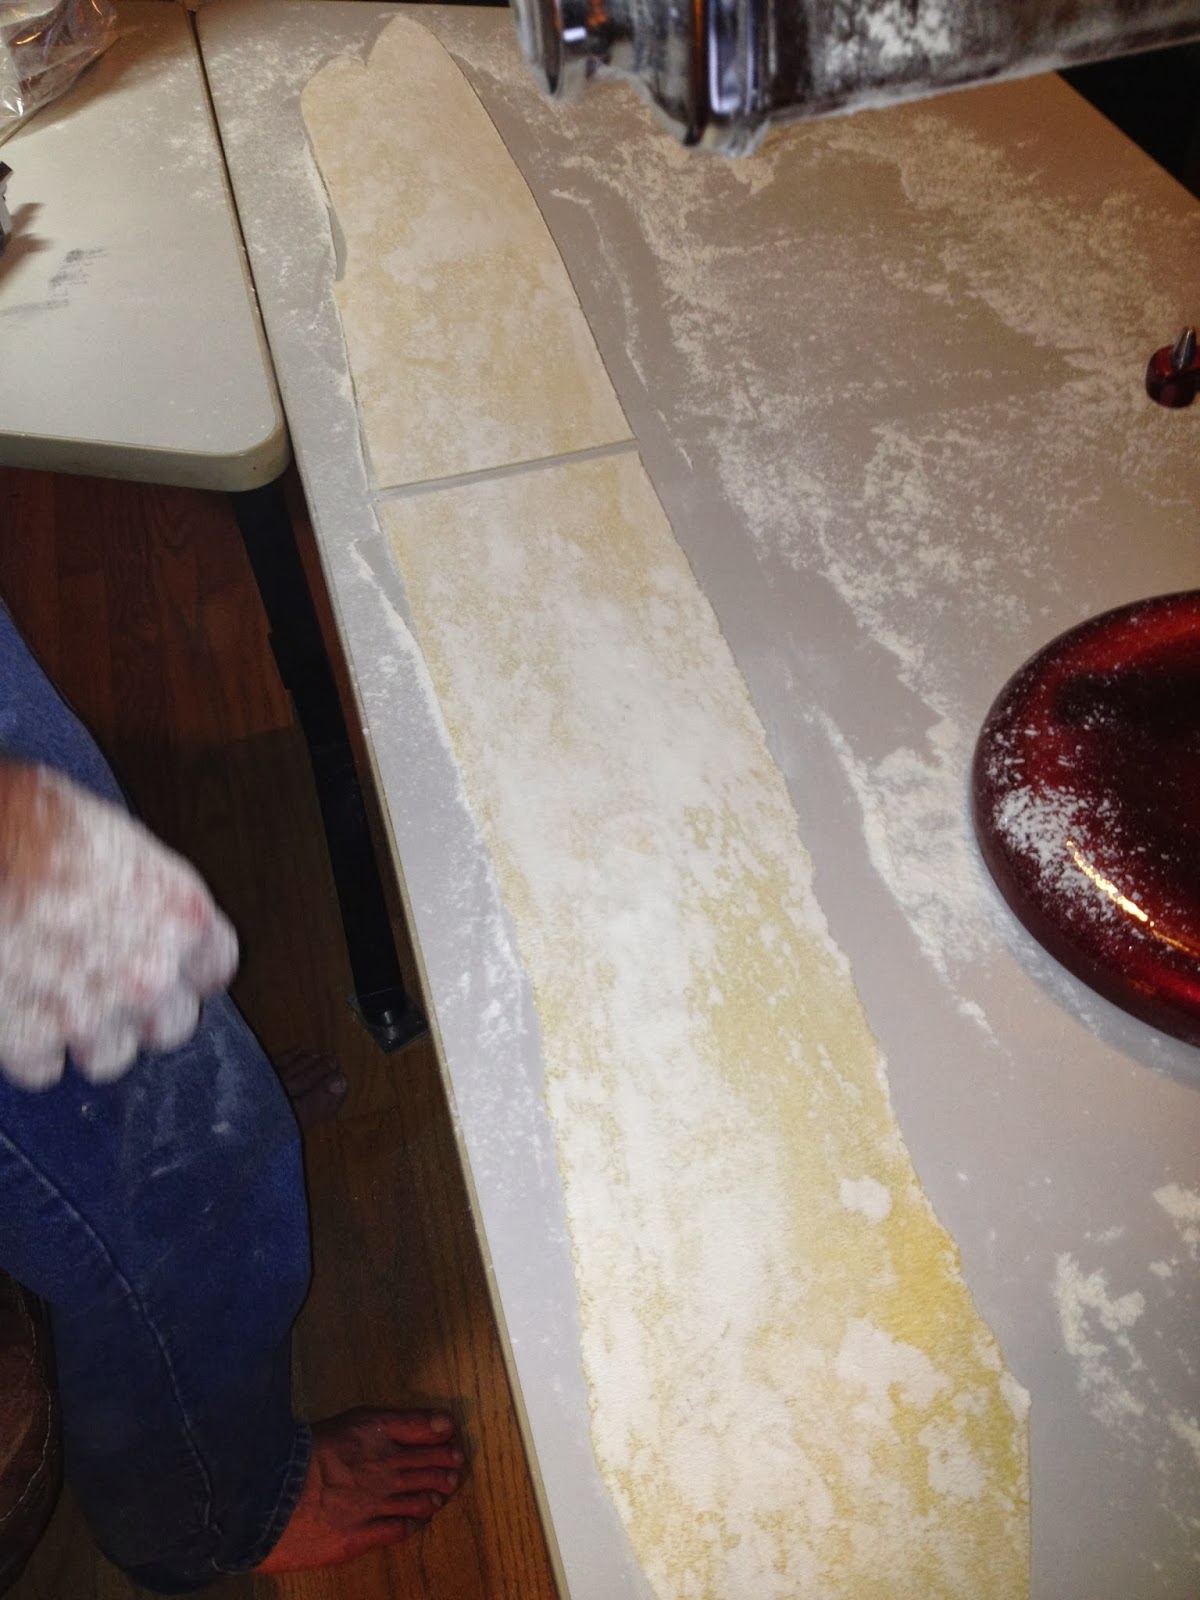
  • Roll (now you must go the same direction into the roller every time)
  • Roll again
  • Set on bench, dust both sides liberally with flour
  • Set roller on #3
  • Roll
  • Roll again (always going the same direction)
  • Set on bench, allow to relax for 2 minutes
  • Dust both sides liberally with flour
  • Roll again
  • Cut length in half, dust both sides very liberally with flour


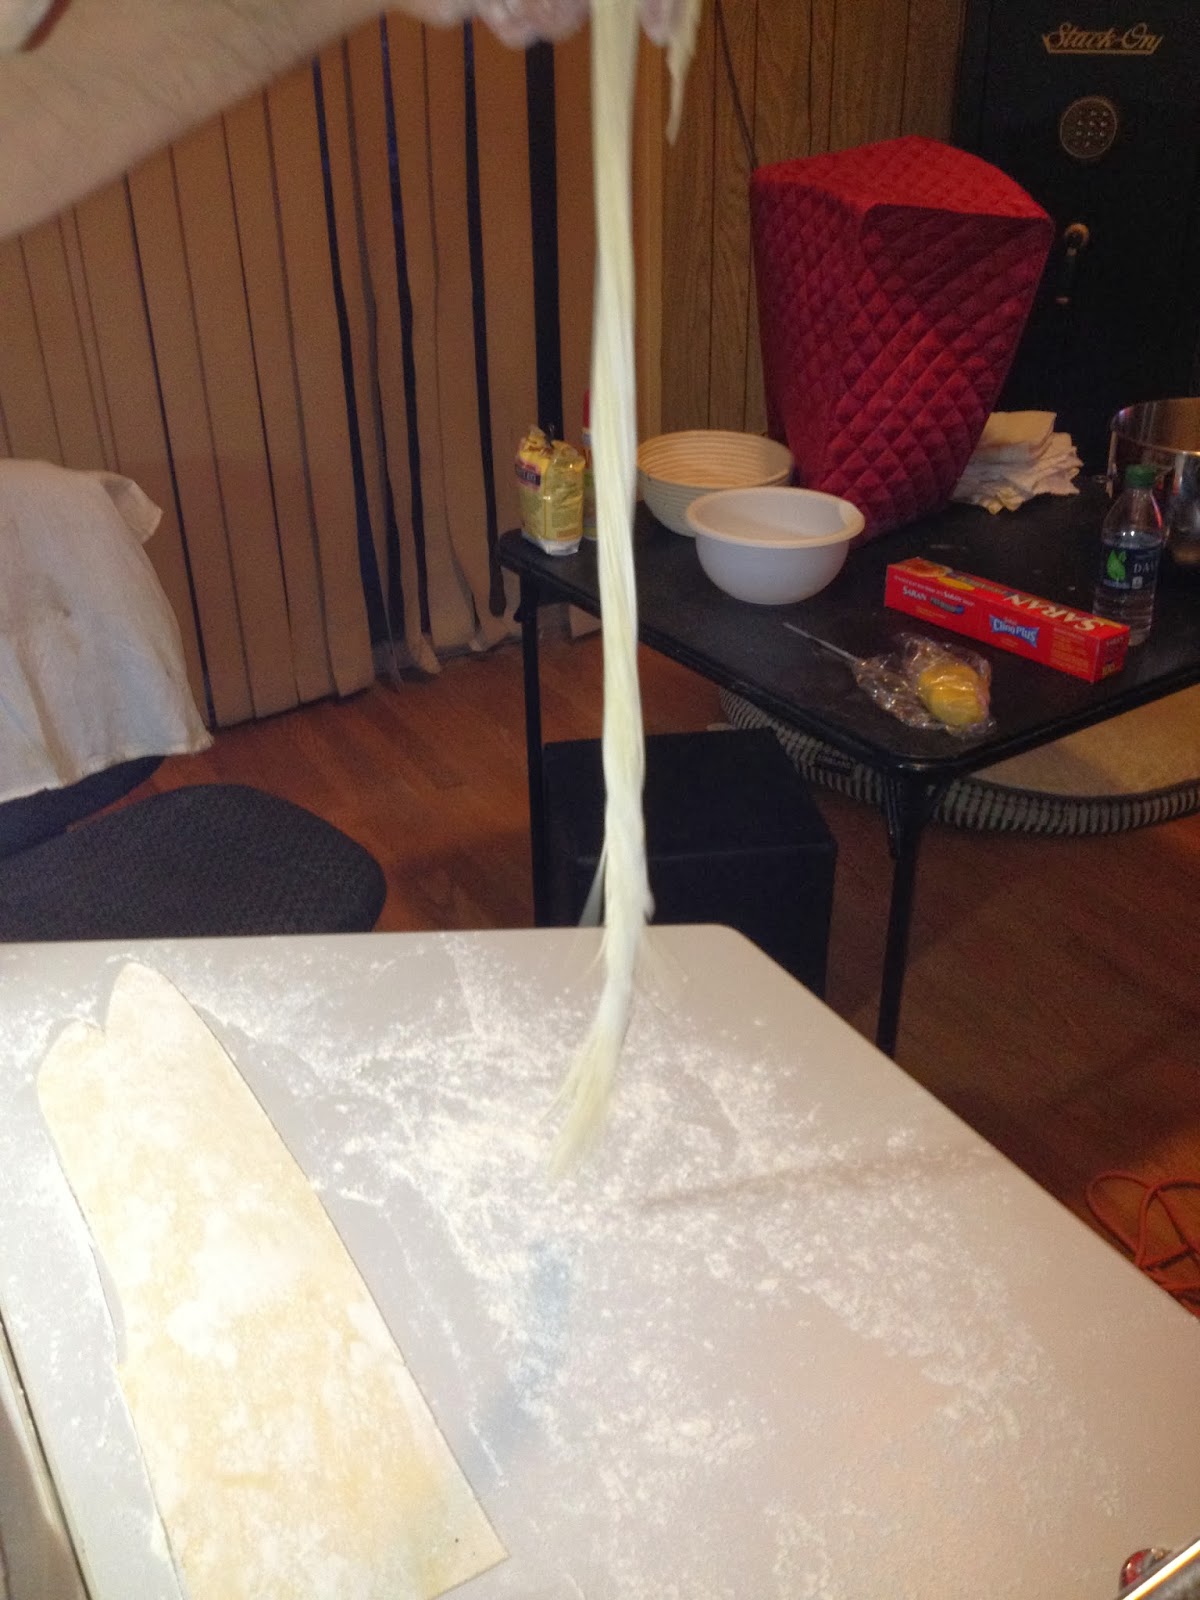
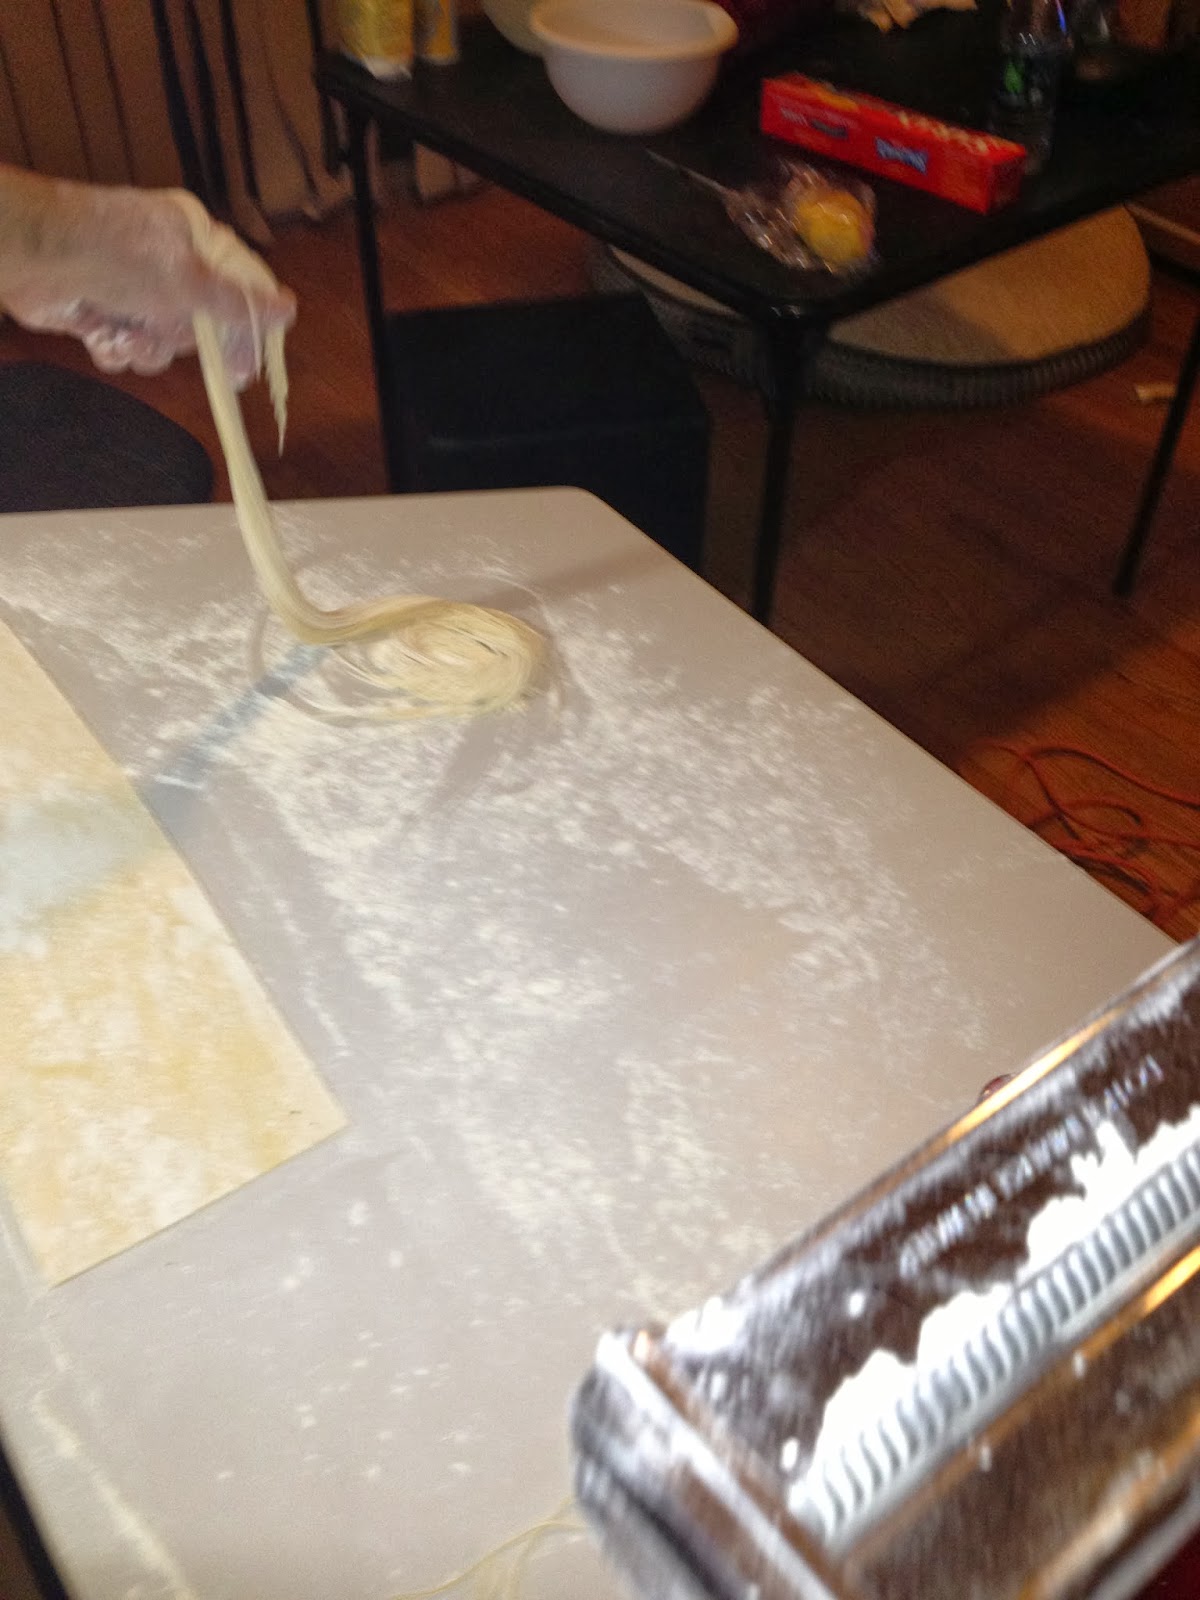
  • Change out pasta roller for appropriate pasta cutter (I used the spaghetti cutter)
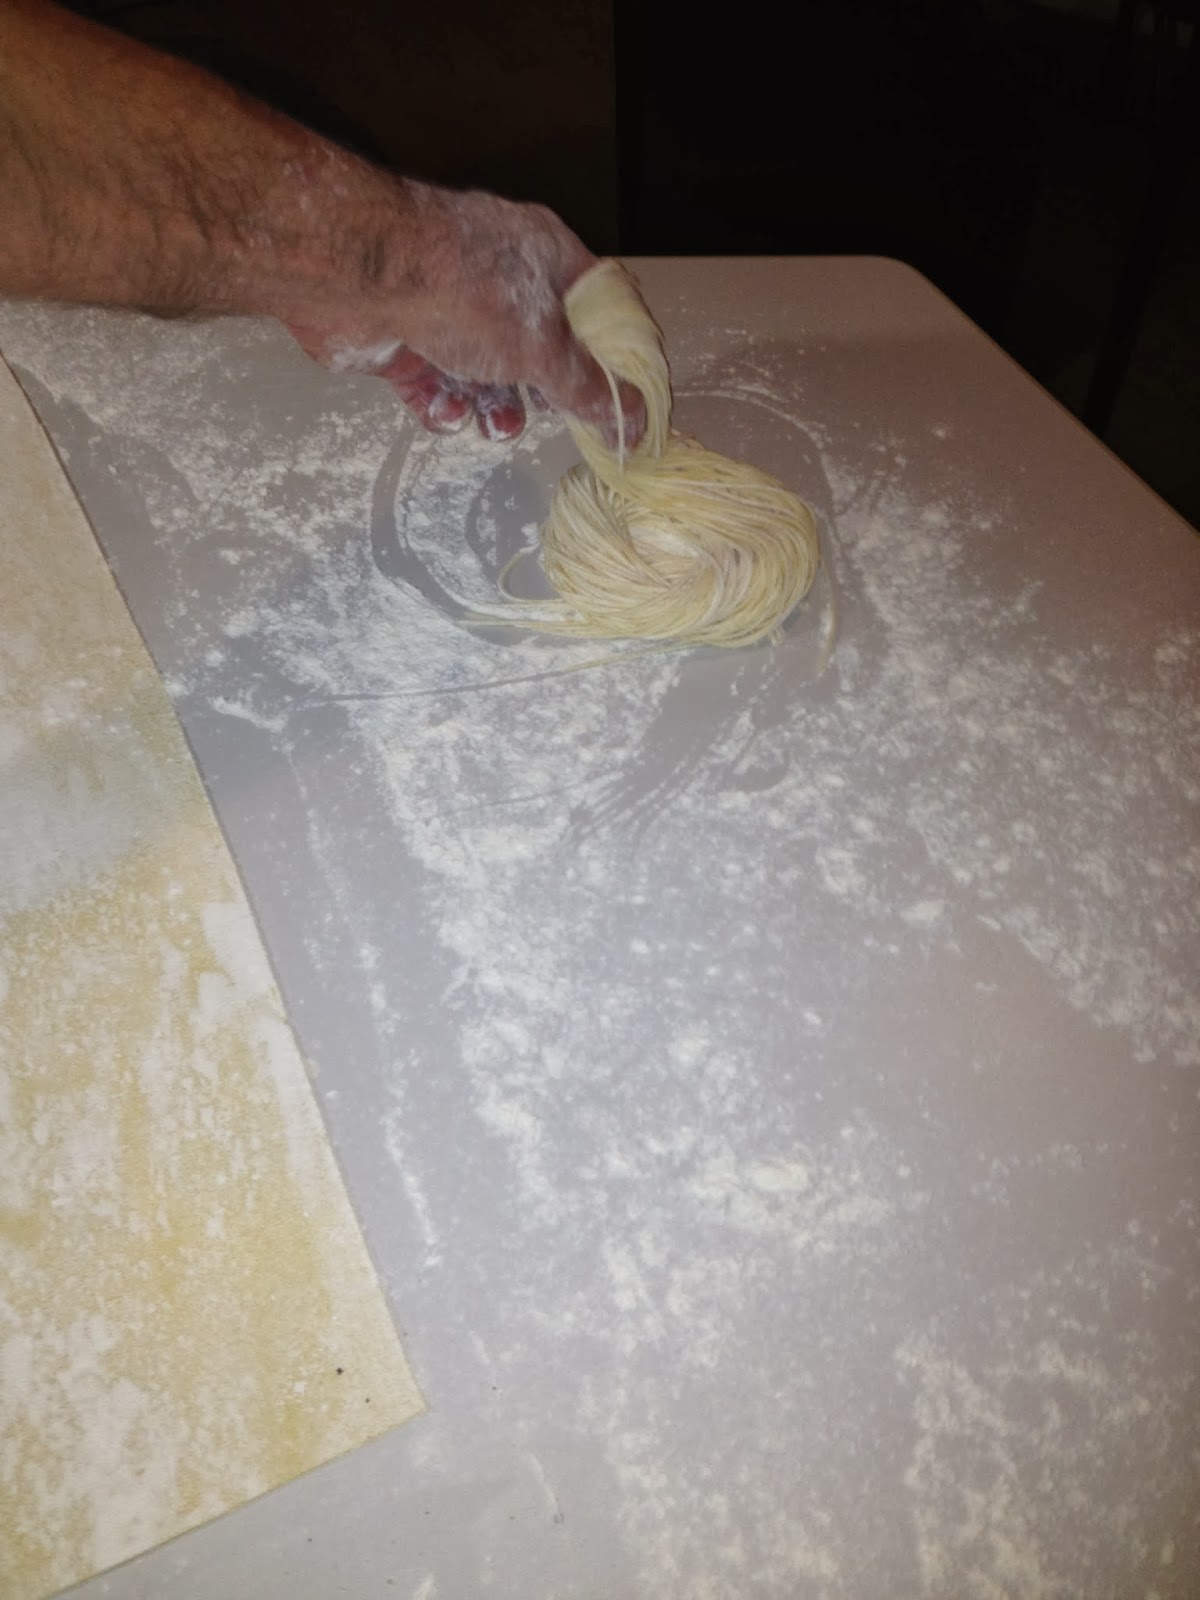
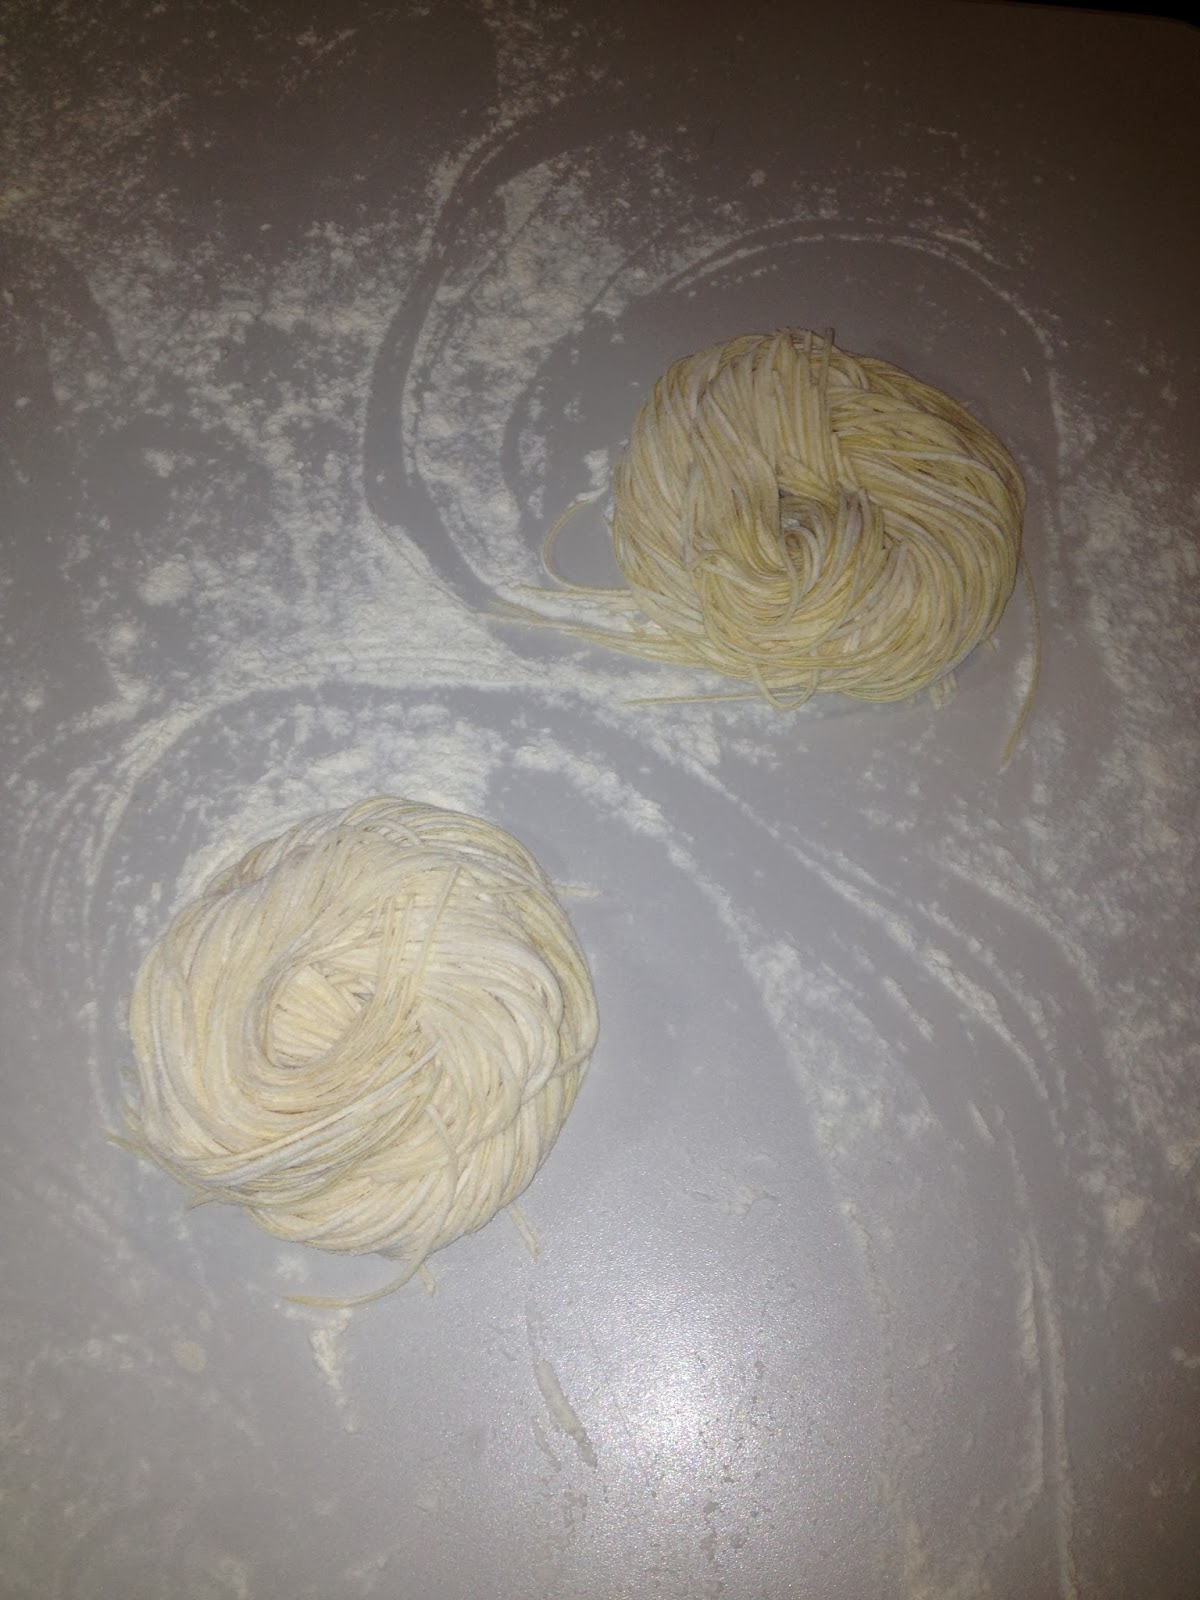
  • Cut posta, turn onto floured bench into "nests"


  • Freeze, place into zip lock bags and store in freezer until ready to use