Showing posts with label Gardening. Show all posts

Sunday, May 6, 2012

Hardening off Seedlings Update- Hard Freeze decimates my warm weather plants


In my previous post labeled "Hardening Off Seedlings" dated April 17, 2012 I stated that I had a cold frame that I could store my seedlings for weeks if need be. Here is the picture of it;
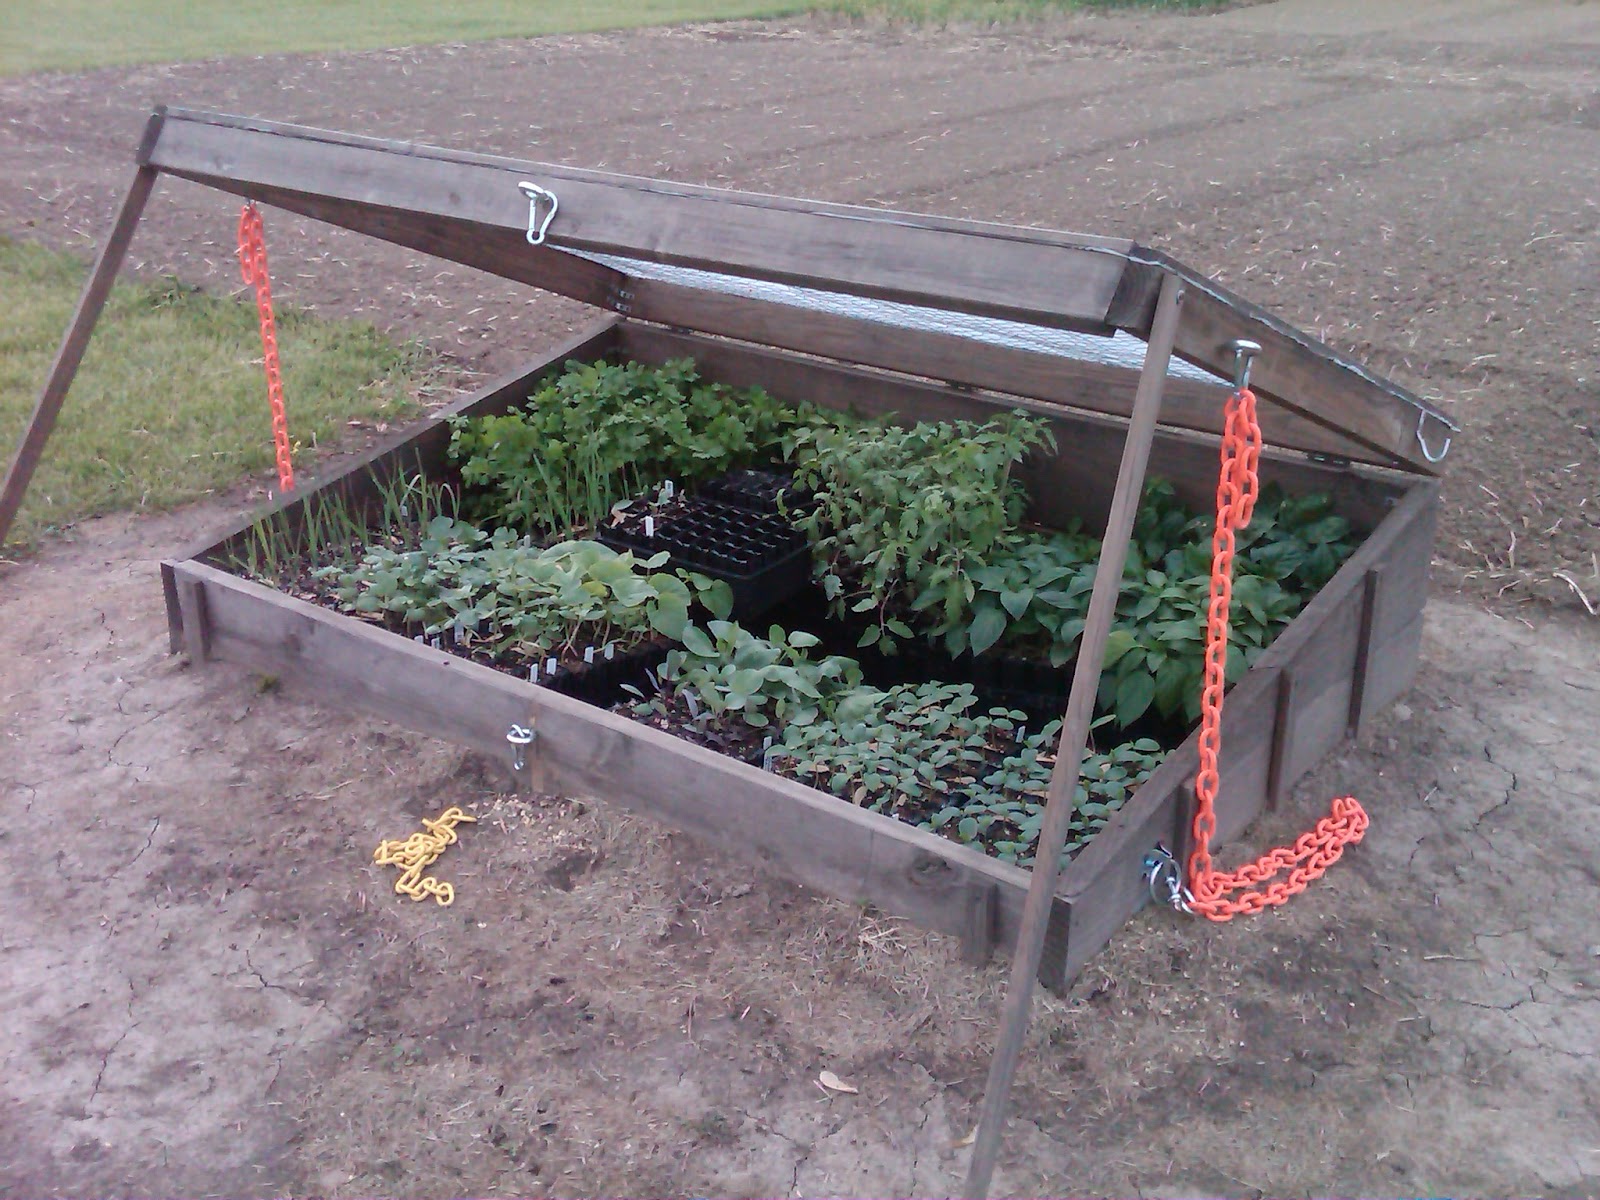


The caption that accompanied this picture in that post was "I can keep then here for weeks if need be. I simply raise or lower the lid as needed." And that was true enough. What I didn't realize and what took a difficult learning experience to teach me was; just like with my frost blankets, frost and freeze if severe enough will damage plants if the plants are touching the underside of their protection. So in other words, for hard frost and freeze protection plants need to have an air buffer between them and the underside of whatever if protecting them from the cold, whether it's a frost blanket that needs to be held up above the plants to allow for the air buffer, or the lid of my cold frame, that needs to allow for an air space between the underside of the lid and the plants. As you can see in this picture especially if you enlarge it, the tomato and pepper plants in the middle back and right back respectively are darn near high enough to be up against the underside of the lid when the lid is closed.

A week after the picture above was taken we got a hard freeze. The tomato pepper plants were taller by then and were definitely up against the underside of the cold frame when I closed the lid that night. The outcome was not pretty;

All my hard work down the drain. Those tomato plants now all brown were 8 weeks old. The pepper plants to the right were 10 weeks old, the cucumbers in the front right were only 2 weeks old, and the melons in the front middle were about 3 weeks old


I believe that the tomatoes and peppers got hit because they were touching the underside of the lid, which is just 4 mil plastic, but who knows. The cold frame is not air tight, there a gaps between the boards, and considering that the cucumbers and melons got hit as well and they were no where near the underside of the lid indicates that the cold simply got into the cold frame in general. However it did, the result sucked.

 I lost almost all the cucumbers, most of the melons. The tomatoes all turned brown yet the thick stem of each tomato plant continued to look like it was alive, the peppers all lost the top most leaves yet still looked like they would survive.

So the lesson to be learned is this;

My pole barn is near my garden, near my cold frame. The barn has electricity, so I figured out how to run a long extension cord from the barn into the cold frame. In the cold frame I attached a series of three work lights to the extension cord, each one plugged into the other, each one equipped with a 100 watt incandescent light bulb. Now granted the threat of a hard freeze is over for the year, and the lesson I learned was costly as far as I am concerned. Allot of effort on my part to grow those now dead plants went down the drain. But I do believe that I know what to do next year to keep this from happening again. The three 100 watt lights will give off just enough heat to keep the inside of the cold frame from getting to the freezing point.

I ended up replanting the cucumbers and melons in my grow room, they are now only two weeks behind schedule, that is no big deal.


The peppers lived and were actually planted this weekend. Here is what they look like two weeks after nearly getting killed by frost;

I am lucky I did not lose my peppers. I would have been hard pressed to replace my peppers, I have ones that you can't by at the local nursery.

After the first rain we got last night

The tomato species that I had planted this year on the other hand are available at local nurseries. So as much as it goes against my grain, instead of starting over with seed, and being 8 weeks behind schedule, I opted to purchase tomato plants. I got the same kinds that I had lost, it's just that I did not grow them.

I have pictures of them, but first it is interesting to note that the tomato plants that got hit by the freeze are trying to make a come back. Look closely at the expanded versions of the pictures below and you will notice the new growth. So given time I think that these would have come back and survived, yet I was not willing to wait.
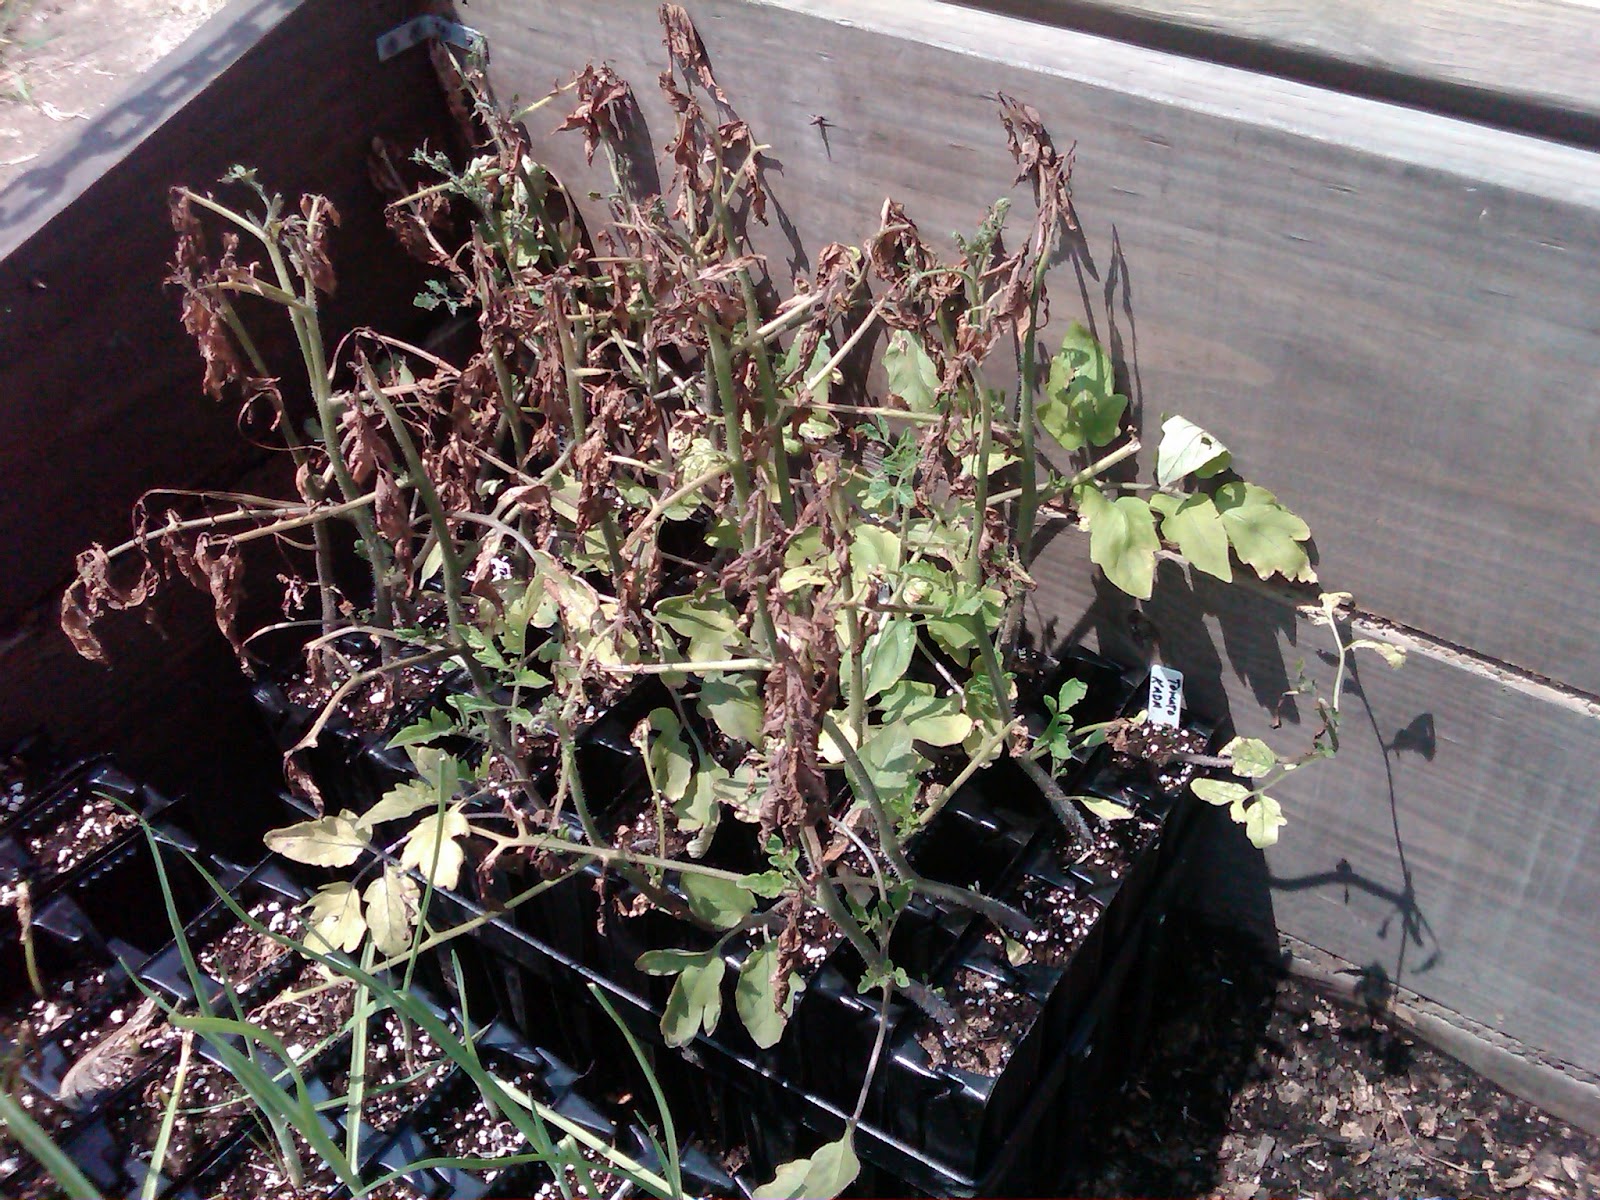


Note the new growth

This is two weeks after the freeze. So they did not die, and they might still produce viable tomato plants. I am not willing to wait to find out


Here are the purchased tomato plants, they also went in this weekend;

This is what my plants should have looked like. It just kills me to use purchased plants


And so the 2012 season progresses. So far as usual my learning has come at a high price. Yet that is the way it goes, nothing is free, nothing worth while comes easy.




Sunday, April 8, 2012

First Seedlings Ready for Garden


Its only April 7th and my Tomato Seedlings won't fit under the lights anymore.


I need my garden to be ready soon, or I need these tomato seedlings to stop getting bigger!
 
Tomato seedlings are only three weeks old

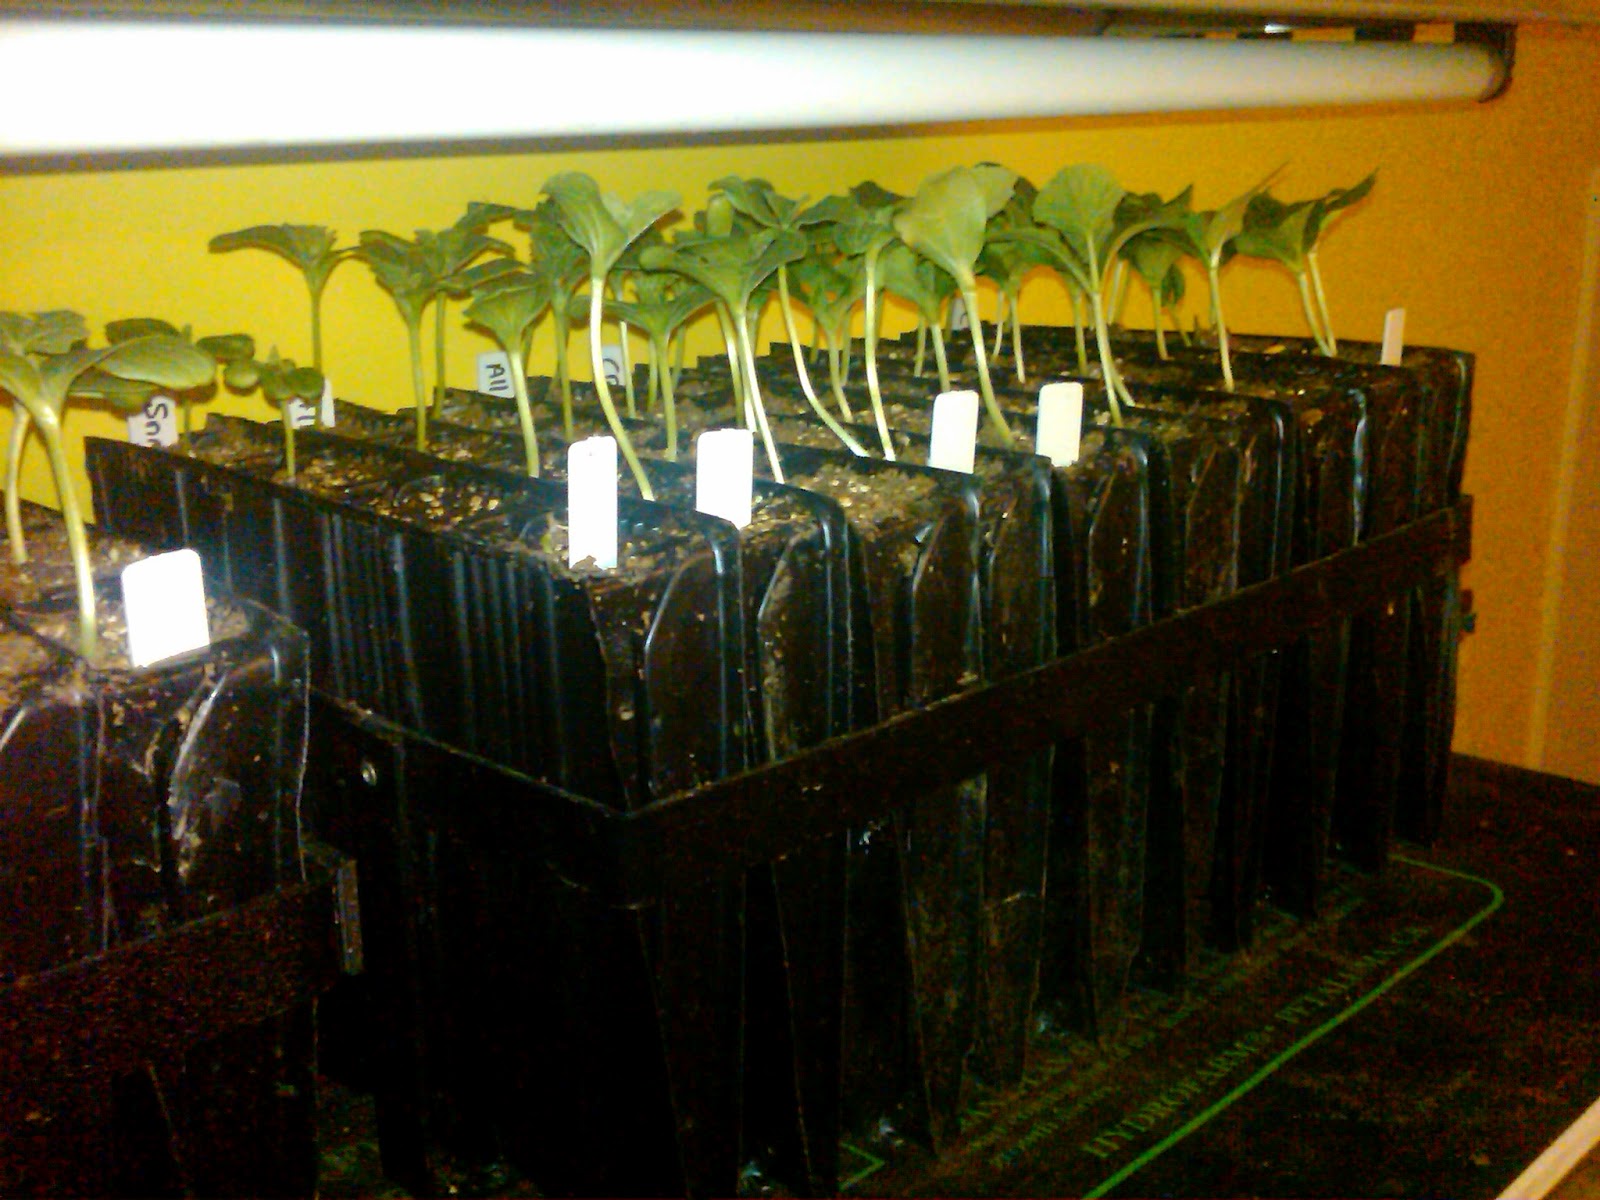
Watermelon seeds started to germinate in only 3 days again this year. There is no seed I know of that germinates that quick


One week old watermelon


Watermelons grow so well indoors. I wish you could have your whole garden indoors, no bugs to wage war against, no wind damage; I need to build a Bio-dome.

Peppers still showing no signs of TMV. The result of following my rules without exception.

 
Leeks need a haircut again

Celery outgrowing Grow Station
Celery and Tomatores


Celery, Tomatoes and Cabbage

Grow Station Heating Mat Timers

Grow Station Power setup


We had Frost and Freeze this week. The strawberries are already producing flowers. And the flowers are tender, they will not tolerate any frost or freeze. Here my whole strawberry patch is covered with a frost blanket


Let it freeze, I'm ready.


Garlic and Shallots covered just to be safe

This weekend, its time to plant Cuccumbers

Saturday, March 31, 2012

End of March Garden Update

Well the seedlings are coming along nicely. It's the end of March, So were now two weeks from the 1st of the seedlings going into the ground. Now it's time to plant watermelons.Watermelons have a special place in my heart, so I have accumulated a fair amount of information on how to grow them from seed.

Sow indoors in late March or one month (no sooner!) before transplanting outdoors when the weather is frost-free, warm, and settled. Plant about 1/4" deep. Keep temperature 80-90°F (27-32°C) until germination. The seeds need constant warmth, again 80° to 90° for 5 to 10 days to germinate well. For seedless varieties this need is greater. Handle young plants carefully and never let the soil dry out. Grow seedlings at 75°F (24°C).  Once they are up and growing, fertilize the seedlings with diluted fish emulsion twice a week, using a 1/2 - 3/4 strength solution. Reduce water and temperature for a week before transplanting during the hardening off process.

After the threat of frost is over and only when the outside soil temperature is at least 60°F, transplant. To help heat overly cool soil, try using black mulch under the plants. Remove this prior to summer or add topping of hay/straw mulch to keep soil from getting too hot.

Even hardened melon seedlings are tender! Large melon seedlings transplant poorly. Do not disturb roots when transplanting, and water thoroughly.Transplant into hills or rows. Set transplants, 18" to 36" apart  apart in groups of 2-3 if planting in hills depending on how large your watermelons will become. They will require more space to grow the larger the species at maturity. Space hills 3'-4' apart each way. Set transplants 36" to 96" apart if planting in rows, again depending on species. Southern exposure and sweet, light, well-drained soil is ideal. Good soil moisture is important in early stages of growth and during pollination when fruits are setting. After this point do not water unless the soil is very dry and leaves begin to show signs of wilting in midday.

 After mid June add mulch, not before. Also melons do not need high nitrogen. You want to try to promote simultaneous fruiting on the same plant. If one fruit starts on a plant and then some time later another starts on the same plant, the 1st larger fruit will suck up all that plants nutrients, and the smaller 2nd fruit will suffer. So if two fruits set at the same time I allow both to grow, if two fruits start one behind the other, I pinch off the 2nd one. I also pinch off all but 2 melon per vine. Feed every 3 weeks with low nitrogen fertilizer. Again here I use a fish emulsion foliar. Foliar feeding is a technique of feeding plants by applying liquid fertilizer directly to their leaves. I add it when I water. More on how I do that when we reach that point later in the season. I have a wonderful tool that allows me to add liquid fertilizer during watering.

Cucumber Beetles: These things are "demon spawn" as far as I am concerned. They have decimated my Curcurbit crops before. They munch on the young seedlings, they suck the juice from the young plants. When the transplants first go into the garden, I have started to cover them with insect fabric. I use Agribon AG-15, 0.45 oz Frost Blanket (9'10" X 250'), this is a great product. It is a super lightweight fabric (0.45 oz/sq yd) and is especially designed to protect vegetable crops from insect pests. Made of spun bonded polypropylene fabric.  It lets 90% of the sunlight pass through. I keep the young seedlings covered until they begin to flower. At that point they are larger and have a chance to fend off the dreaded beetle's onslaughts. Once I remove the fabric, I then fall back on the only recourse that I have found that will keep the beetles at bay, Seven Insect spray. I know it's not organic, but I have tried all the organic sprays, the beetles just laugh at them. They have not worked for me. Seven is the only thing I have had success with.  

Some melon types, like Honeydew, Charentais, Canary, Spanish, and Crenshaw are overripe by the time the stem can be tugged from the fruit. These must be cut from the vine.

This year I planted:
Large Watermelon - AllSweet and Moon and Stars
Personal Size Watermelon - Burpees Snack Pack
Crenshaw - Burpees Hybred Crenshaw

Last year I had watermelon germination after only 3 days. We will see what happens this year.


Update on other seedlings:

Celery at 6 weeks


Another picture of celery

 
Peppers at one month

Tomatoes at one month

Cabbage at one month

Perennial Update:


Horseradish


Asparagus, it turns out asparagus is one of the earliest of spring crops. I did not know that. The date of this picture was around the 15th of March. This is one year after planting the crowns.


Strawberries, this is about one week after removing the winter hay protection. And it is one year after planting the crowns. I should see my first crop of strawberries this summer, can't wait.


Matted rows of strawberries


Garlic on the left, Shallots on the right. This was a very windy day, that is why they look blown over.


Wind blown shallots


Wind blown garlic

 Winter Rye Cover Crop:

Winter Rye cover crop. This is destined to be tilled into soil.


Monday, March 19, 2012

80's in the Middle of March!

Week of March 12th and we hit 80° twice, unbelievable weather. Were not supposed to see this kind of heat for another 45 days. Should be planting peas, potatoes, and onions, but I haven't even tilled the garden yet. My seed potatoes and onions aren't even scheduled to arrive for another two weeks. Still have too many non-garden chores I am trying to finish up before full on garden season begins. So this "Late-May" type weather is killing me. I'm simply not ready for it yet. What makes it worse, is that I am convinced that we will not see frost again this year. If I was ready, I could have vegetables in the ground a whole month early. Wouldn't that be grand. But alias I am not ready, and everything in due time.

The garden itself is definitely showing signs of life. I have uncovered the Garlic and Shallots as well as the Strawberry patch. The hay I used to protect them all winter was beginning to deteriorate underneath, so I felt it was import to get it off the plants before they to began to suffer from the hay rotting on top of them. The garlic and shallots seemed no worse for the ware, but the strawberries were beginning to be adversely affected. They lost about 10% of their previous fall growth. As this is my first year with them, I do not know if this is normal, or if using straw instead of hay would have been a better choice.


Strawberry Patch with winter hay protection

Garlic and Shallots with winter hay protection removed. Remember, if you are going to grow garlic and shallots, although you grow them as annuals, they must be planted in the fall. Over the winter months the ground freezes and then thaws over and over. They require this freezing and thawing to "bulb".

Shallots

Garlic


Horseradish will reproduce for thirty or more years. It can be planted in the fall or spring. The initial root you plant is about 8" or so long and about as thick as a pencil. I planted mine last spring, so the following are what they look like after one year.


Erosion over the winter exposed the tops of my horseradish. That allowed me to see how they are doing which is great. I covered them all after inspection, as I do not think it is a good idea to allow the tops to be exposed long term.

I actually dug a small piece up and made cocktail sauce with it. It was wonderful. I plan my first major harvest this fall.


Winter Wheat cover crop in main garden. I will till this in when it reaches about 8" high in another two weeks. This help add structure to the dirt

Seedling Progress


Seedlings are doing well, have all but melon, cucumber and pumpkin going. The following are pictures of my current seedlings:

Celery right as it was beginning to germinate back in early February. One of the harder vegetables to get good germination from. They're finicky, my strategy for them is to put the seeds in the freezer four weeks before I plan to plant them. This is called, stratification, it simulates "winter" for the seeds. Celery seeds seem to respond to this method. When I am ready to plant, I allow the seeds to come to room temperature, and I soak them in water overnight. After, I strain them with a coffee filter, then make sure that when I plant the seeds, I do not allow them to go below the surface of the soil medium. Celery seeds absolutely need light to germinate. Then as always, I cover with plastic wrap until most or at least some have germinated. The plastic wrap provides a sufficiently humid environment for the seeds to germinate. Then I remove the plastic wrap and just let them do their thing.


Celery now at 4 weeks. All they need  now is sufficient water and plant food. As ancestral Celery were marsh plants modern Celery needs to be kept constantly damp. Note I said damp, not wet. They are also heavy feeders, needing rich soil more so than most other vegetables. In another week, I will begin to mix a little fish emulsion into the water. I have found that as a plant food, fish emulsion works for me.


Leeks planted back in early February, at the same time as the celery. Now four weeks later, they need only water and a hair cut once a week. I keep them trimmed to 4" to 5" until it's time to transplant for two reasons, one I need them to fit under my lights, two I believe that doing so, results in a healthier, thicker leek.


After this weeks hair cut.


Cabbage at only one week. One of the easier vegetables to grow from seed. Just plant and water. Cover with plastic wrap until they germinate.


One week old tomato seedlings. Not 100% germination yet, but getting there.
Tomatoes:

Cover the seeds, they germinate better in the dark. Keep the soil temp as close as possible to 80° for prompt germination. Keep as near as possible to 60° after germination. Chilling to induce early bloom often works well, but it must be done early, when the first true leaves are opening up and the plant is only about 1 1/2" tall. Night temperatures of 50°-55° for two to three weeks are usually effective. Do not set out before reasonably sure that it is past the last frost. Bury tomato plants parallel to the soil surface, right up to the top tuft of leaves. dig a long shallow trench, not a deep hole, that is too cold for roots. Need an ample supply of potash and phosphorus. Dig in rock phosphorus and bone meal before transplanting. Avoid too much Nitrogen. Add Nitrogen at bloom by adding diluted fish emulsion. After mid June add mulch, not before. For staked plants prune suckers that appear in the leaf axils. Do not smoke around tomato plants. Try to use black mulch under plants. Remove prior to summer or add topping of hay/straw mulch to keep soil from getting too hot.

Tobacco Mosaic Virus- Do not plant Tomato and Pepper seedlings in the same bed. Spray seedlings with skim milk to lowers the PH on the surface of the leaves so they are less susceptible to mildew and viral infections.

Tomatoes are subject to Tobacco Mosaic Virus just like Peppers. Adhere to the preventative measures set forth in the previous post entitled Peppers and Tobacco Mosaic Virus.

Peppers after two weeks. I think that peppers are one of the hardest seeds to get to germinate. I still don't have 100% germination. I hope in another week, the remaining seeds will germinate.

Pepper seedlings, I added this just because I thought it was a cool picture.

So that is it for now, I have melons, cucumber and pumpkin to plant in coming weeks. The 1st of the seedlings will go into dirt a month from now.