My Sourdough has come a long way since I began to endeavor to learn how to do this. I think the main progress has been creating a Sourdough Starter that is healthy and active.
http://kdwonders.blogspot.com/2012/04/sourdough-starter.html
This recipe was my first to consistently work for me. It still amazes me that the wonderful bread that results is nothing more than water, flour, and salt.
I have learned that I can use this recipe as a foundation, I can use all bread flour, use half white and half whole wheat flour, change it into a Rye bread recipe with the proper percentages of Rye to First Clear flours. add honey, sugar, molasses and/or butter.
The most important thing I want to convey, is that this bread recipe; one that uses a natural leaven rather than commercial yeast; one that lists the base ingredients needed to produce a lean pure sourdough can be modified in many ways as long as you hold true to the bakers percentages in the recipe. For instance if you want to use all white flour, do so just omit the Rye flour, adding an equal amount more of white. If you want to add a sweetener, add honey at the same percentage as used in one of my earlier bread posts that has honey. Same goes for butter, if you want a softer loaf, add butter at a percentage equal to one of my earlier bread posts.


TWF: 602.5
Hydration: 70%
Dough:
Water - 331g - 55%
White Sourdough Starter - 100% hydration - 181g =
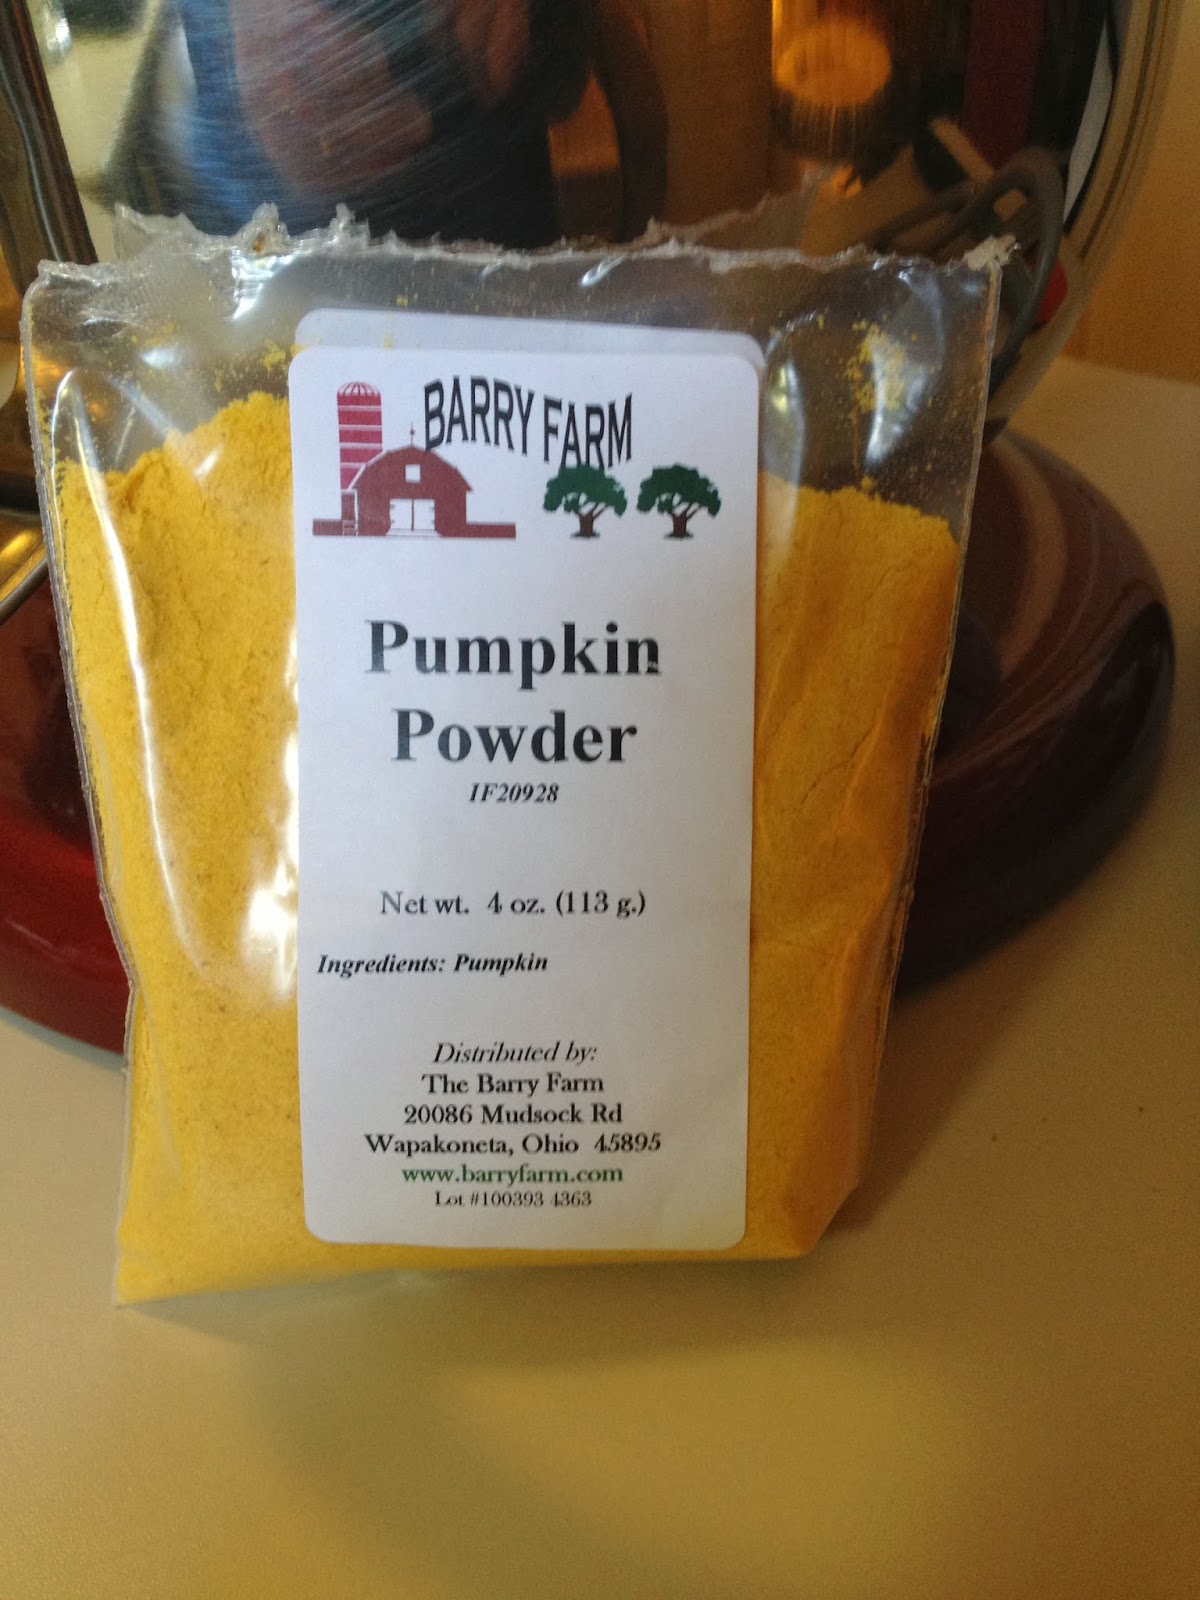
Hodgson Mill Old Fashioned 100% Stone Ground Rye Flour - 60g - 10%
Salt - 15g - 2.5%
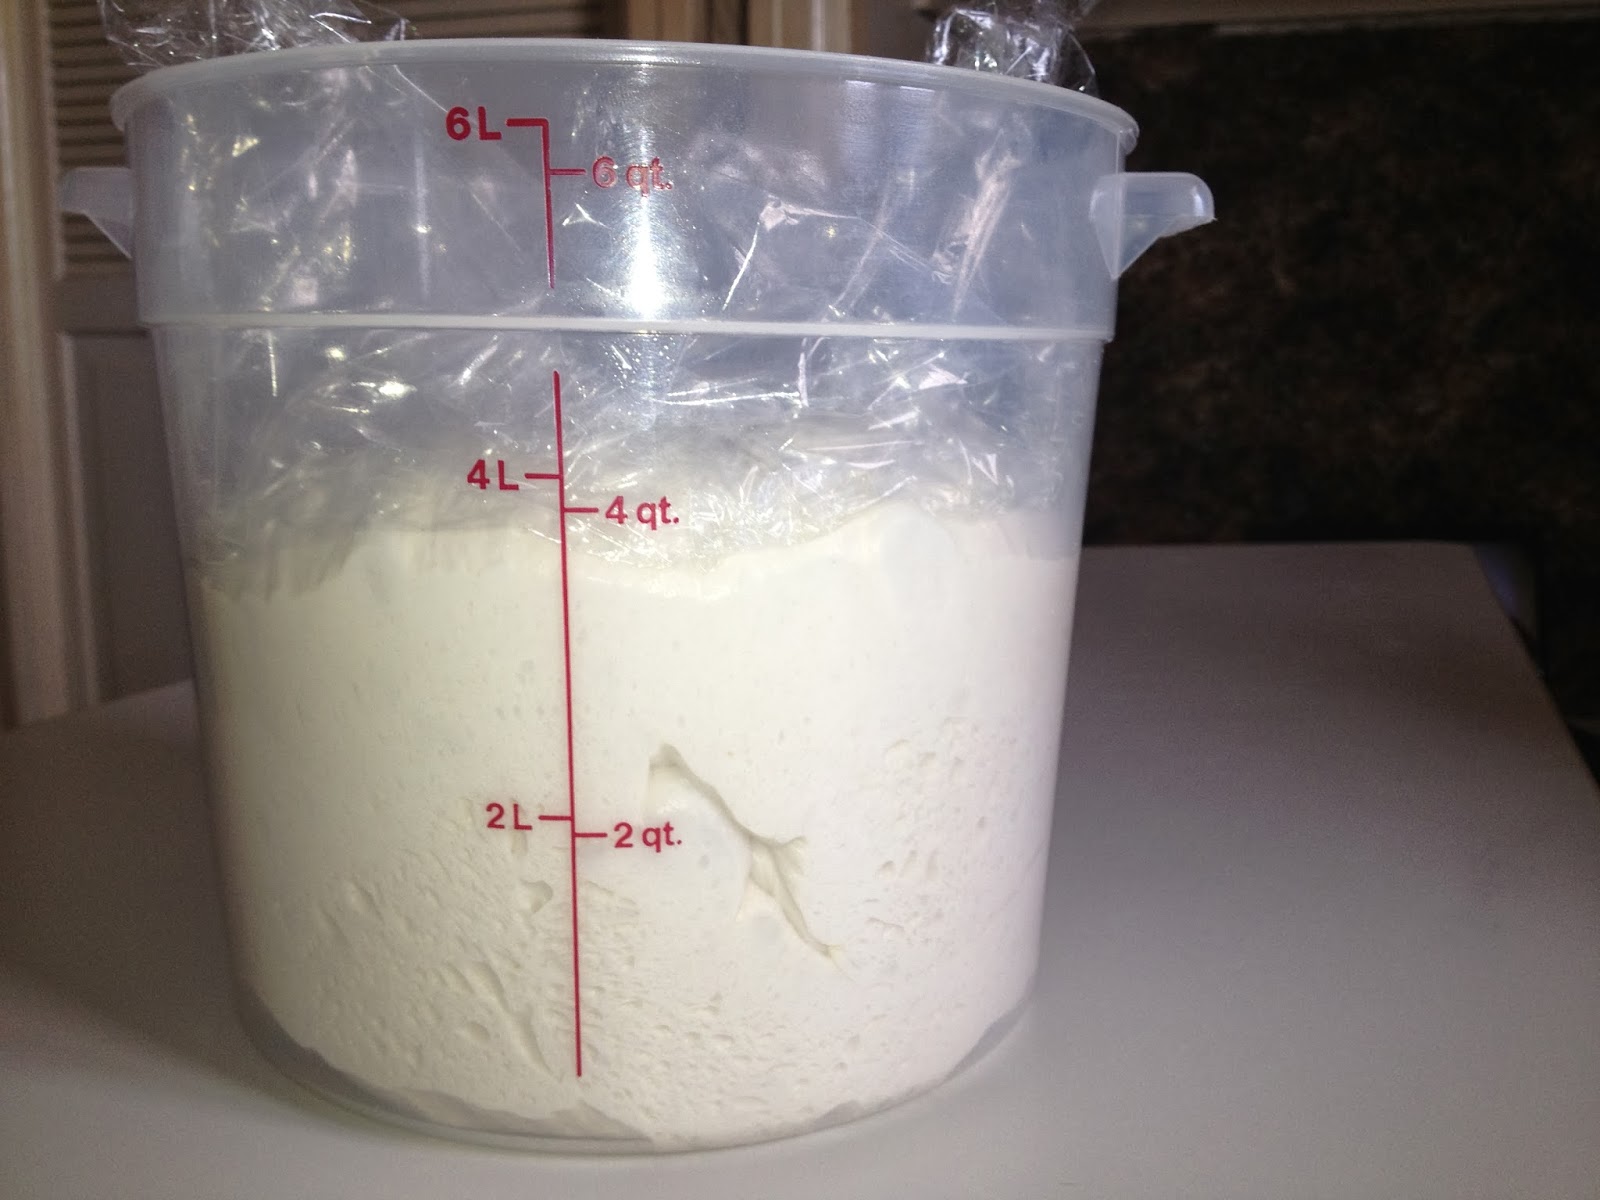
Note: A healthy active starter is one that rises predictably when fed. That means when refreshed with flour and water it will at least double and better yet triple or more within a predictable time. How long that takes can vary from 4-12 hours depending on many things not the least of which is temperature. Between baking's, it can be kept in the refrigerator. I typically bake on the weekends, and to prepare for a Saturdays baking, I remove the starter and feed it on say Thursday evening, feed again Friday morning and Friday evening. By Saturday morning its fully risen and bubbly.


http://kdwonders.blogspot.com/2012/04/sourdough-starter.html
 |
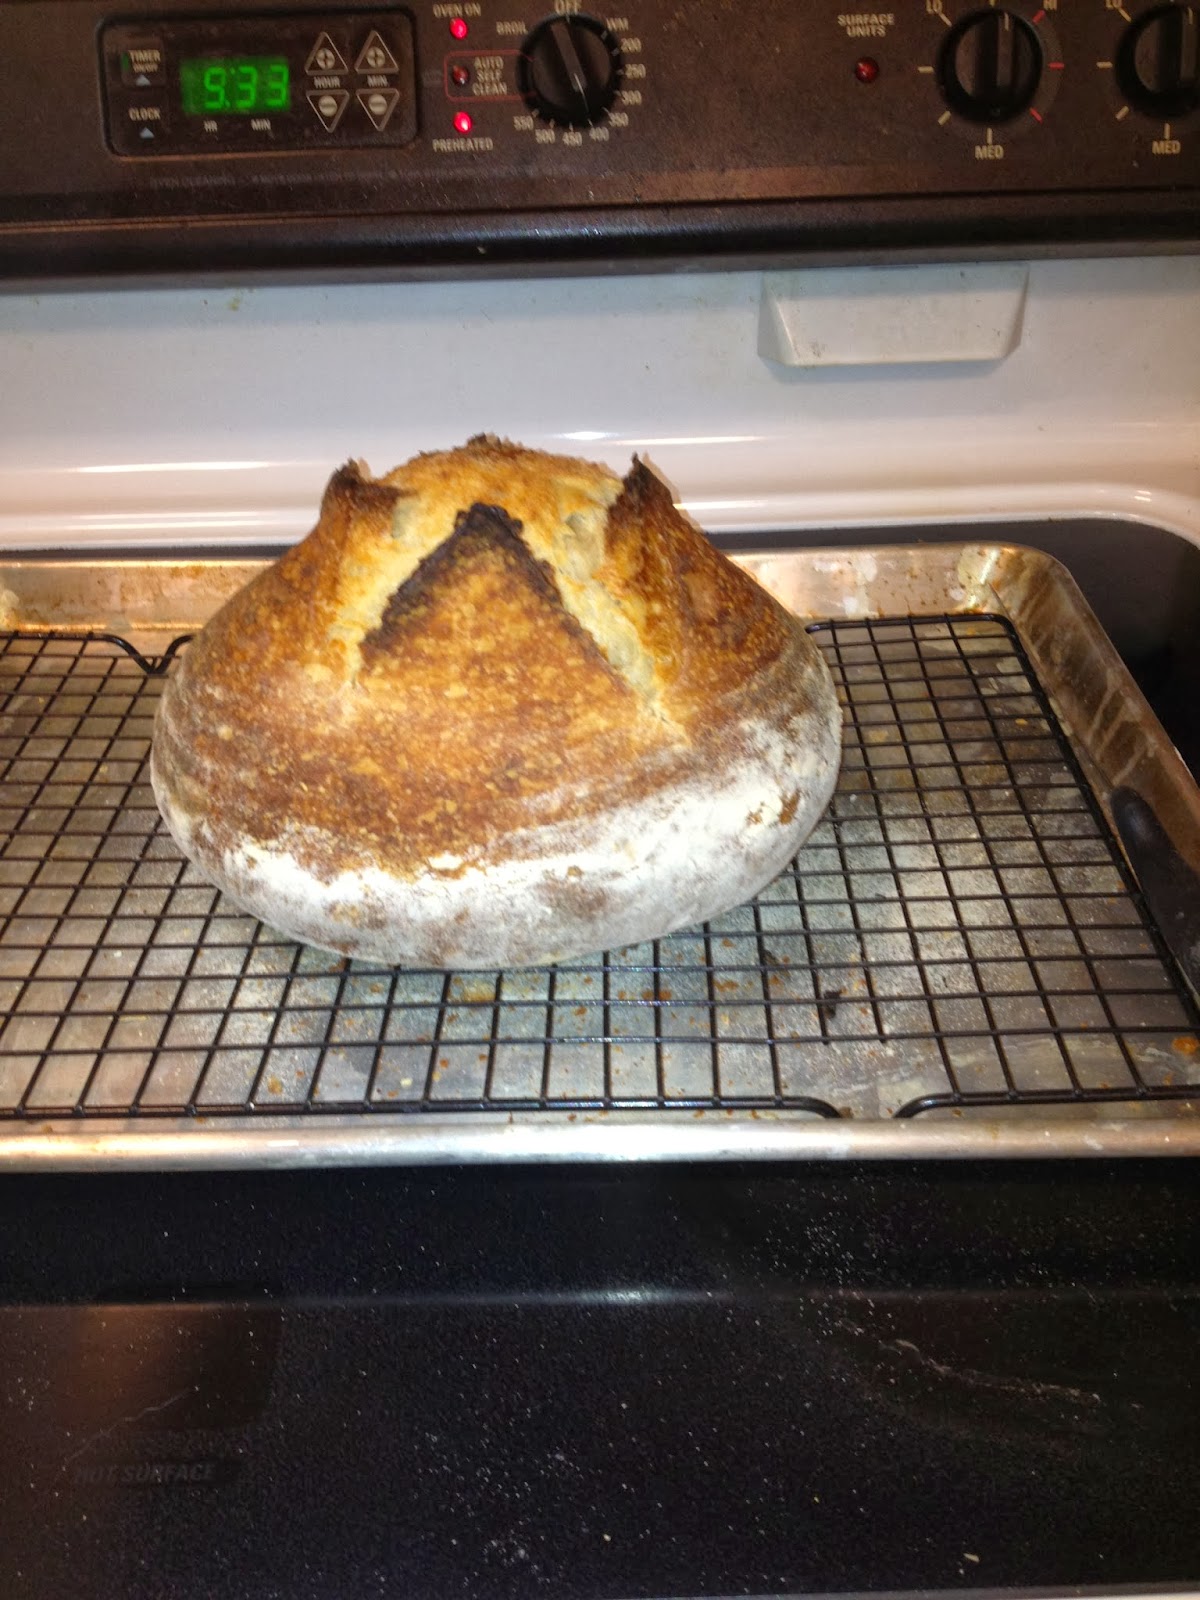
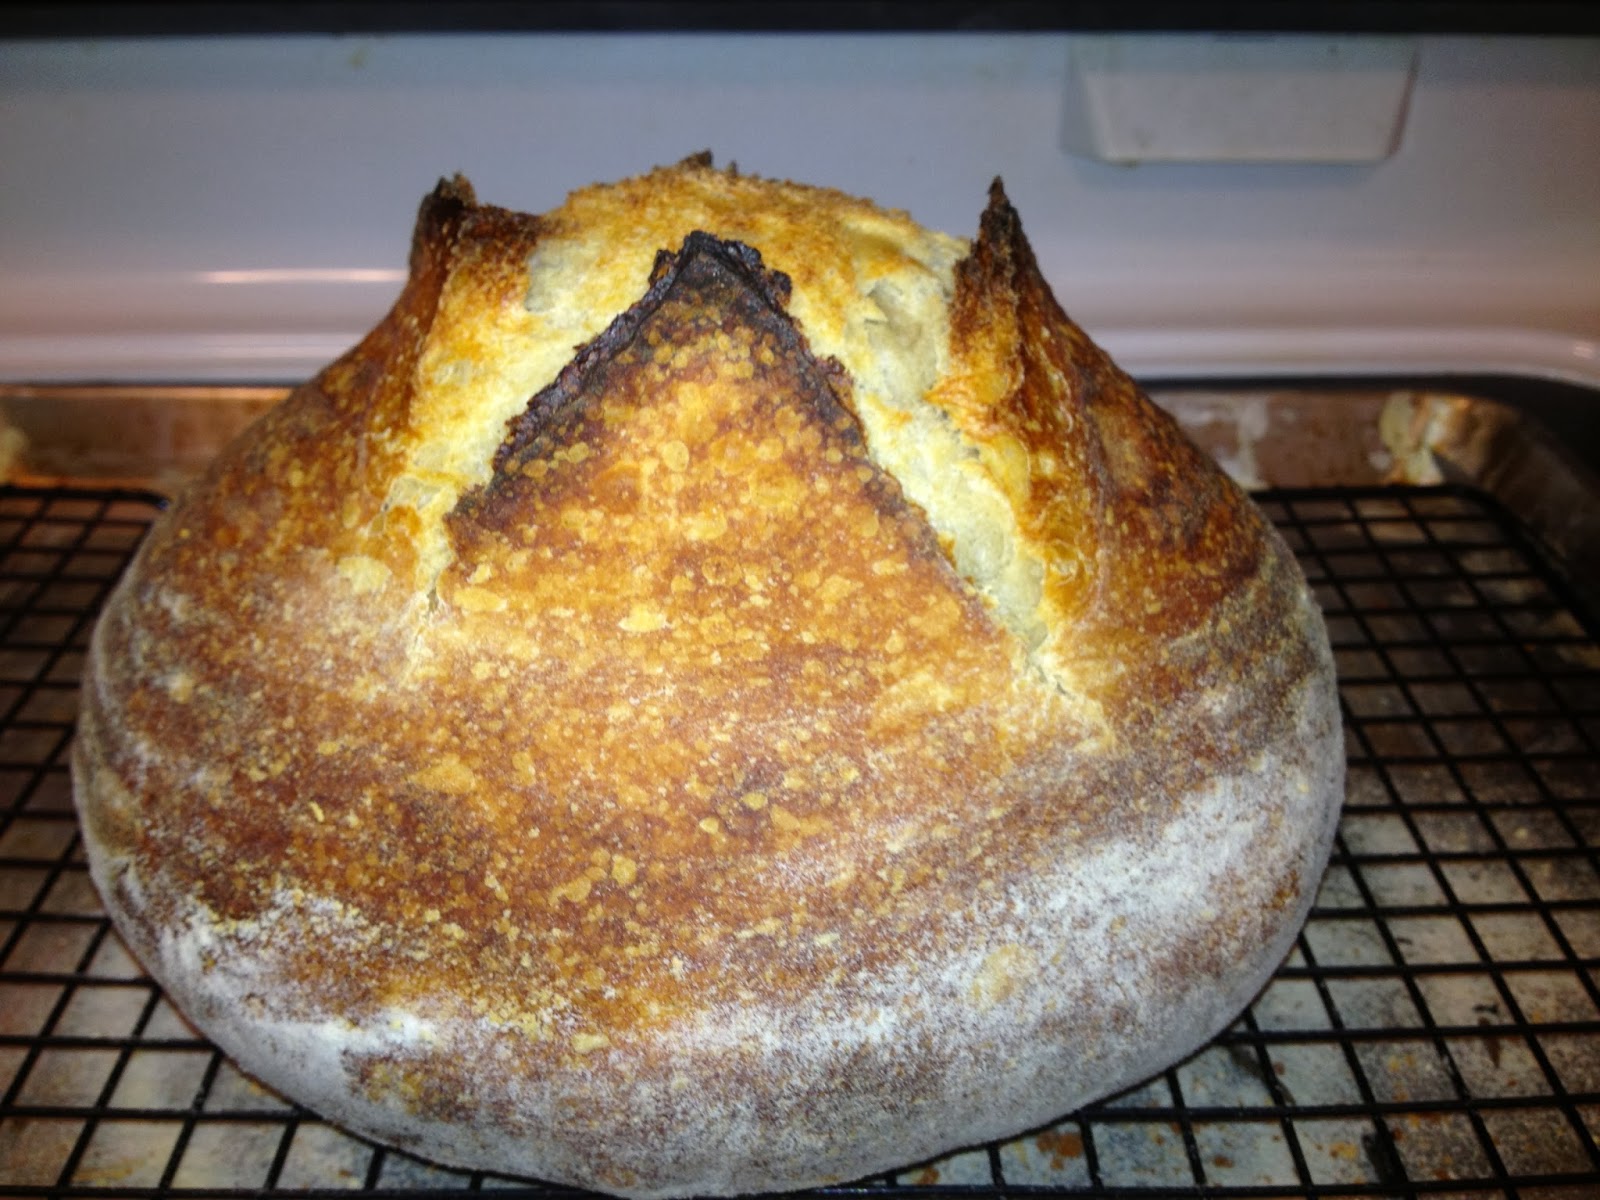
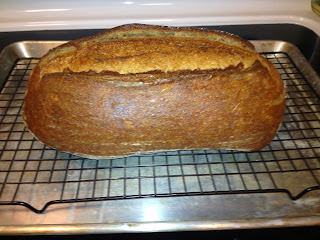
| Todays bake, White Sourdough with nothing but flour, water and salt |
 |
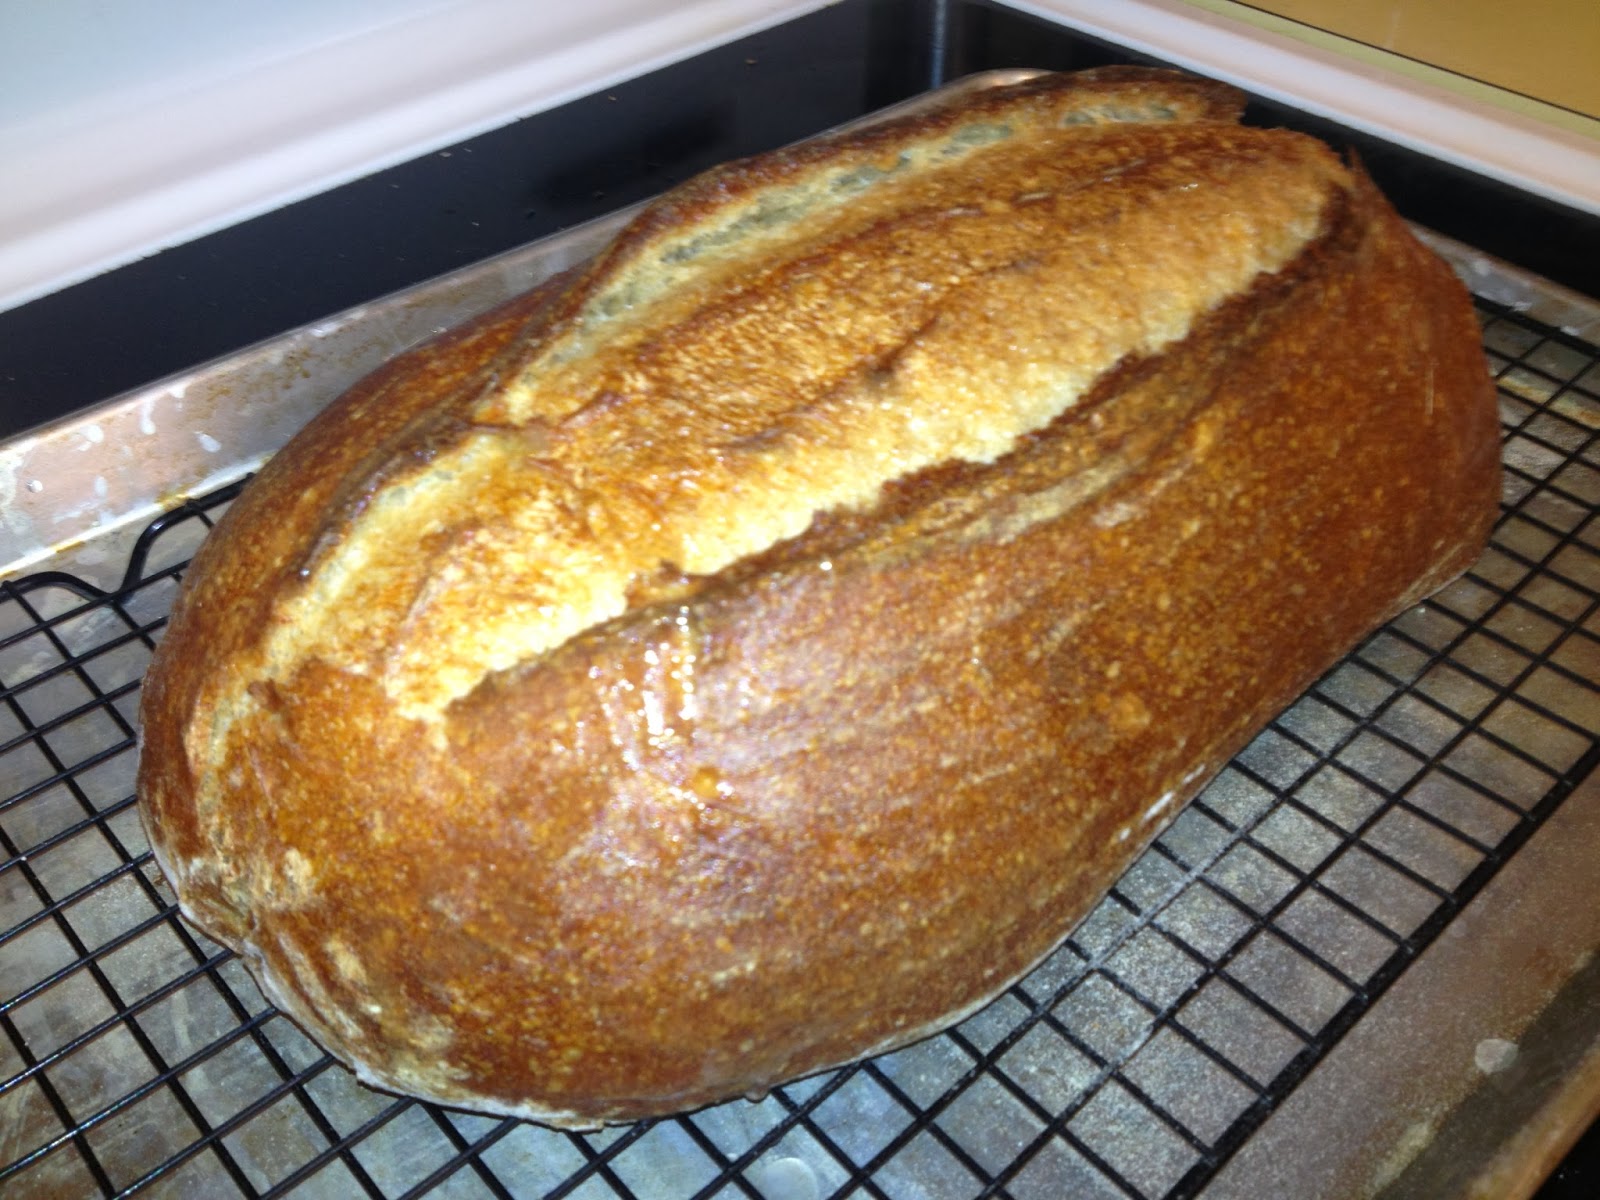
| White Sourdough with butter and honey |
 |
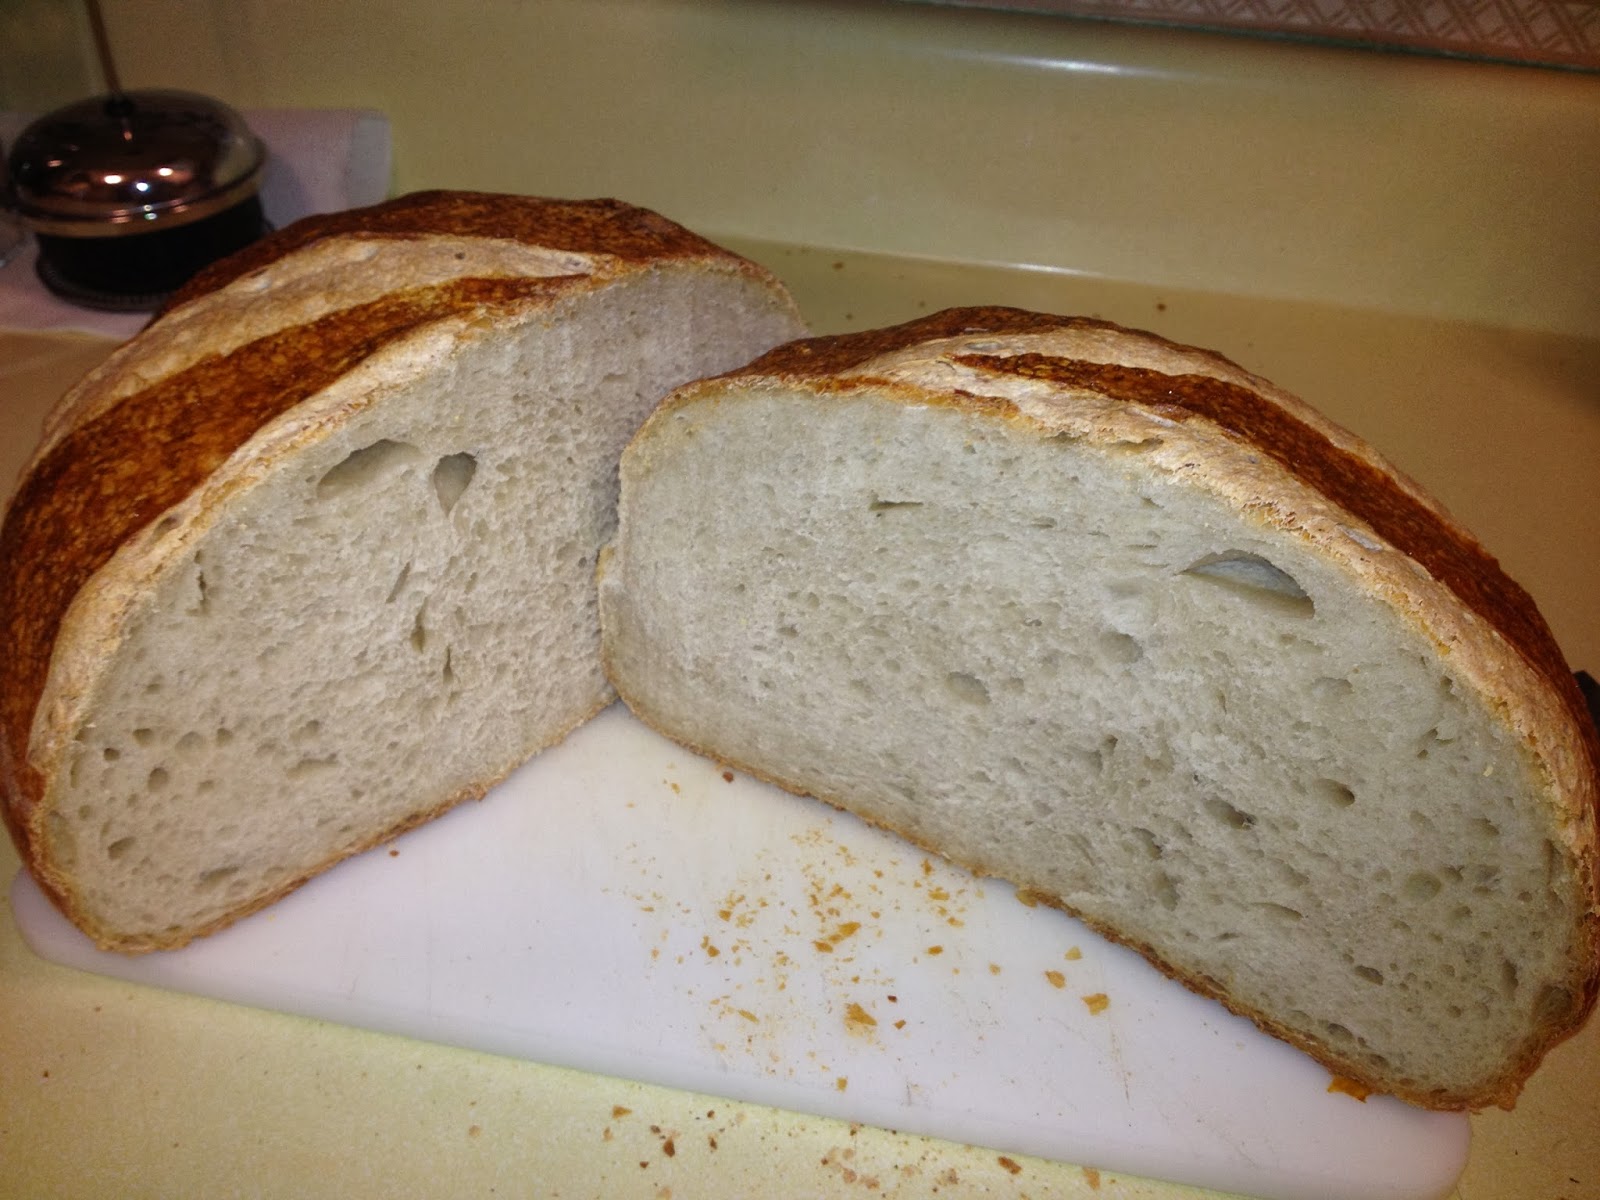
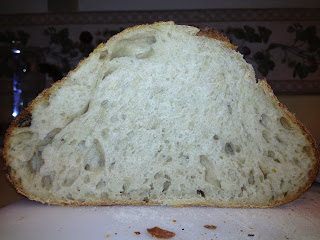
| Nice even crumb, good for sandwiches |
This recipe was my first to consistently work for me. It still amazes me that the wonderful bread that results is nothing more than water, flour, and salt.
I have learned that I can use this recipe as a foundation, I can use all bread flour, use half white and half whole wheat flour, change it into a Rye bread recipe with the proper percentages of Rye to First Clear flours. add honey, sugar, molasses and/or butter.
The most important thing I want to convey, is that this bread recipe; one that uses a natural leaven rather than commercial yeast; one that lists the base ingredients needed to produce a lean pure sourdough can be modified in many ways as long as you hold true to the bakers percentages in the recipe. For instance if you want to use all white flour, do so just omit the Rye flour, adding an equal amount more of white. If you want to add a sweetener, add honey at the same percentage as used in one of my earlier bread posts that has honey. Same goes for butter, if you want a softer loaf, add butter at a percentage equal to one of my earlier bread posts.
 |
| Pumpernickel |
 |
| White with Rye (this recipe) |
 |
| White and Whole Wheat |
 |
| White and Whole Wheat |


TWF: 602.5
Hydration: 70%
Dough:
Water - 331g - 55%
White Sourdough Starter - 100% hydration - 181g =
- Water - 90.5g - 15%
- All Purpose Unbleached Flour - 90.5g - 15%
Hodgson Mill Old Fashioned 100% Stone Ground Rye Flour - 60g - 10%
Salt - 15g - 2.5%
Note: A healthy active starter is one that rises predictably when fed. That means when refreshed with flour and water it will at least double and better yet triple or more within a predictable time. How long that takes can vary from 4-12 hours depending on many things not the least of which is temperature. Between baking's, it can be kept in the refrigerator. I typically bake on the weekends, and to prepare for a Saturdays baking, I remove the starter and feed it on say Thursday evening, feed again Friday morning and Friday evening. By Saturday morning its fully risen and bubbly.
 |
| 100% hydration White Starter ready to bake with |
- Combine water (Reserve 50g of the water for tweaking dough) and starter in mixer
- Mix until just combined with beater attachment
- Replace beater attachment with dough hook attachment
- Add Flour and honey
- Mix until just combined, adding reserved water 1TBL. at a time as needed to create a rough mass
- Autolyse 30 minutes
 |
| Ready to Autolyse, just a rough mass, a little dry. I always reserve a little of the water at this point |
 |
| Totally hydrated after 30 minutes. The waiting is the hardest, but it helps you judge how much water to add during mixing |
- Add salt
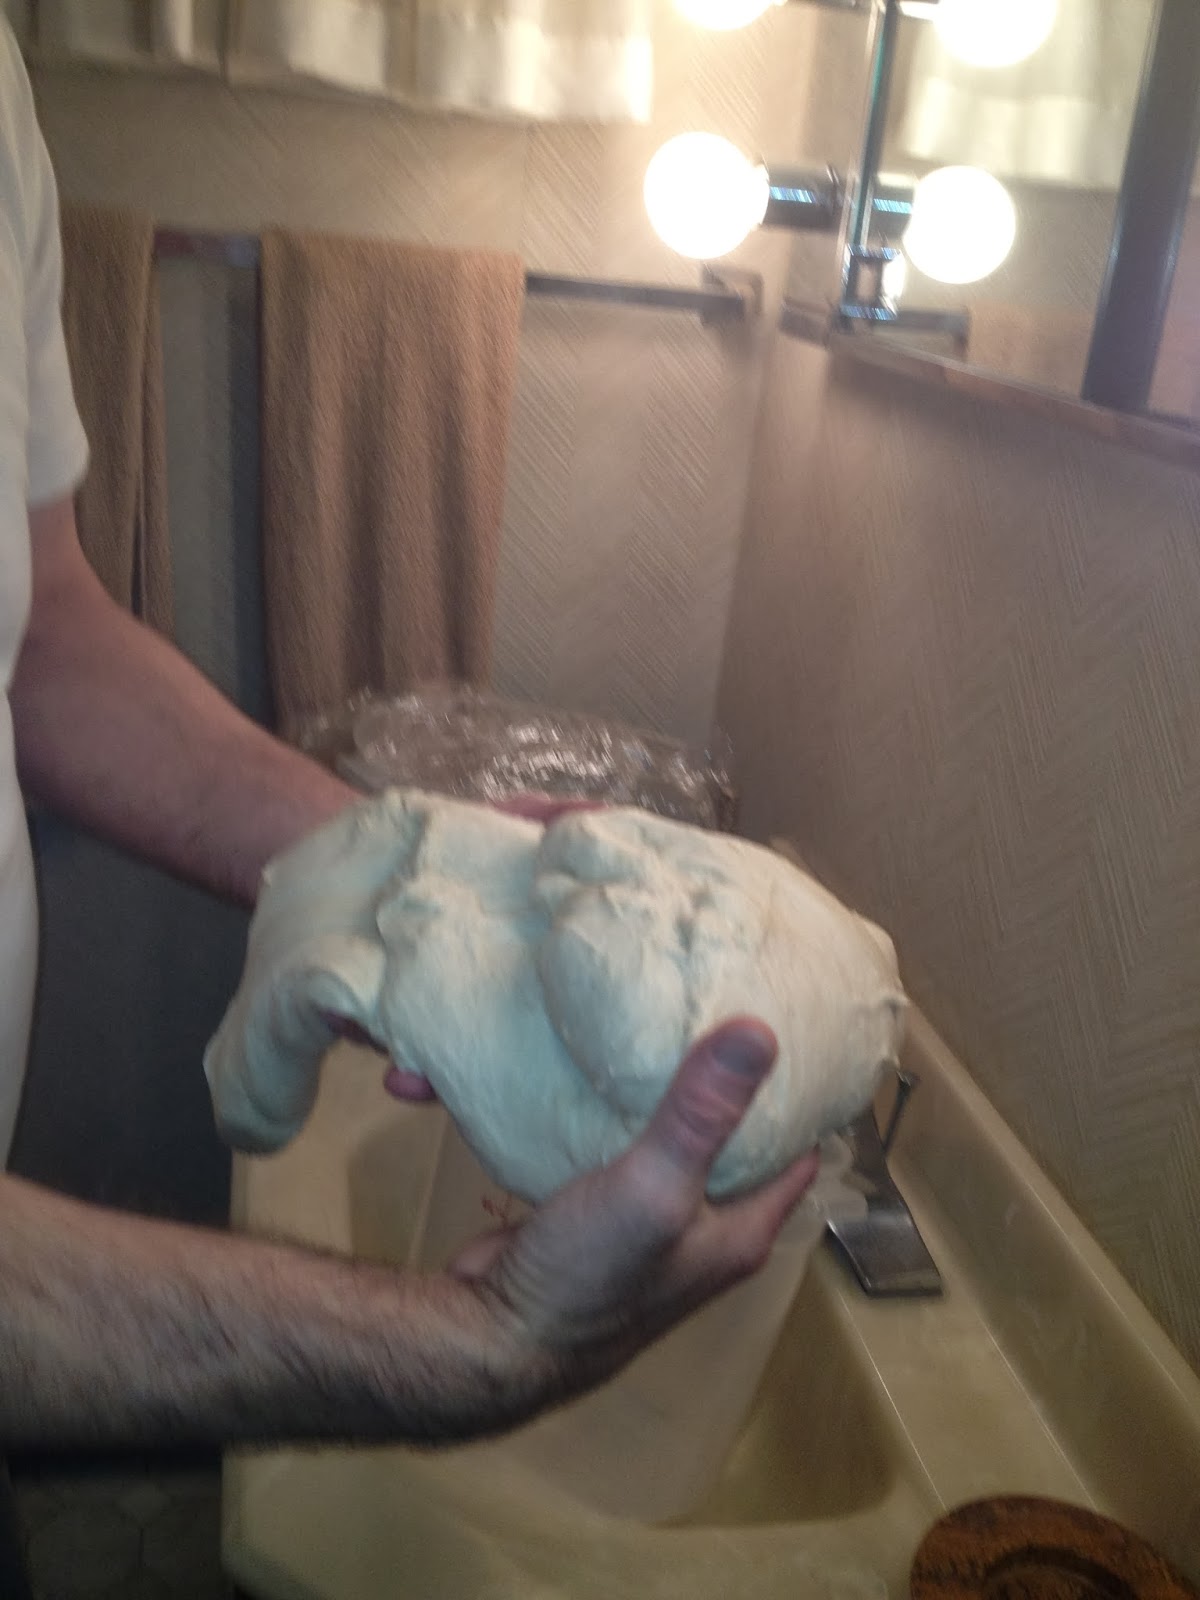
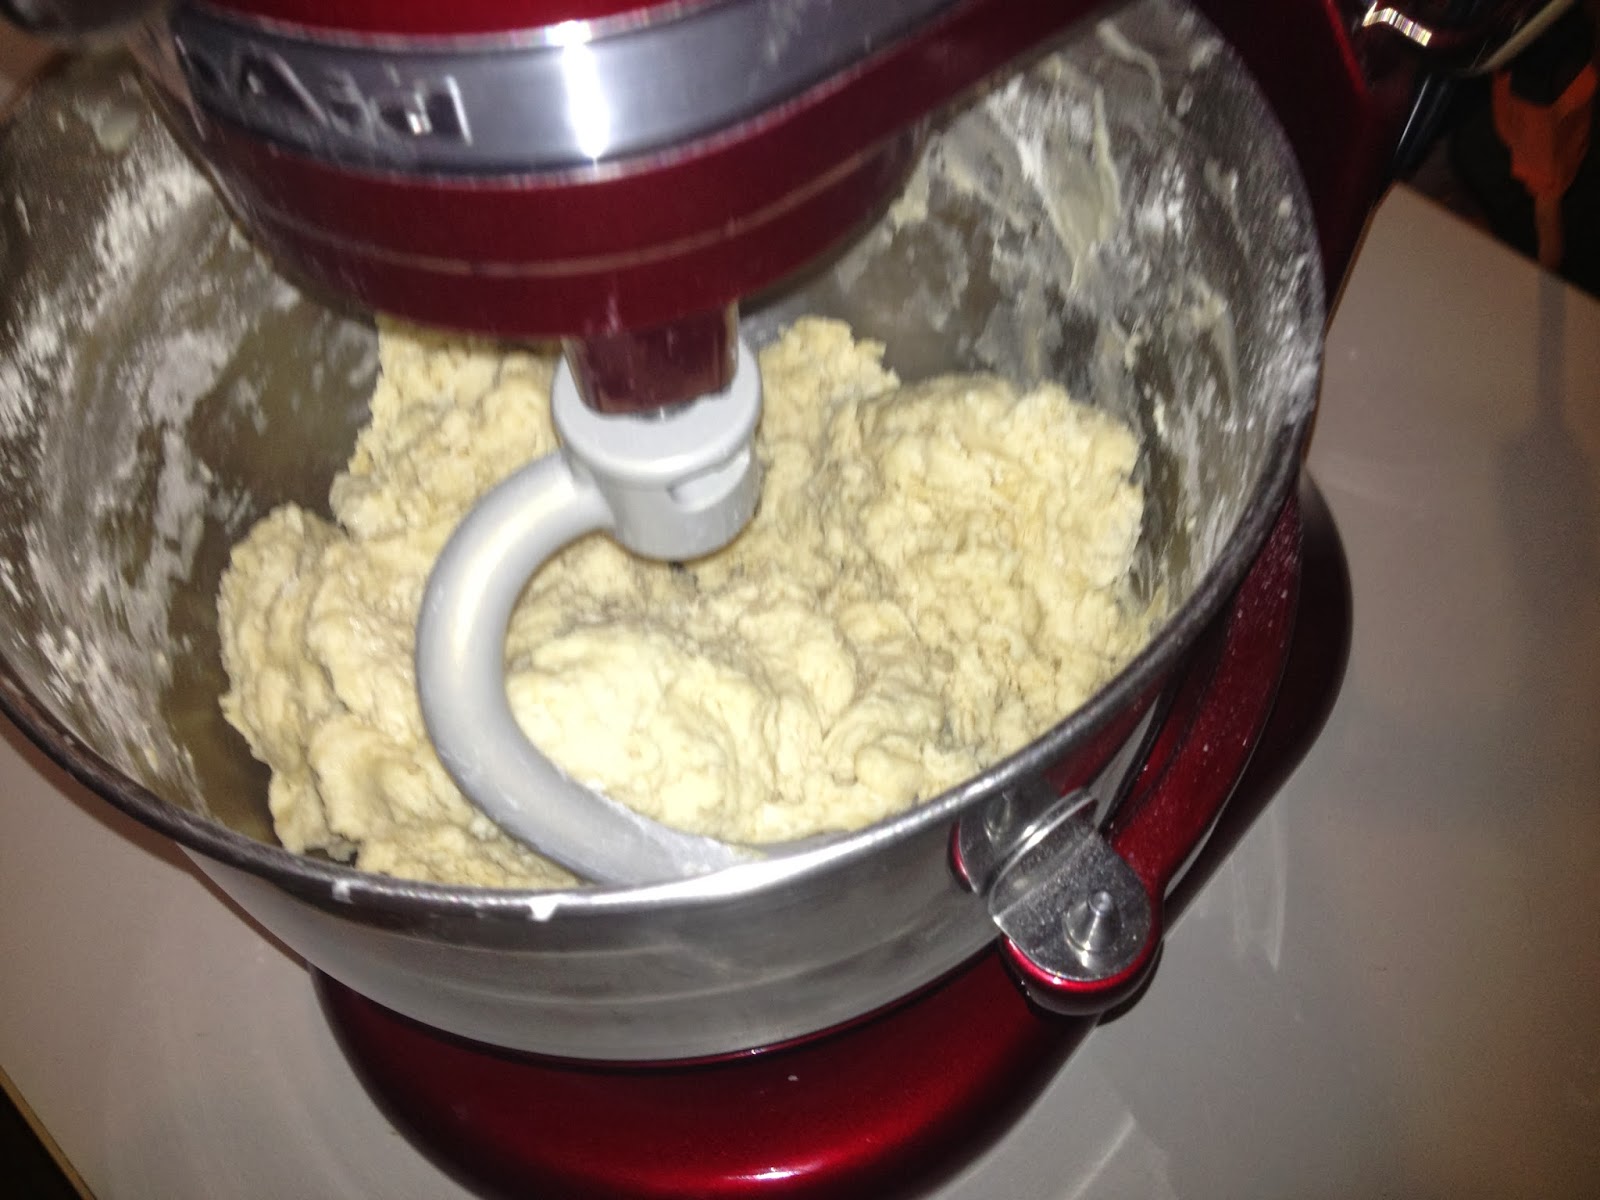
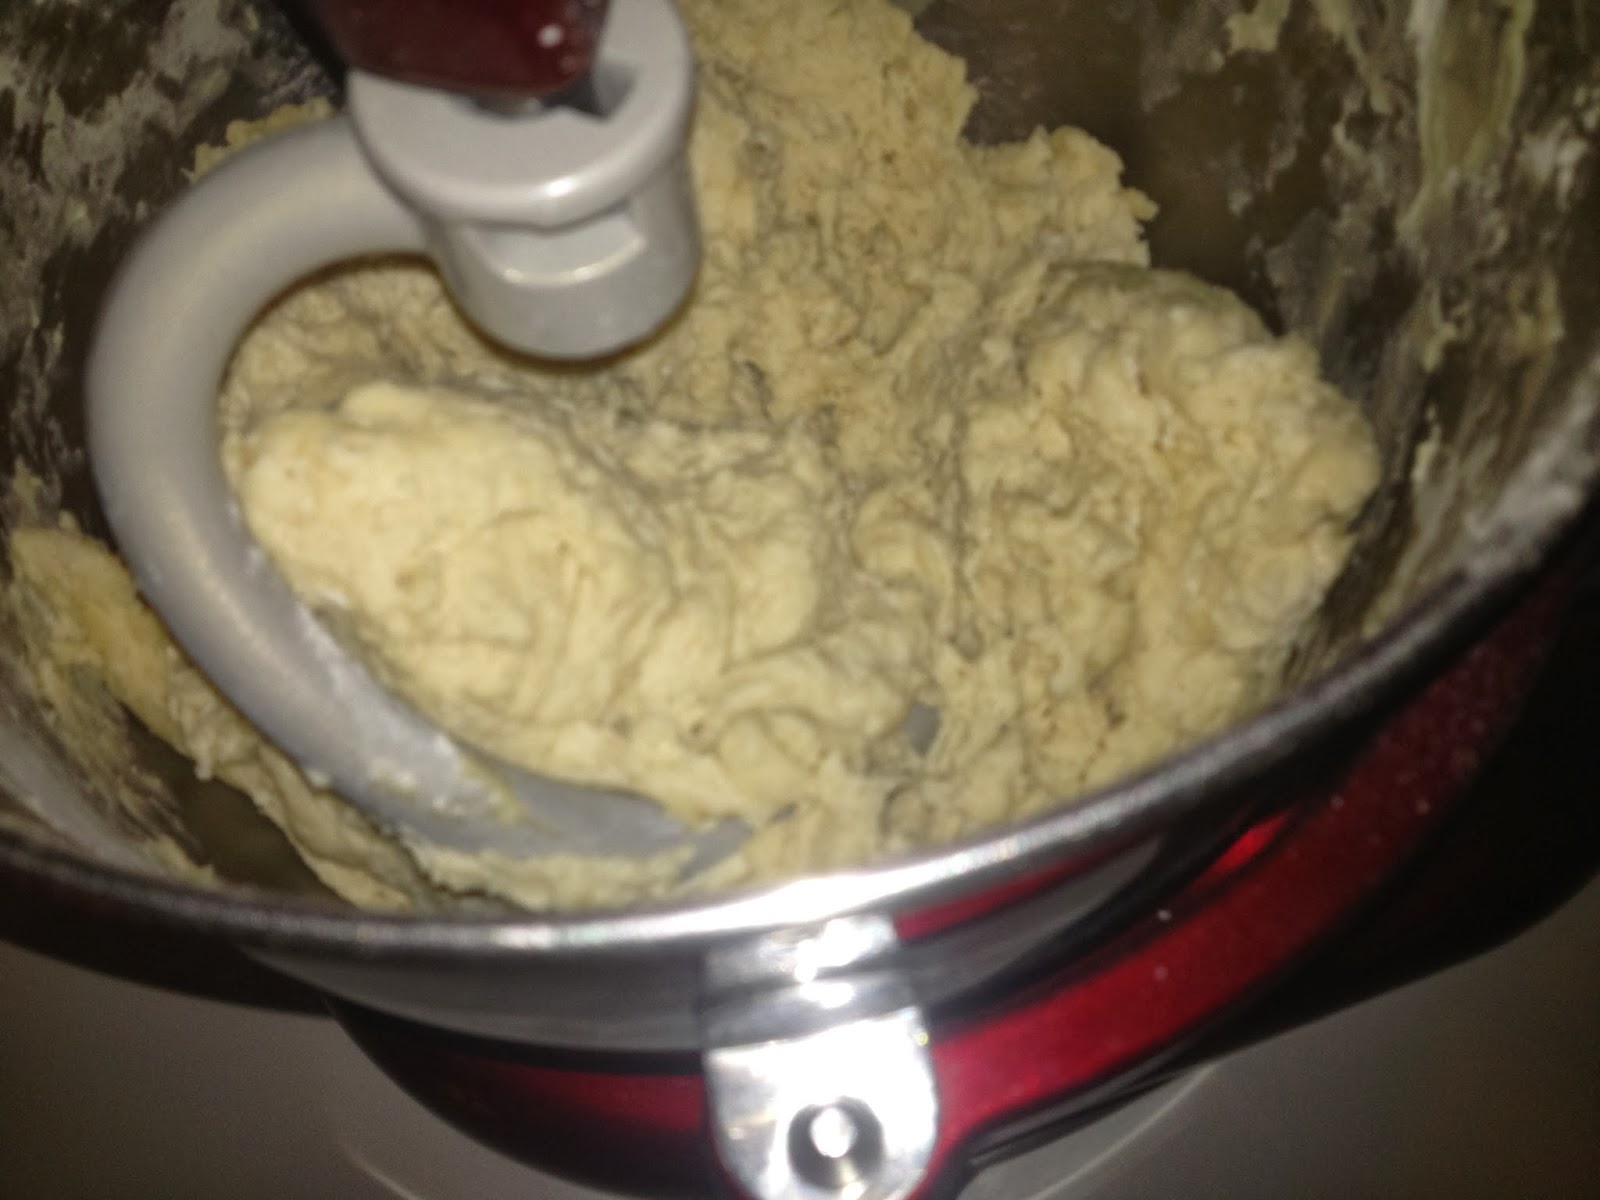
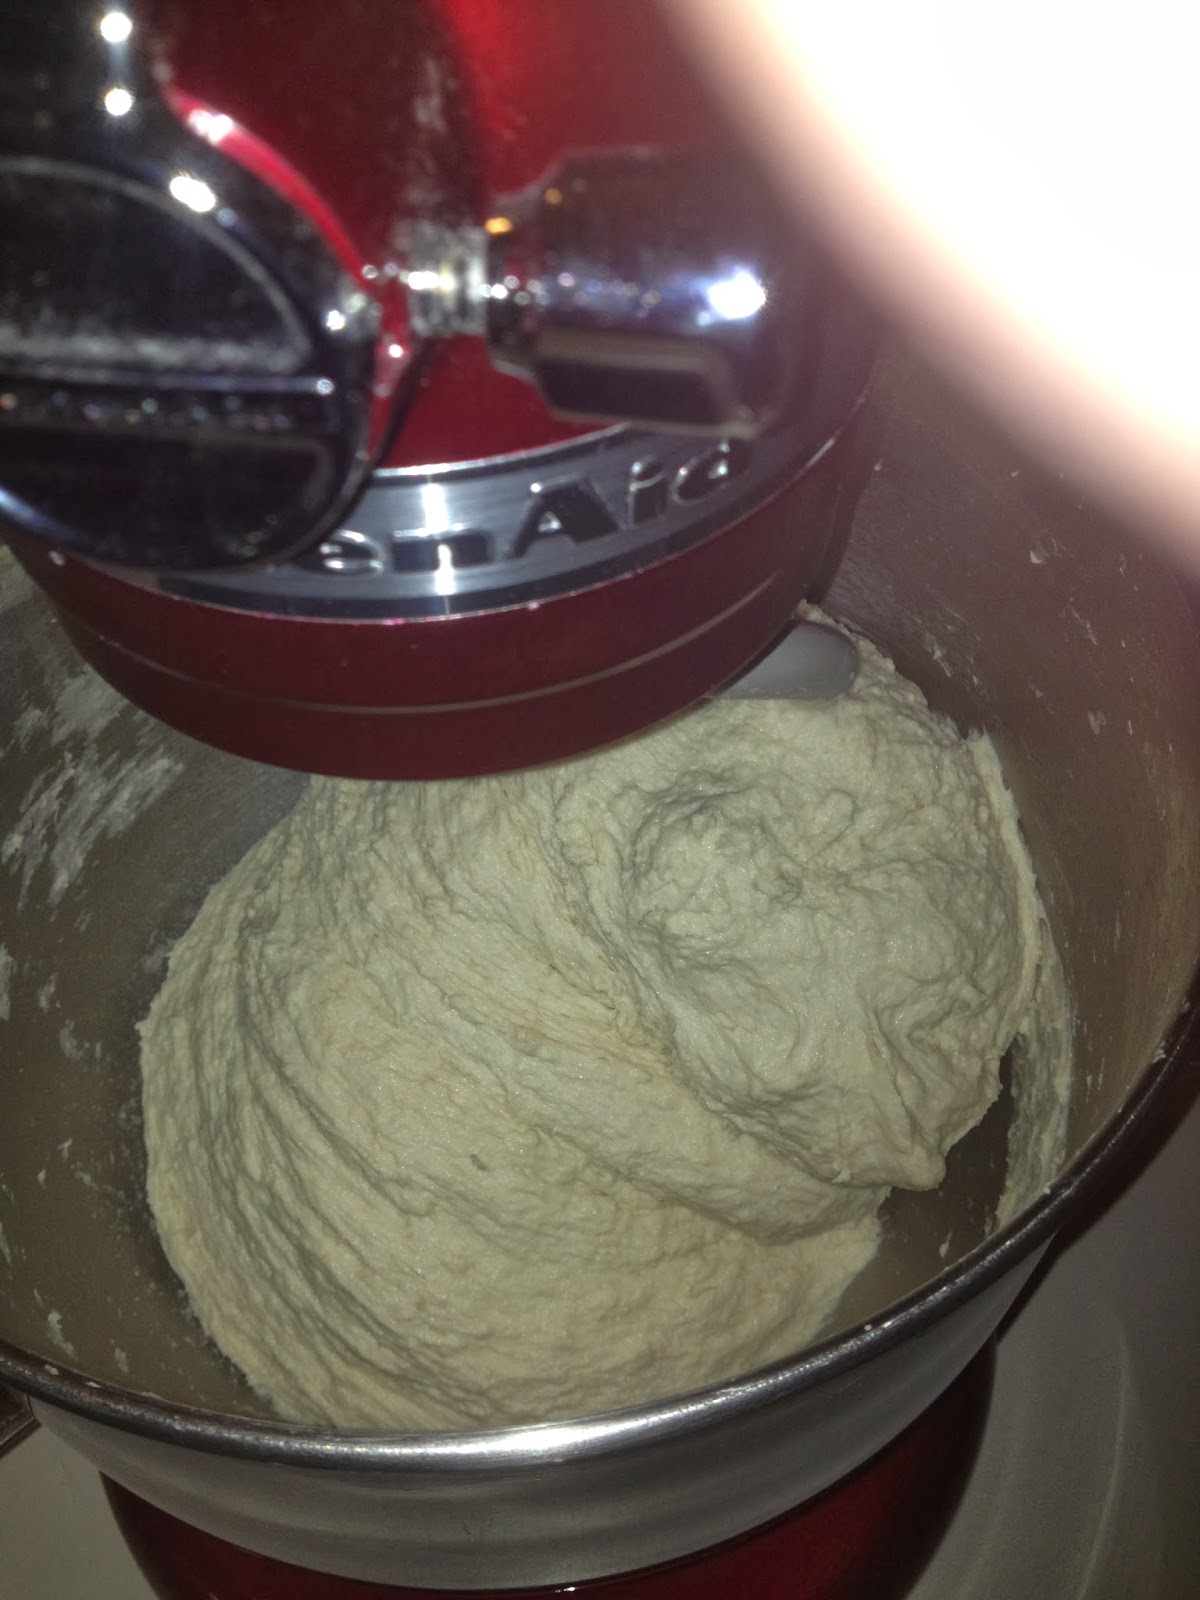
- Knead, adding reserved water 1TBL. at a time as needed to achieve a dough that is smooth, shiny,elastic and just beginning to pull away from bowl. It will feel sticky
 |
| Very sticky |
 |
| Beginning to stiffen |
 |
| Done, this is what I want |
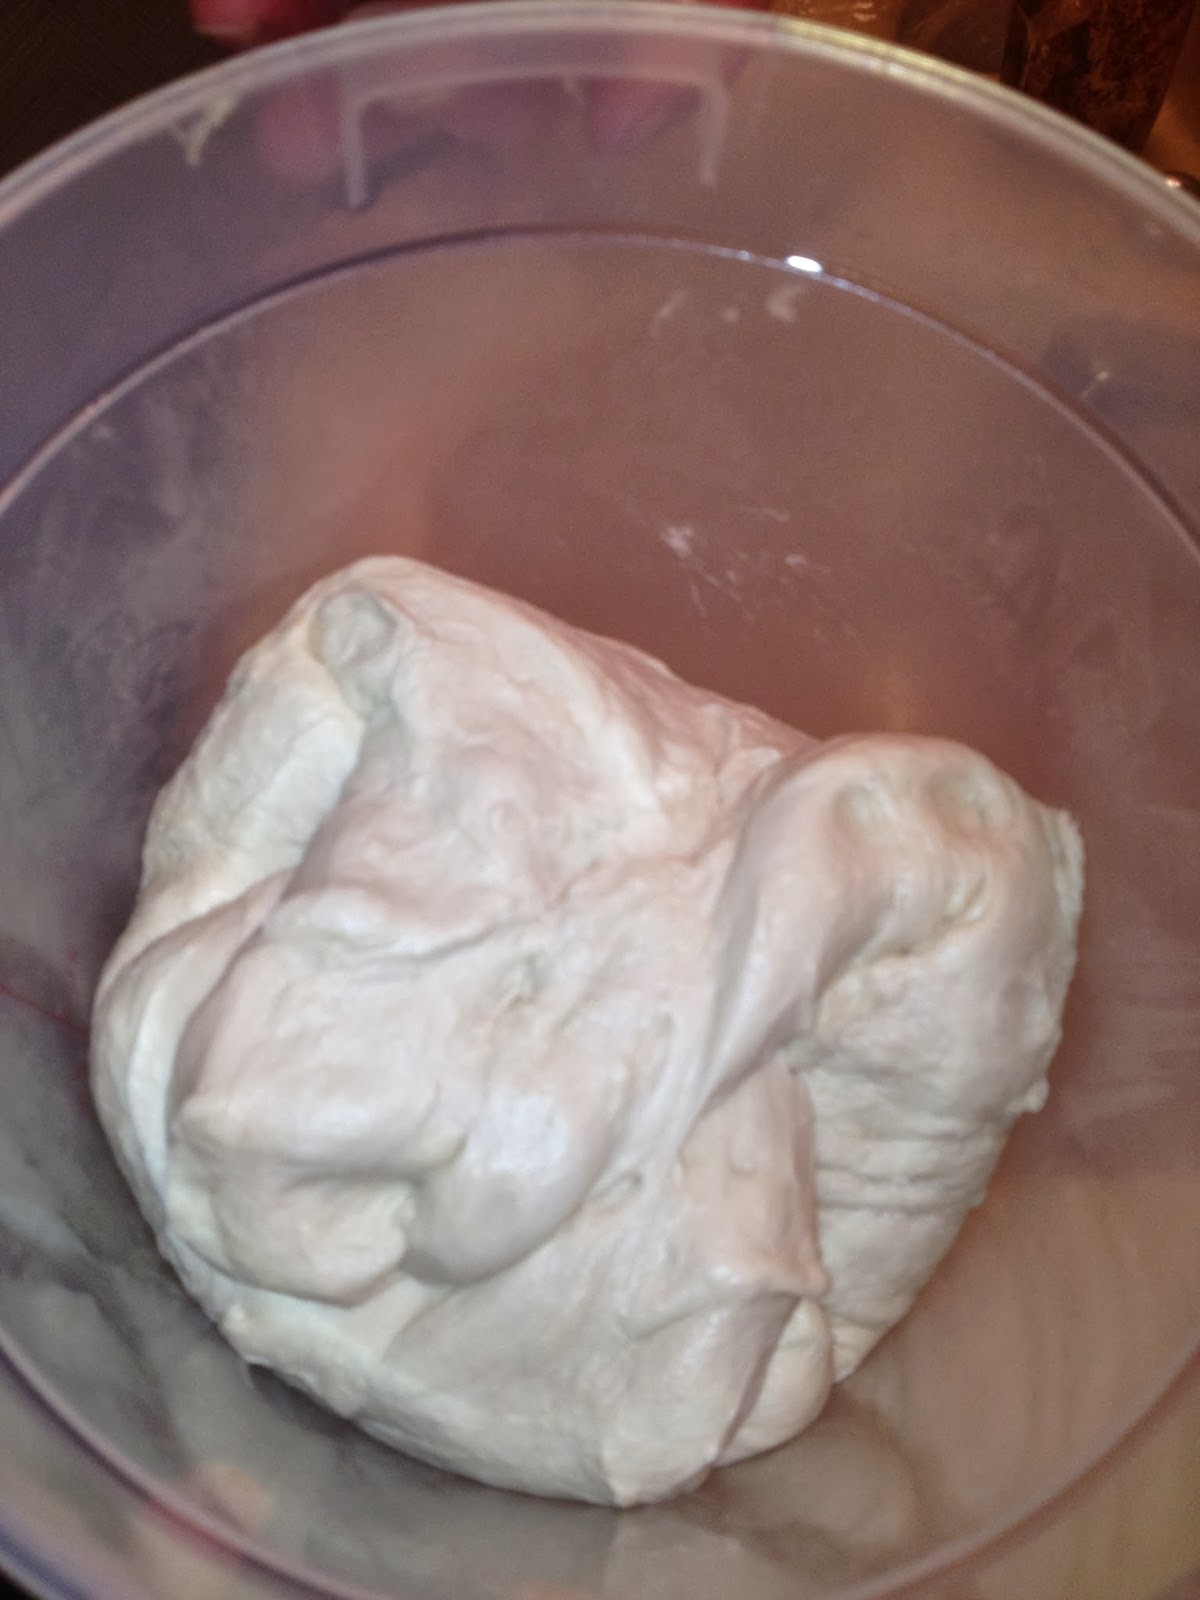
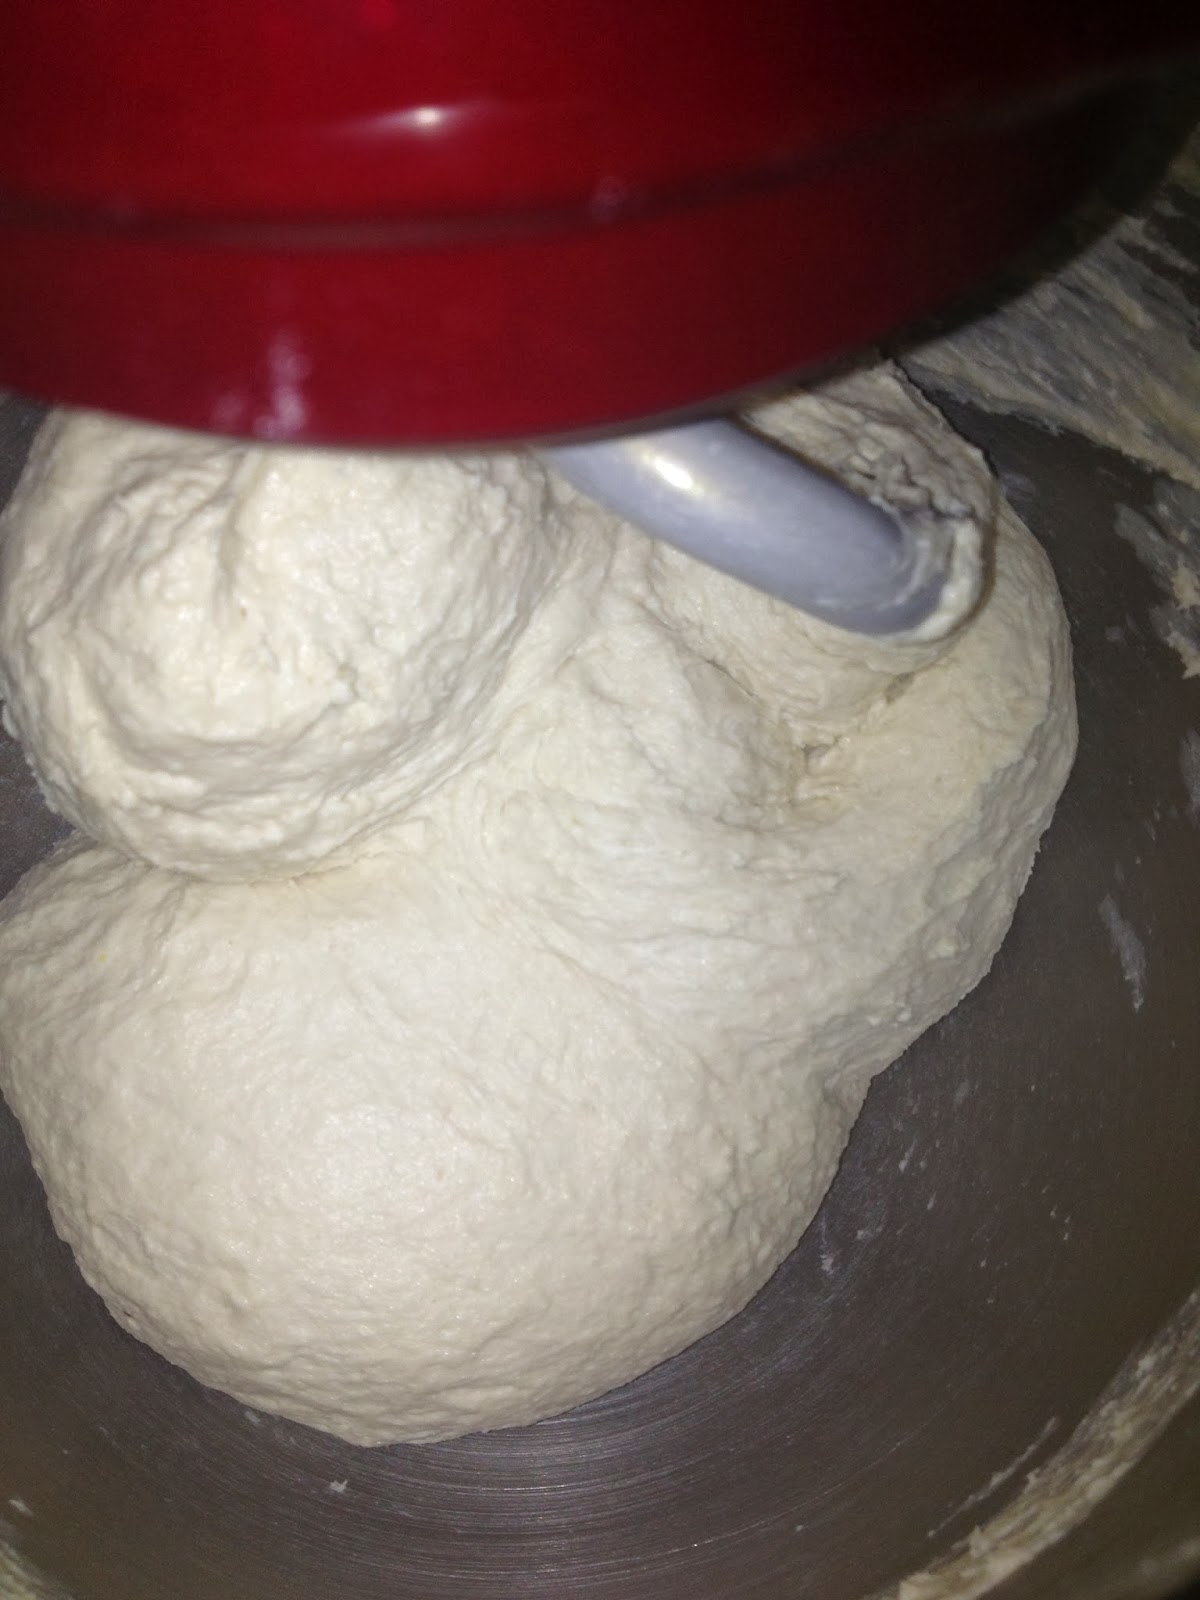
 |
| Finished dough |
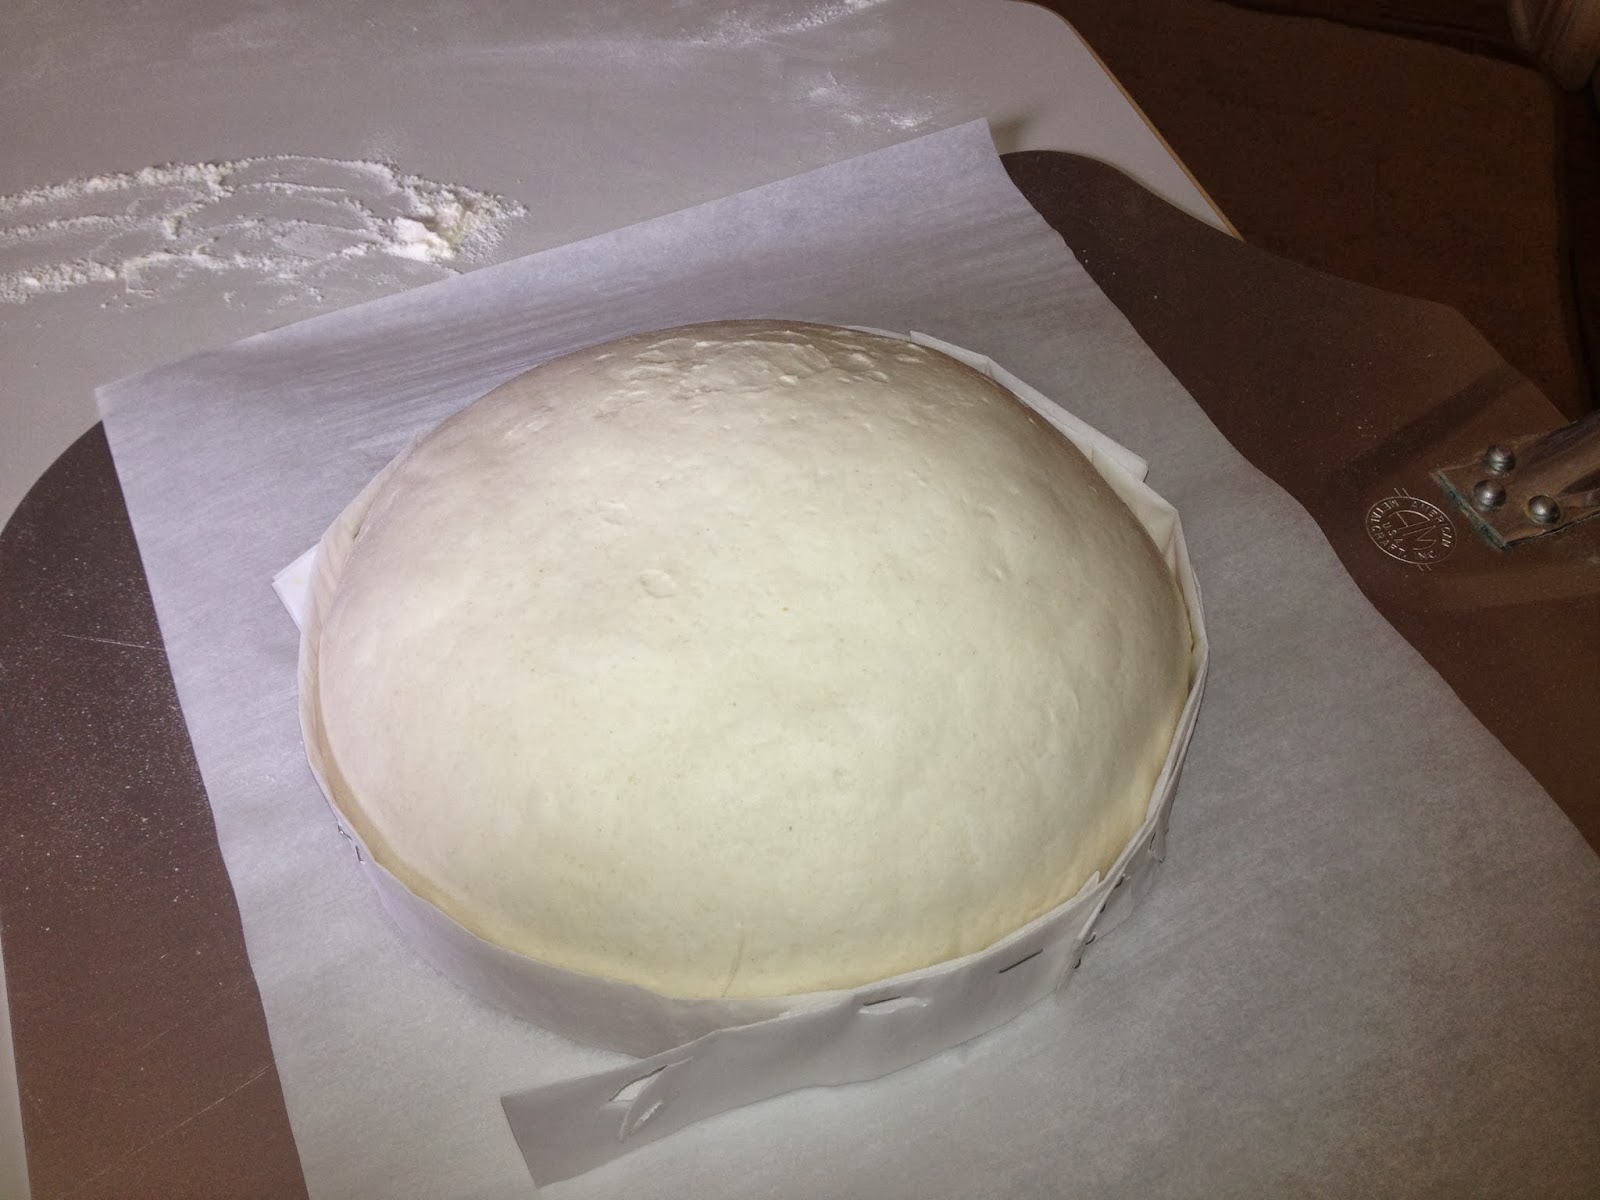
- Place into a lightly oiled rising container, cover with plastic wrap
 |
| Ready to begin to rise. I want this to double but no more than that |
- At this point you want to do a couple of envelope fold sessions. One at 30 minutes into the proof and another at about an hour. The number of times you fold is dictated by the "feel". You want to feel the dough stiffen as you fold. You are elongating the gluten strands and you should be able to feel the result. That result is a stiffer dough. This is one point that experience will guide you. You just have to do it a few dozen times to know what you are supposed to feel.
 |
| It will be very "slack" at first turn |
 |
| As you turn or "fold" it, it will strengthen |
 |
| "Envelope Fold" means to stretch out to dough and fold it in thirds one way, then turn it 90° and do the same thing the other way |
- Allow to double in size (70° environment)
 |
| What over proofed looks like, I fell asleep on this one. It's now nothing more than a large amount of Poolish |
 |
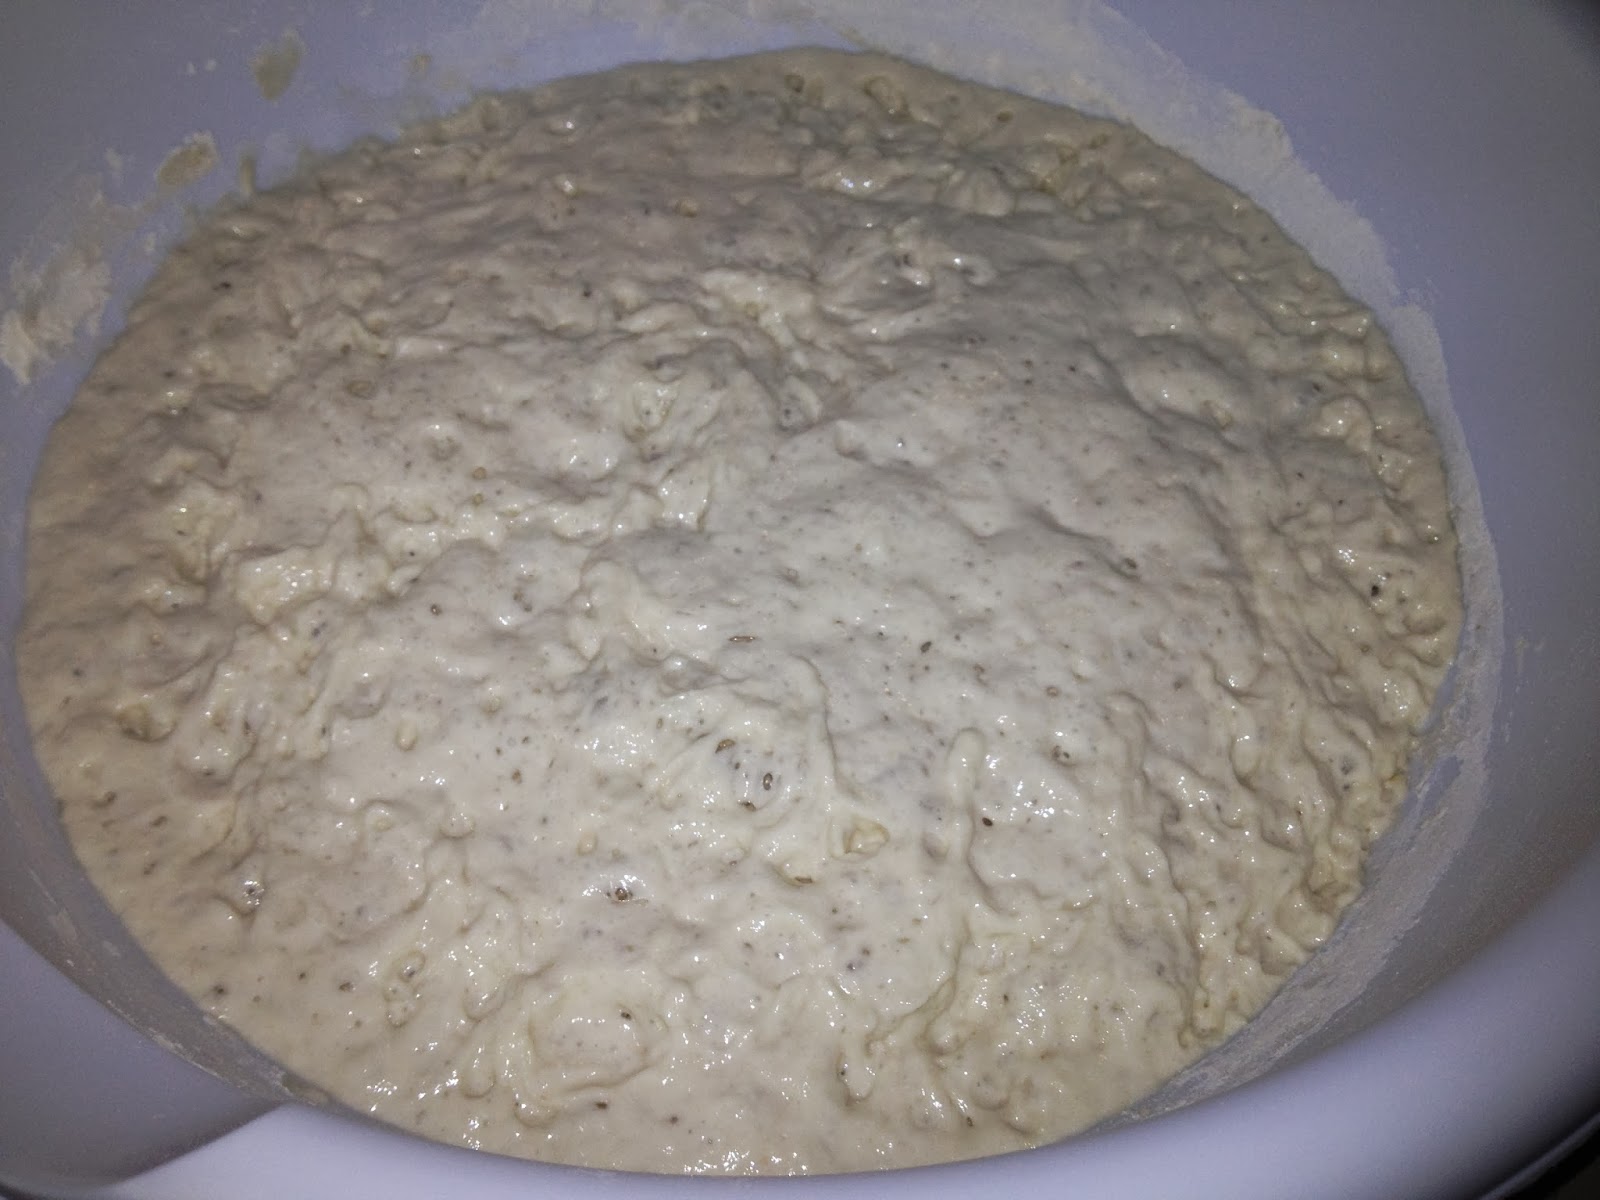
| Properly proofed |
 |
| Plenty of carbon dioxide |
- Pre-shape - degas, and shape dough into what will be the final shape, i.e. round or oval
 |
| Allow rough shape to rest |
- Rest covered for 15 minutes
- Final shaping - gently shape the dough into the final shape concentrating on creating surface tension and try not to degas
 |
| The focus here is to create surface tension without tearing the surface. I still need practice, as you can see the surface has small tares in it |
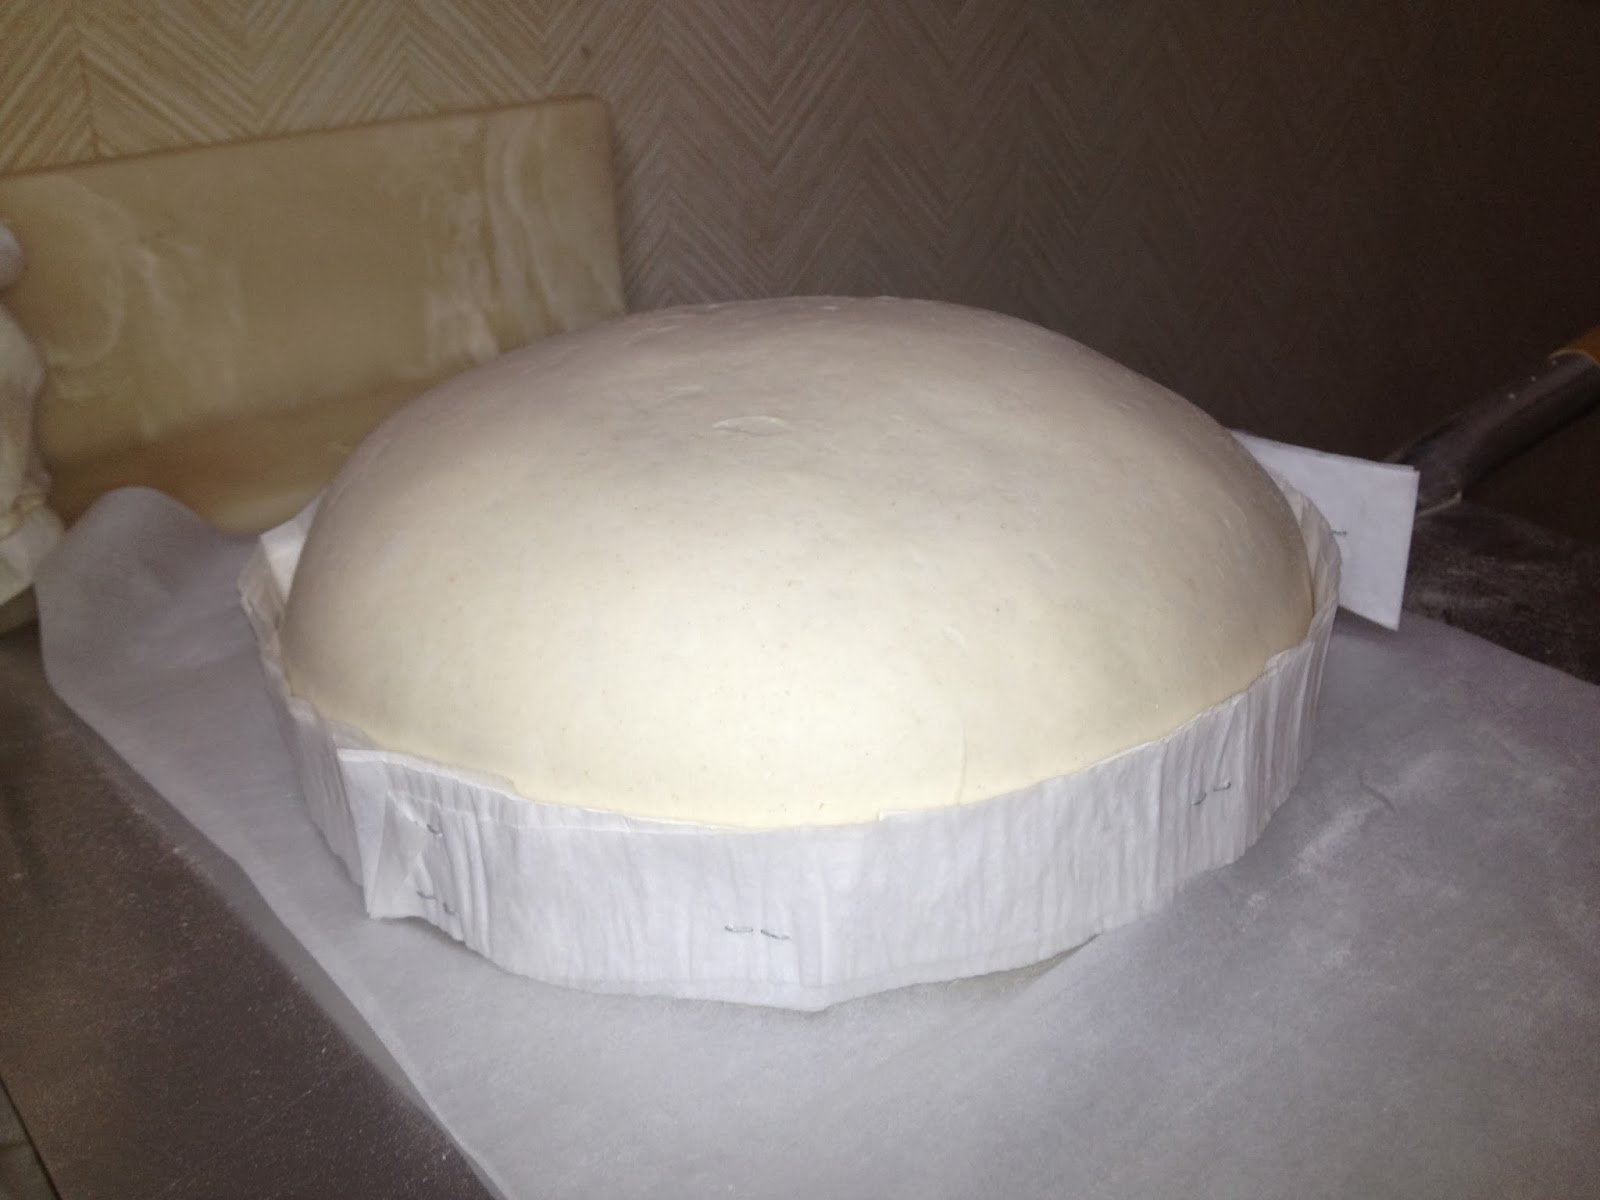
- Cover and allow to rise to 1.75, in 80% humidity/80° environment. do not allow it to double and you will get better oven spring and it will be easier to score
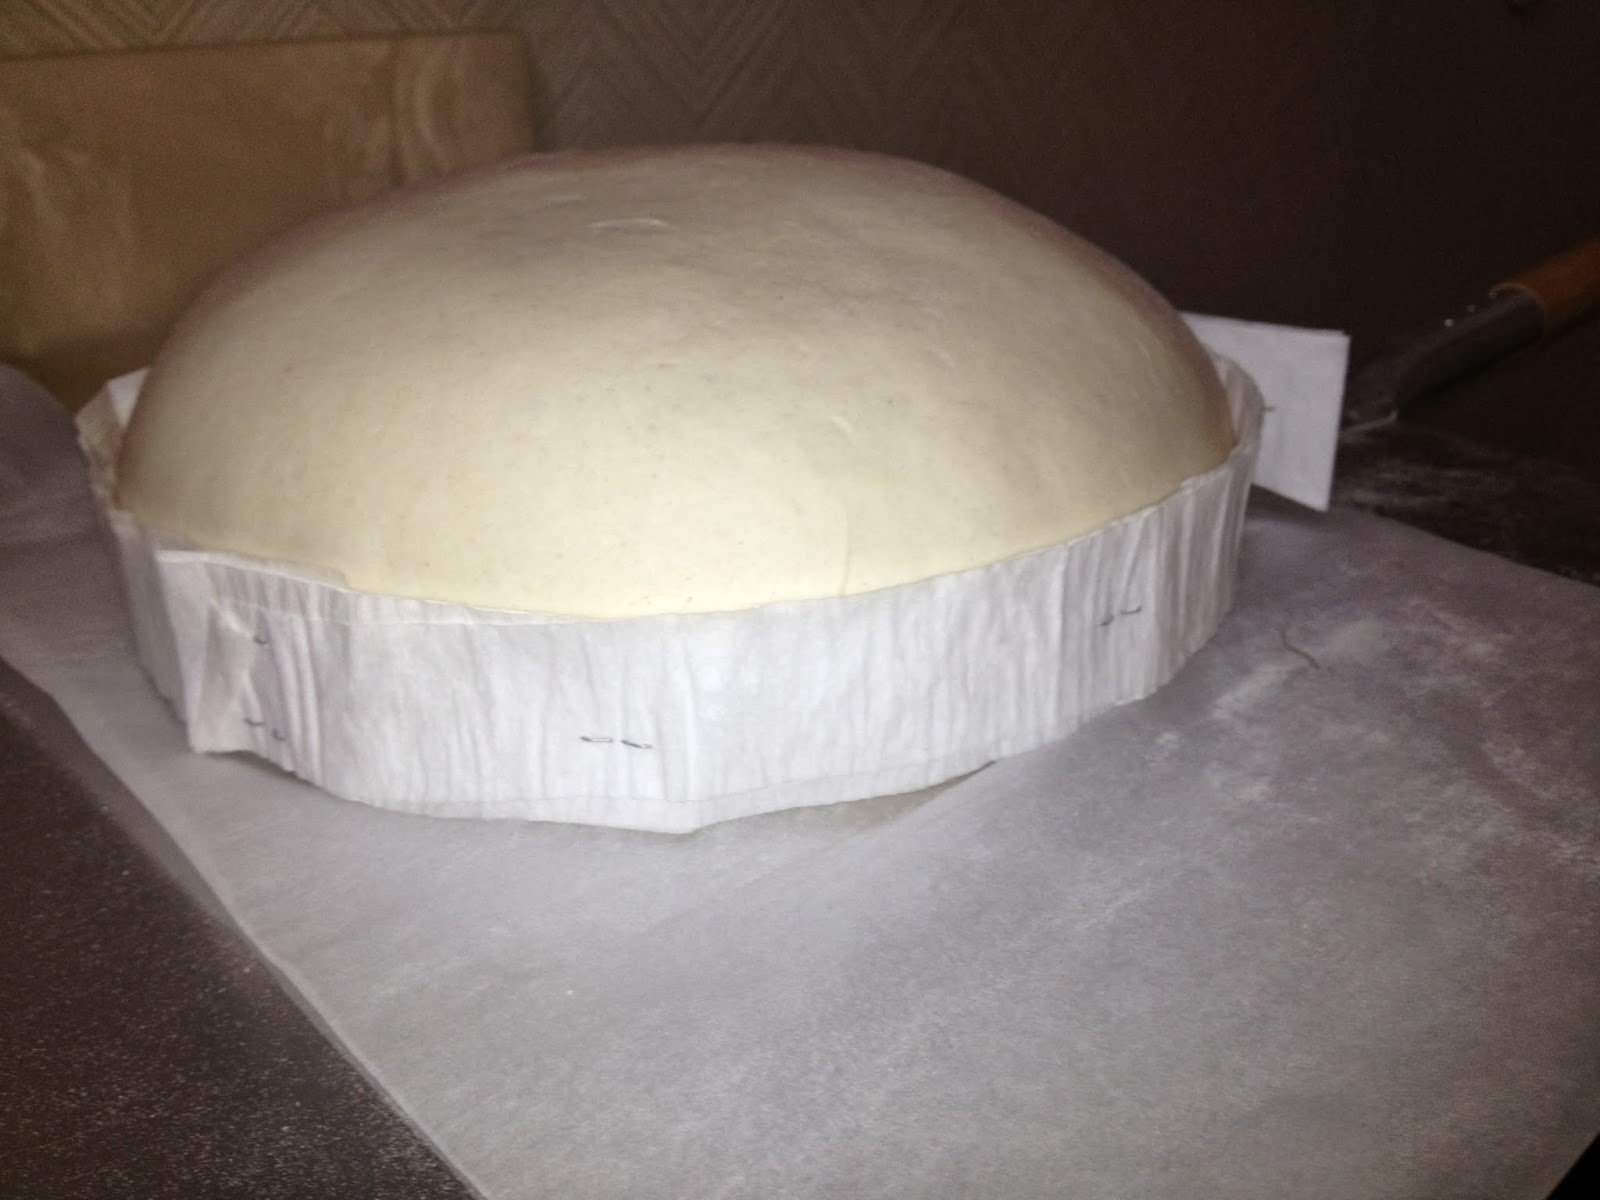 |
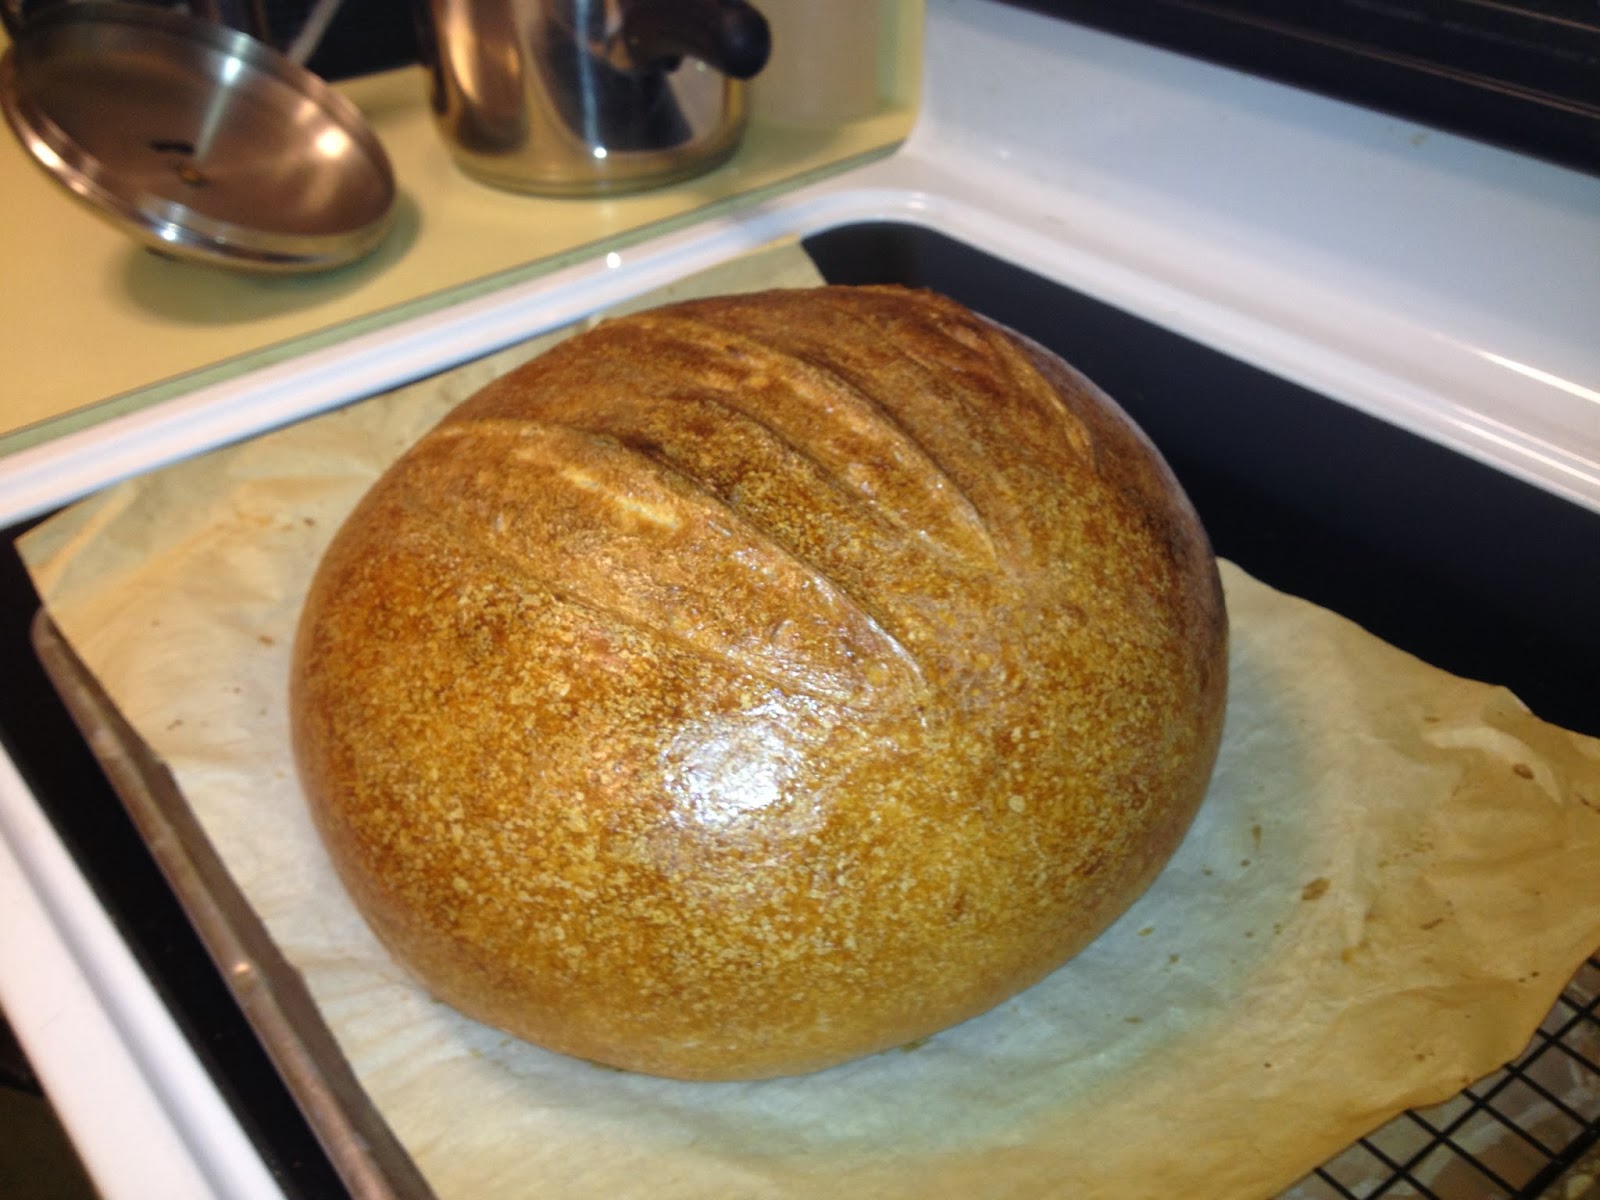
| Risen by 1.75, ready to score and bake |
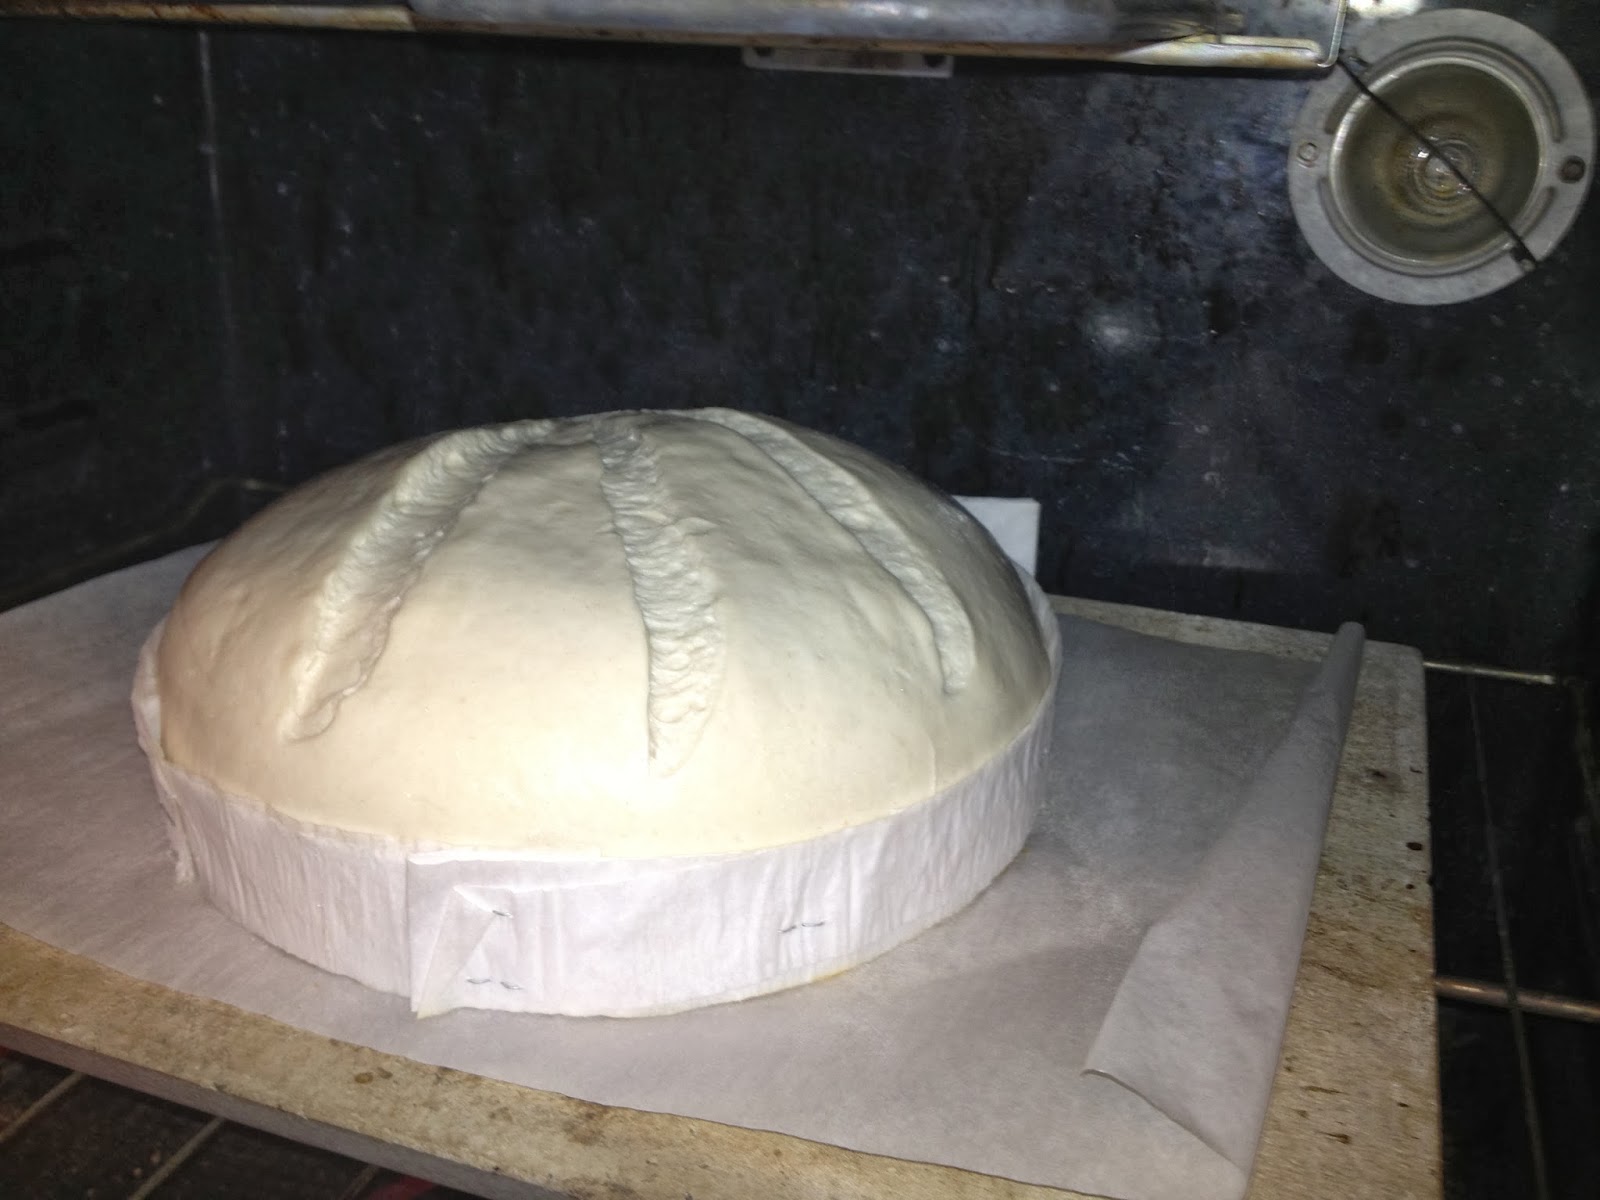 |
| Scored |
- Bake at 425° for first 15 minutes utilizing the following techniques:
- Pizza stone
- Steam Pan with well dampened cotton cloth
- Roasting Pan lid to cover dough
- For second 15 minutes:
- Remove Steam Pan and cloth
- Remove Roasting Pan lid
- Reduce oven temperature to 350°
- For 3rd 15 minutes:
- Rotate bread 90° for better browning
Bread is done when internal temperature is 205° and golden/medium dark brown. Allow to cool before cutting