As
background, I live on 8 acres, and have two vegetable gardens. The main garden
is for my annual vegetable crops, it’s 3,700 square feet, and its design is loosely
based on the English Garden design of blocks of plantings, separated by access
paths. I have a three year rotation plan developed for this garden. But to be
honest, last year was the 1st year of my gardens. I have a 2nd
garden for my perennial crops, i.e. strawberries, horseradish, and asparagus. It’s
just over 1,500 square feet. I am especially excited that this, my 2nd
year for the strawberries, I will see my 1st strawberries this summer,
can’t wait.
Needless
to say, the scale of my garden endeavor is ambitious, since I tend it myself
without help. Last spring to get the gardens established, for weeks and weeks, I
spent at least 4+ hours every workday evening and on Friday and Saturday, 12
hour shifts were the norm. On a few of the initial weekends, to get everything
done, numerous 18 hour shifts on the weekends were required and at least one 24
hour stint. But after the initial work to establish the gardens, and after all
the seedlings were in, things settled down, those extreme demands of my time
were not required.
As
for seedlings, I start a large majority of my annual crops from seed indoors. I
built a 4 shelf grow station that any illegal plant grower would be envious of.
Complete with 4 bulb 48” grow lights and heat mats on every shelf, all on
timers. Complete temperature and light control. With it I produced hundreds of healthy
vigorous seedlings last year. It works exceptionally well. I just wish I had a
second one. I have developed a comprehensive indoor seed planting schedule that
starts…oh yea, it starts today with my early crops, reaches a fever pitch
around April, where I am wondering where I can find room on the grow shelf
under the lights for just one more group of seeds, and ends well into the
middle to end of the summer when I am sprouting my fall vegetables. I absolutely
love this thing.
 |
| The best thing since bagels, my grow station |
 |
| One this size from the Internet is nearly $1,000 with everything I have. I built it for less than $600 |
Another
thing I love is ©Root Trainers, they rock. ©Root Trainer Tinus 350-4, are the
perfect size, tall and deep allowing for and in fact encouraging long root
structure (hence the name), but the most special thing about them is that they
open like a book. In fact they come in “books” each with 4 cells, each book
opens up to allow easier transplanting. The books are held in a frame, that
hold ten books, that means each frame holds 40 seedlings. As far as I am concerned,
they are one of the secrets to my seedling success. They are very hard to find
to purchase, I do not even believe they are available in the States, except the
smaller one that I find worthless, I have seen those on the Internet. But I
have little to no use for those; I find that the ©Root Trainer Model Tinus
350-4 is the best one for my needs. This is the one whose availability to
purchase I spent so much effort finding. I found them on numerous UK web sites,
with big notices on their pages stating that they will not ship outside of the
UK. That sucks I thought. I eventually found them available for me to purchase on
only one web site for a Canadian company. I highly, highly recommend this product, there is nothing
like it and I would not use any other seedling starting container while I can
get my hands on these;
They
are not cheap, they run about $20 per complete set of 40 each cells (one complete
frame setup), at the time I bought them, that included the shipping cost. Did I
mention that although they are somewhat fragile, as long as you are careful
with them they should last a long time. I bought 20 of them!
Now for the bad news, although the salesman I was dealing with never specifically stated it, the impression I got when I purchased my ©Root Trainers from this company was that they were a wholesaler, not a retailer. I had to wait months from my initial contact with this company to receive them. They basically said I would have to wait until the next time they ran the “Tinus” run and they would make a few extra just for me. I think I might have initially contacted them in August, and I finally received them in the mail in January the following year just in time to use. I might be wrong and you may not have any issue whatsoever getting them to sell some to you, but I wanted to relay my experience just in case. If not from these people, I don’t know where you might find them for purchase. Enough said, so good luck if you do try to get these; they are definitely worth the effort.
Now for the bad news, although the salesman I was dealing with never specifically stated it, the impression I got when I purchased my ©Root Trainers from this company was that they were a wholesaler, not a retailer. I had to wait months from my initial contact with this company to receive them. They basically said I would have to wait until the next time they ran the “Tinus” run and they would make a few extra just for me. I think I might have initially contacted them in August, and I finally received them in the mail in January the following year just in time to use. I might be wrong and you may not have any issue whatsoever getting them to sell some to you, but I wanted to relay my experience just in case. If not from these people, I don’t know where you might find them for purchase. Enough said, so good luck if you do try to get these; they are definitely worth the effort.
 |
| ©Root Trainer Tinus 350-4 |
 |
| I cover with plastic wrap to hold in humidity |
 |
| I can fit 4 per shelf, that;s 160 each seedlings, times 4 shelves, I can grow 640 seedlings simultaneously |
So
now
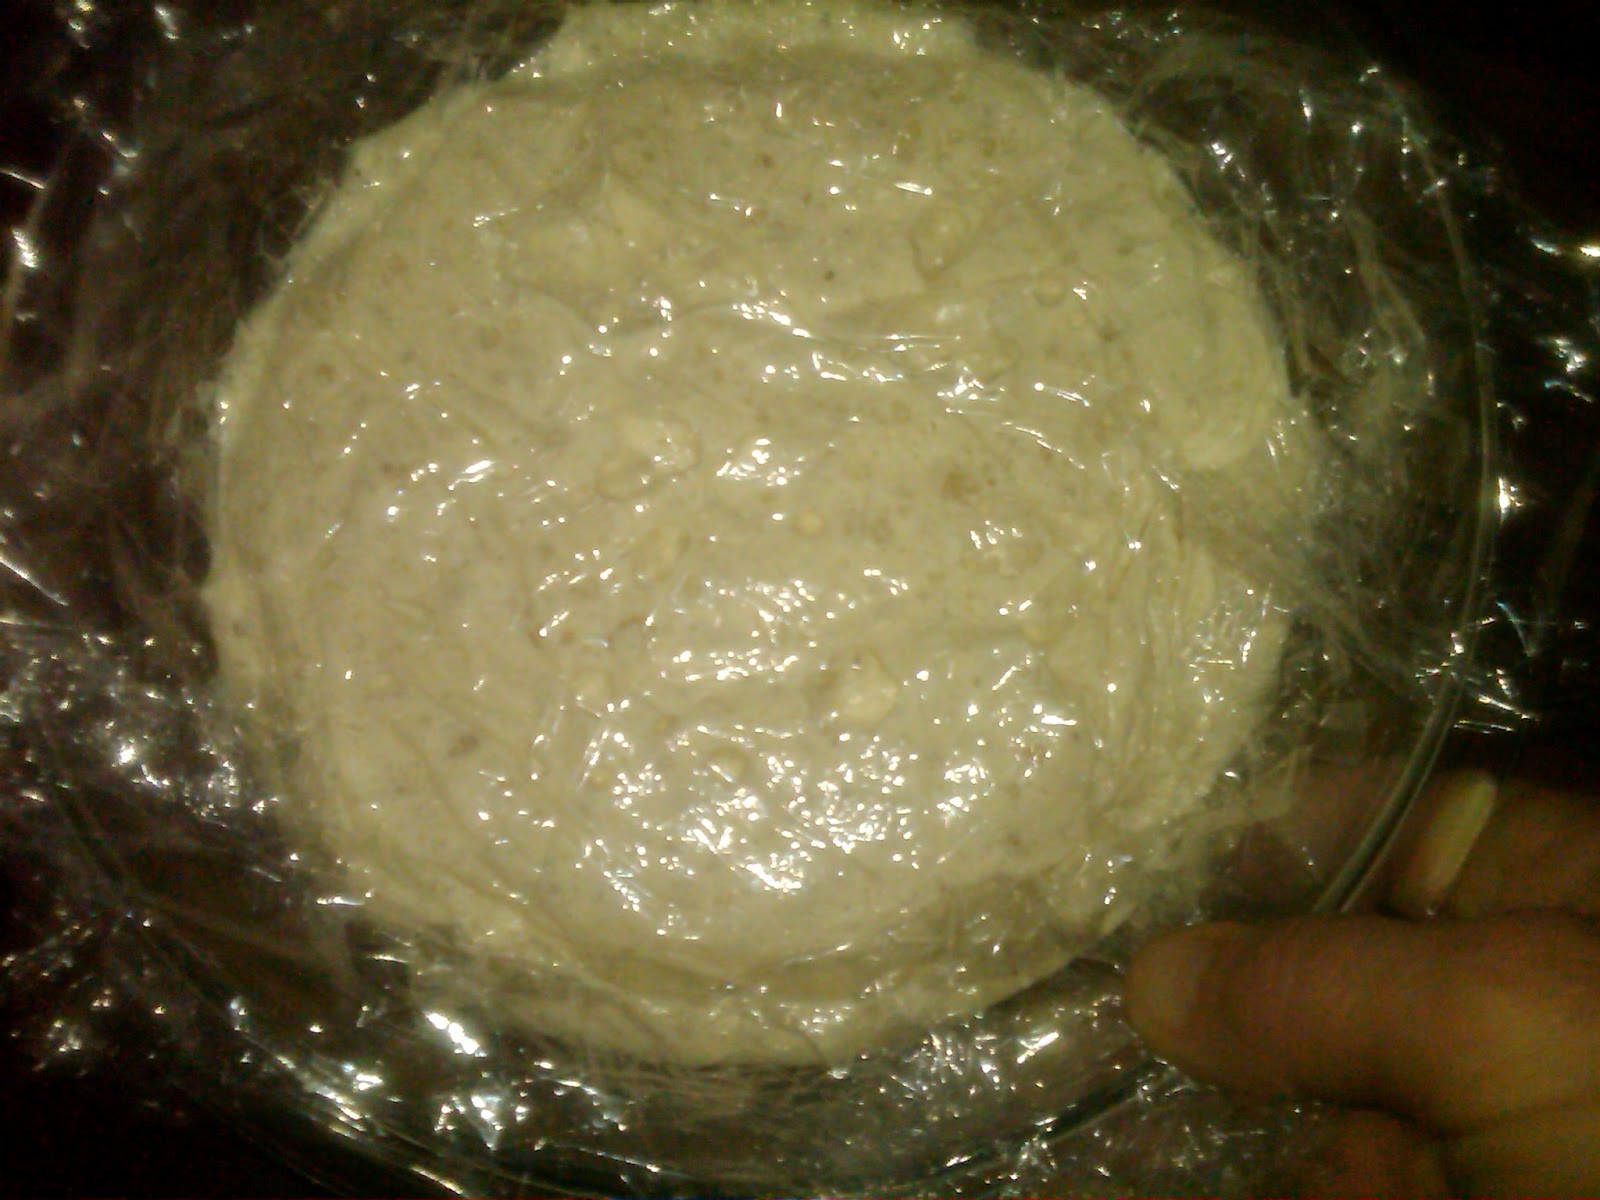
on to the growing medium, it is a given, to grow seedling indoors, a
soil-less medium is what you need to use. Do not even think about
regular soil.
That won’t work. Even potting soil is undesirable. You need a quality
soil-less
medium specifically designed to grow seedling from seed. I have only
ever used Pro-Mix
BX, 3.8CF Compressed Item Number: SO-PMBX, and like all the materials I
want to
use, this is also hard to come by. Luckily for me, my local ACE Hardware
store
special orders it for me. It comes in big 3 cubic foot bales, and I went
through 3 of them last year. This stuff is great and again, I highly
recommend
it if you can find it. But unlike the ©Root Trainers there are many
other
quality soil-less options available.
But
I digress, I planted my 1st seeds of the season this weekend,
I
planted 60 cells worth of Celery, and 56 cells worth of Leeks. Both
start out
on the same shelf, on this shelf my heat mat is set to 72°, and does a
good job
of keeping the soil in any ©Root Trainer set on it at about 68° - 70°
depending
on the ambient room temp. The warmer I keep the room the less work the
mat
needs to do to maintain that soil temperate. FYI- the heat mat is only
capable of raising the temperature of the soil-less medium 20° above the ambient room temperature.
The
following are my notes for starting both these seeds:
Celery
–
Stratifying
helps these temperamental seeds. To stratify, put in the freezer
for several weeks at least. Then soak the seeds overnight in room
temperature water to break their
dormant stage. Some say to soak them in water that has just been brought
to boiling, if you do this you are an idiot. How would you like boiling
water to be pored over you. Water that is at or near 212°, cannot be good for the embryo of a seed. They
are best started indoors, as the seeds need a consistent
temperature at or above 59 degrees (germination temperature - no less
than 55°, no greater than 70°). Celery seeds are very small and need light to germinate. Sow
them by scattering them on the top of the soil. At most gently pat the seeds to
ensure good soil contact, but I do not even do that, I simply mist the seeds
gently with an atomizer. This works well for me. Do not allow the seeds to be
covered by the growing medium, Put plastic wrap over the top to keep the
humidity up. Keep the seeds moist and they should germinate within about three
weeks. Last year mine germinated in 7 days. Once they are 2"-3" tall, they love to be fed a weak dilution of fish emulsion every week or two. Celery seedlings should have five
or six leaves before they are ready to be planted out. I start mine a full 12
weeks before I plan to transplant. Transplant them to the garden when ambient temperatures
are reliably above 55 degrees F. Steady and plentiful supply of moisture, more
than most vegetables, heavy feeder, add a little compost with transplant, provide
liquid feedings every two weeks.
2-17-2012:
90% Celery seed germination, considering that most literature states 14-21 days to germinate celery seeds, which can be quite finicky, I say 90% germination after only 7 days is "success". Now granted, I had to use a magnifying glass to see that I have germination, each one I saw, was a seed just sending out an initial tendril into the soil-less mix, but nonetheless, germination it is. In 7 days!
2-25-2012:
All seeds germinated, great success. Simply a matter of maintenance now.
2-17-2012:
90% Celery seed germination, considering that most literature states 14-21 days to germinate celery seeds, which can be quite finicky, I say 90% germination after only 7 days is "success". Now granted, I had to use a magnifying glass to see that I have germination, each one I saw, was a seed just sending out an initial tendril into the soil-less mix, but nonetheless, germination it is. In 7 days!
 |
| Initial germination. You have to look close to see the seedlings |
2-25-2012:
All seeds germinated, great success. Simply a matter of maintenance now.
 | ||
| Two weeks later |
3-10-2012:
One month after planting celery....
 |
| Growing Celery from seed is not hard, you just have to do it right |
 |
| This was done right |
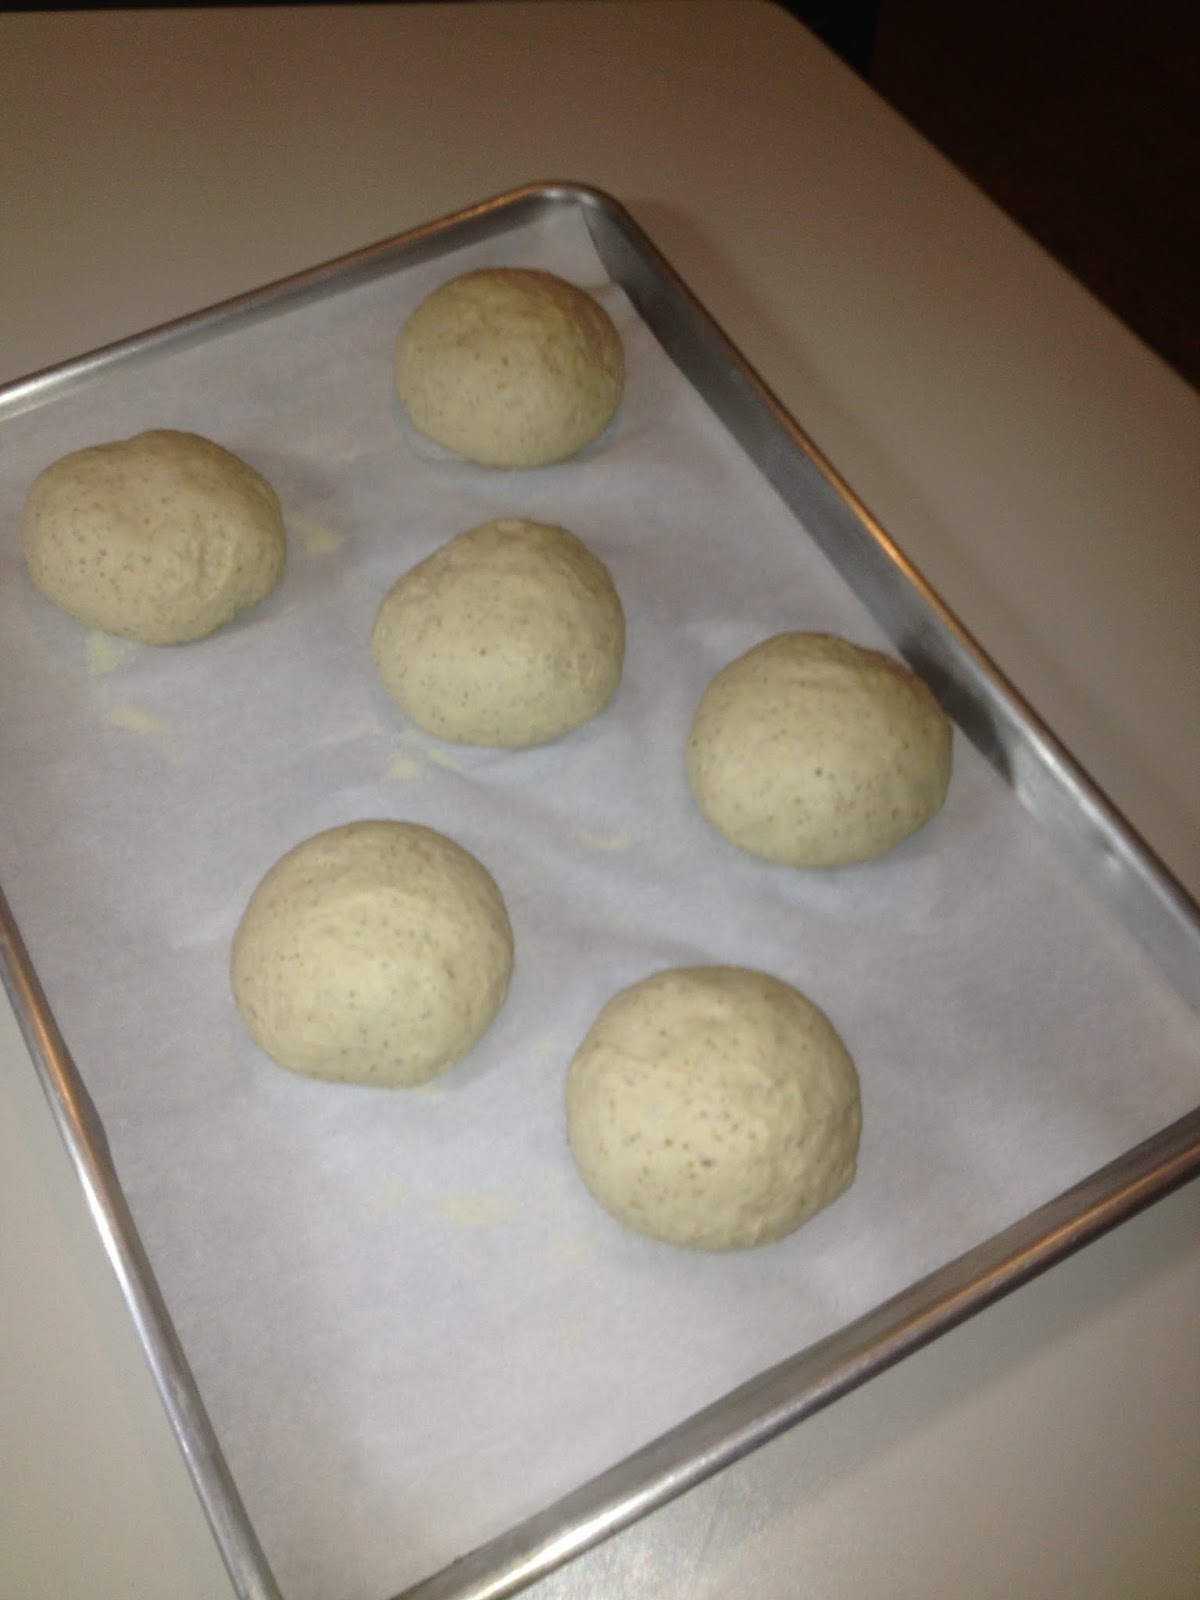
Leeks –
For
best
germination, seeds should be sown under cover. What this means is
simply;
after doing everything like normal, i.e. plants seeds in ©Root Trainer
cells
and covering with plastic wrap to hold in humidity, lay something over
the top
of the ©Root Trainers to keep the light from the seed. I did this last
year; I
also simple planted the seed deep enough (1/4”) that I did not need to
cover
with anything, as the soil medium itself shielded the seed from the grow
light.
Once they are 2"-3" tall, they love to be fed a weak dilution of fish
emulsion every week or two. Once the seedlings
are four inches tall, keep the tops trimmed to three inches, this will
help the
plants to be stockier and sturdier at transplant time. Use sharp, clean
scissors for this once-a-week "haircut". At seven weeks, the
seedlings should be about the diameter of a knitting needle. Harden them
off
during their eighth week, before transplanting them to the garden. As a
note, last spring was very, very wet and I couldn't get my transplants
out on time. Just speaking for the leek seedlings, they held up in the
Root Trainers well into the 12th week without any negative results.
Saw my first leek seeds germinate today (2-15-2012), that's germination in 5 days. Pretty good!
2-17-2012 Update: 7 days now since seeding, have about 70% germination. Failed to take a picture of these, would have been very hard to see anyway.
2-25-2012:
3-10-2012:
One month after planting leeks. Now one thing to note, I do not let my leek seedlings grow unchecked, as they will get too tall too fast. So I cut them with siccors, keeping them no more than 4-6 inches until they are transplanted. This makes them easier to manage under the grow lights as well as promoting a stockier leek in the end.
So as I said, I am excited and anxious for spring. There is much to do between now and then, and I hope that since I now have established the perennial garden so do not have to do that piece this year, that I will not have so grueling of a schedule to get everything up and “growing”. But I know that is a relative statement or rather a naive hope, since no matter what, having a garden on the scale that I do, without help, is without a doubt, a lot or work. But also a tremendous point of satisfaction. Not to mention, a crap load of harvest…
Saw my first leek seeds germinate today (2-15-2012), that's germination in 5 days. Pretty good!
2-17-2012 Update: 7 days now since seeding, have about 70% germination. Failed to take a picture of these, would have been very hard to see anyway.
2-25-2012:
 |
| After two weeks of growth |
3-10-2012:
One month after planting leeks. Now one thing to note, I do not let my leek seedlings grow unchecked, as they will get too tall too fast. So I cut them with siccors, keeping them no more than 4-6 inches until they are transplanted. This makes them easier to manage under the grow lights as well as promoting a stockier leek in the end.
 | ||||||
| One months growth |
 |
| Vichyssoise to be! Yea, I know you don't know what that is, look it up. |
So as I said, I am excited and anxious for spring. There is much to do between now and then, and I hope that since I now have established the perennial garden so do not have to do that piece this year, that I will not have so grueling of a schedule to get everything up and “growing”. But I know that is a relative statement or rather a naive hope, since no matter what, having a garden on the scale that I do, without help, is without a doubt, a lot or work. But also a tremendous point of satisfaction. Not to mention, a crap load of harvest…
Some pictures from last years garden;
 |
| August 2011 Main Garden |
 |
| August 2011 corn crop |
 |
| August 2011 strawberry patch |
 |
| September 2011 strawberry patch |
 |
| September 2011 watermelon patch |
 |
| 2011 biggest Black Diamond Watermelon |